


Before we moved I stumbled across a bargain selection of fabric sample books, which I tried to ignore. But the fabric patterns and designs kept calling my name and so I became the proud owner of three fabric sample books, or as they became known - another b****y thing to move!
Well recently the time came when they called my name again, but obviously in the book they weren’t a whole lot of use to me - and so I decided to dismantle one, thinking how hard can it be?
The short answer is - quite hard.
In the end I needed some of MOH’s tools, some of his strength and also the encouragement to keep going.

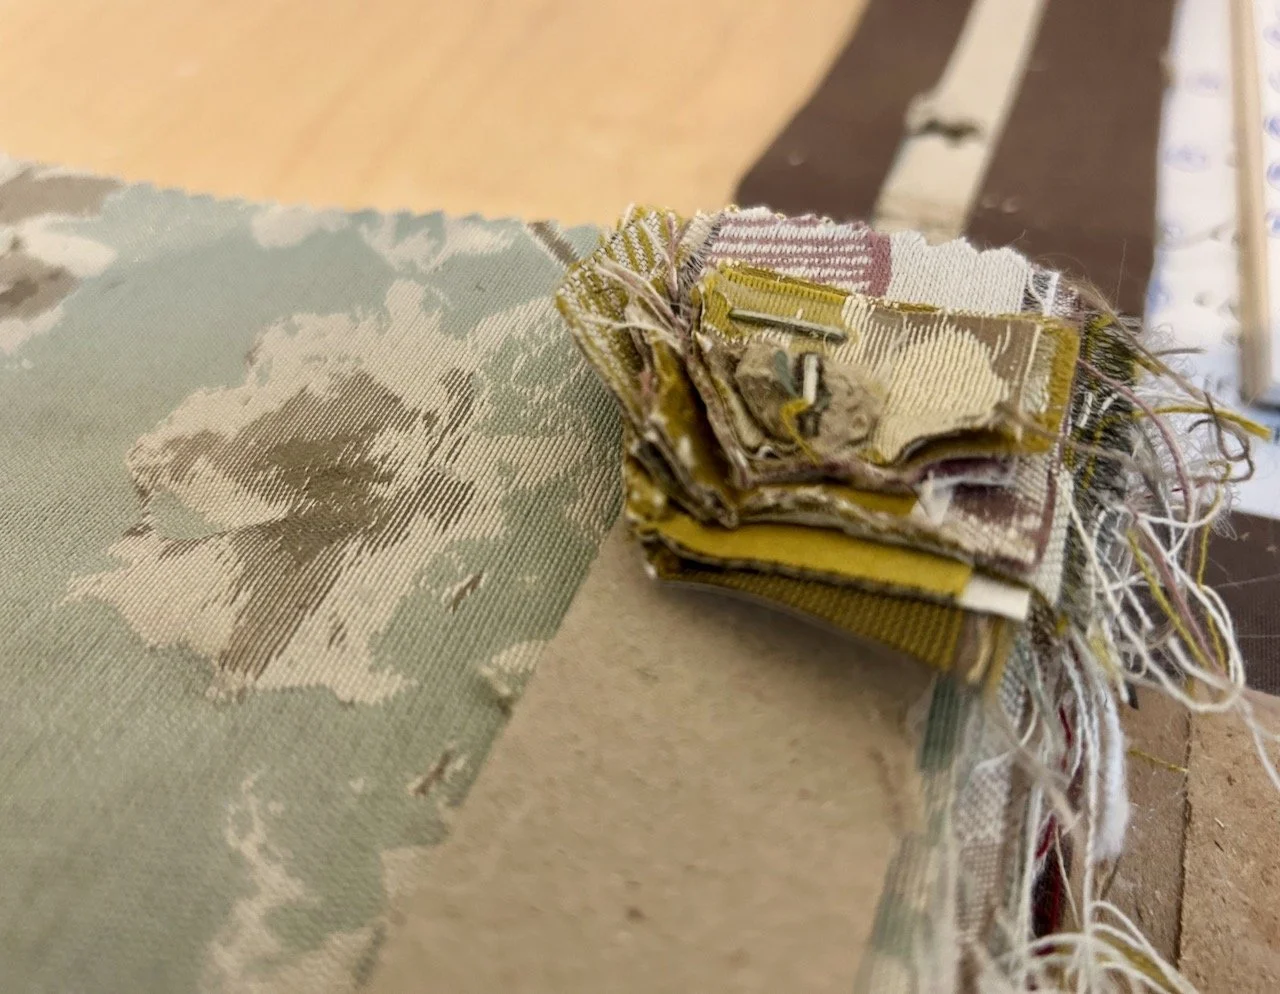
There was a lot of strong glue, and multiple layers of staples. The middle ones were easier to remove than the end ones - and so they stayed and I cut the material around them.
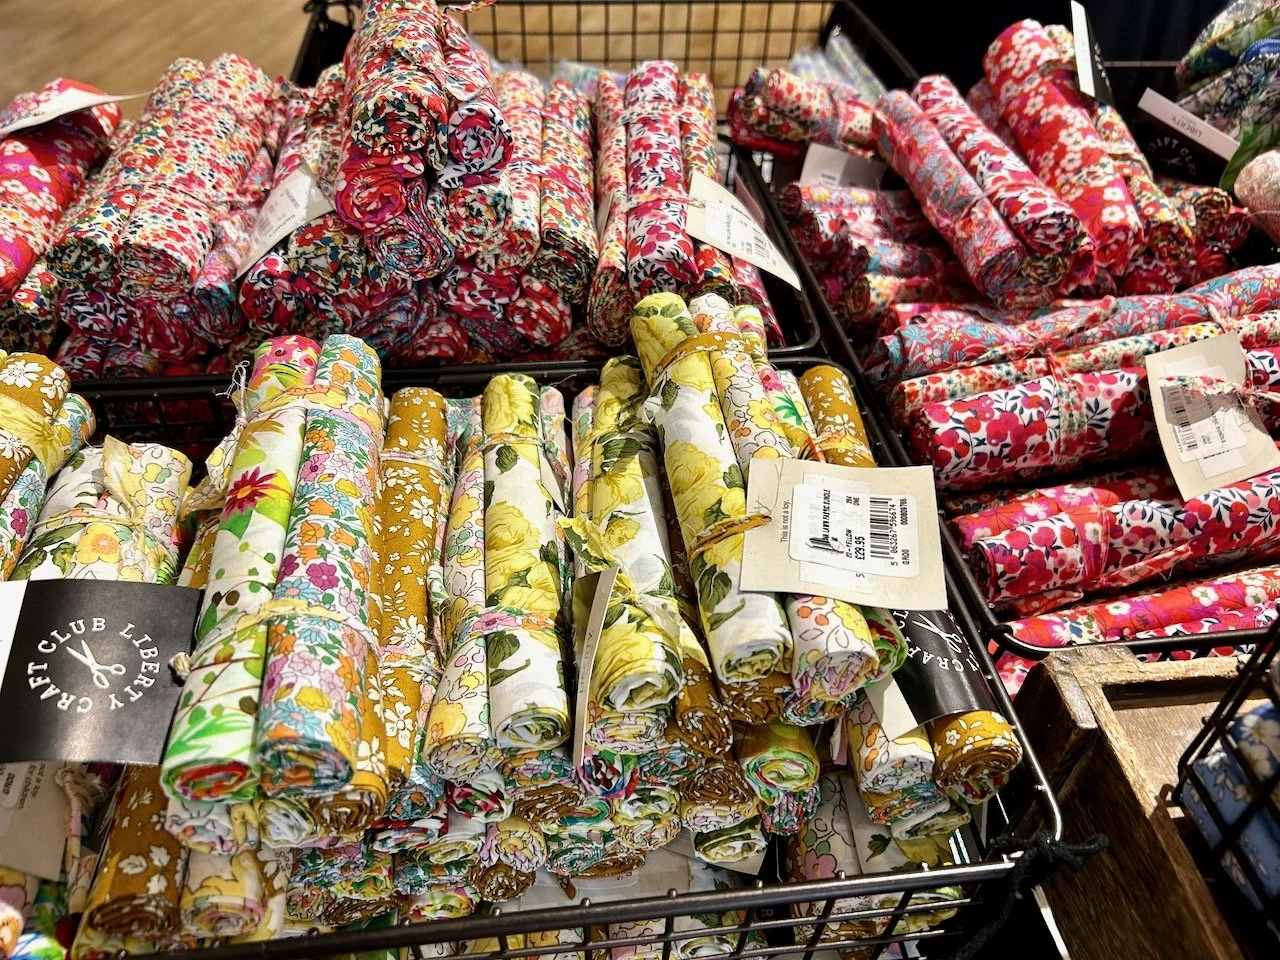
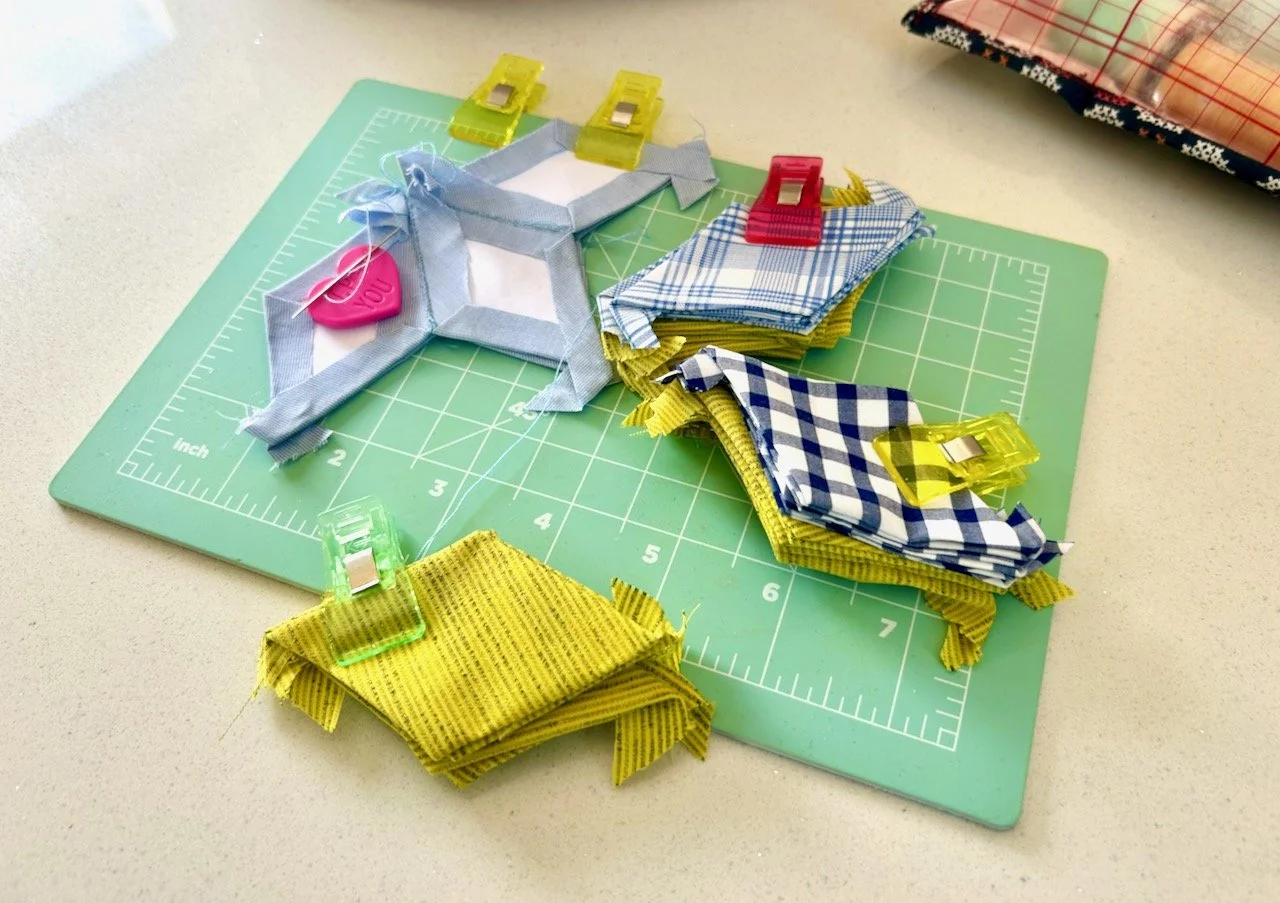
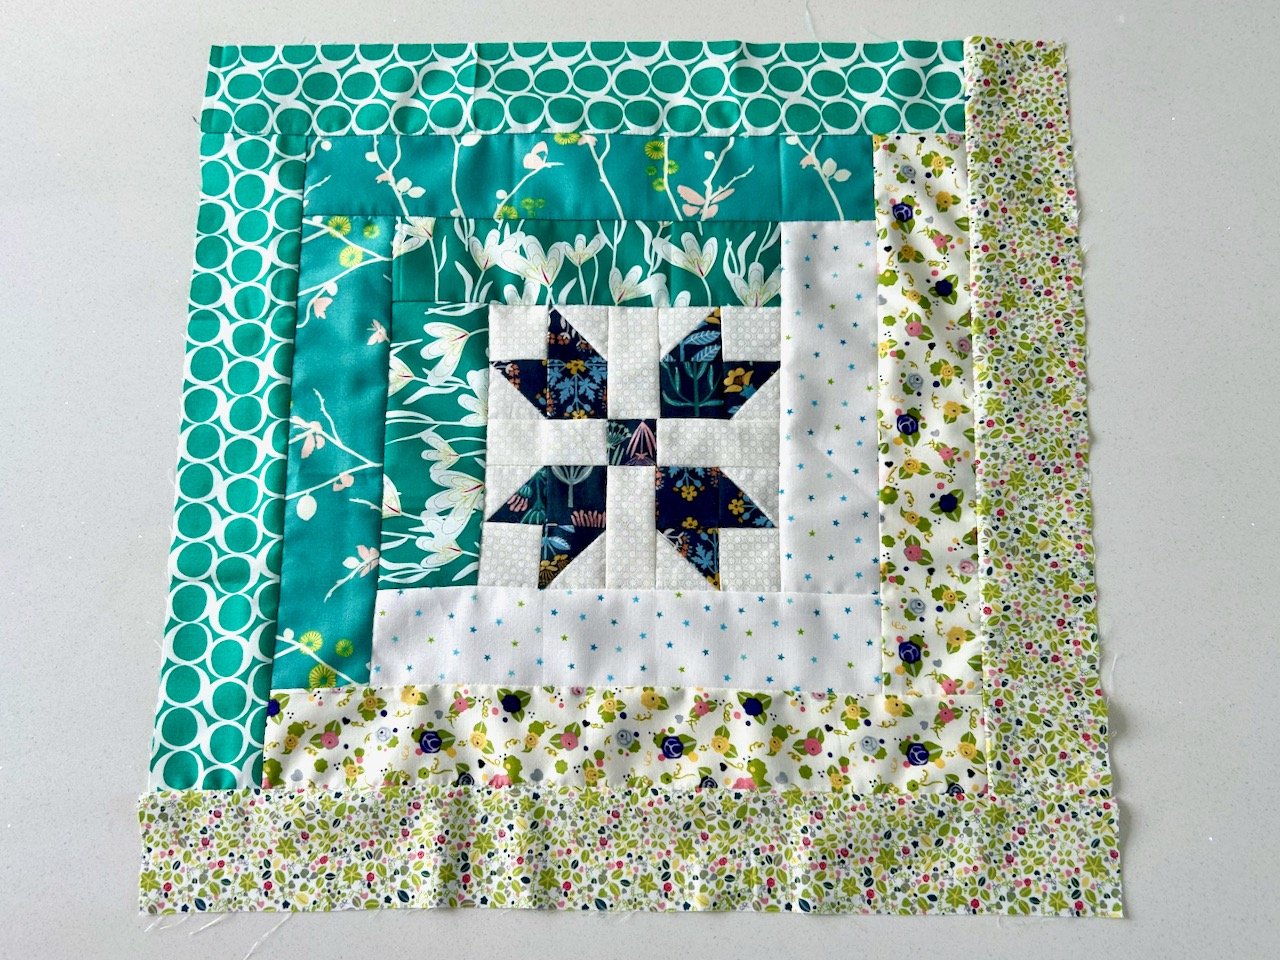
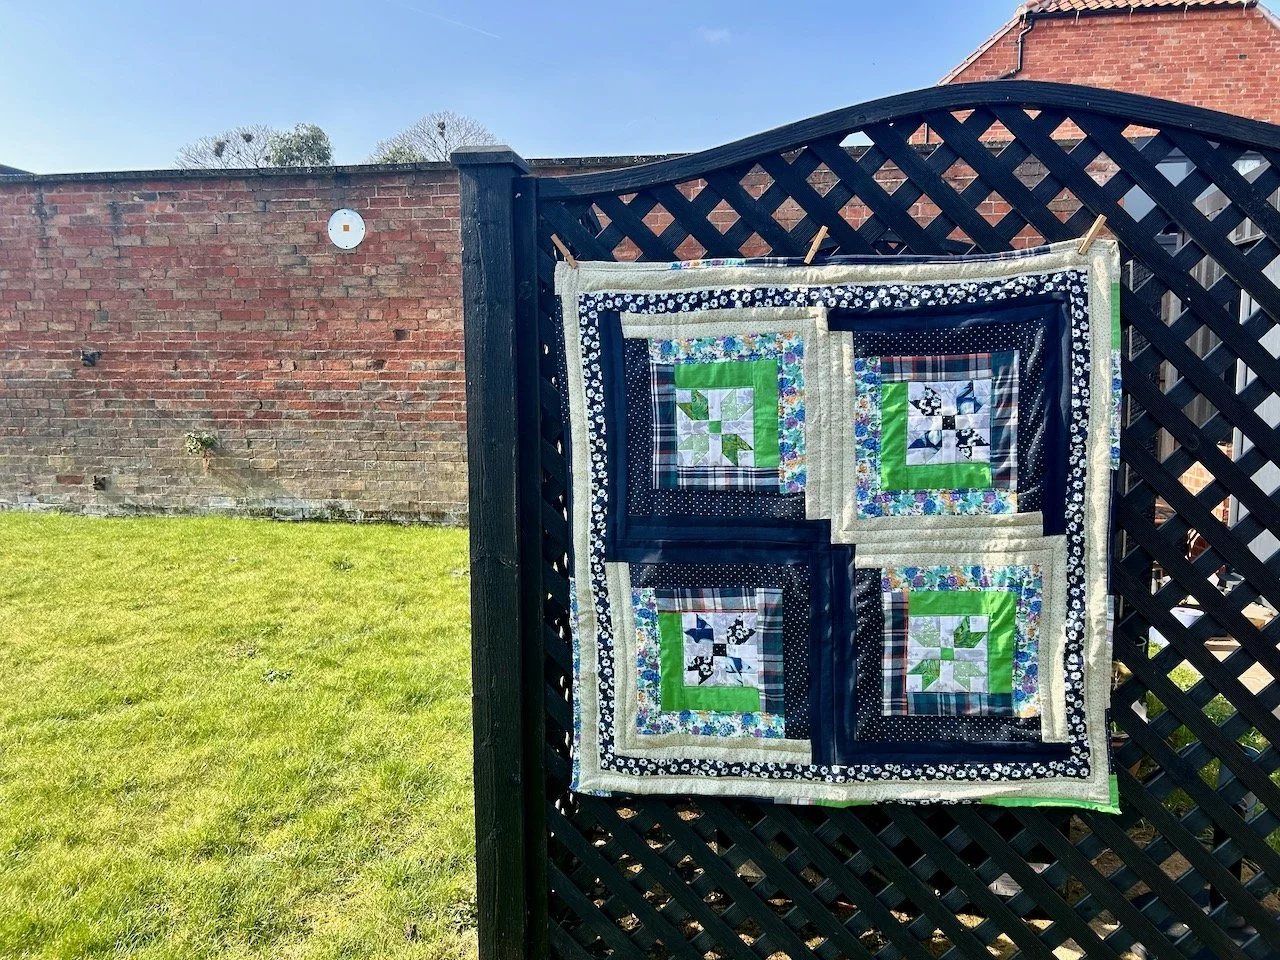
But I got there, and it was worth it - just look at the material I freed!
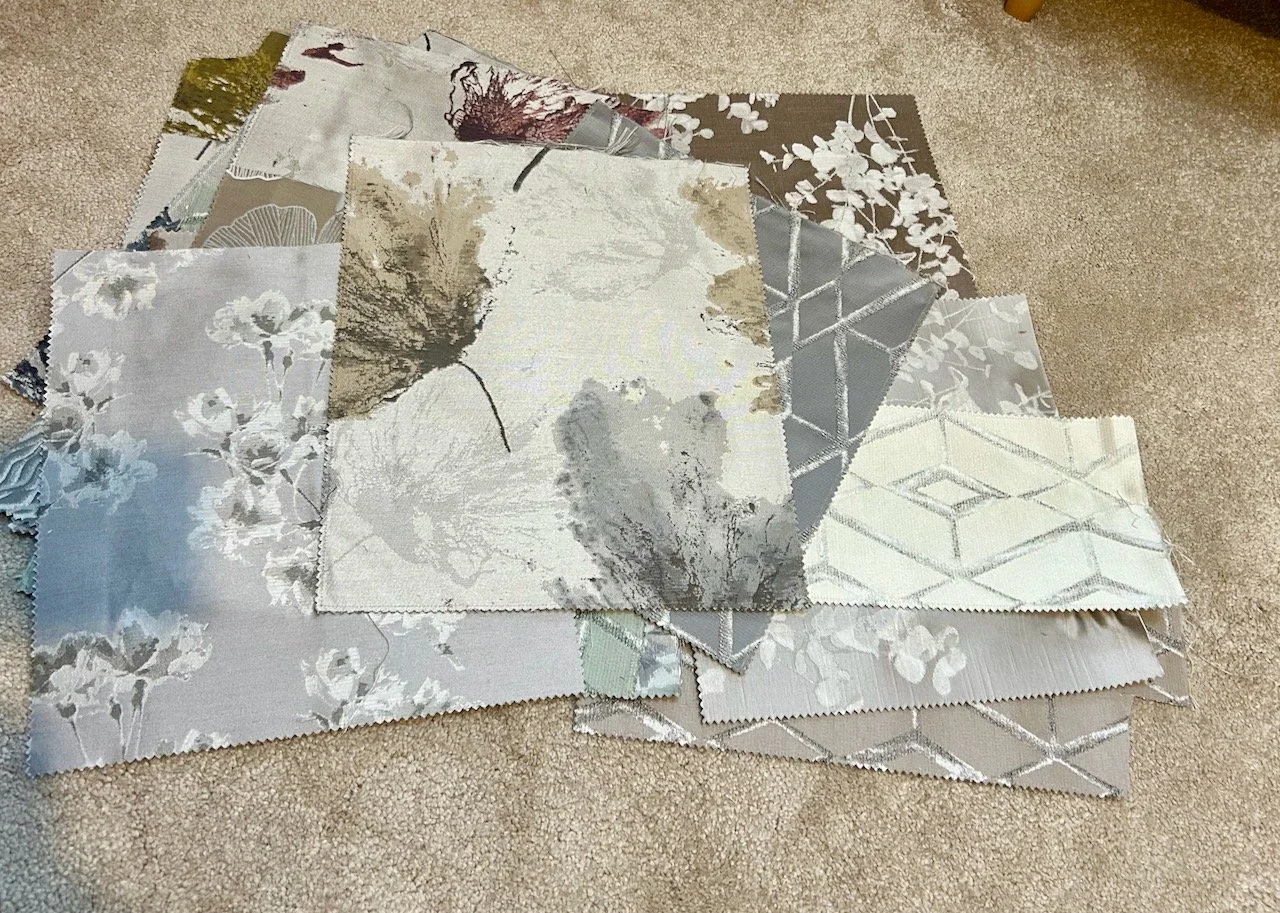
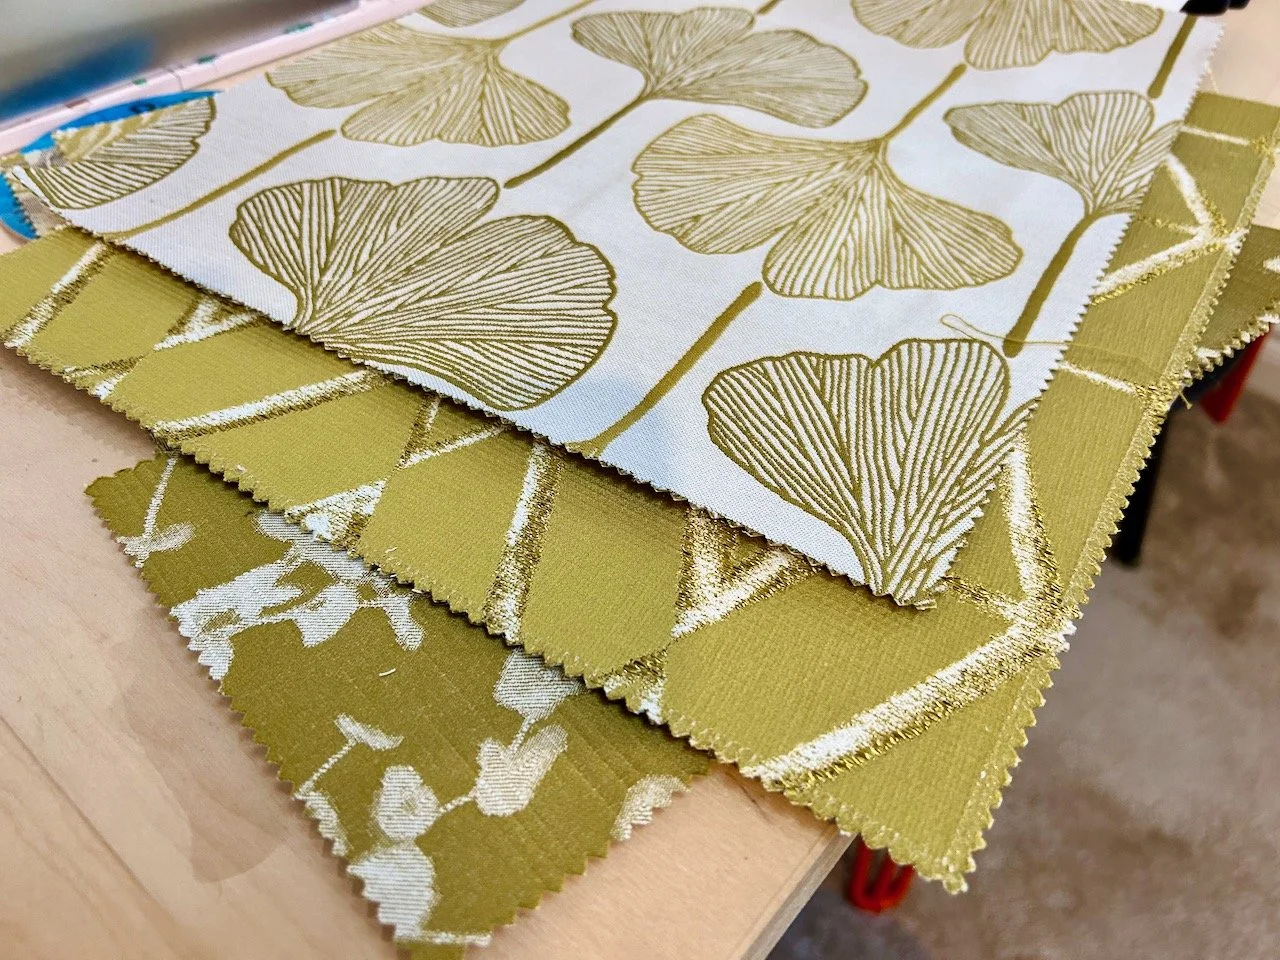
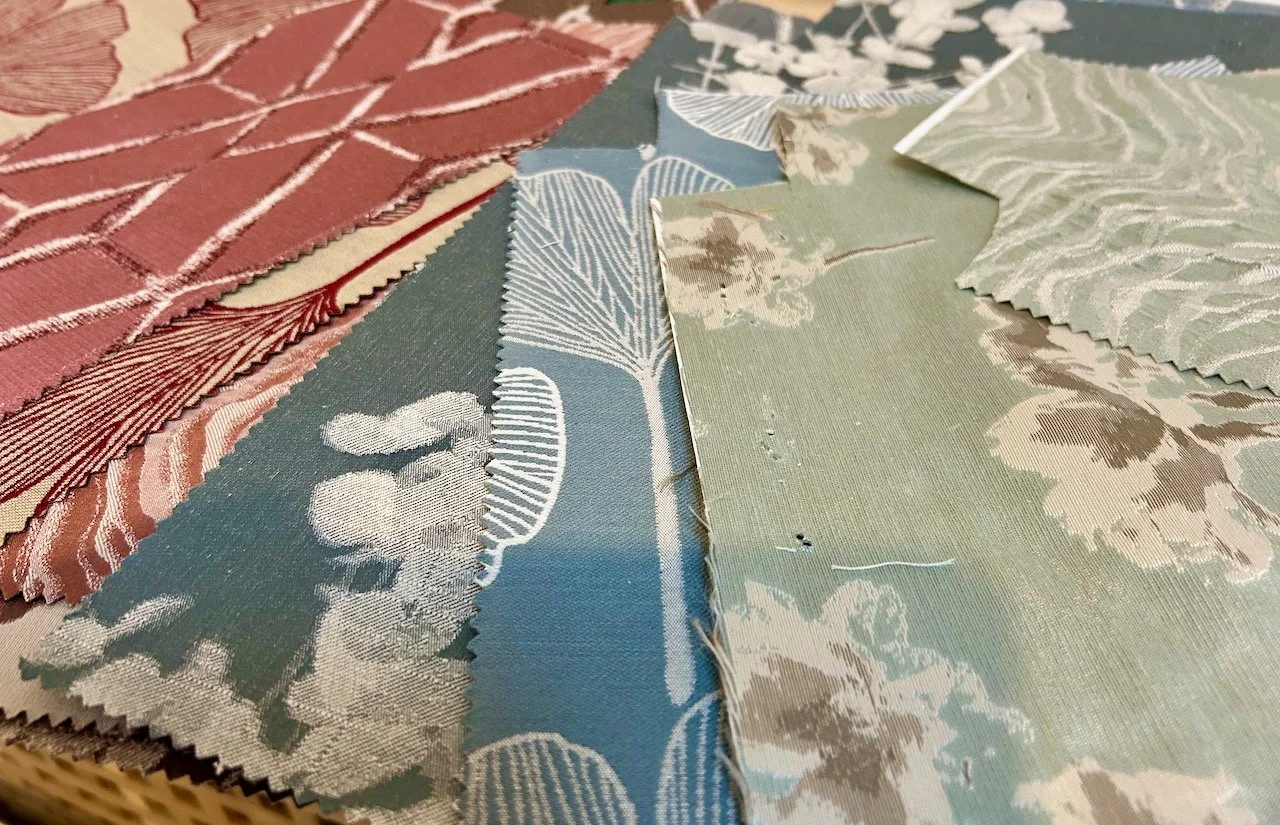
And that’s from just one of the sample books, though I think I’ll leave the other two for another time!
There was still more to do though as even though I’d got the fabric out of the books I still needed to remove the paper border on the reverse of each piece. I was less successful here though as the paper I did get off didn’t come away cleanly. I tried soaking, and peeling carefully - but it was a lot of work, so in the end I settled for trimming the edges, which was a shame. Frustratingly one of the other books I tried the paper backing came off much more easily!
But I now have another pile of fabrics to refresh my stash, and right now which I don’t have any firm plans for - though the mustard ones are calling out to be a pouch, but I’ve not found the right question yet! The greys and neutrals may make their way into my ‘grey collection’ for my floral fancy extension, but I think I want to use some of the other pieces first before I commit.
But as ever, the possibilities are endless - and promise to be pretty creative too.