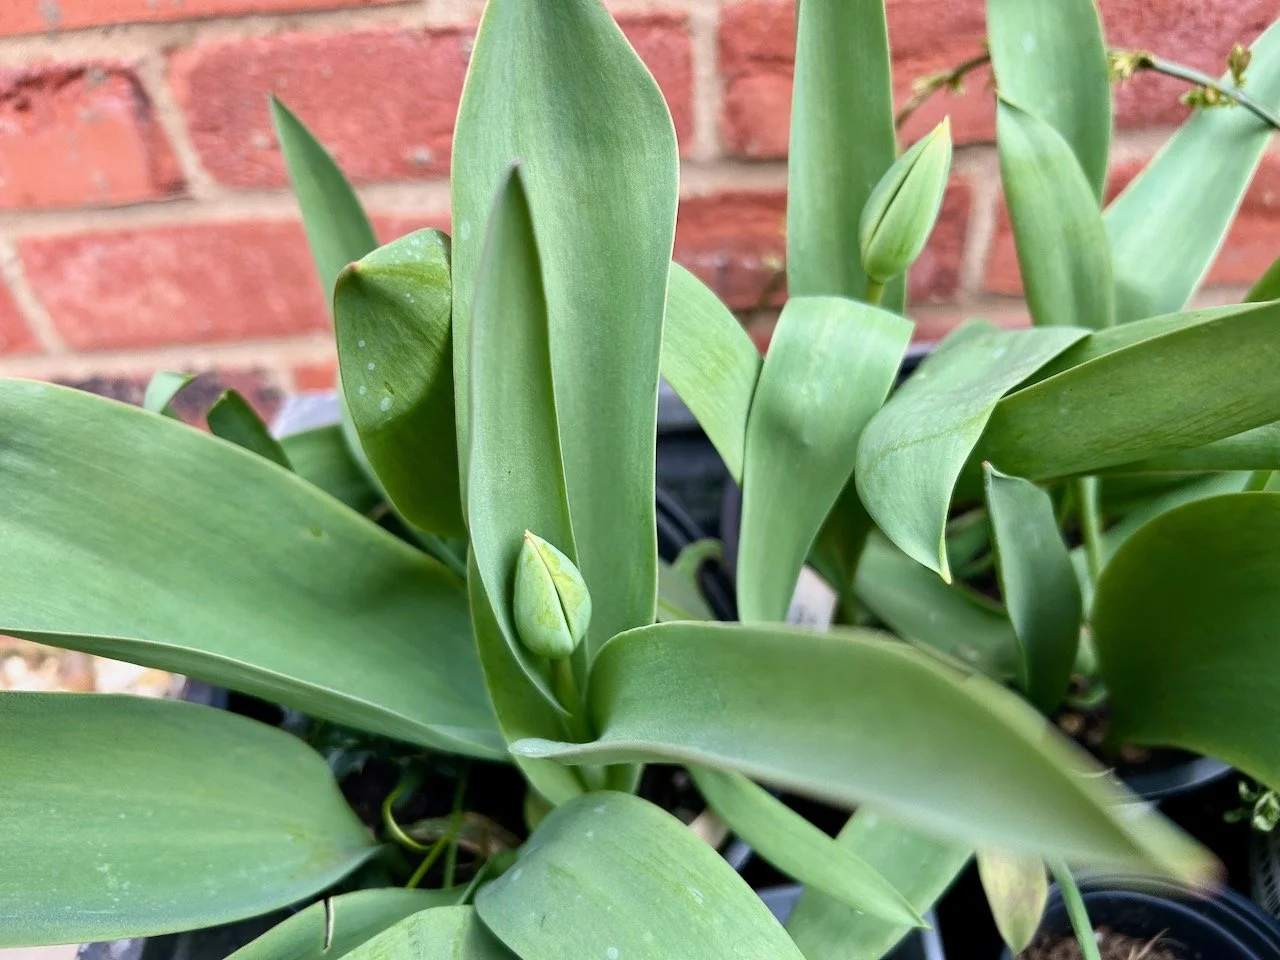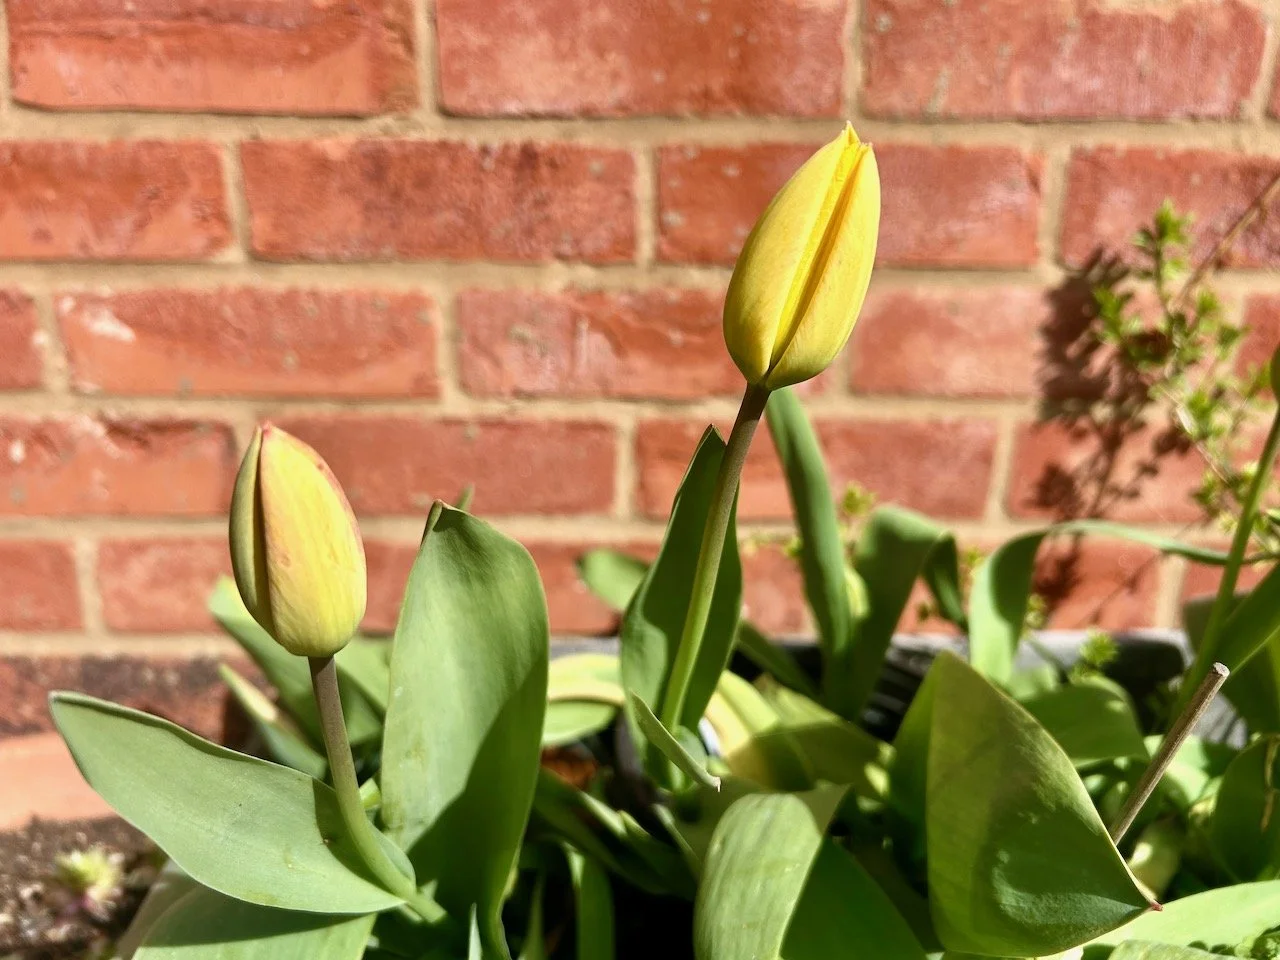


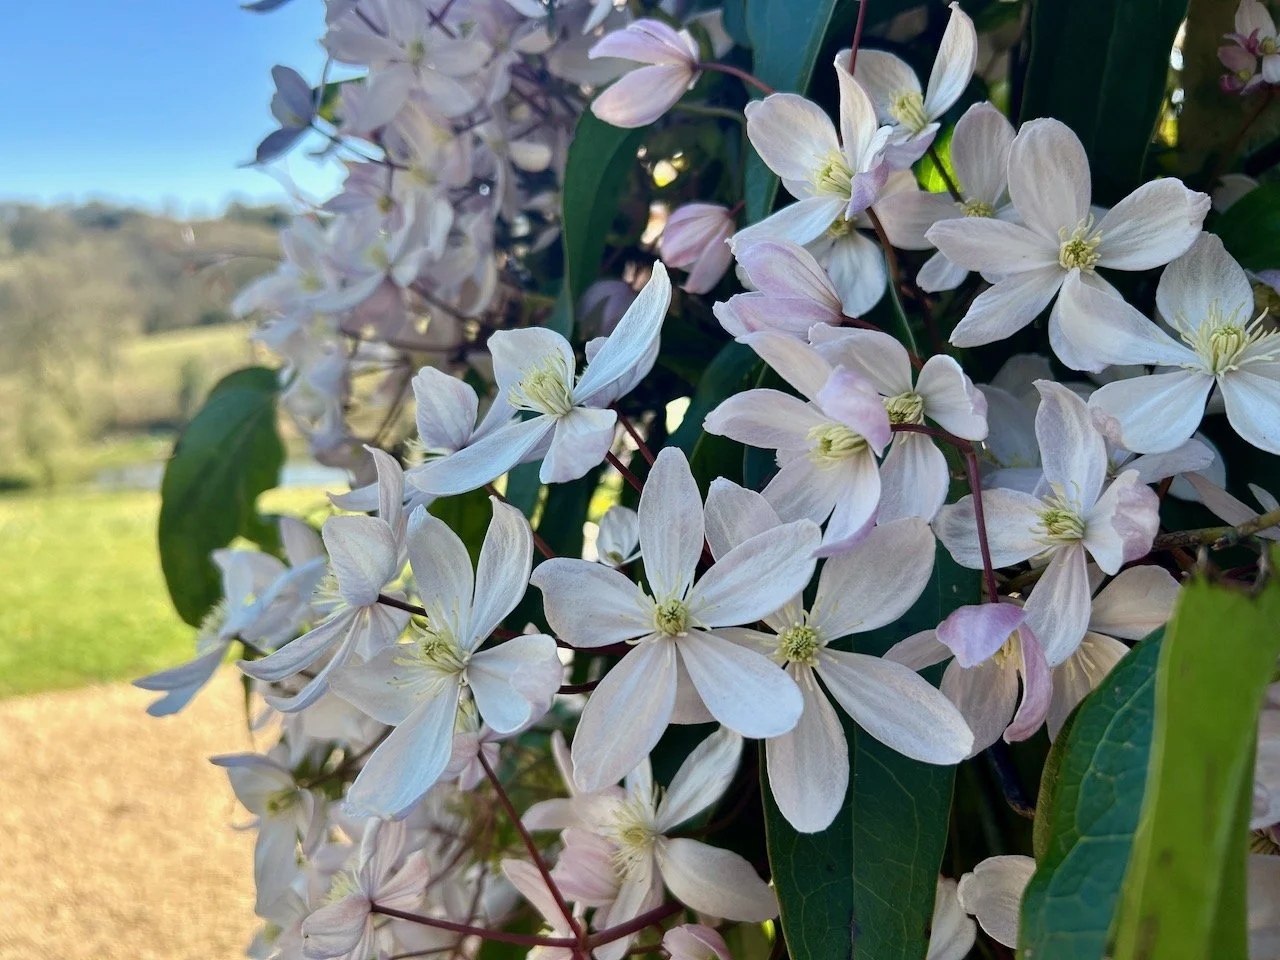
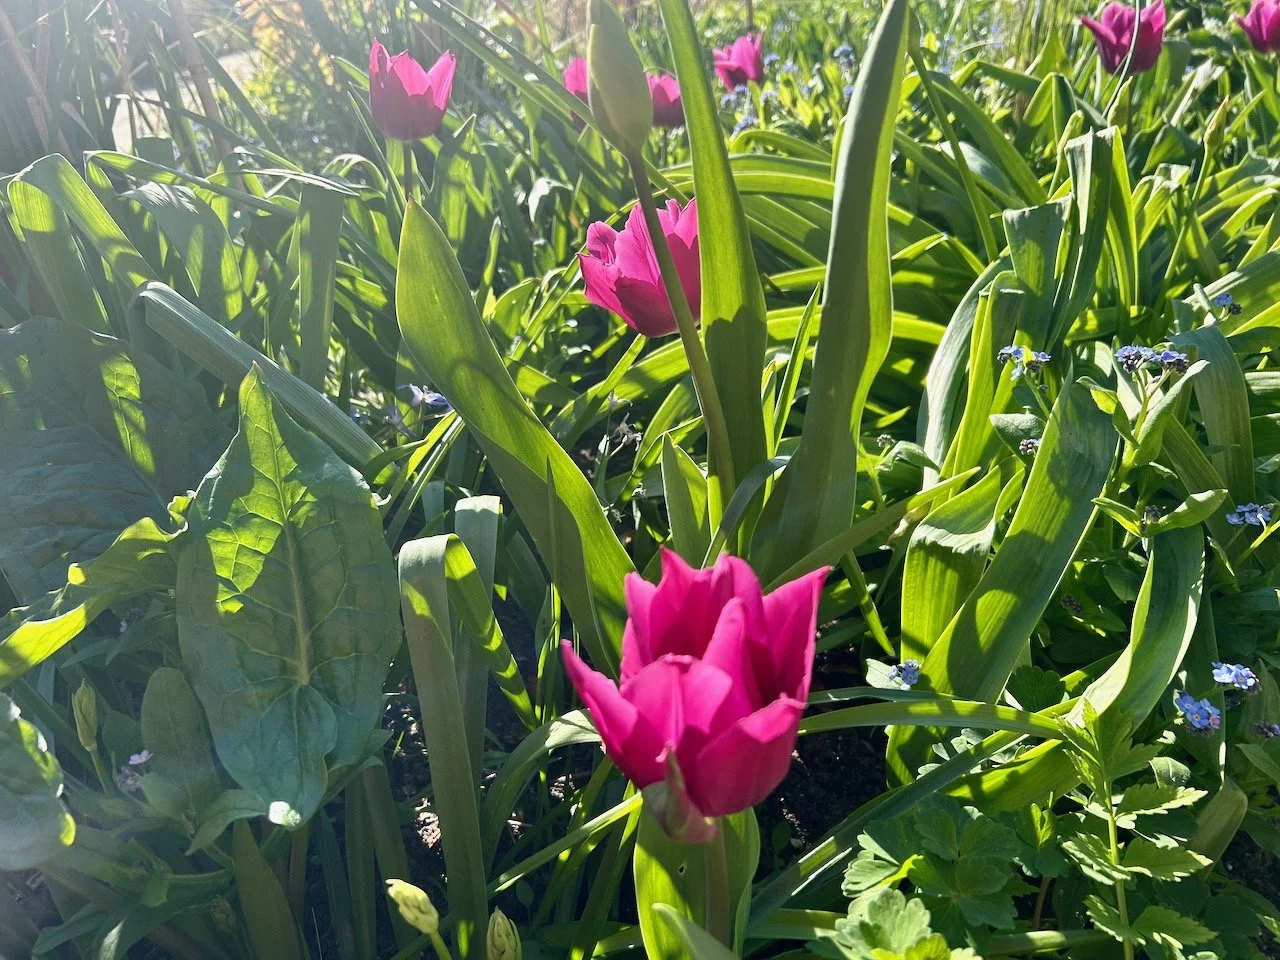
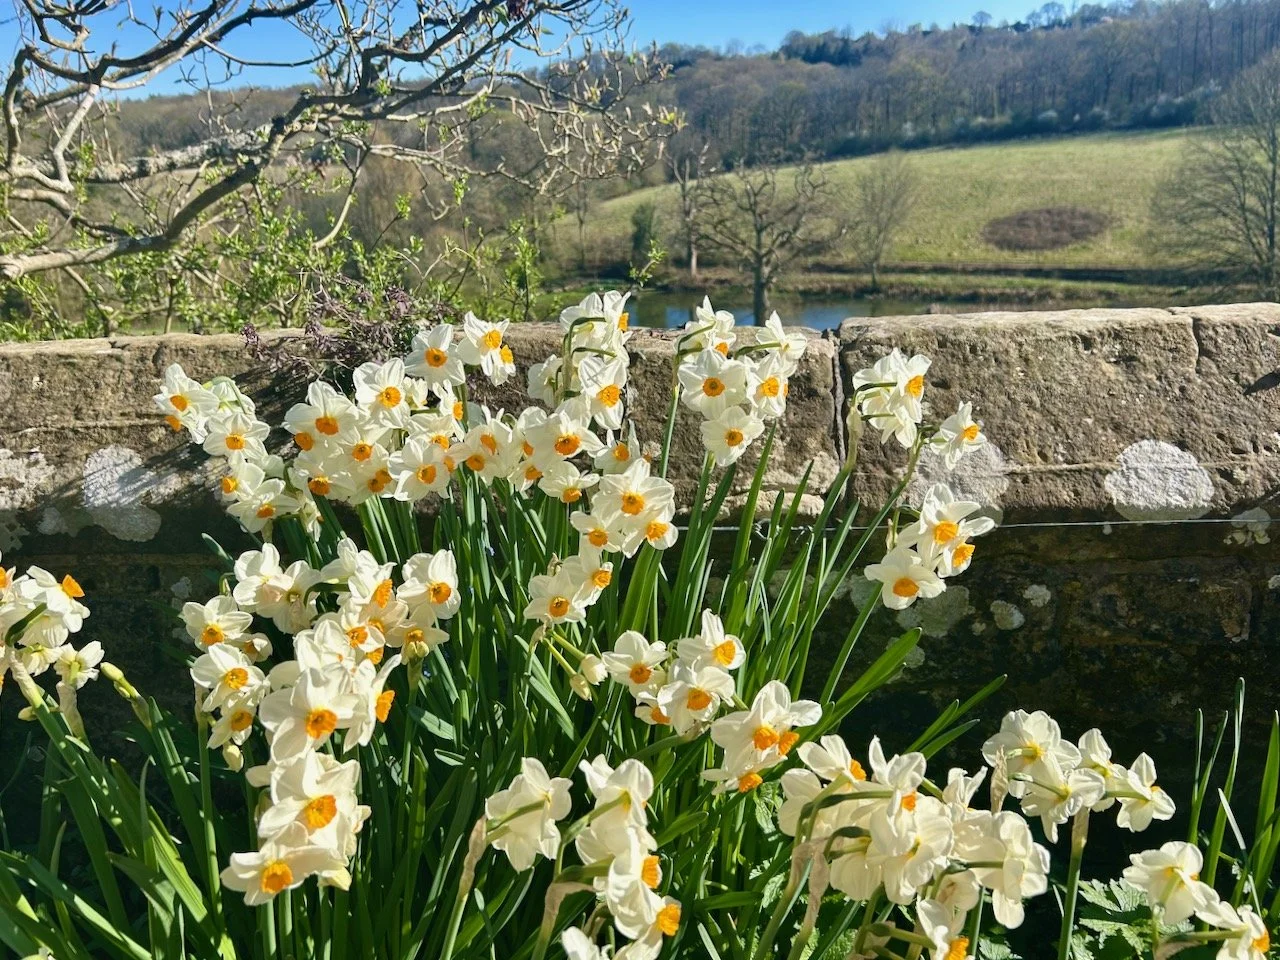
Last weekend we had a family lunch at Gravetye Manor - it’s a great place and the food is even better, but taking a wander around the gardens afterwards is equally as good. A while back I shared more of the Kitchen Garden here, and the pretty blue and while tiles in the loos, which are still the same though it was all about the tulips on our most recent visit. I didn’t make it to the kitchen garden on this visit, but I did enjoy a stroll around the garden full of blossom, and tulips as you’ll see.
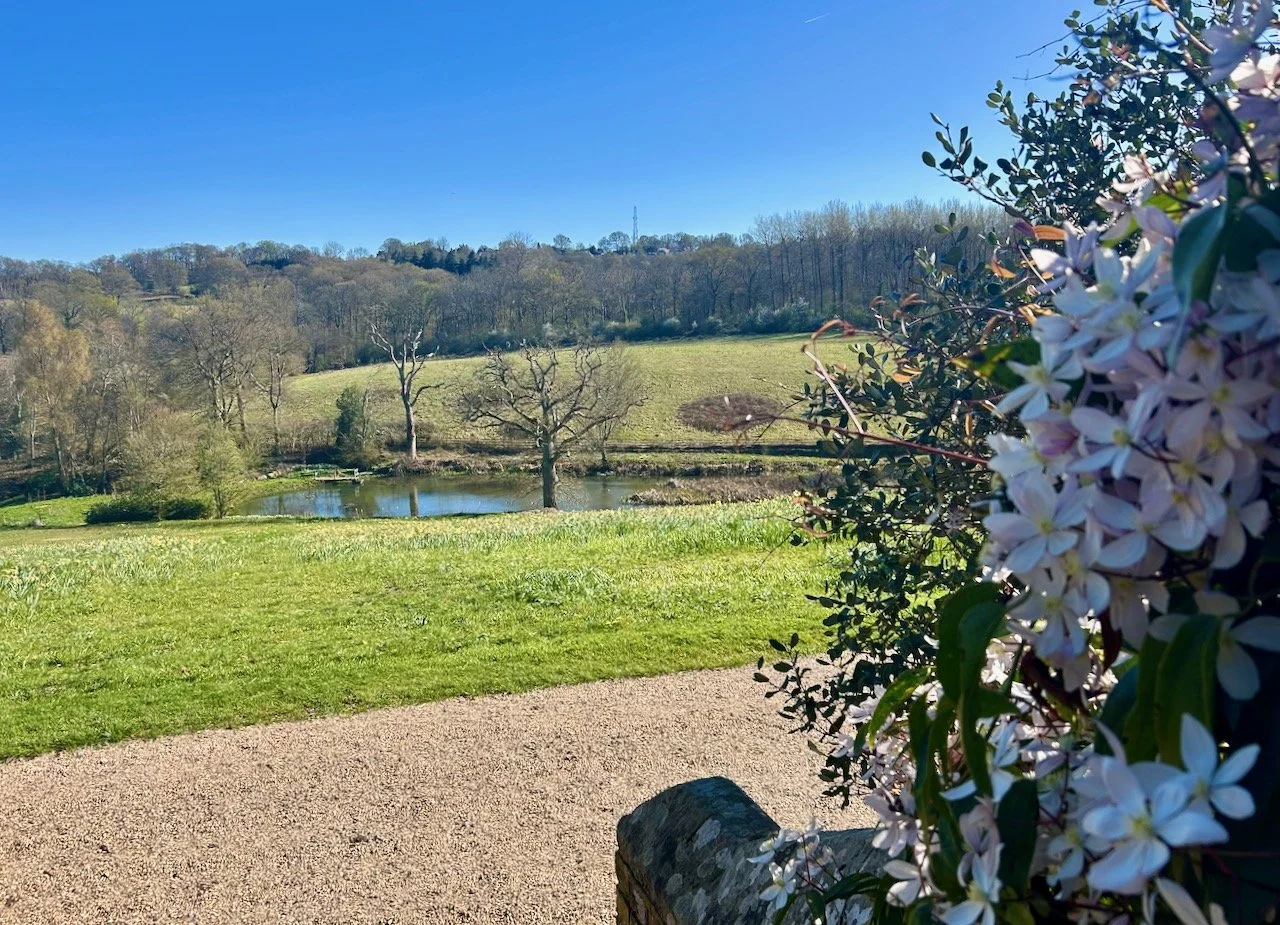
We were lucky with the weather, which meant that although we didn’t get up to the kitchen garden, we did spend a good amount of time wandering around the gardens without the need to hurry.
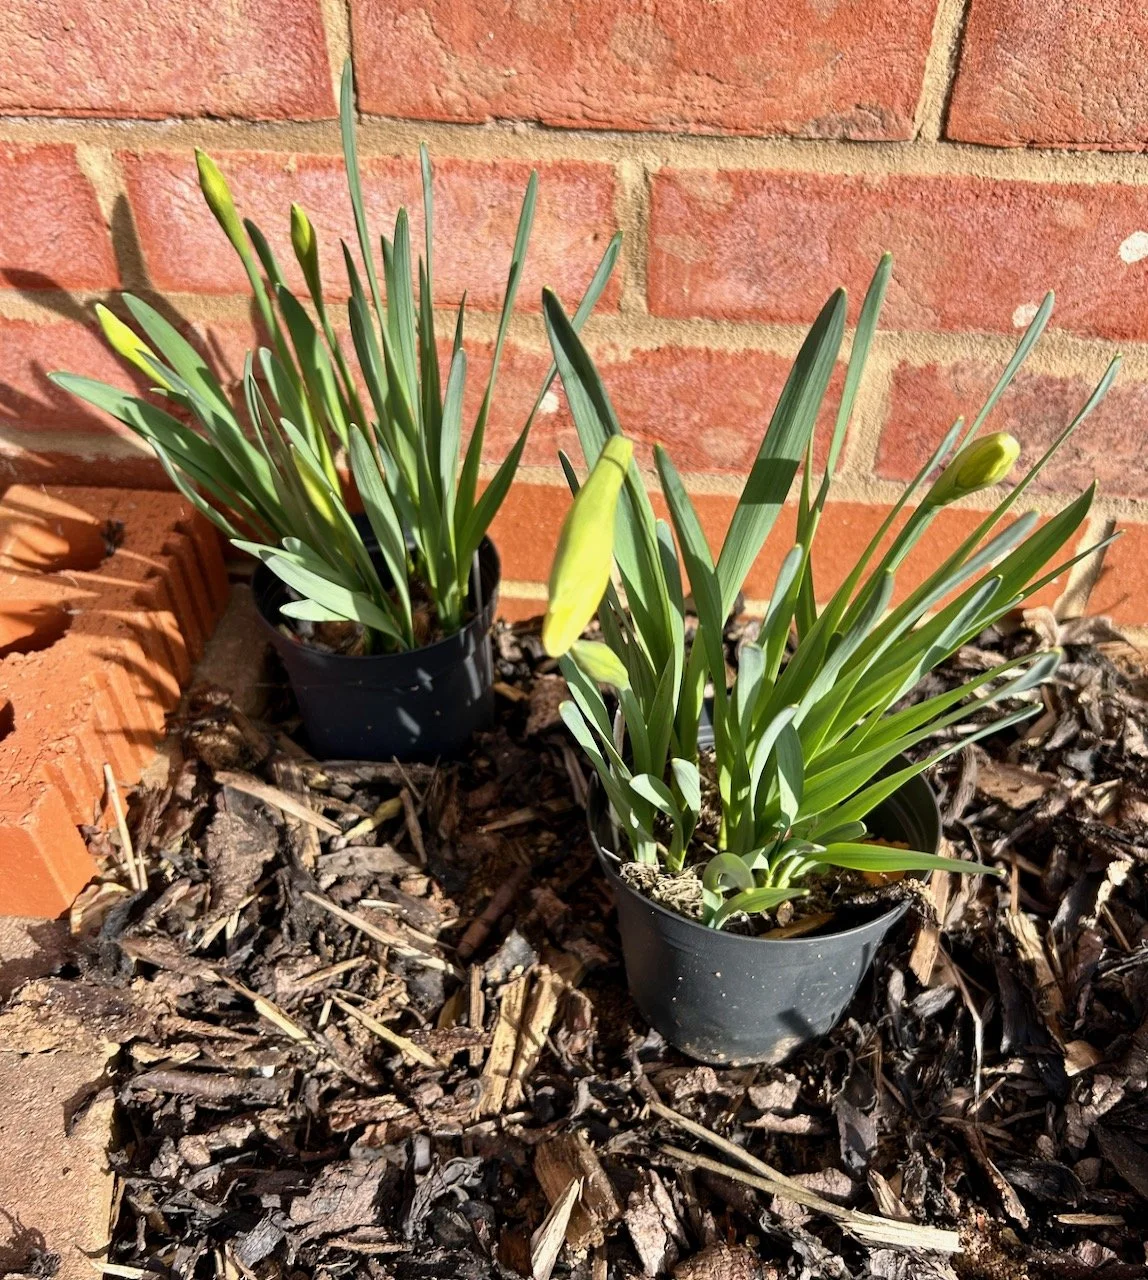
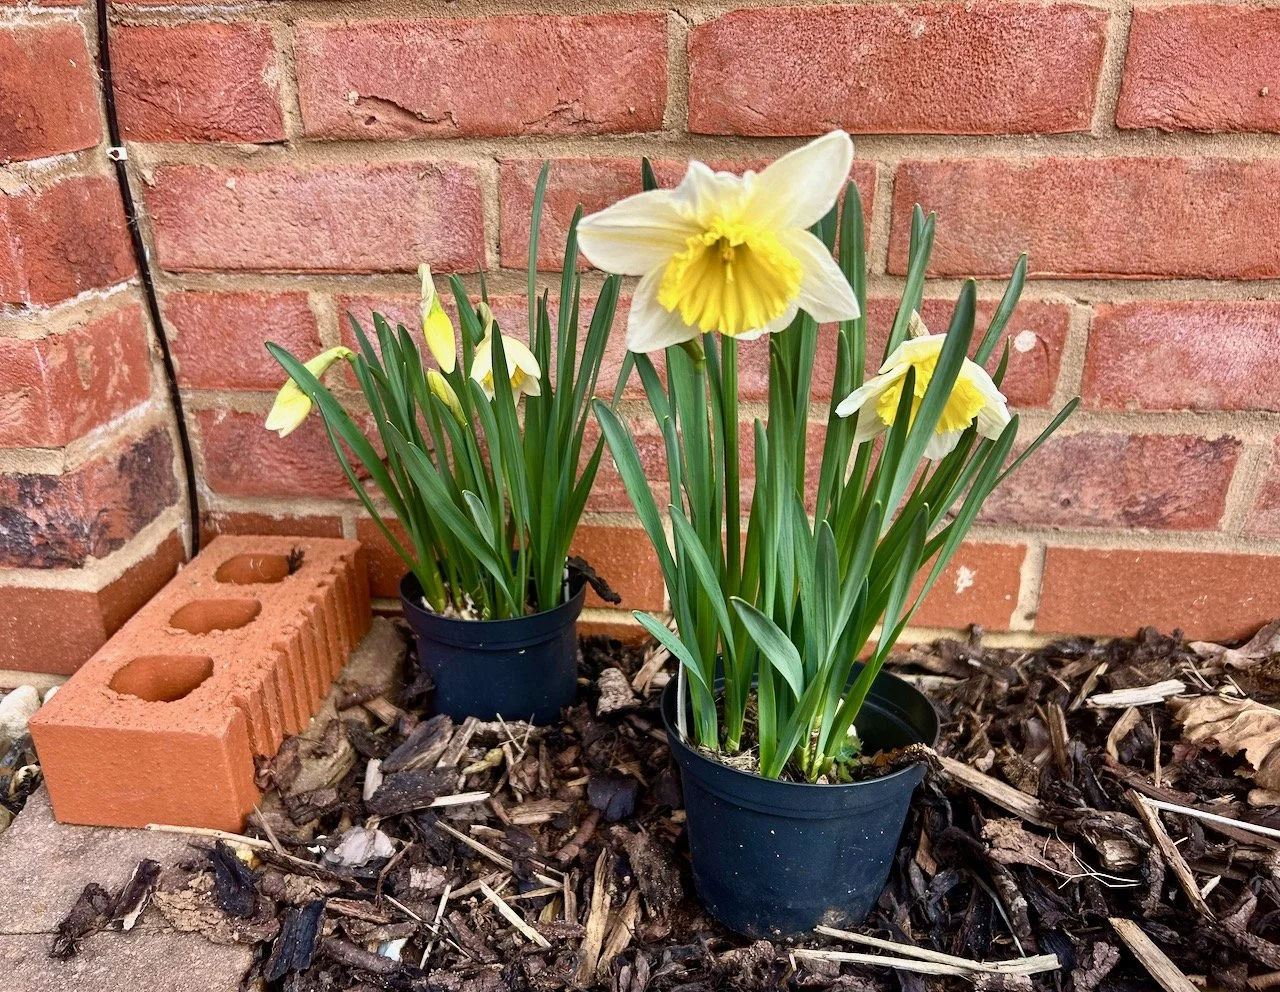
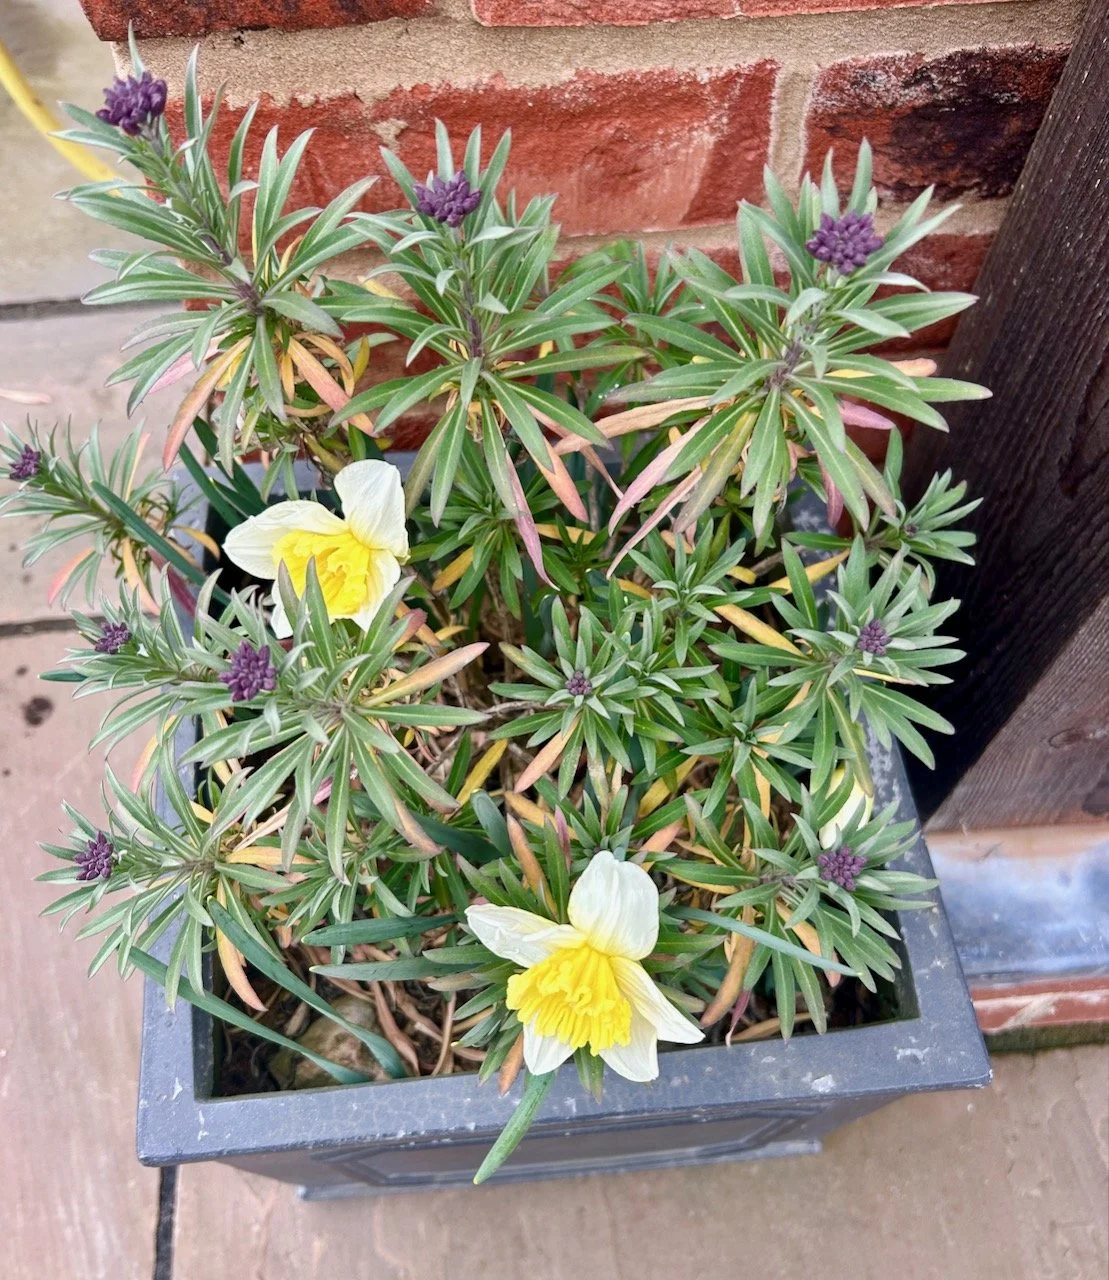
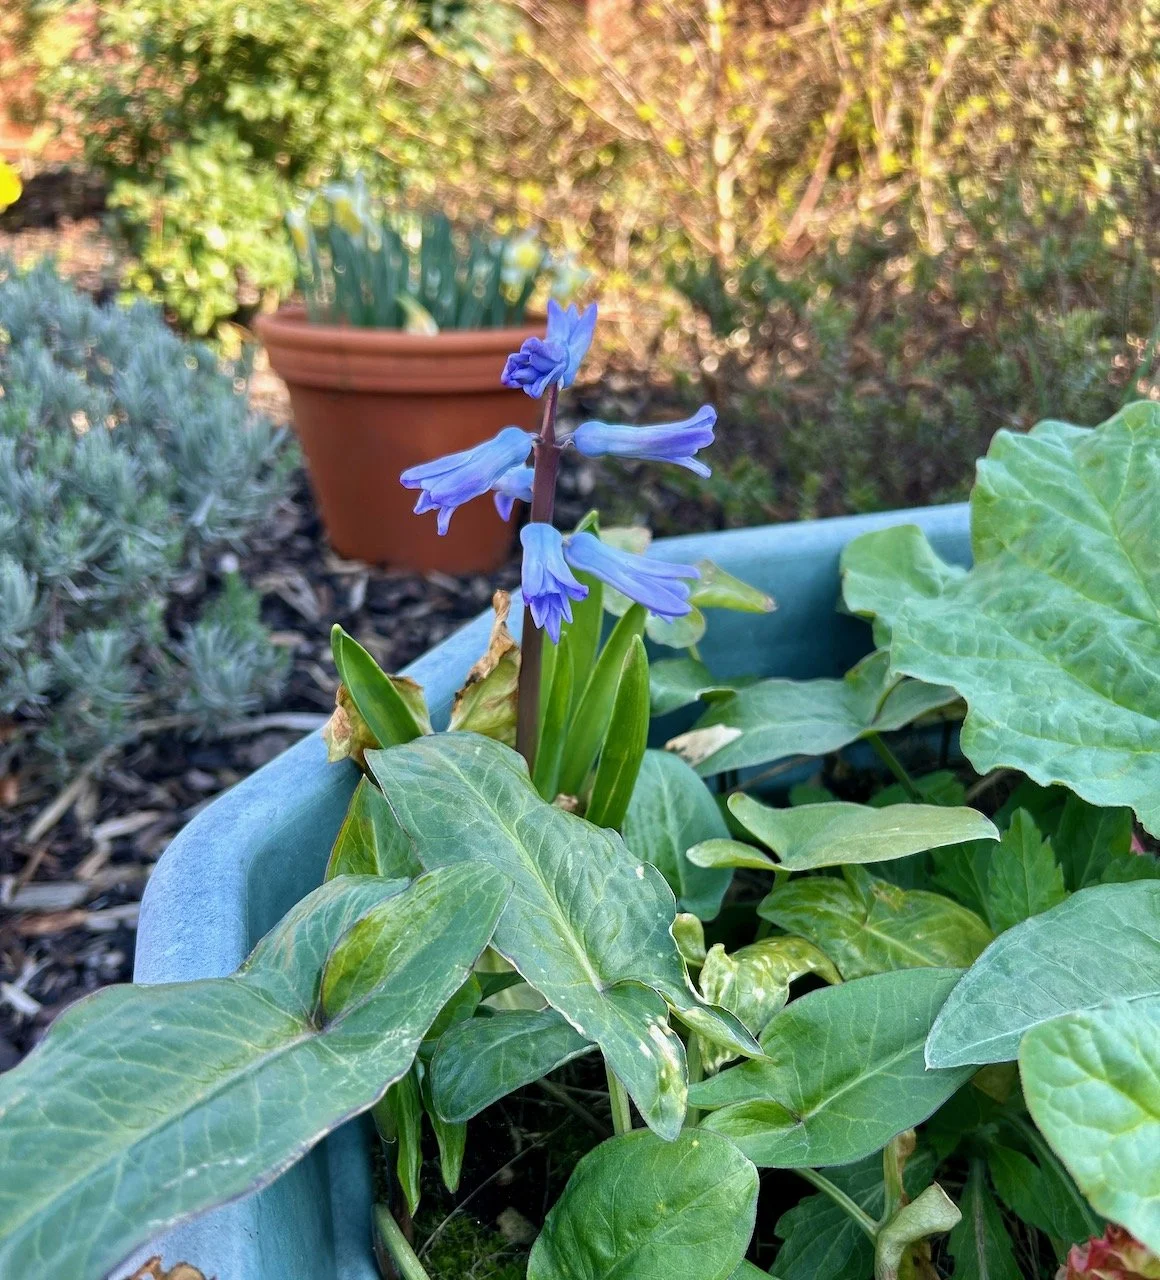
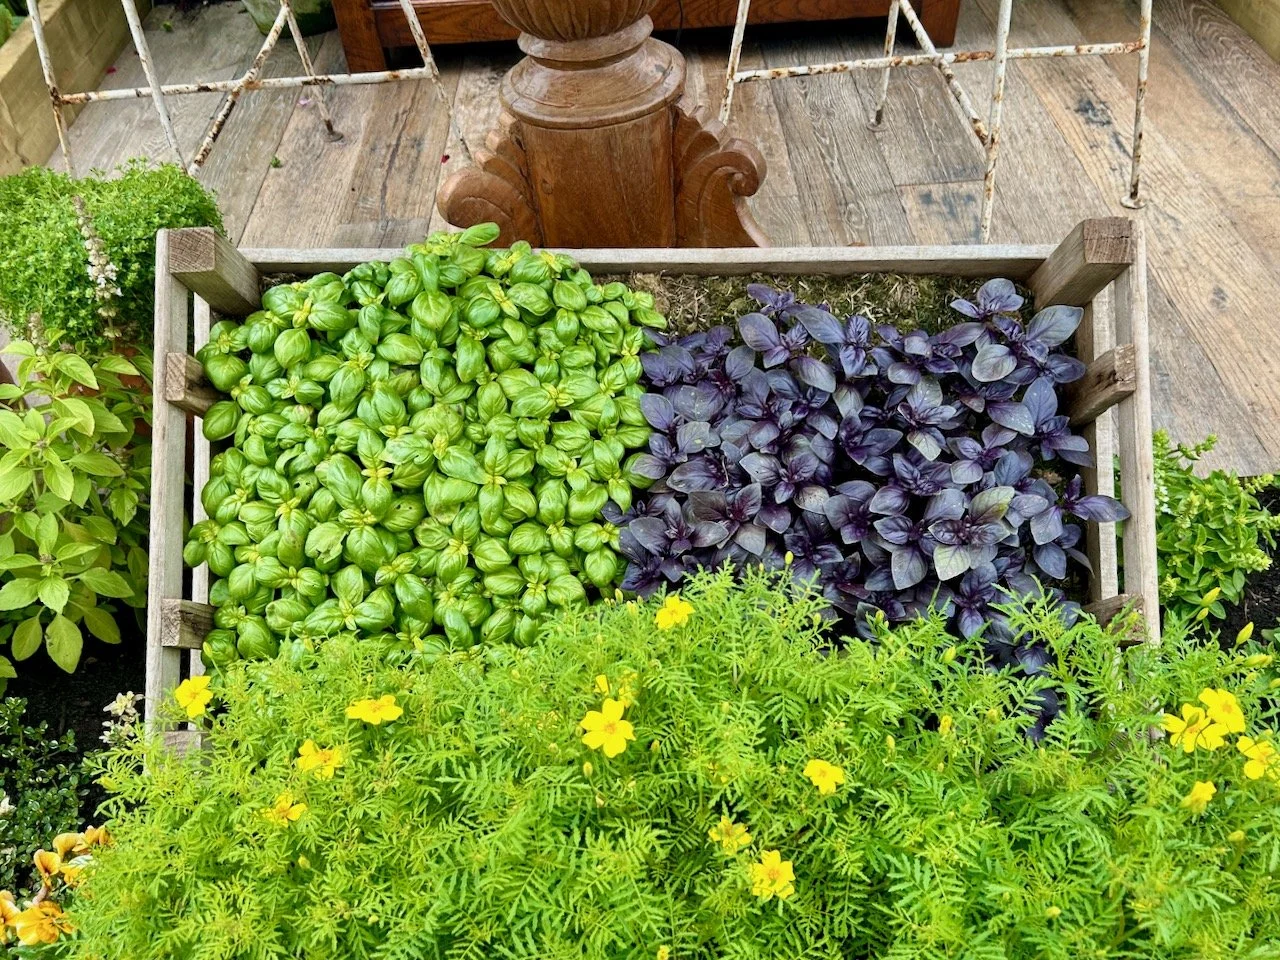
The spring bulbs were very much in evidence, both in the garden and throughout the interior and on the tables in the restaurants. The restaurant makes extensive use of their kitchen garden (as you’d expect) and that clearly is the ethos for the manor house and hotel too.
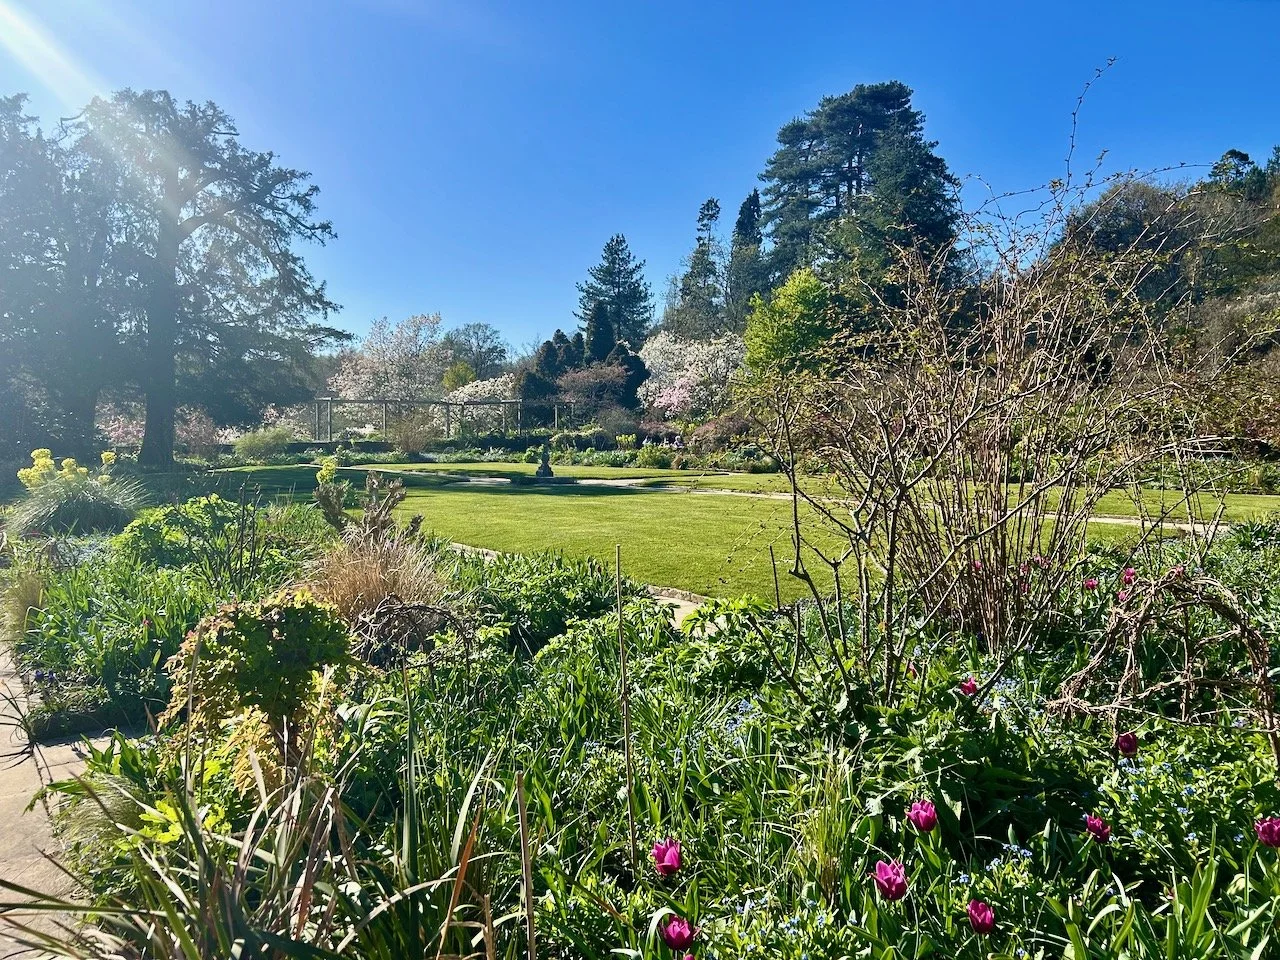
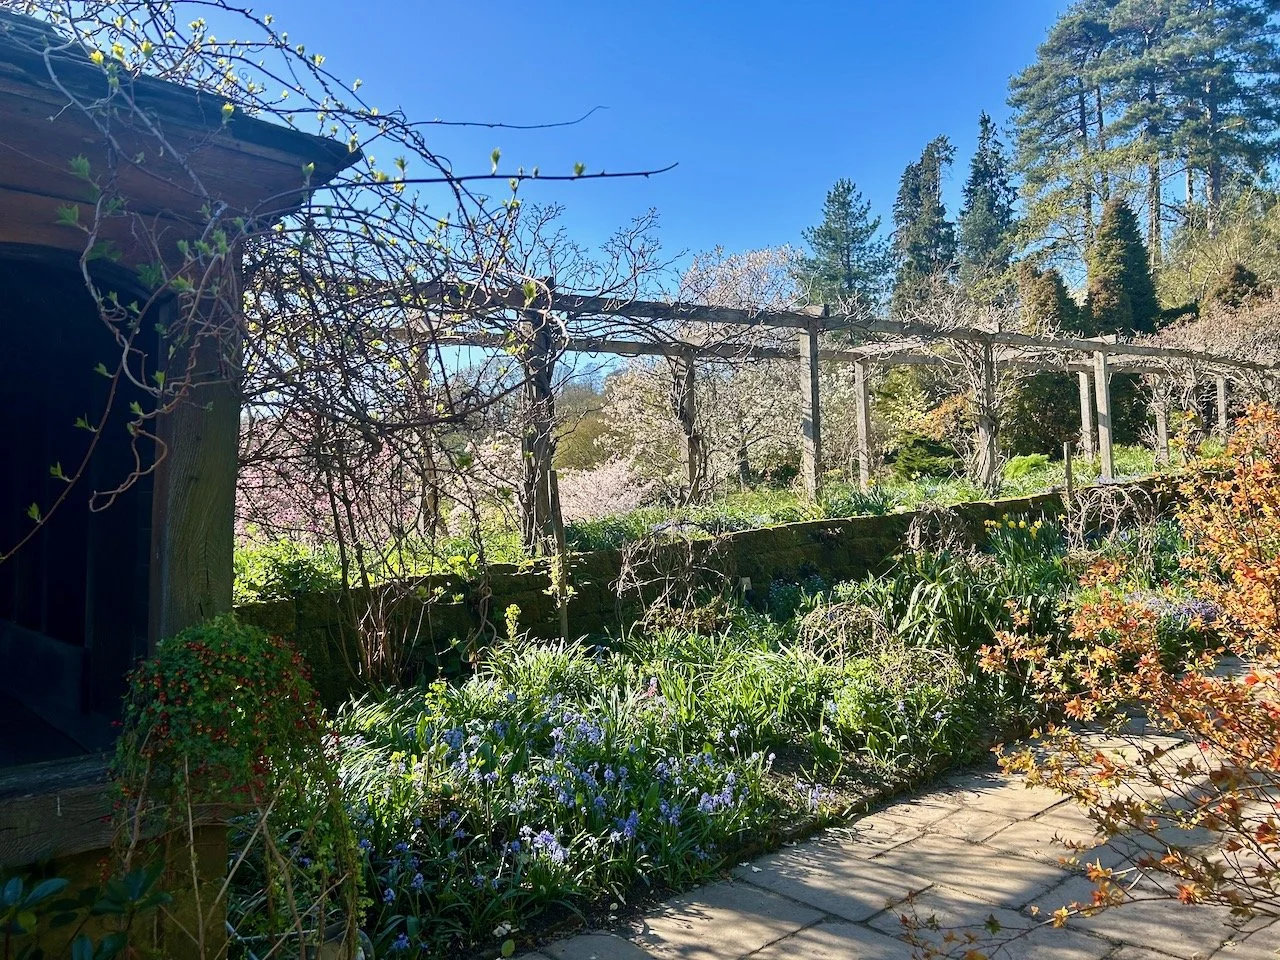
While I’d walked through these gardens before, it was the first time I’ve really spent any time here and for them to be the main focus of my post here. I explored new-to-me paths, all the time my route bringing me closer to the blossom-laden trees.
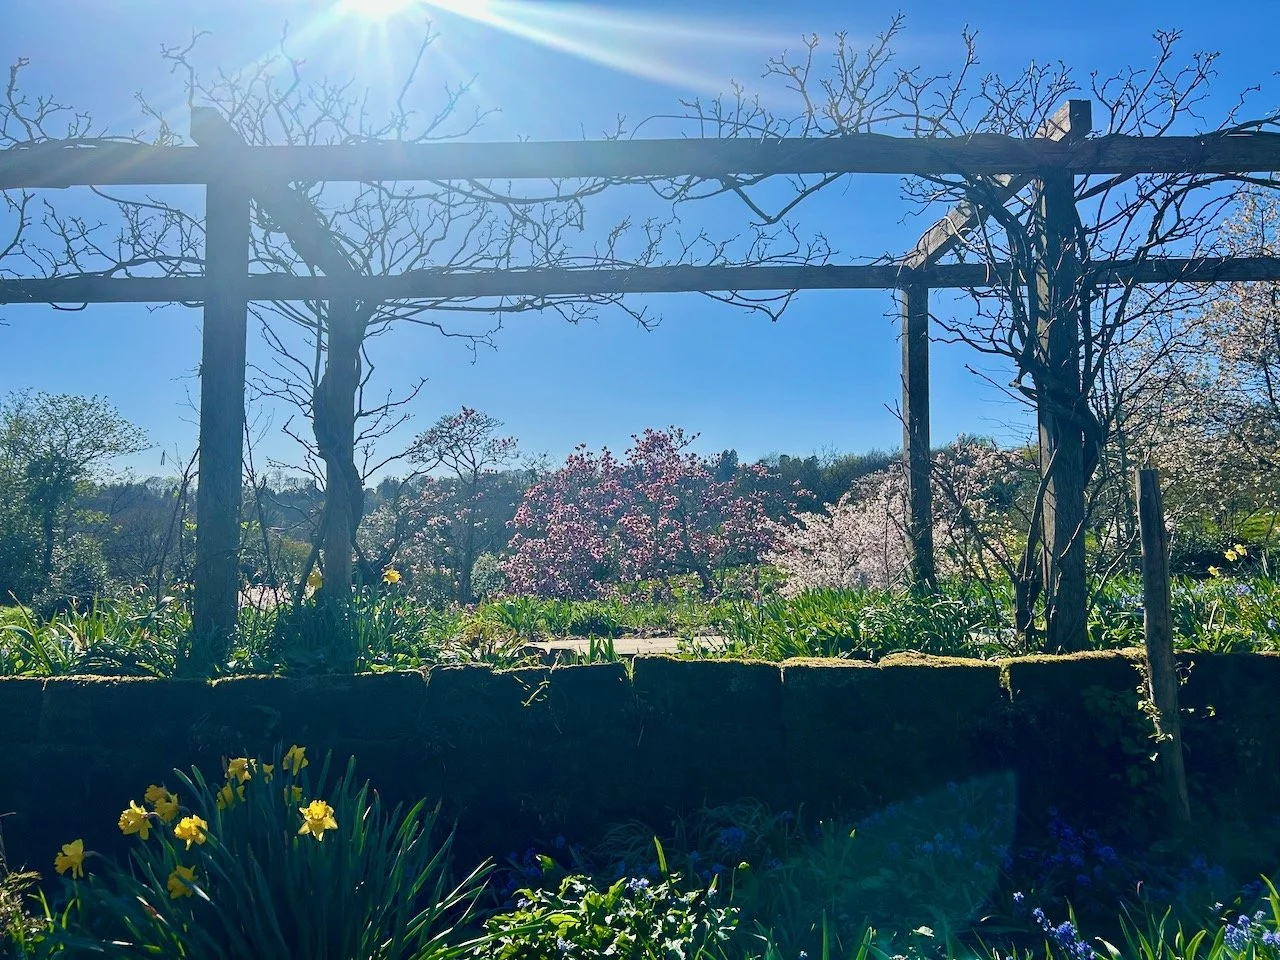
And it was worth it.

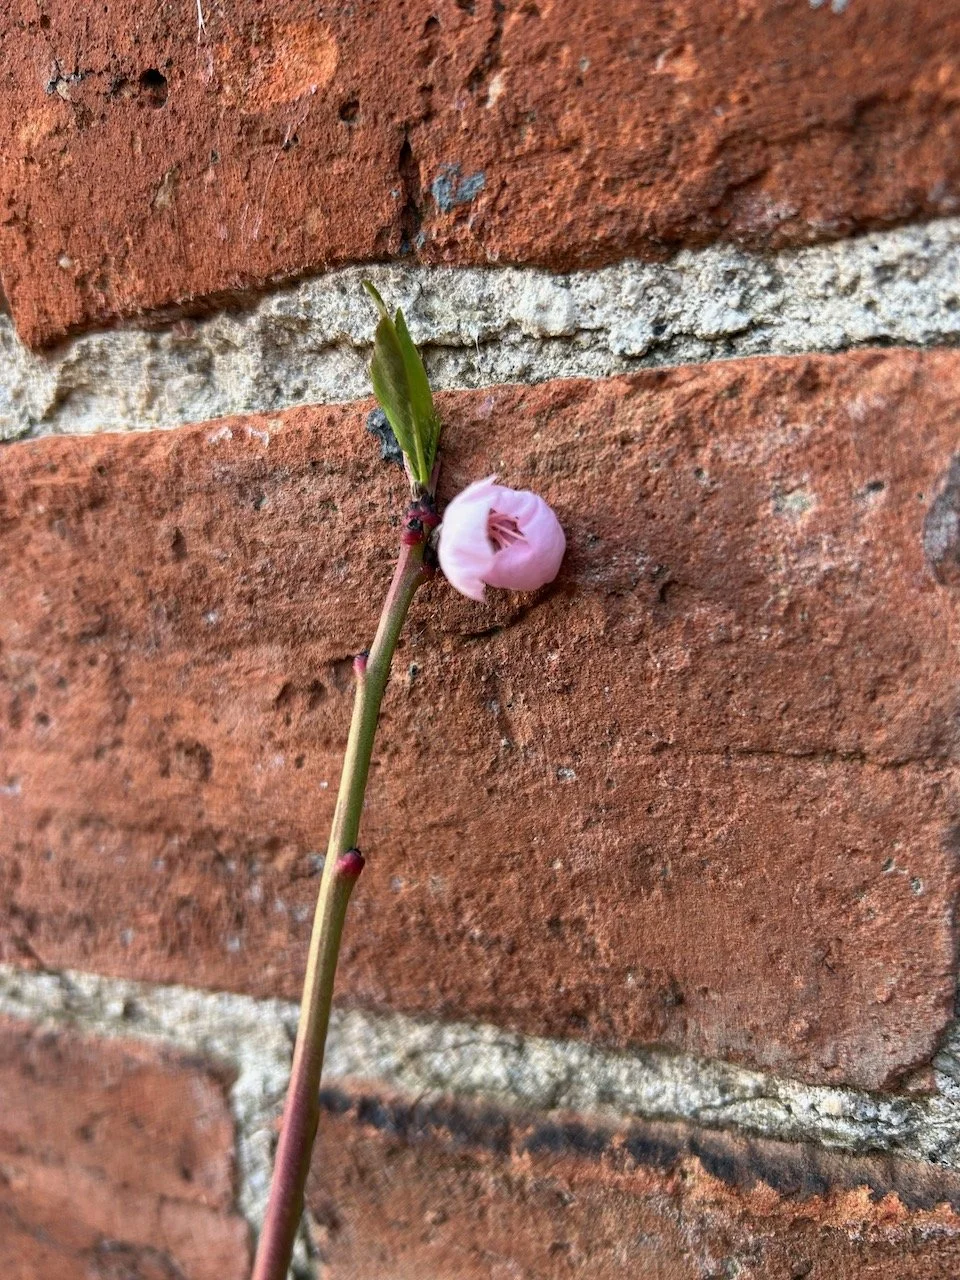
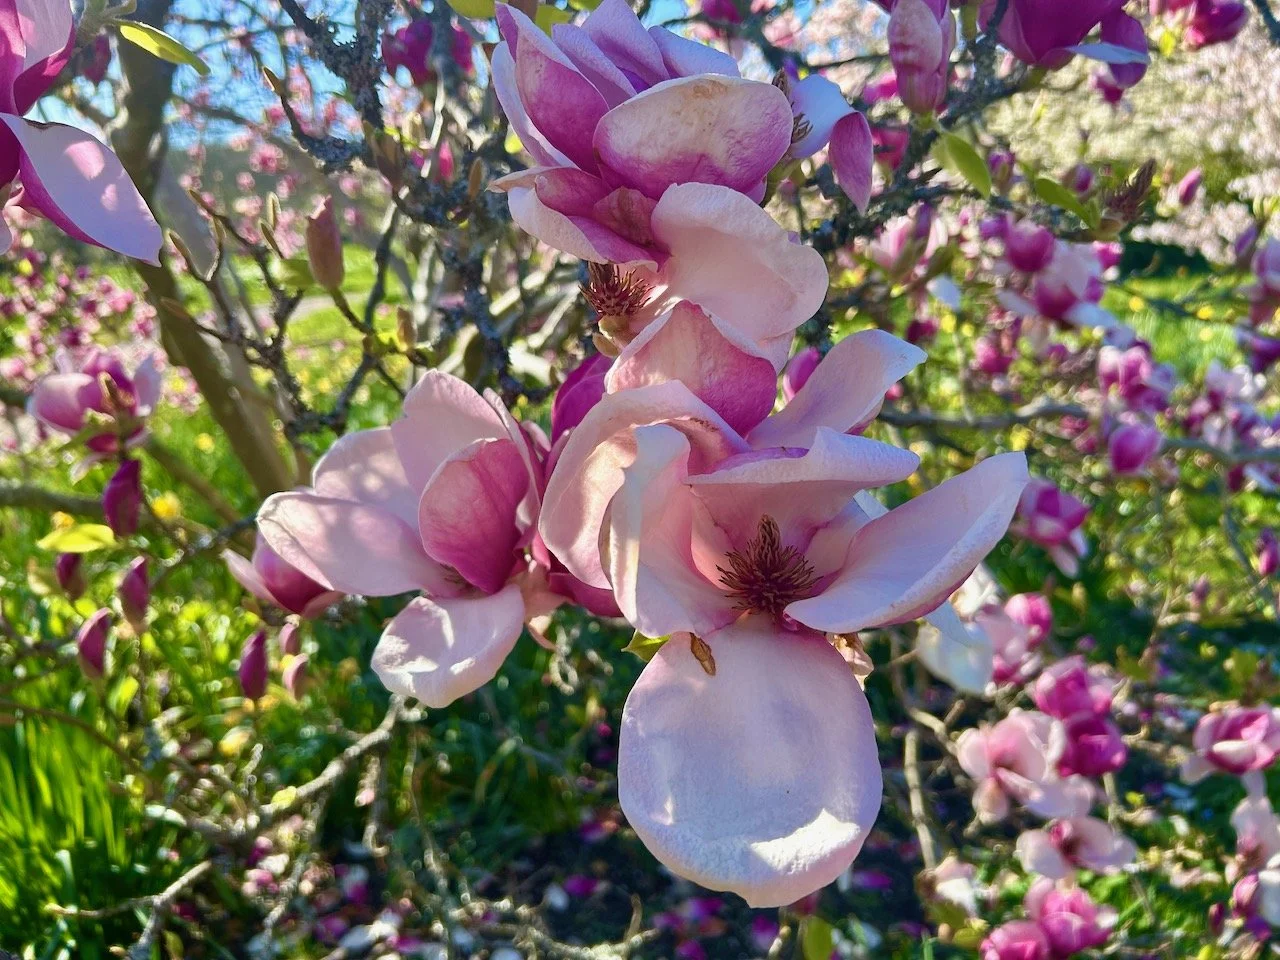
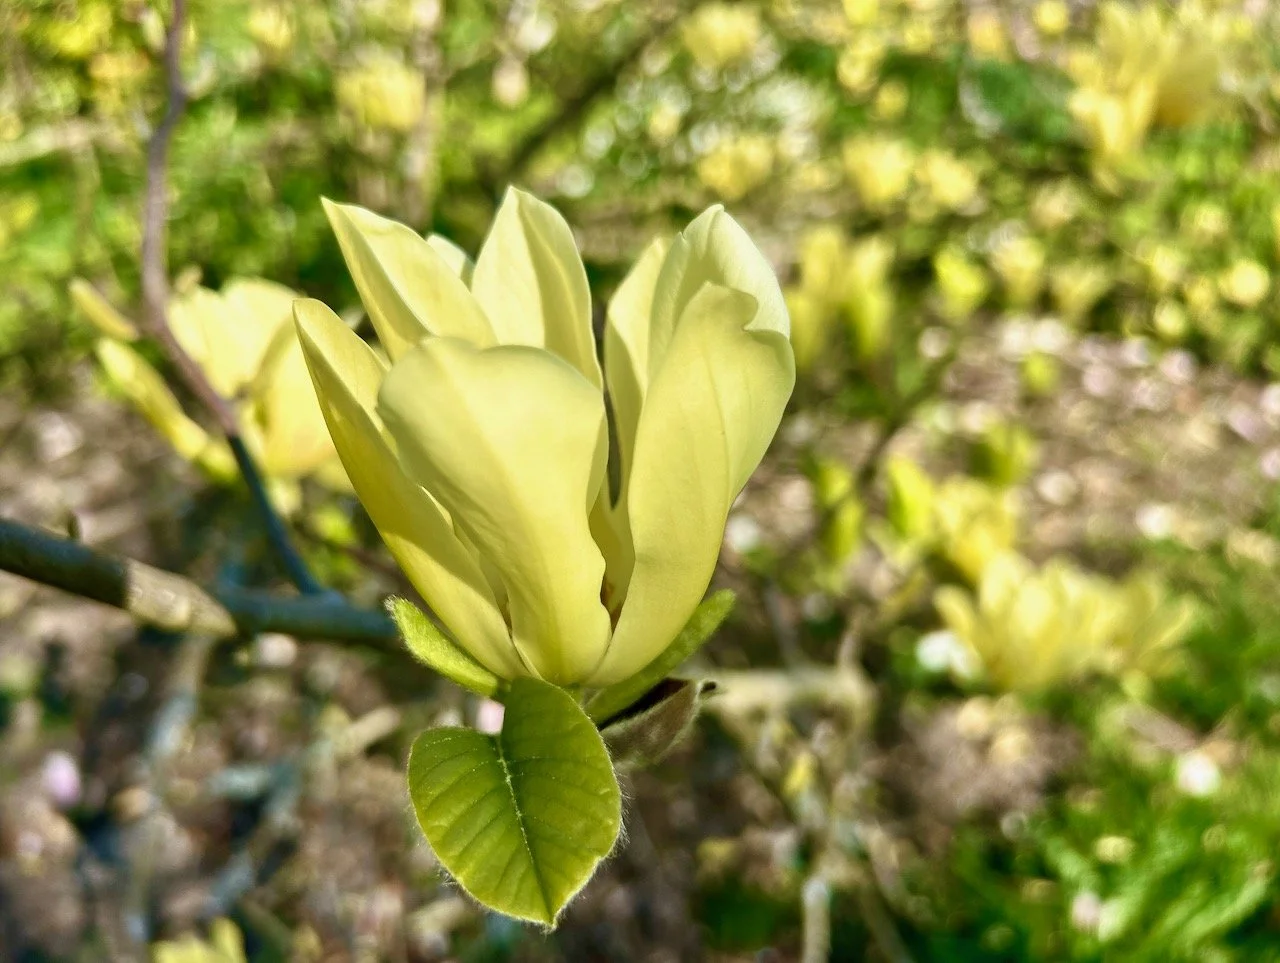
Not only was there plenty of blossom, there were magnolias of every colour.

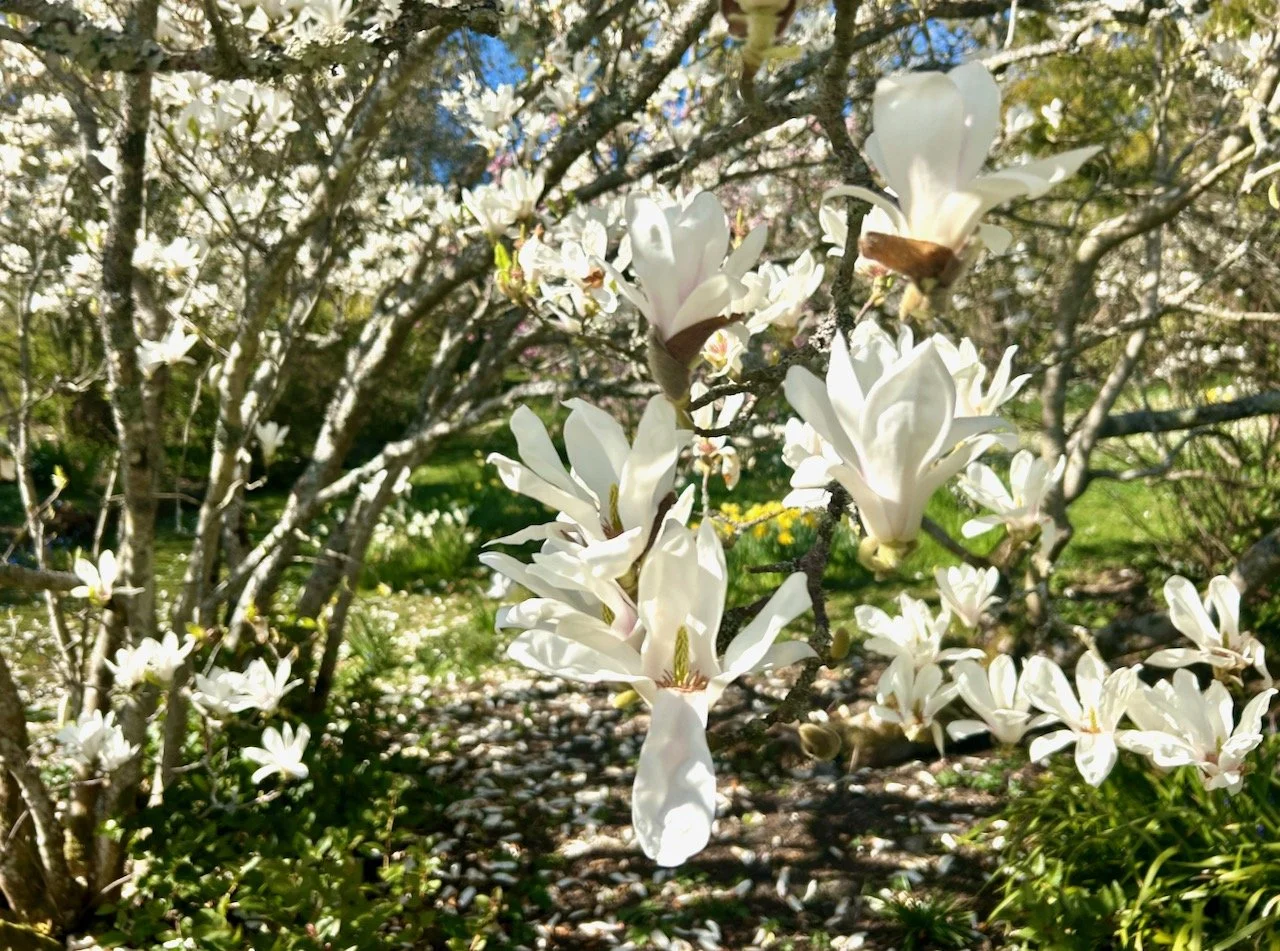
And the scent. Just fantastic.

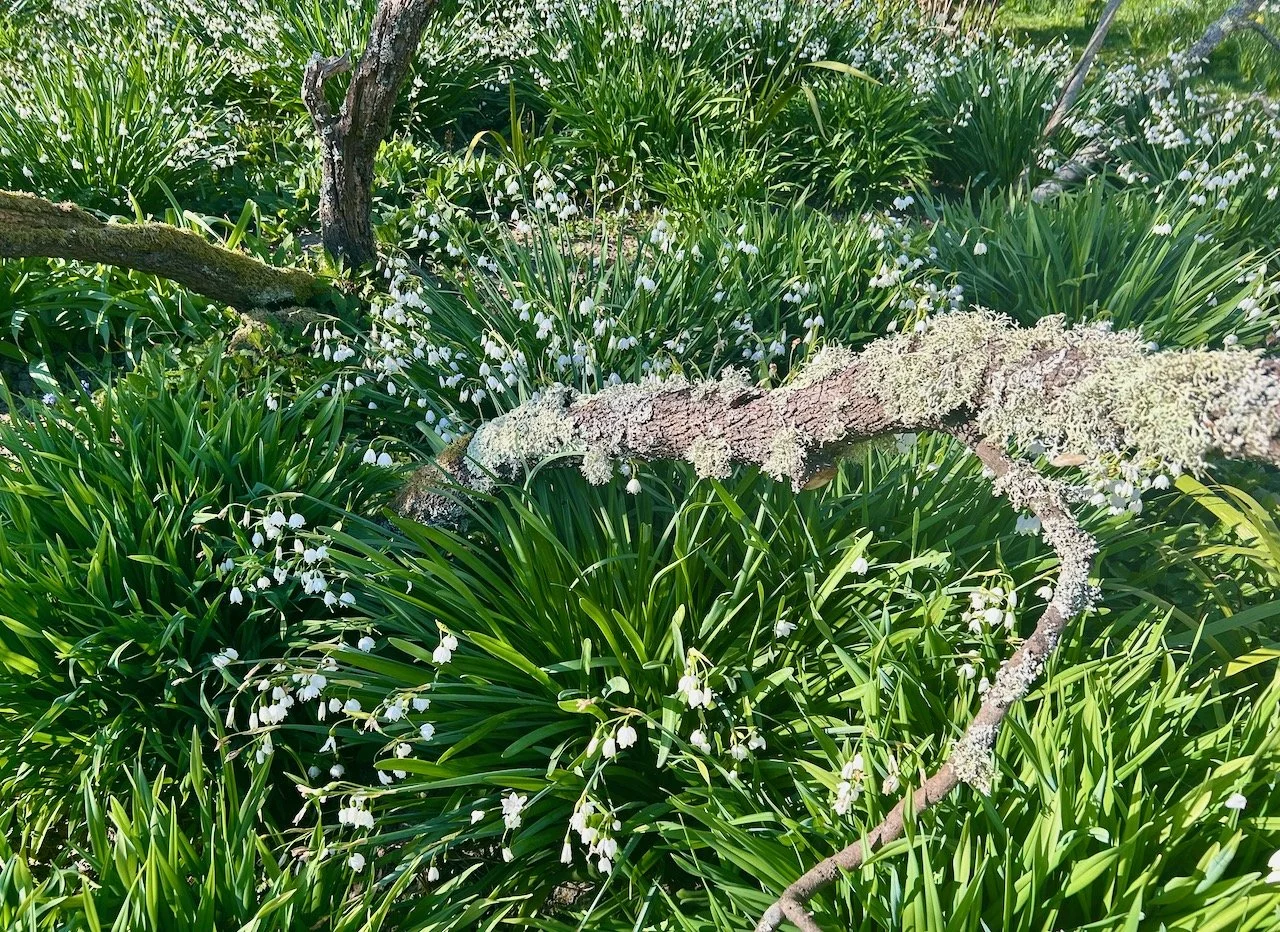
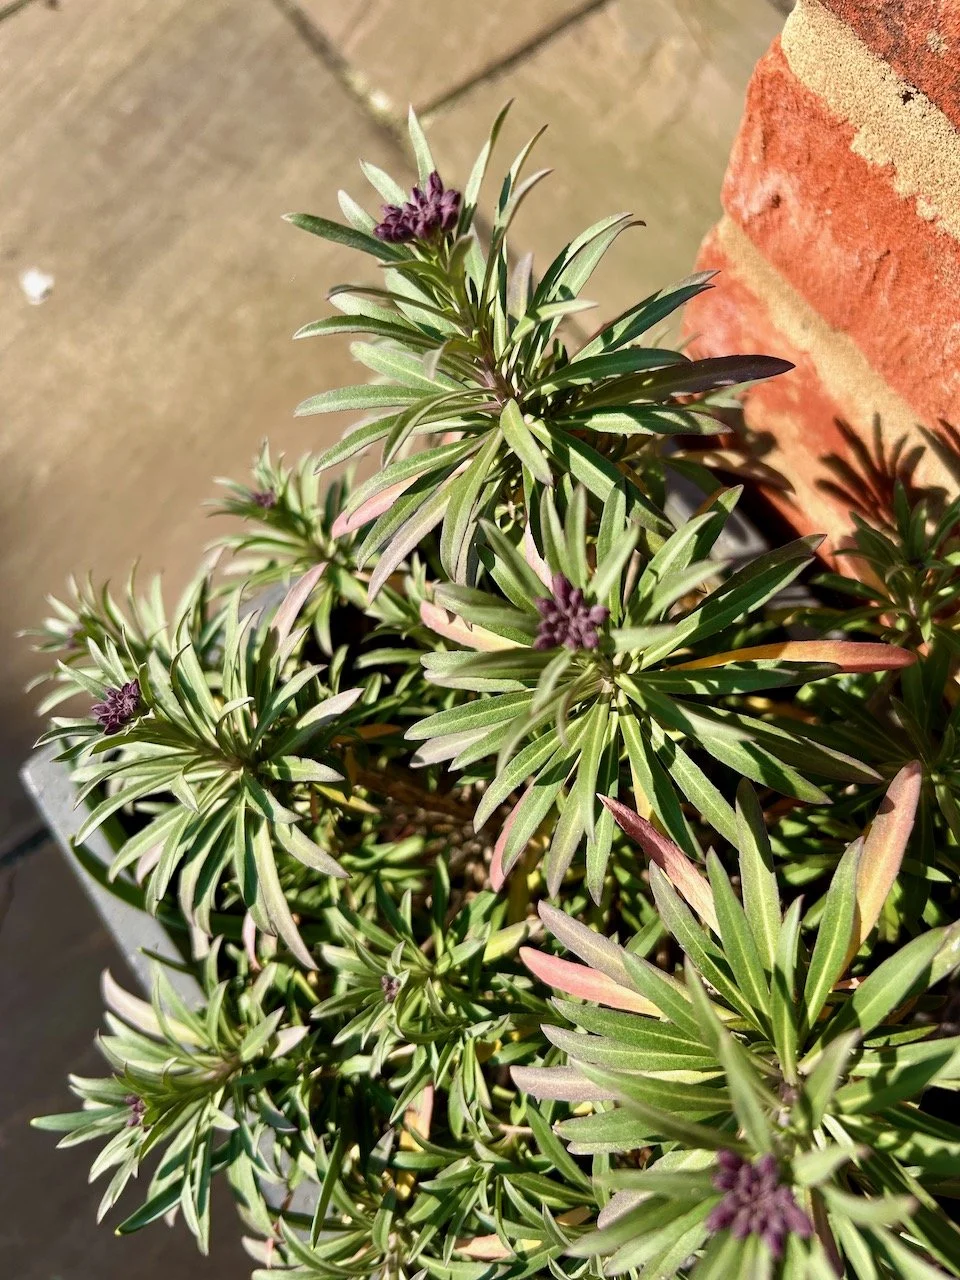
The lichen also caught my eye - no change there then! - but also look, the giant snowdrops were still flowering too. Definitely a joyous overload of spring bulbs and flowers, and absolutely gorgeous.