


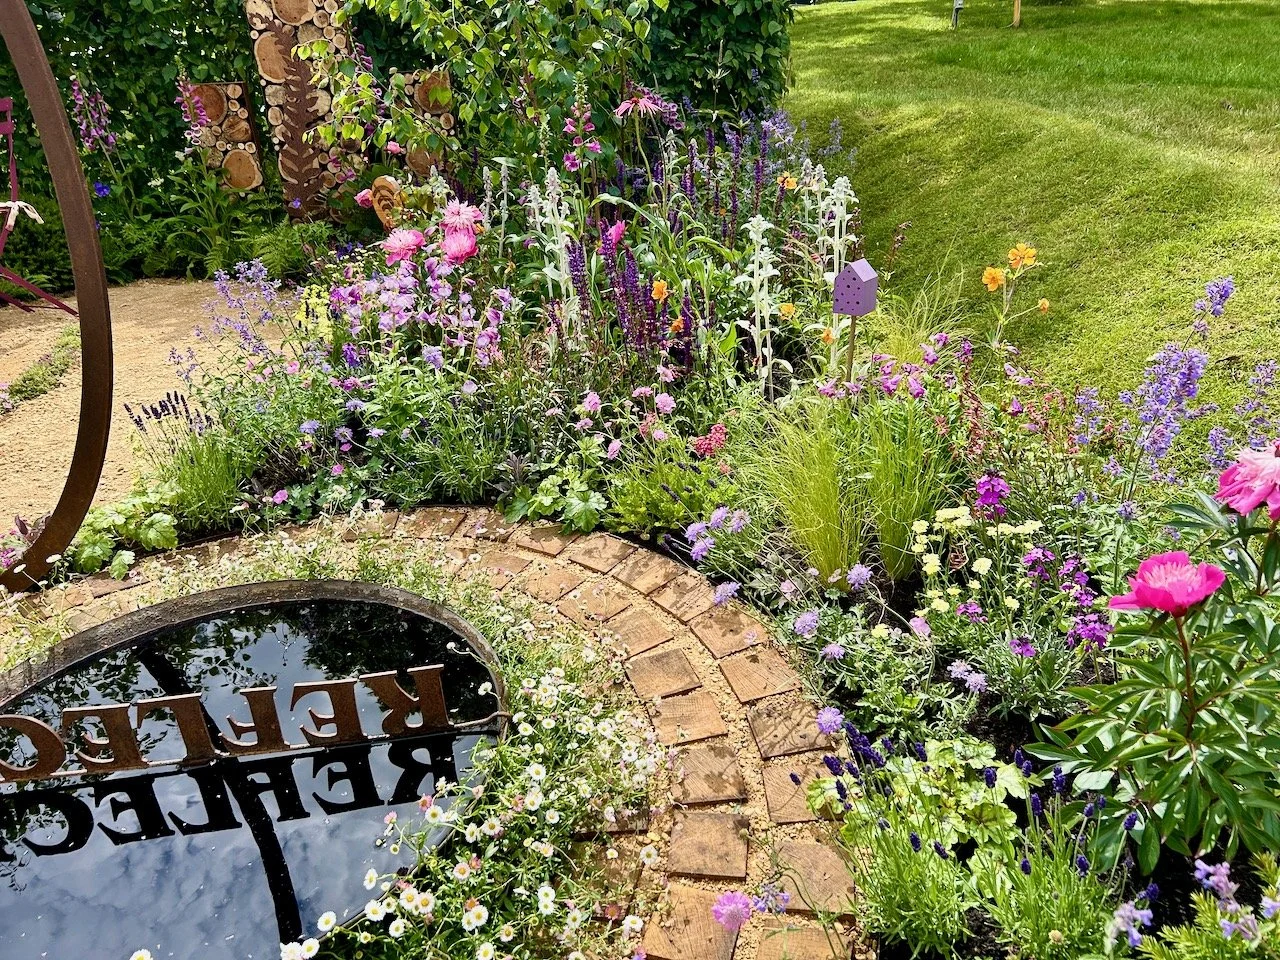


At Gardener’s World Live last year one of the things I was keen to look at, apart from all the show gardens and beautiful borders, was greenhouses. We don’t have one here yet, and I’m missing it - pottering about at the greenhouse staging in the garage is ok, but the garage isn’t ideal for germinating seeds, and I really could do with a light, sheltered space for some of our plants to over winter to give them the best chance.
Not too big, not too small
I don’t want a huge greenhouse, though I’ve already doubled the size I first thought of! And I do want to integrate it into our overall garden design.
In our previous house I had the standard 6x8 aluminium Rhino greenhouse, and it was great - but as I’ve said my plans for this garden are a bit smaller. Originally I was looking at a 2x4 patio greenhouse, but given that it needs to be two foot from any boundary for maintenance, that seemed a lot of space for not very much greenhouse at all.
And so I upscaled my tentative plans to a 6x4 - but also preferring the black frame, rather than aluminium. Of course, all of this is just plans at the moment - though I did come dangerously close to buying one of the show greenhouses in one of the sales, but in the end I resisted as I wanted our plans to be a bit more developed first.
Testing it out for size
So would a 6x4 greenhouse work in our space? Well as there’s nothing else really in our garden, apart from the trellis around the heat pump and the small crab apple tree, the answer is clearly a yes, But would it work how I wanted it too, where I envisaged it - or would it dominate the garden?
I decided to try it out using bamboo canes and string. So this visualisation spent a fortnight or so in place in our garden last summer, and no doubt any neighbours that spotted it clearly must have thought we’d lost the plot.
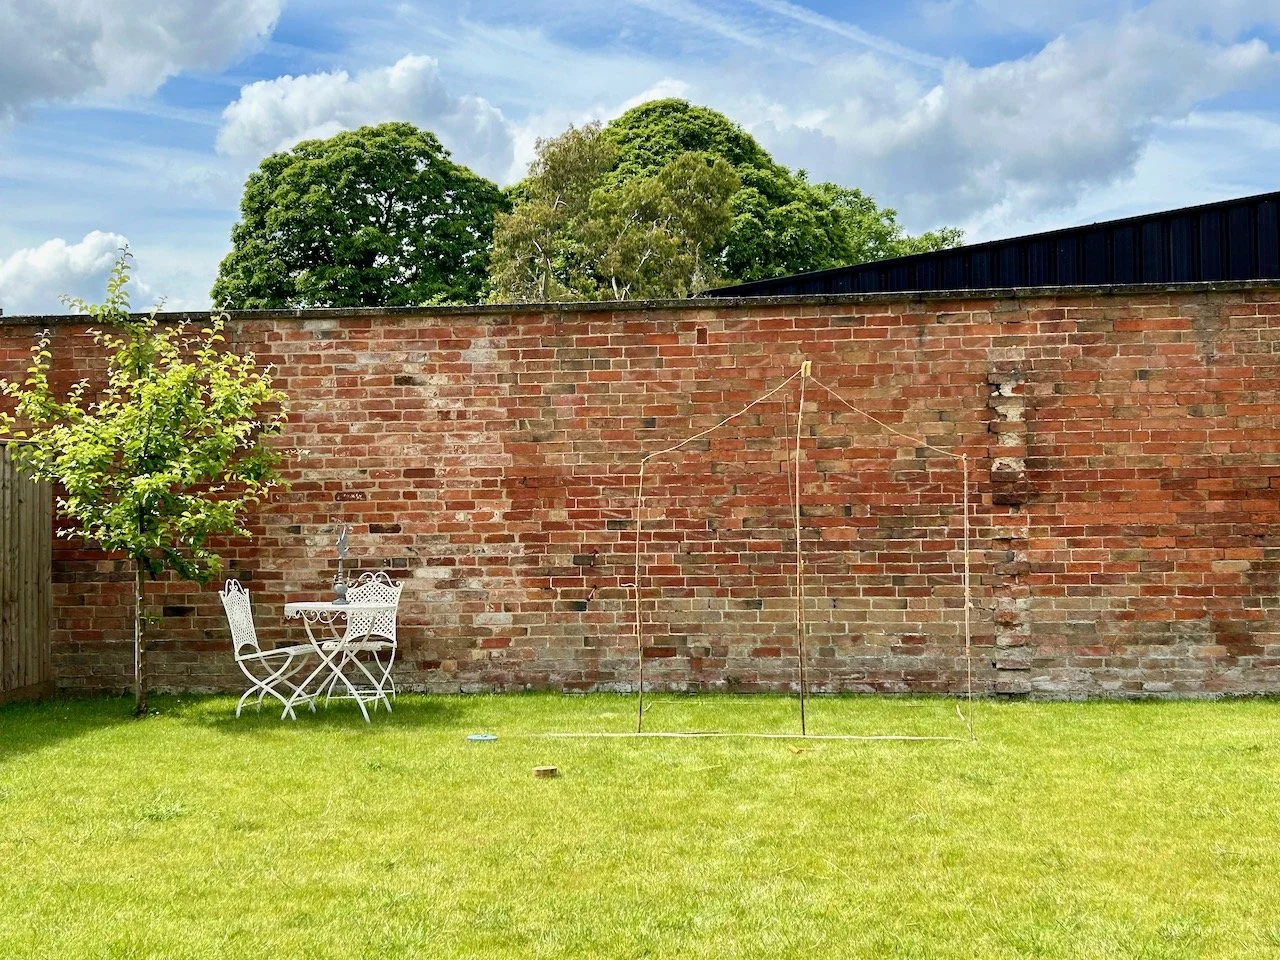
But it worked, well visually of course, not as an actual greenhouse!
It was easy (and easier than it looks in the photo) to see its footprint, how high it would come up the wall, how far it would come into the garden - and most importantly, how dominant it would be from the house. Putting it directly opposite our lounge windows might not seem the most obvious positioning, but I’m hoping it will also help keep it tidy and on the prettier side. I fully intend to retain the greenhouse staging in the garage for the real functional work, and use the greenhouse for what it does best - providing a sheltered growing space.
Of course I spent the time that it was up, looking out of every window to check what it looked like from that vantage point - and I was happy, until of course my temporary structure collapsed a little. But by then it had done its job and confirmed this is the size and location for me.
Now only if the rest of planning the garden was that easy - but more on that another day!