Getting to know my new Bernina

I’d been thinking about buying a new sewing machine on and off for a few months, and in January I bit the bullet and went for a test drive of two machines on my hit list. Unknowingly I’d chosen the same brand of machine that both my mum and SIL have, so I’m in good company!

I was between two models, one in the 4 series and one in the 5 series - with the price of the 4 series being my preference until I saw them in action. The 4 series looked small, and smaller than I’d imagined and while the BSR (Bernina Stitch Regulator) could be added as an accessory, it was included like it was with the 5 series model. Truthfully, I knew I’d probably never get that as an add on so if I was interested (or intrigued) by that then I knew it made more sense for me to opt for the slightly larger and pricier 5 series model.

I was definitely glad I went to my local stockist (in a new to me part of Nottingham) to see them both in action though, and didn’t just buy online - and if you’re thinking of buying or replacing your sewing machine, I’d recommend you go along and see them in person too.

My new machine arrived at the end of January and I spent time unpacking it and noting everything that was in the box, not always sure what it was or what it was for at that point. But over the next few days I spent some time familiarising myself with the basics, and a little bit more, feeling immensely proud I’d managed to write (part of) my name using it - my name is long, and by the third letter I was keen to move on to try something else, so implemented a short name, often adopted by my young nieces, which I’ve not used for many years!

Trying some appliqué

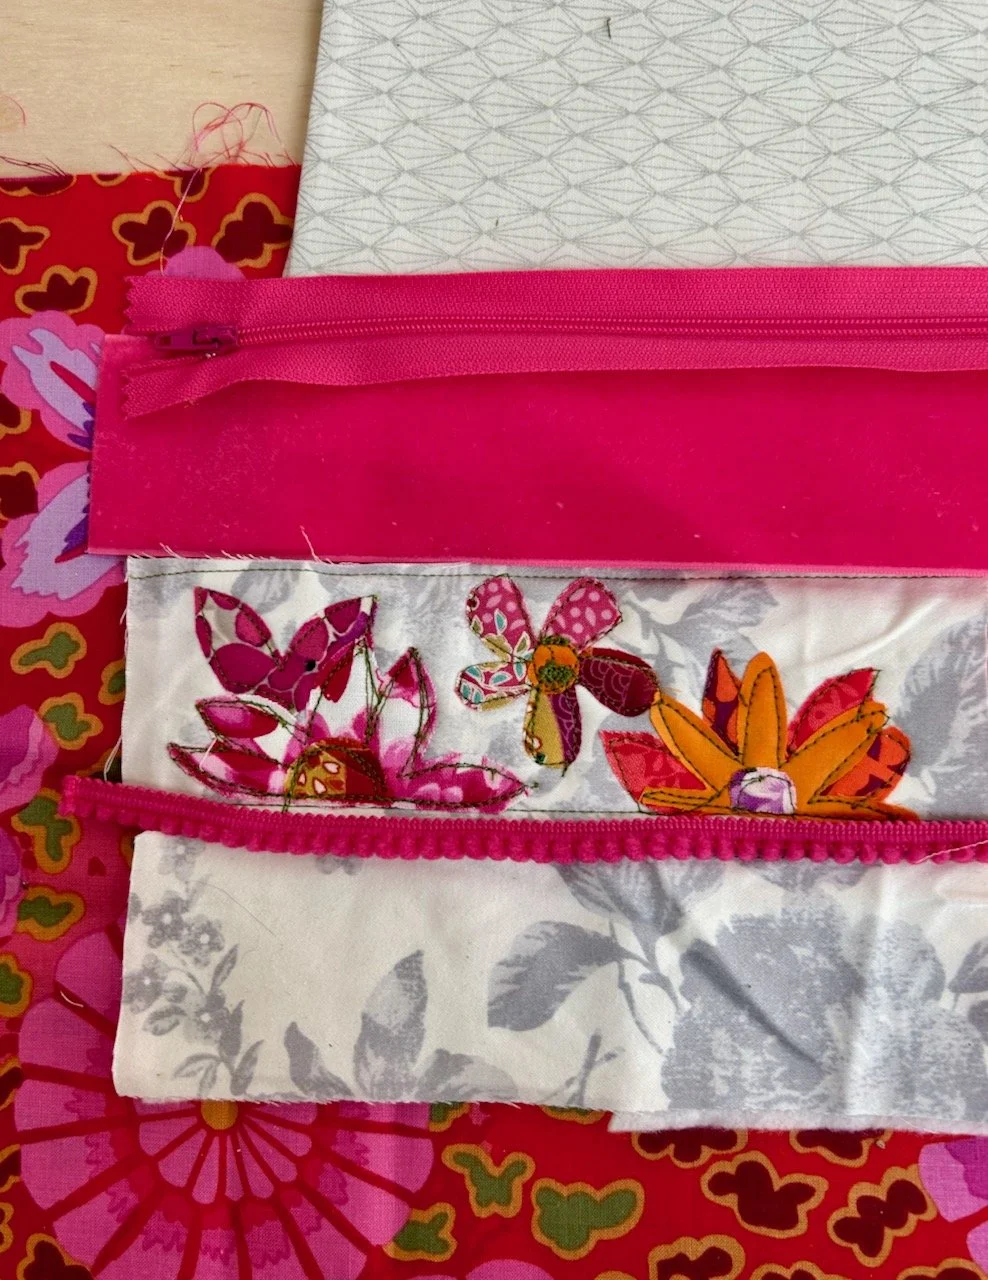
After trying several stitches I was keen to try more, and so with my floral fancy project in mind I thought I should try some appliqué. I’d saved the larger off cuts from the workshop with good reason, so it turned out. As I dug through them I realised I could quickly knock up some test backing the same thickness as my floral fancy.

With some tweaking I settled on this design, peeling off the Bondaweb and ironing them into place before adding a stitch outline. For this I didn’t change the foot, and with hindsight I should have - but you live and learn, and that’s what this was all about.

There are elements of this that I’m really pleased with, and there are also some learning points, such as it would have been better to iron the petals and centres on as separate layers as that would have allowed me to follow the lines independently, especially on the orange flower on the right. And I also realised once I’d finished that the design looked better inverted - who knew.

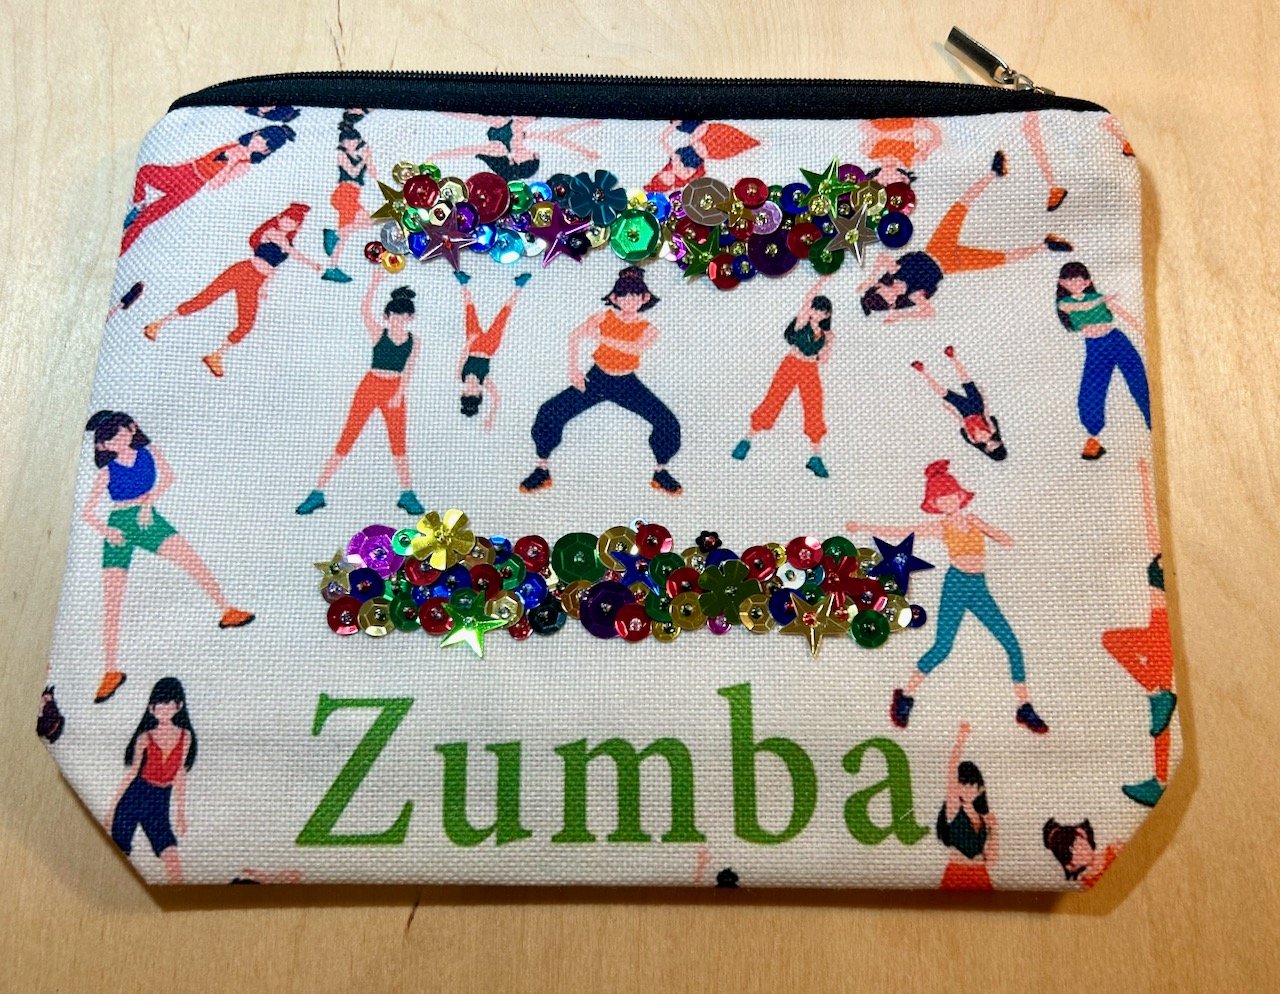
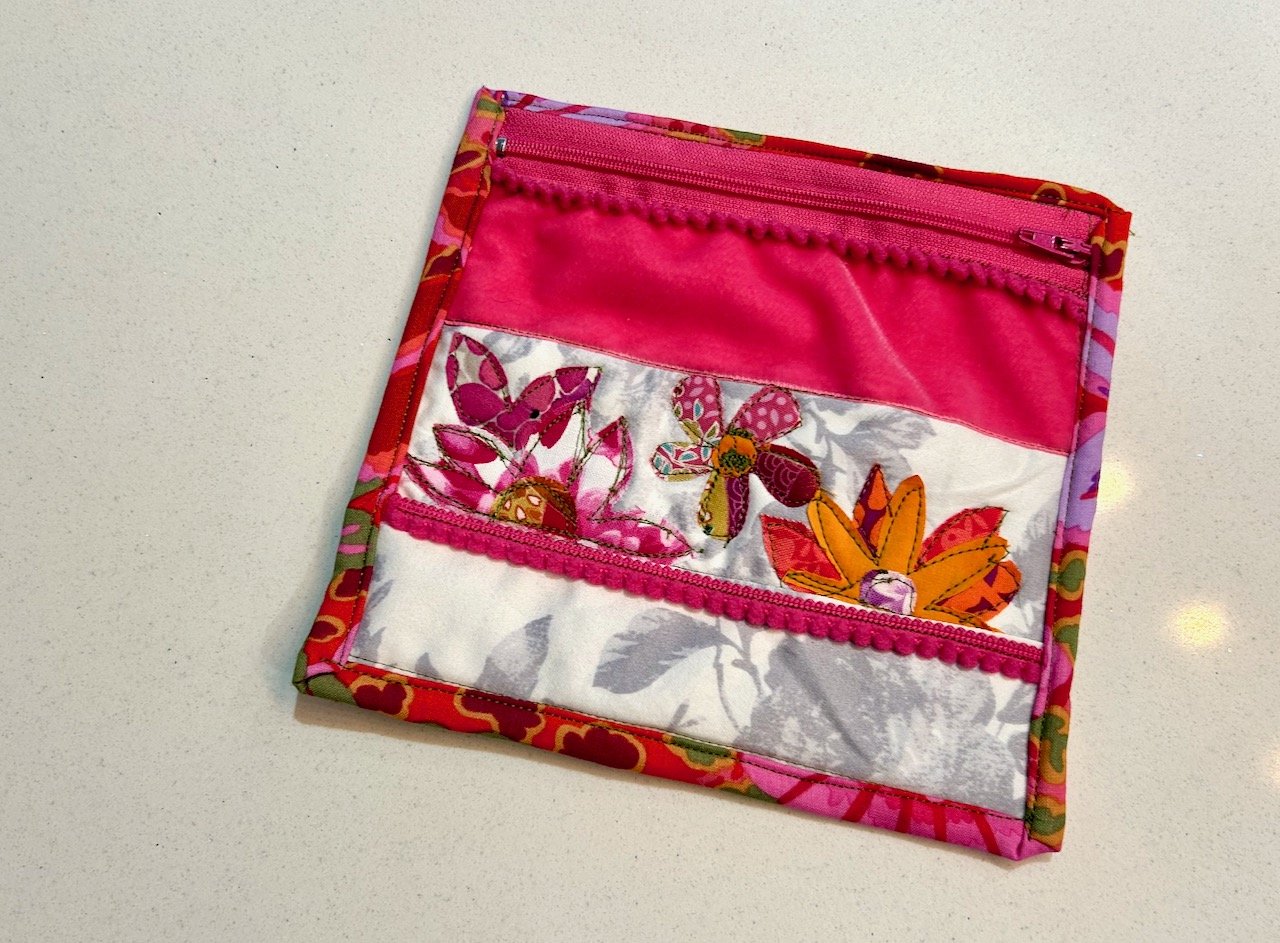
I was pretty sure that I had some material that matched both the colour of the flowers and the lighter background - and it wasn’t long before an idea formed, and yes that idea was a pouch. At this point though I had no idea what the question was, but I knew I needed this pouch (well wanted, rather than needed!).

And so, I made a new pouch - this one’s already in my jewellery box holding a rather large and chunky piece of costume jewellery which up until now was in a bit of bubble wrap. This, even though the velvet ribbon is a bit ruched, is a much better solution.

Trying some quilting

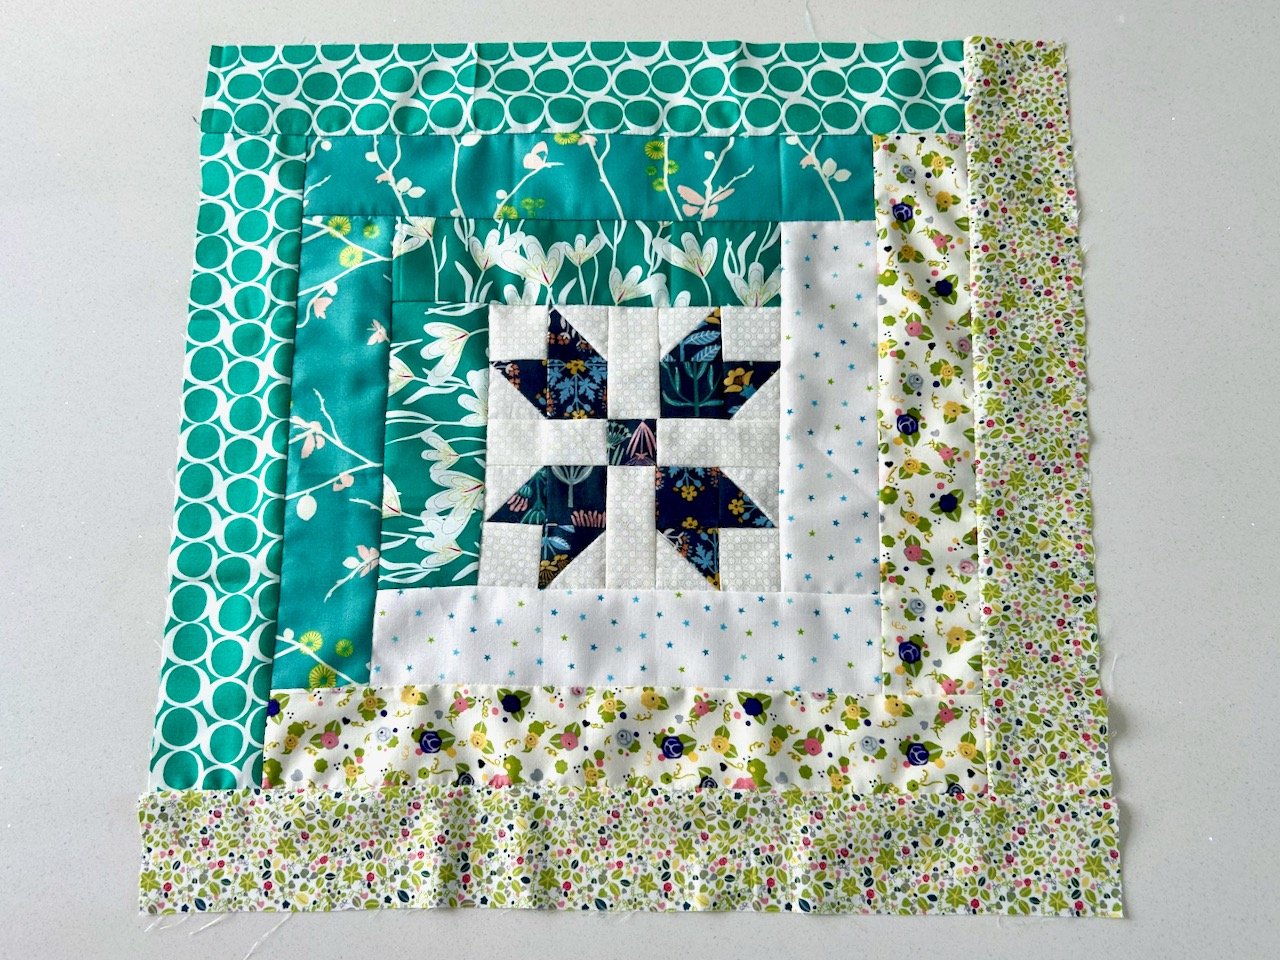
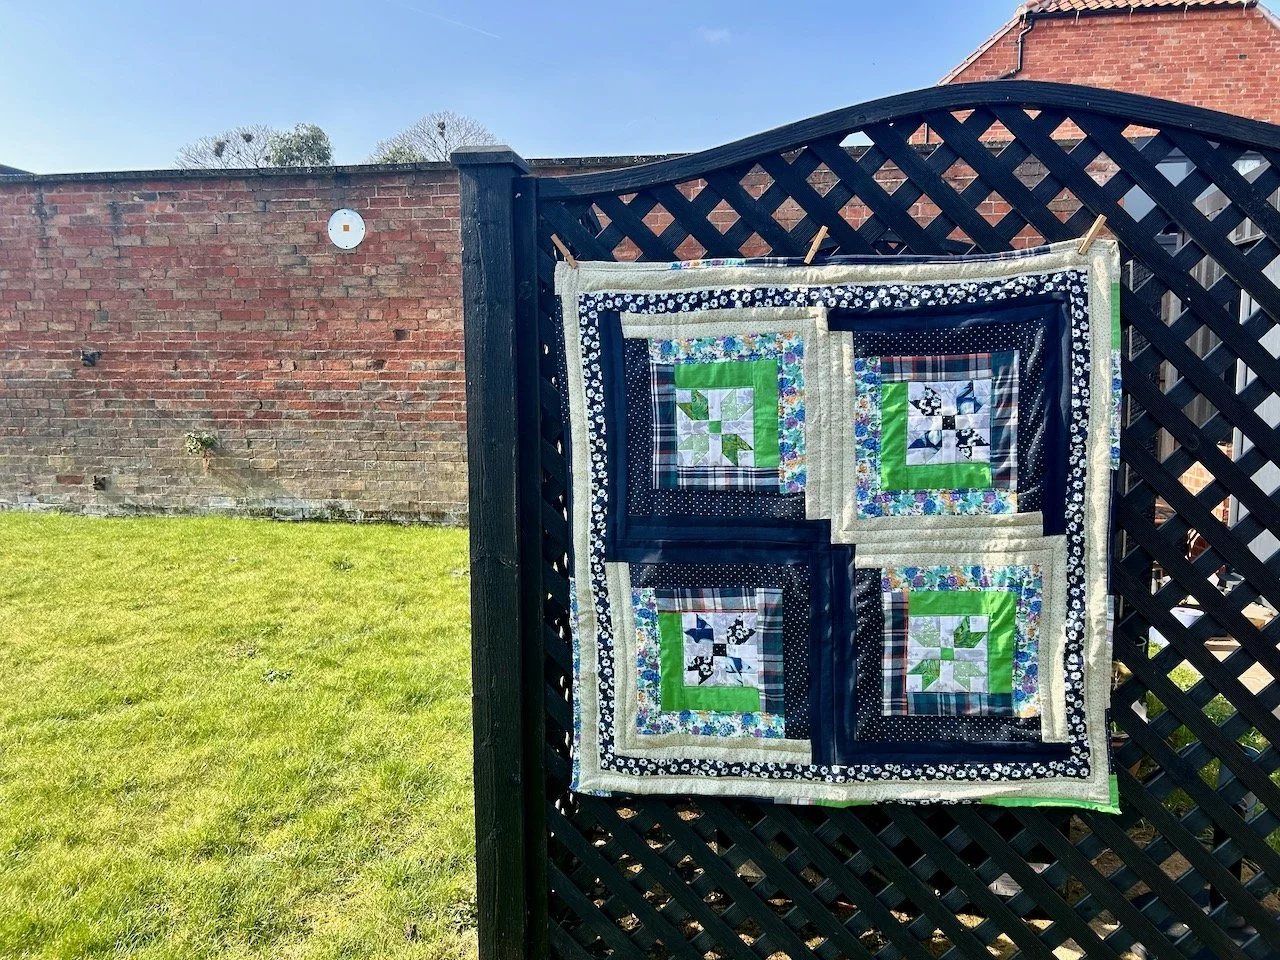
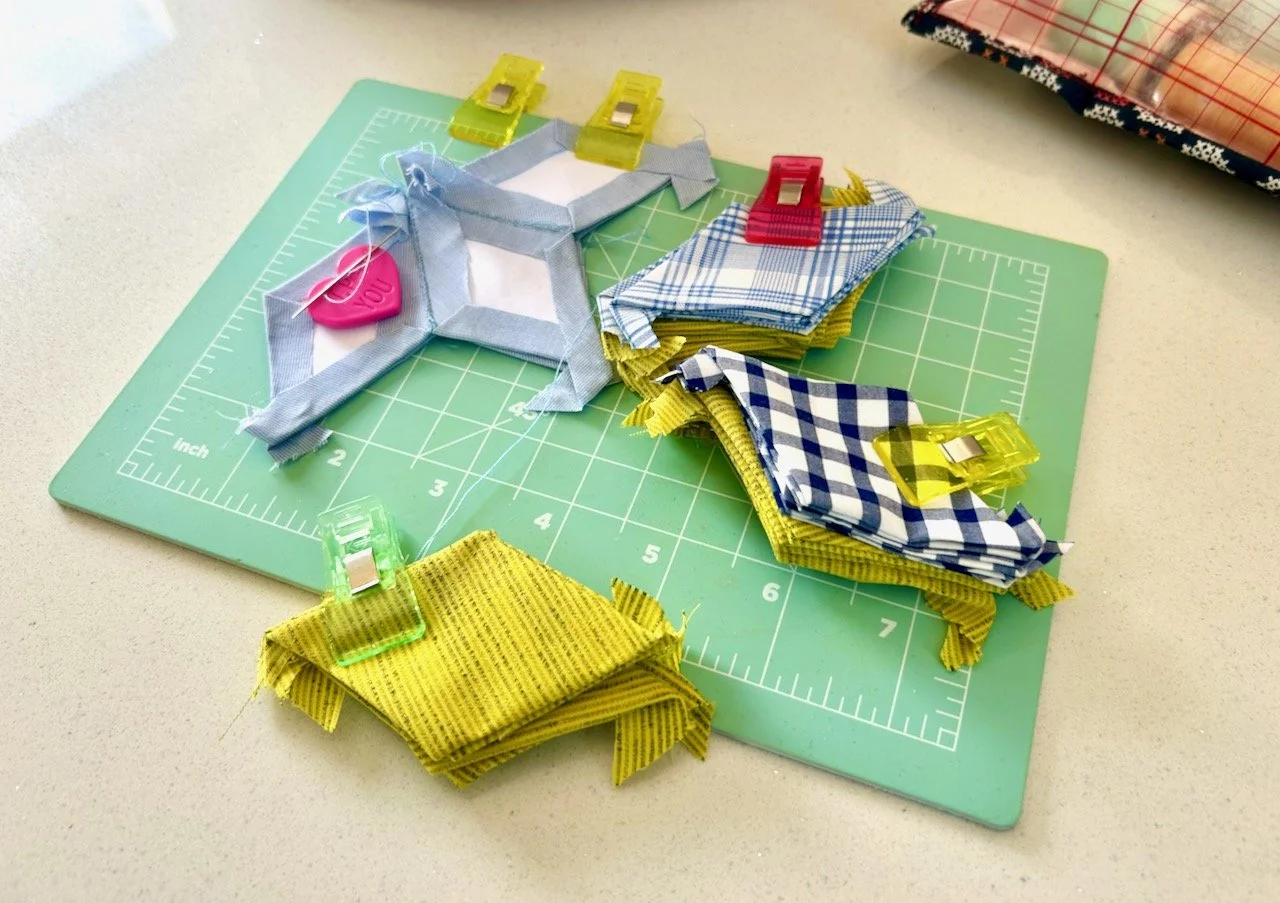
I was also very much aware that my Log Cabin Log Cabin quilt was waiting in the wings to be finished, but I didn’t want to dive into finishing that and quilting it without being more confident with my new machine. So I started another test piece, this time to try out some quilting.

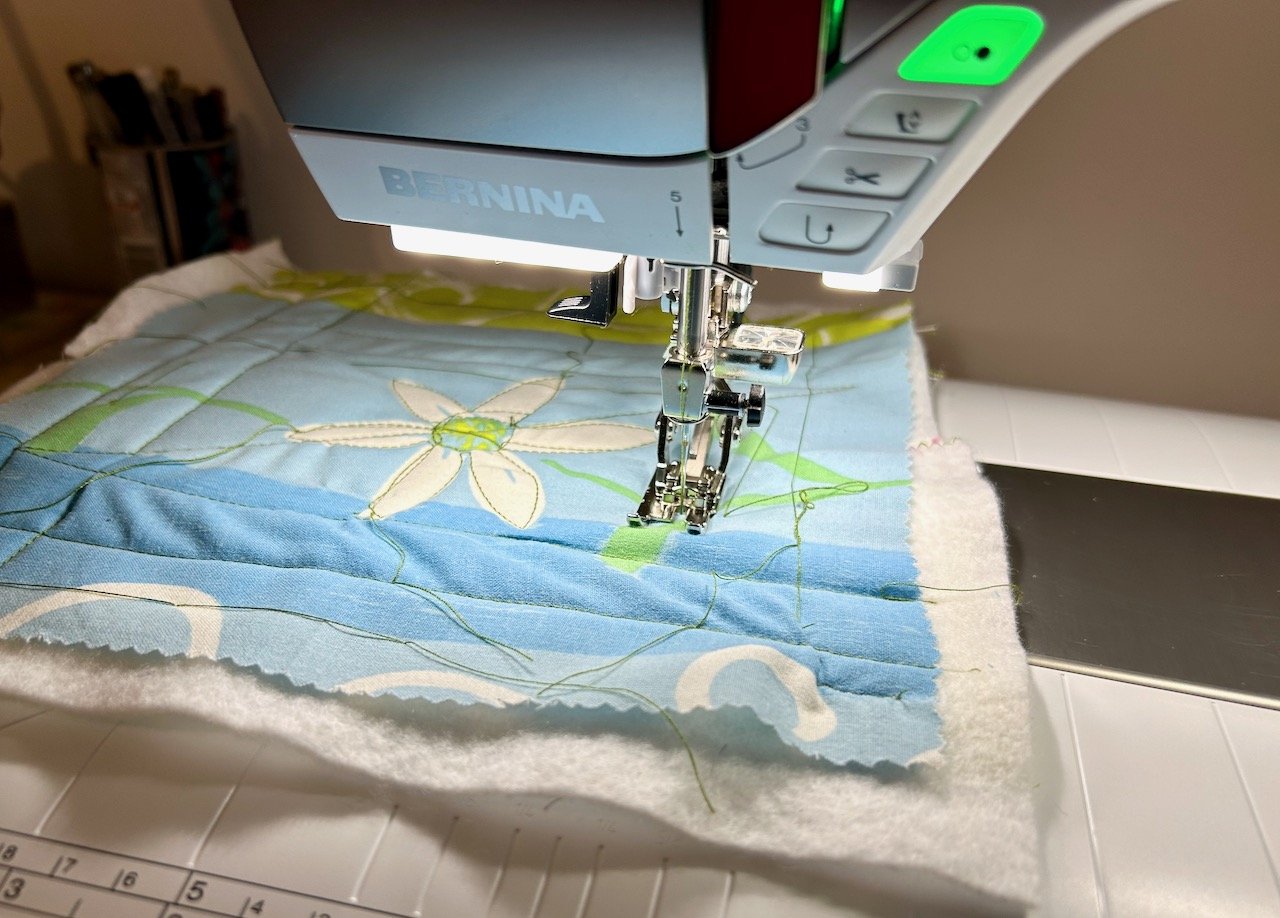
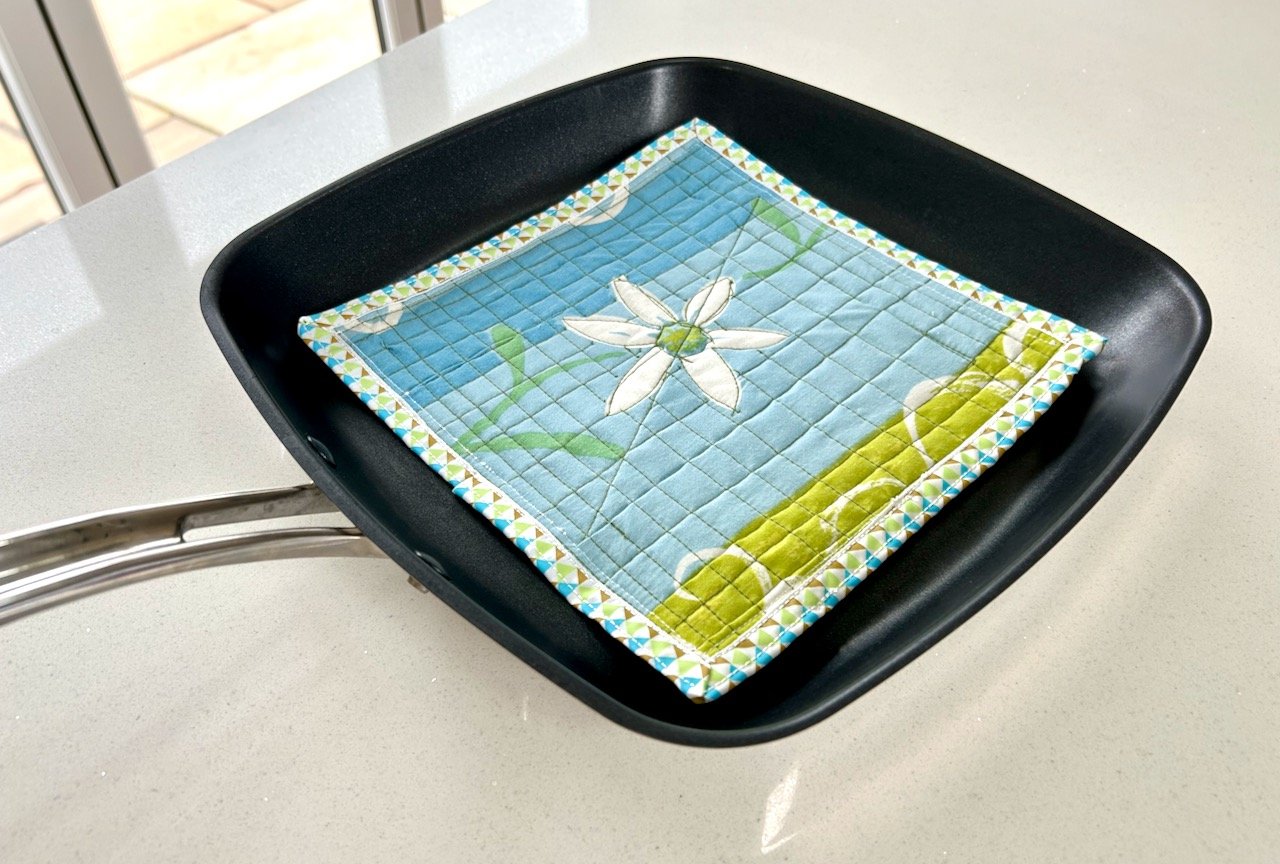
For this I changed to the quilting foot, and added the extended table top - and tested using the inbuilt walking foot, and without. I’d pulled an almost 8 inch square from a lucky dip purchase from a while back. It’s the kind of selection that you can use some - and I’ve used some in the binding of quilts, and some that you really don’t care for. This blue and green square with a white daisy was in between - there’s absolutely nothing offensive about it, but I had no idea what I’d do with it. Until now.

I frankebatted some wadding together, added another square on the bottom for the backing and set about freeform initially using the basting stitch to keep the layers in place - I found this a bit of a faff on this sized project, goodness knows what it’d be like on a much larger quilt, though I’m prepared to be proven wrong!

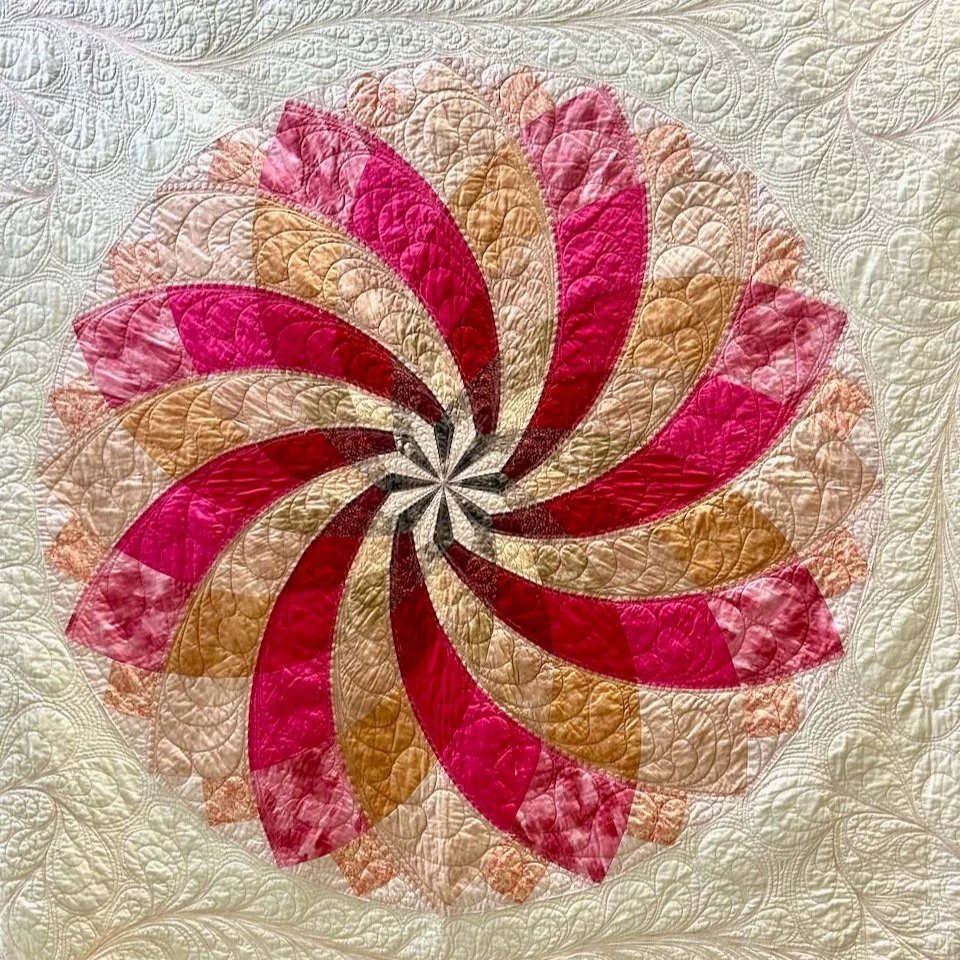
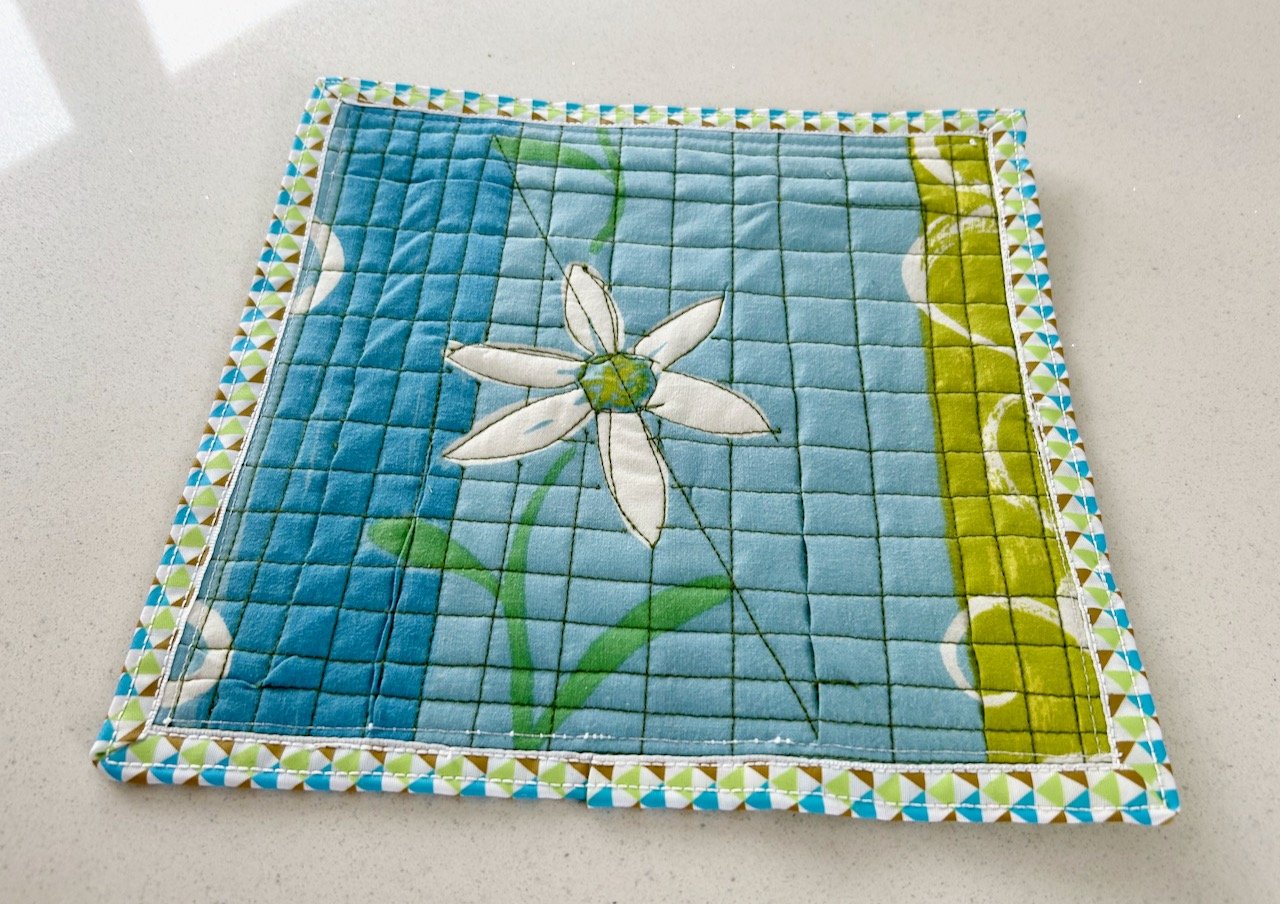
I tried with the walking foot and without and the differences are apparent, and as you can see below at one point I went a bit left field with a diagonal line. I also decided to try out my Hera marker (a piece of plastic which with a ruler you can ‘mark’ indents into the fabric) and so that’s why I ended up with more gridlines, as I’d particularly liked quilts at the recent Newark Quilt Show quilted that way.

When it was finished I wondered what I could do with it, as I was keen to do something with it rather than it just hang around my craft room. After a day or so I knew what it could be and so added some toning ribbon as binding (yes, I had this too - I bought it while checking out the haberdashery department in Yorkshire Traders in Newark!).

And the sizing worked - so this test project is now a pan protector for our new griddle pan. How lucky was that? The wok lives on top of the griddle pan in the cupboard, and as they’re both new I was keen to give them both some protection.

So I have two new unintentional projects, and I got to try out more features on my new Bernina than I would have, at the same time.

Since then as you know I’ve finished both the Log Cabin Log Cabin quilt and my January mystery block of the month block and I’ve started the test blocks for the next quilt - but more on those another day!

The Improv Quilting Journal Quilt Challenge at the Newark Quilt Show

Another of the exhibitions at this year’s Newark Quilt Show was the Journal Quilt Challenge, where quilters make two A4 size quilts based on the theme for the year, which for 2025 was Improv Quilting.

And for small quilts, there’s a lot of work in these - and there were plenty of entries, way more than I can show in a single post, so I’ve chosen my favourites to include here.

The show notes advise that ‘Improv patchwork & quilting is very ‘on trend’ at the moment but some quilters may be hesitant to try something new without the safety net of rules’ - but then again, that goes for a lot of things in life doesn’t it?

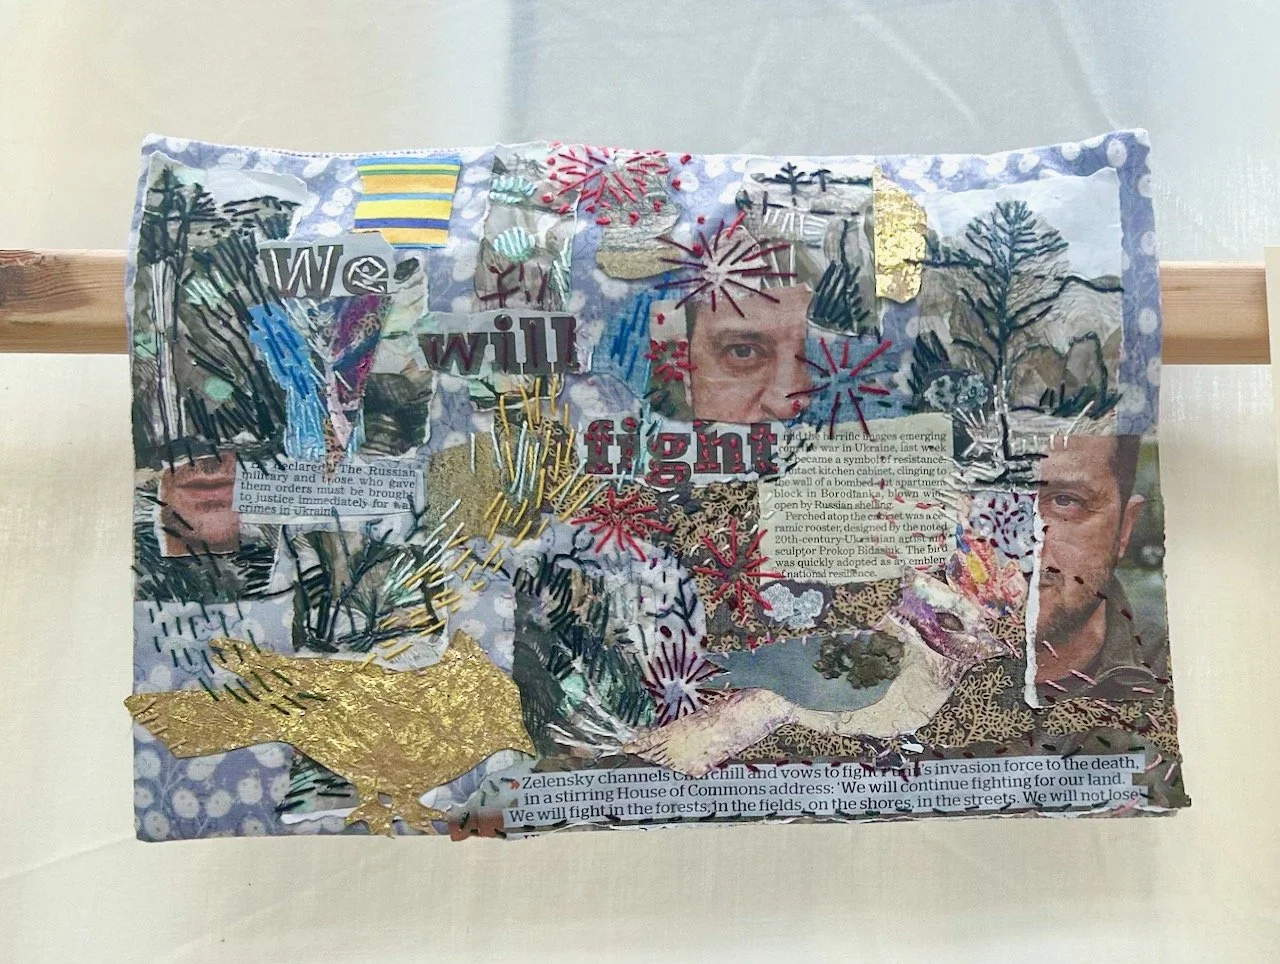
For me the standout entry was the two collages by Joan Weston - not only the subject matter, but also the materials used - fabrics, papers, newspaper extracts as well as stitching and the final products.

WE WILL FIGHT, JOAN WESTON

WE WILL NOT LOSE, JOAN WESTON

The top quilt, which remember is just A4 sized, is a collage of fabrics, papers, newspaper extract and stitching representing the invasion of Ukraine and Zelensky’s moving response channelling Churchill’s speech decades earlier. The second represents the destruction of the cities in Ukraine using newspaper cuttings, photographs and stitching. The stitches show the winter weather suffered by homeless people, bombs and the bloodshed.

No matter what your views on the subject matter, both pieces are incredibly detailed and the amount of work in such a small piece is mind blowing, and totally amazing - and definitely fits into the Improv Quilting category.

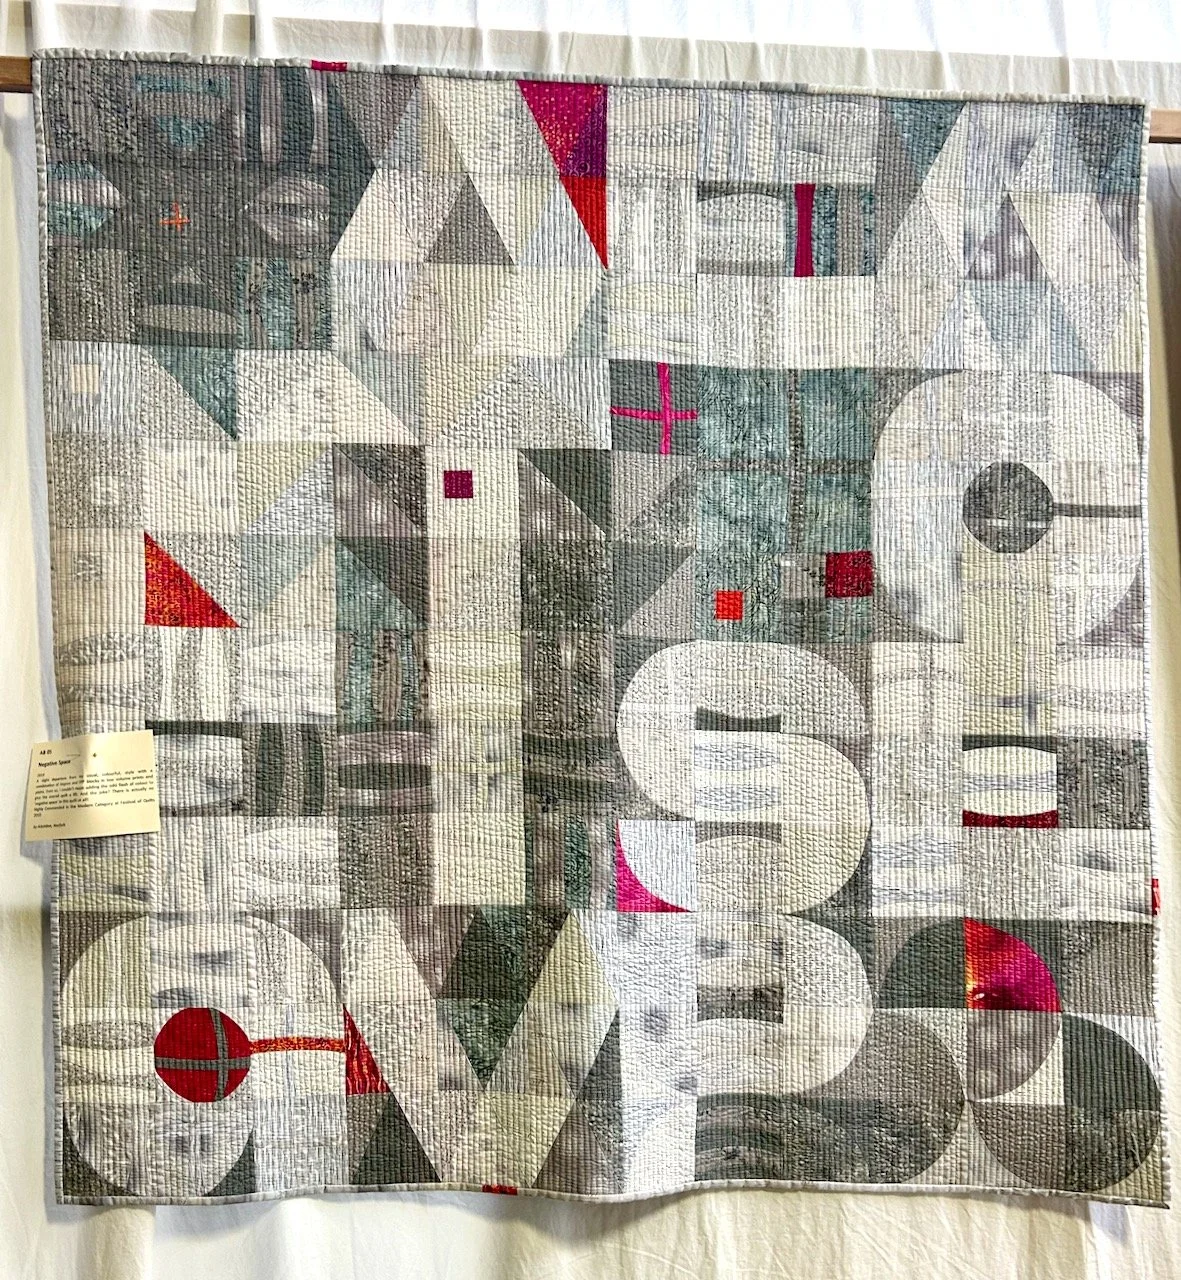
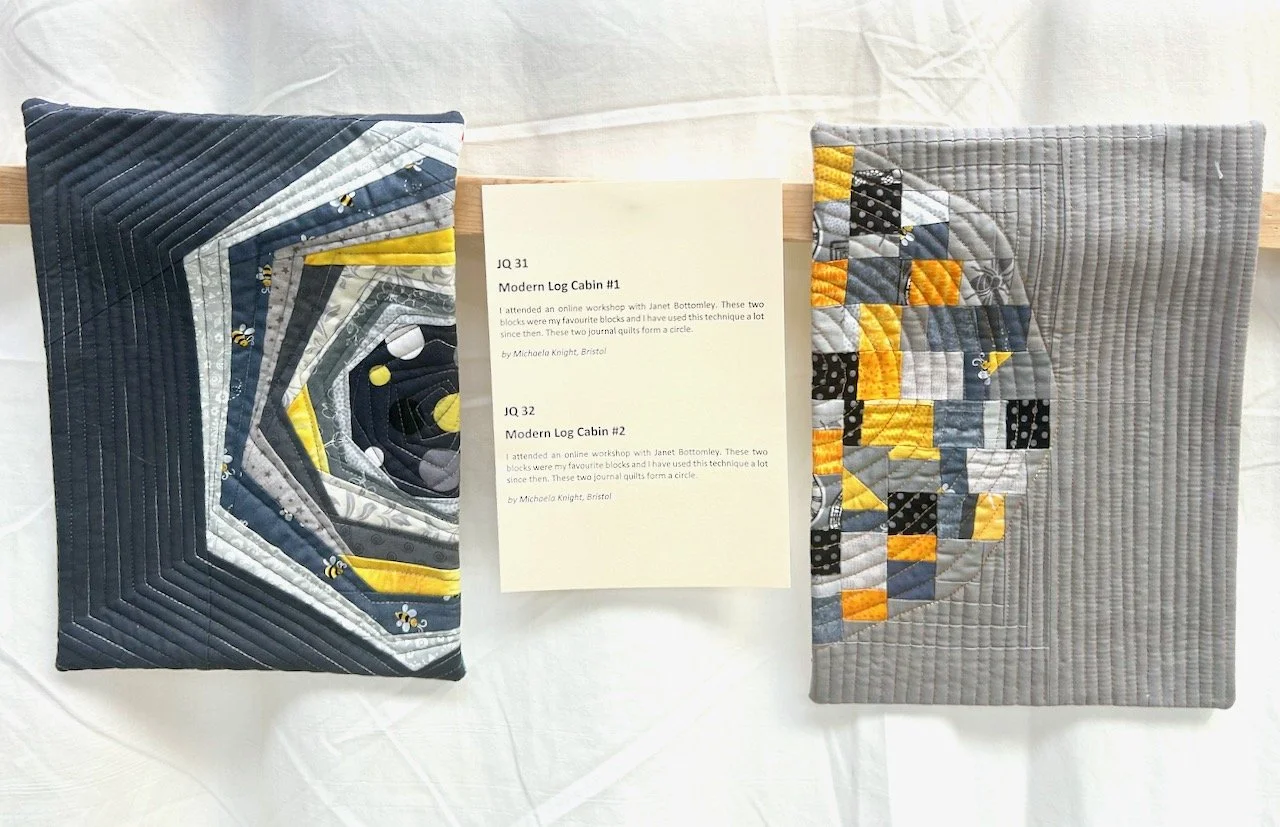
Other quilters took a more traditional approach playing with more recognisable quilting shapes and designs - you’ll no doubt recognise some of those which have been given the improv treatment.

UPS & DOWNS AND GOING IN CIRCLES, HANNAH CARLISLE

IMPROV 8-POINTED STAR AND IMPROV QUADRANGLES, RUTH CASE

MODERN LOG CABIN #1 AND #2

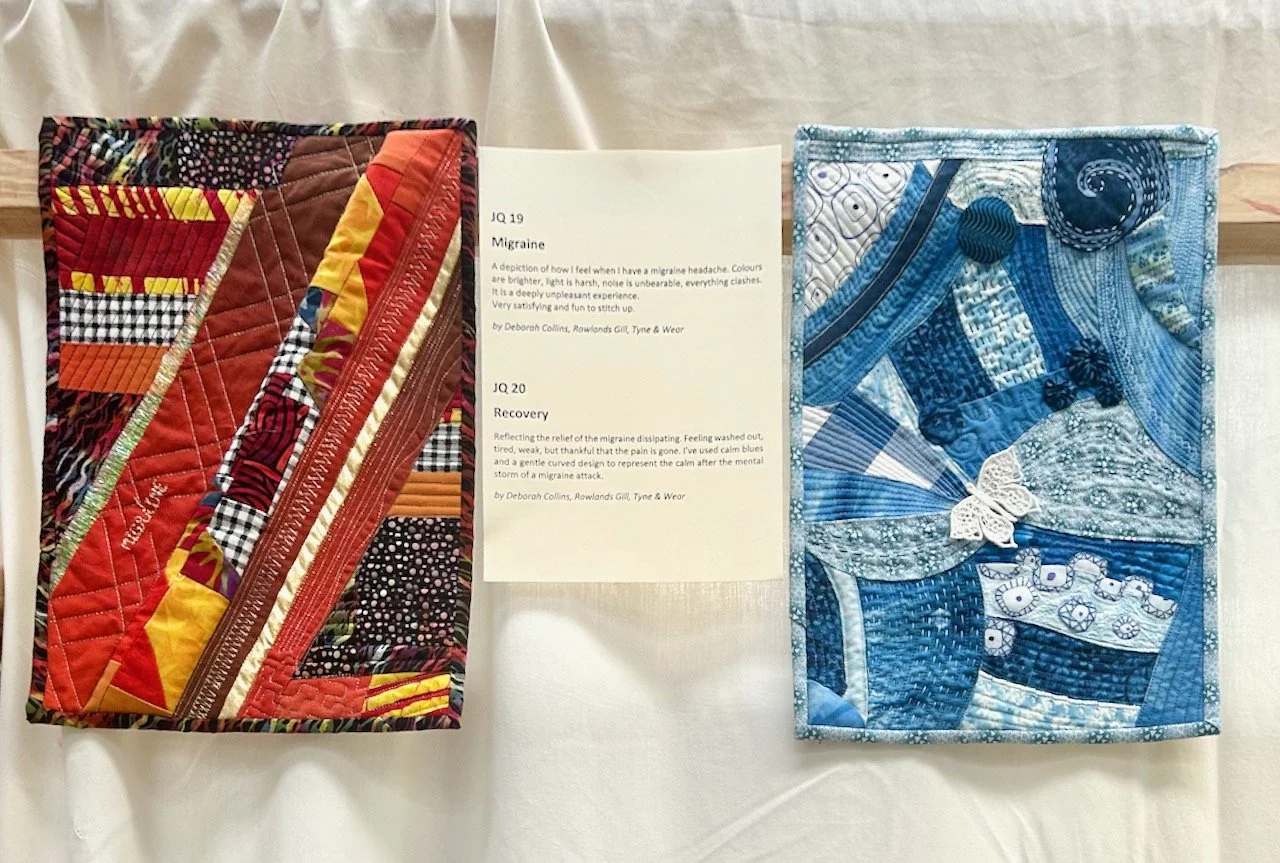
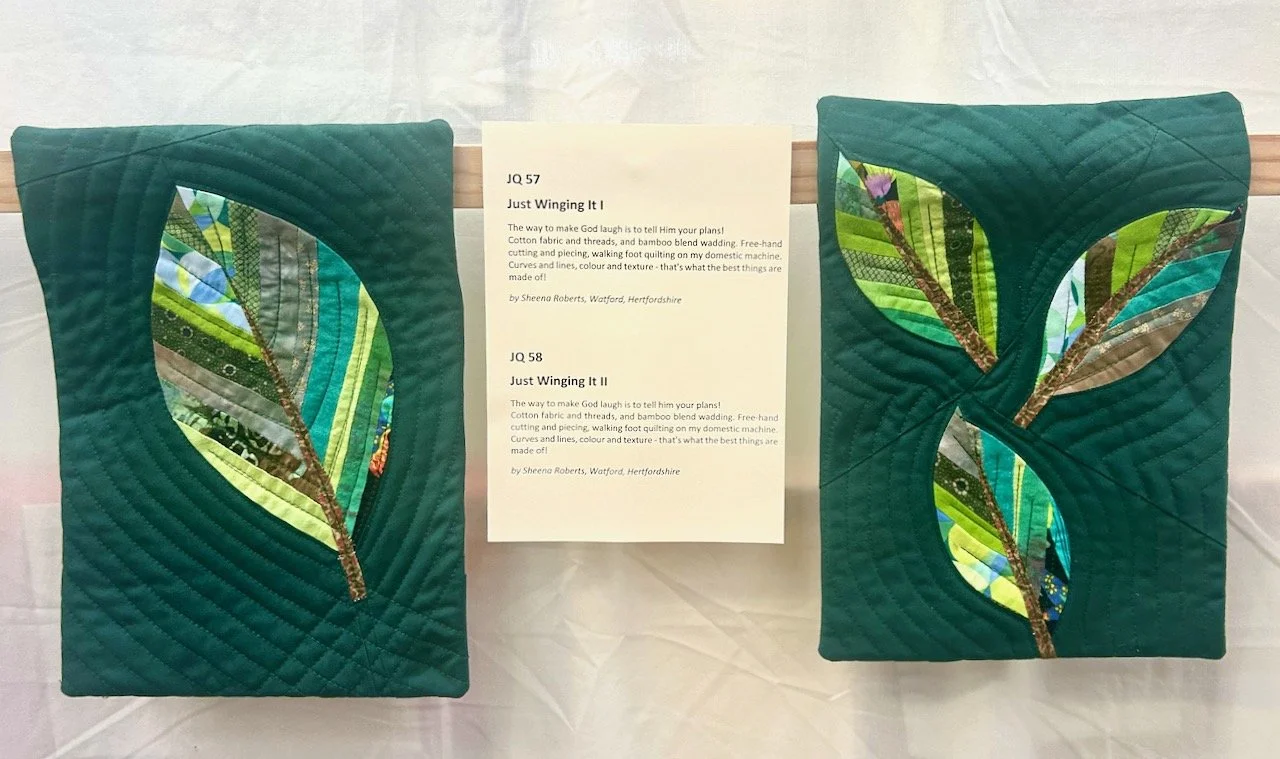
Other quilters took a less structured approach and used the materials, colours, shapes and stitching to represent a wide array of topics - from migraines and recovery, to cities and nature.

MIGRAINE AND RECOVERY, DEBORAH COLLINS

IMPRESSIONS OF NICE: I AND II, JULIET WEST

JUST WINGING IT I AND II, SHEENA ROBERTS

And then there was the completely wacky - and I say this full of admiration - the riot of colours, approaches and textures was equally as amazing.

WEIRD WILD WORLD AND WILD WEIRD WOLRD, MARY WATTS

STRANGE WORLDS AND LIFT OFF, HOPKIN REES

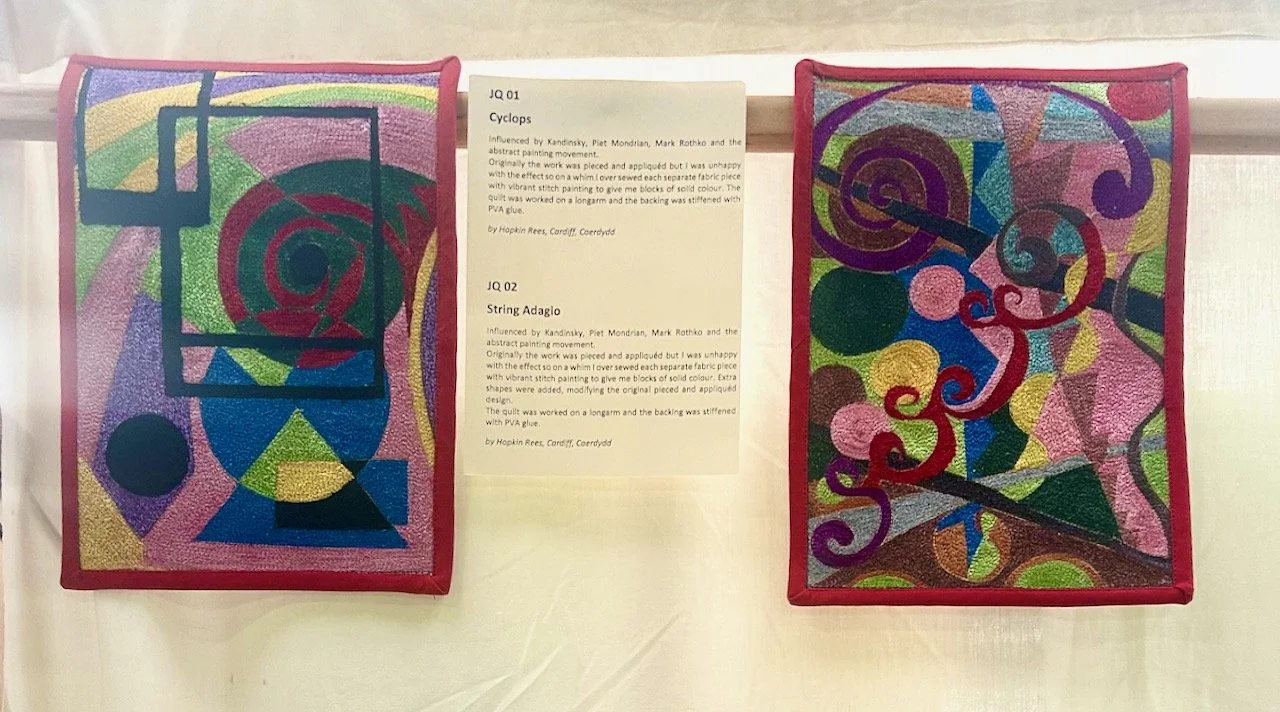
CYCLOPS AND STRING ADAGIO, HOPKIN REES

It’s also clear that these small quilts are equally as addictive as their larger versions - and I’m sure aren’t significantly less work either. The second inclusion by Hopkin Rees above was also reassuringly honest, and demonstrates that many crafters continue to be unhappy with their work. The Cyclops and String Adagio quilts were originally pieced and appliquéd but unhappy with the effect they ‘over sewed each separate fabric piece with vibrant stitch painting’ resulting in blocks of solid colour - the end result is particularly stunning I think.

QUALITY STREET, MARIA JEANNETTE

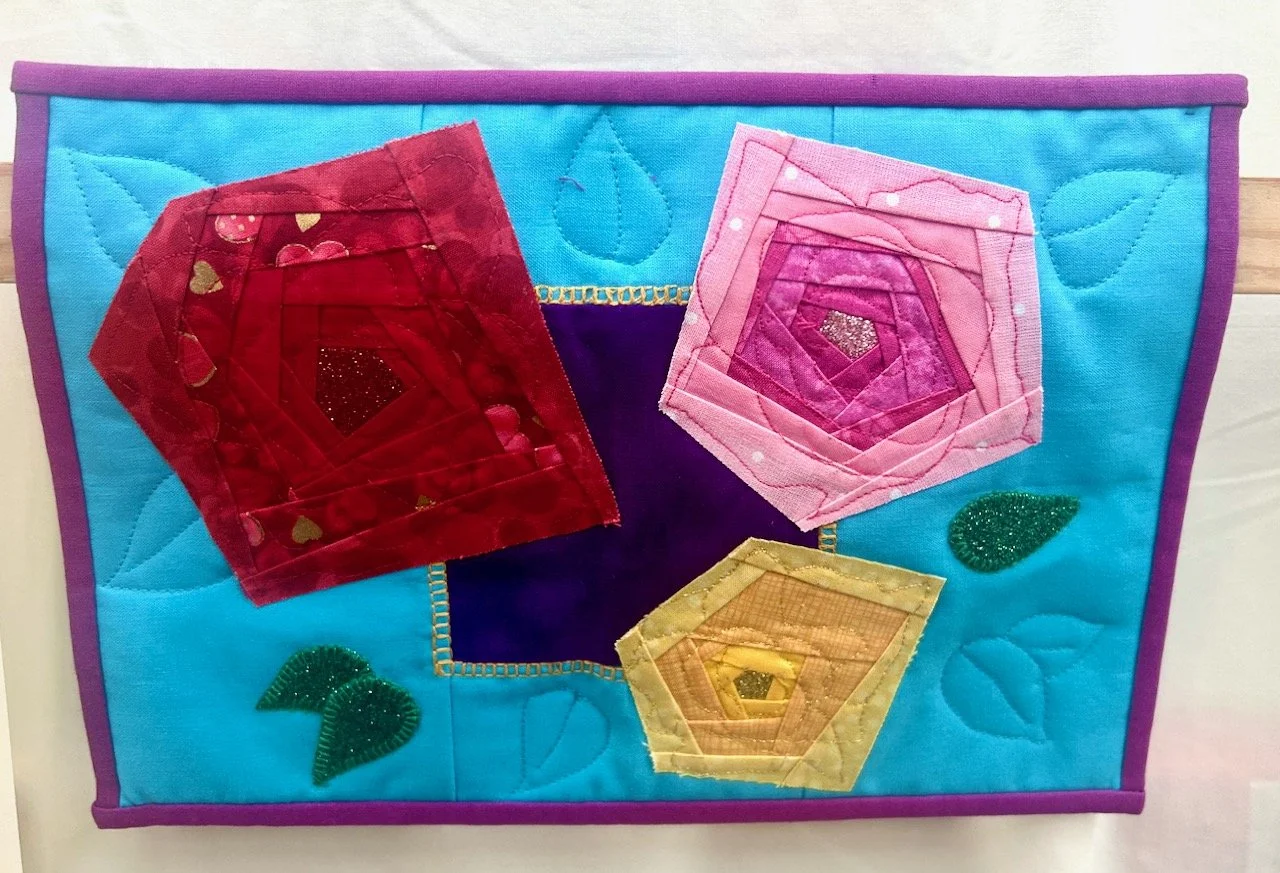
ROSES, MARIA JEANNETTE

These final two did raise a smile, which was the maker’s intention, though while I bet they were fun to make and are instantly recognisable, I think I’ll stick with the real thing!
Inside the fabric and haberdashery departments at Liberty

Having filled my cup as it were with the homewares in Liberty I headed further upstairs to the fabric and haberdashery departments, which for me could be a much more dangerous place for my purse! Initially I headed past the world famous prints and into the haberdashery - perhaps attracted by all the shiny things, who knew?

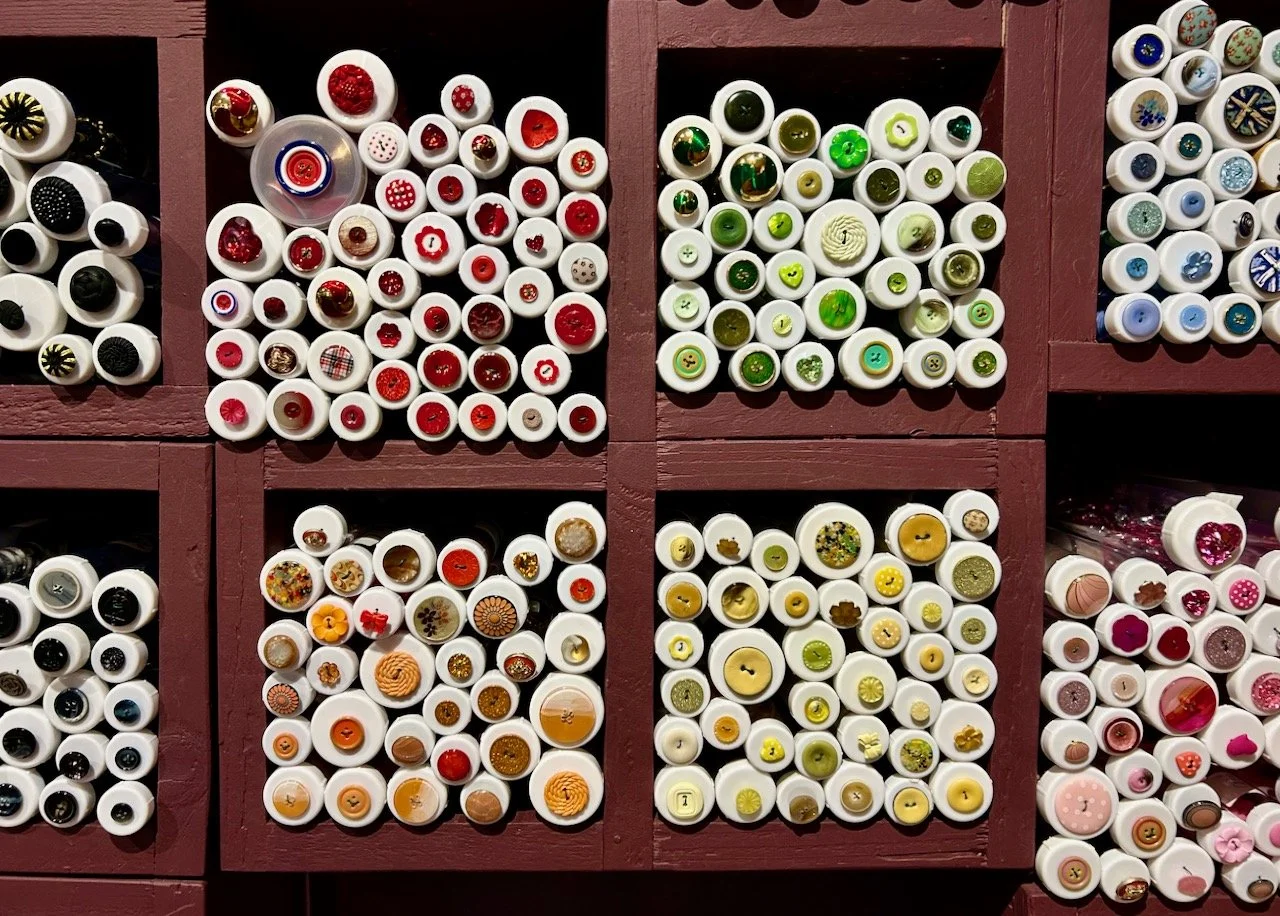
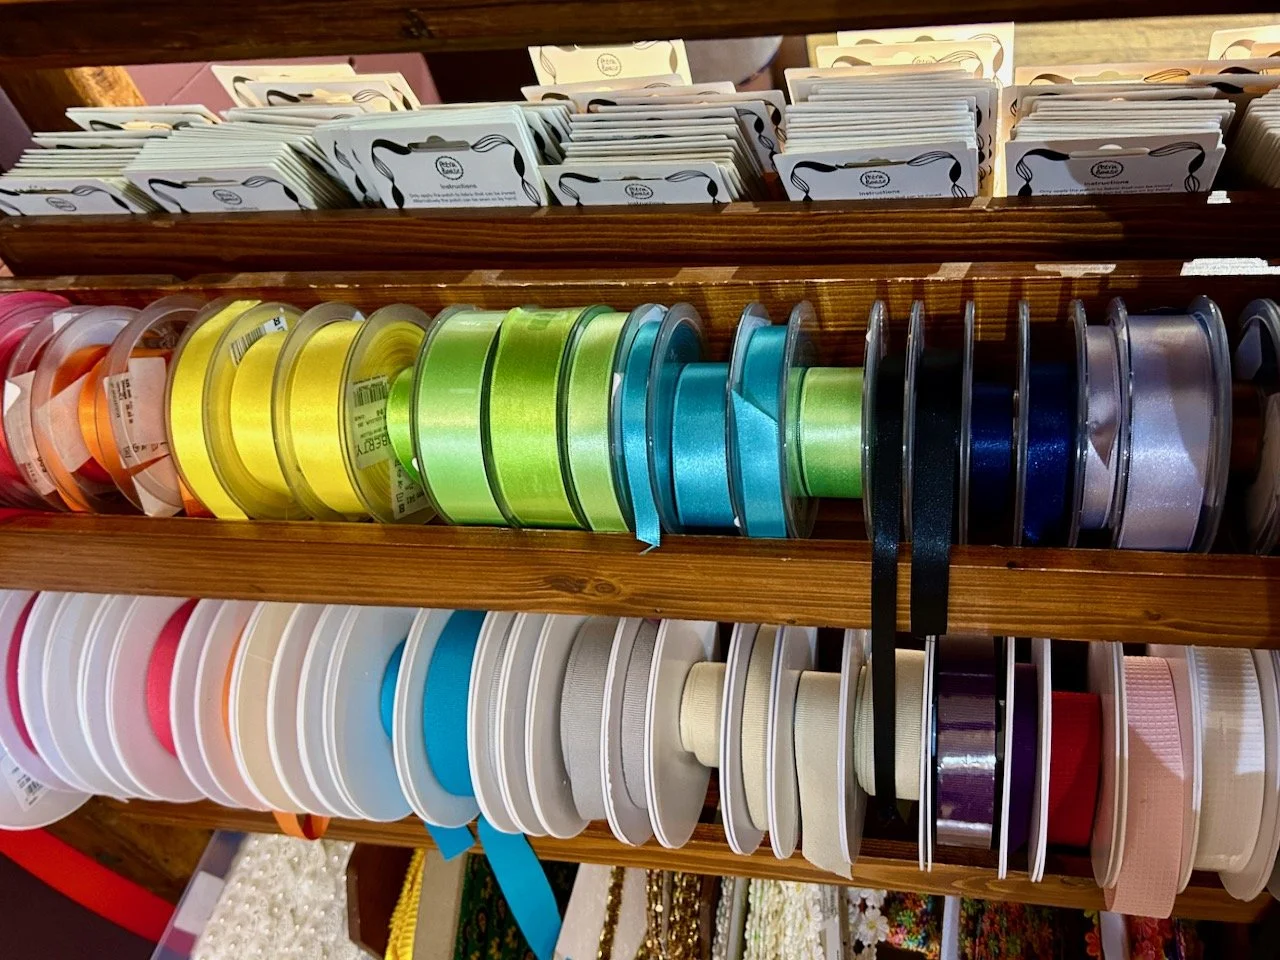
I couldn’t think of any good reason to buy any of the buttons or ribbons, but was totally in awe at the choice of buttons and almost instantly transported back to ‘The Button Shop’ in South Norwood High Street in the seventies, though to be clear I don’t think it could ever claim to be on a par with Liberty, but I do remember endless displays of all colours, sizes and shapes of button nonetheless.

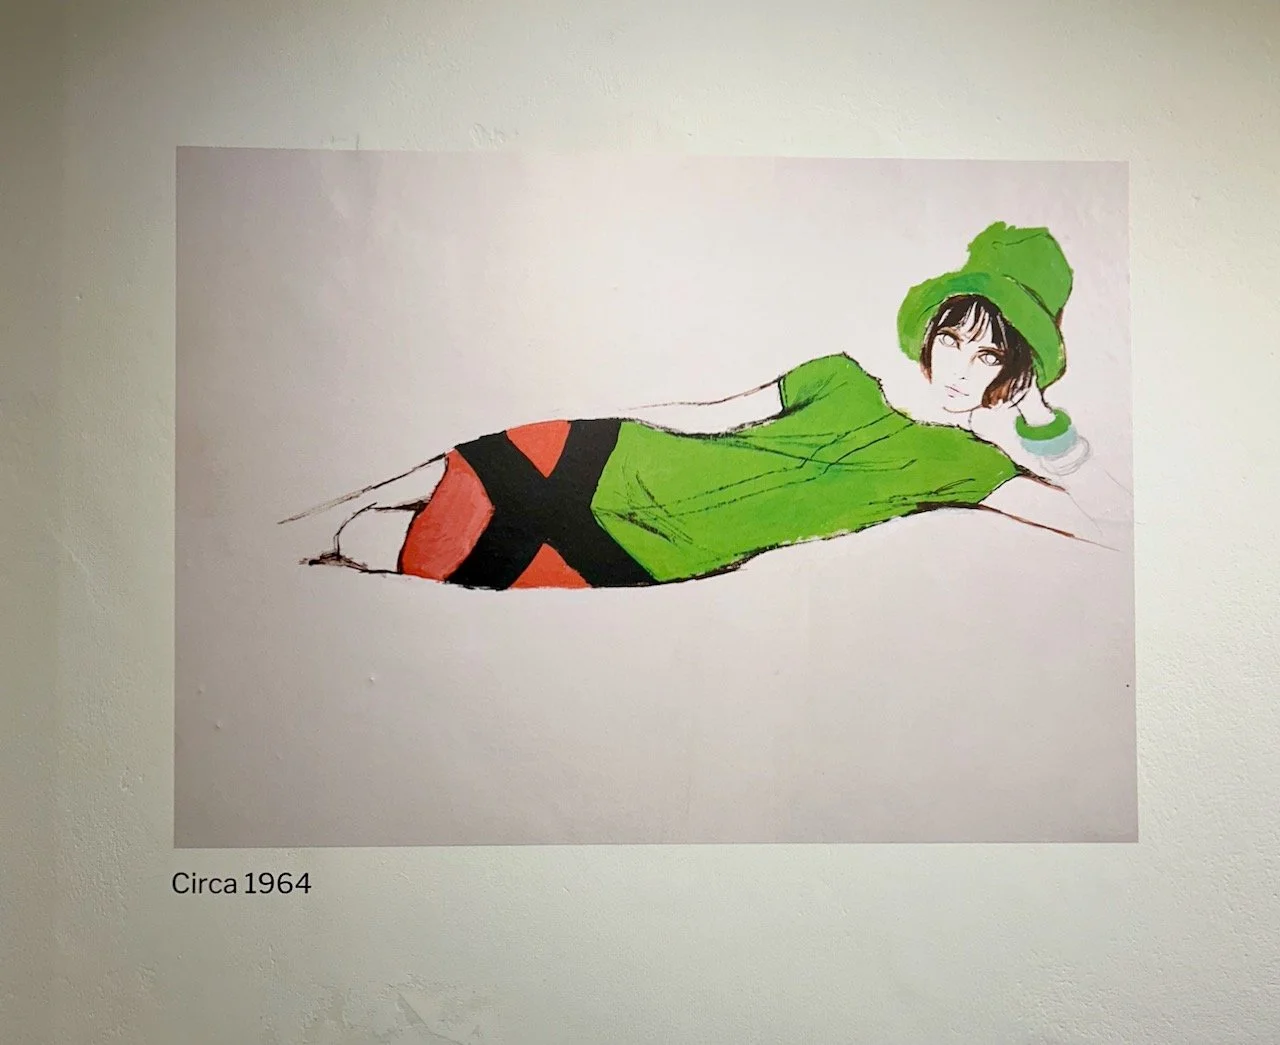
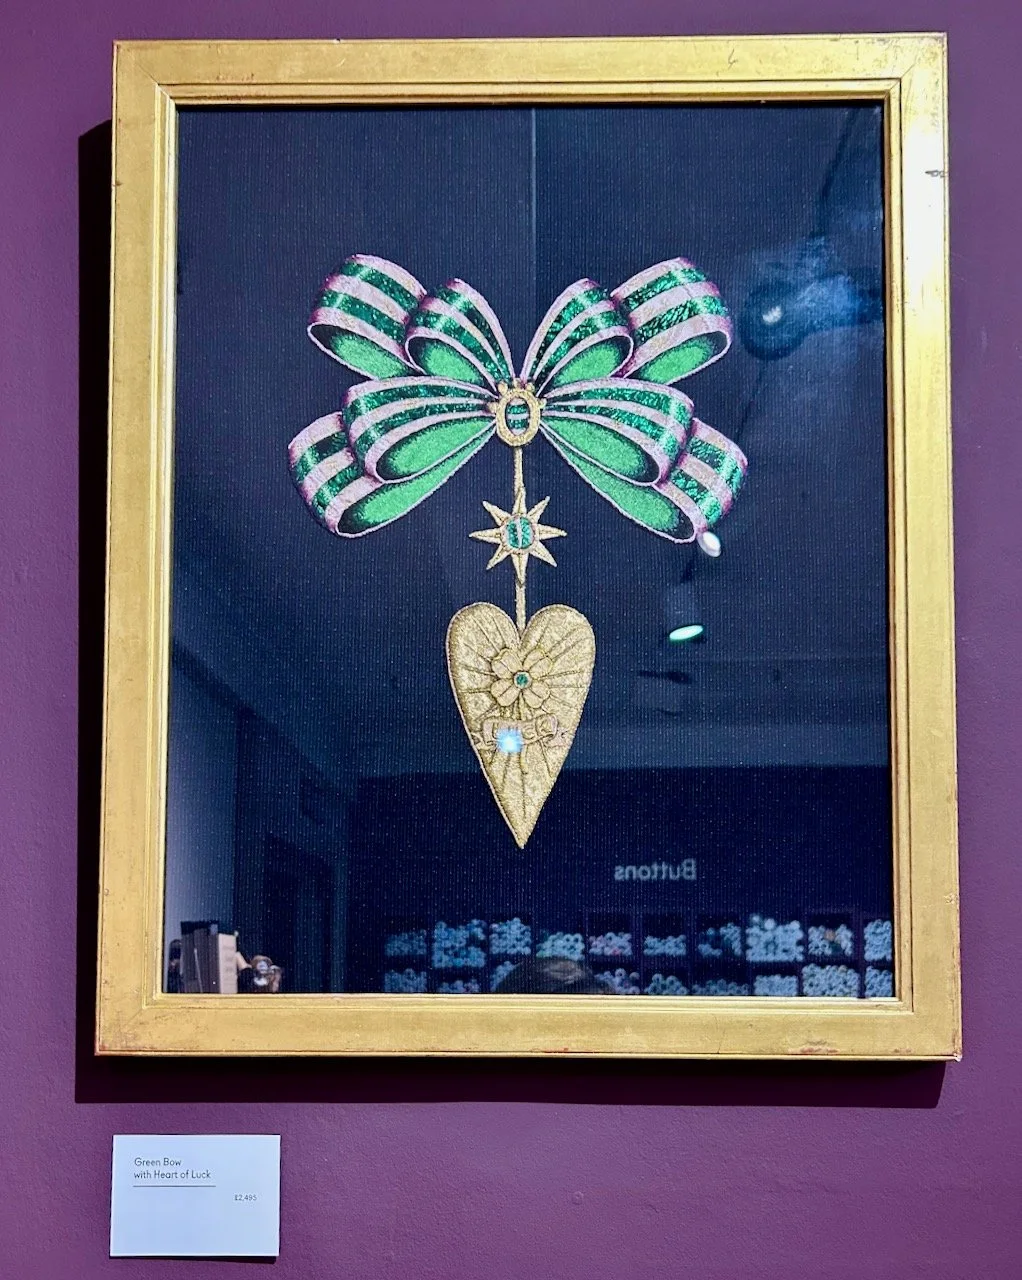
I was intrigued by the artwork on the walls too - though again it’s not for the fainthearted at a mere £2,495 - my usual don’t look at the price routine scuppered by the label below. But it was very nice, though part of me wonders if this was the wrong department to hang this, as surely crafters are more likely to think to themselves ‘I could do that’ though admittedly it would also probably go onto a long list, and they’d probably never quite get around to it!

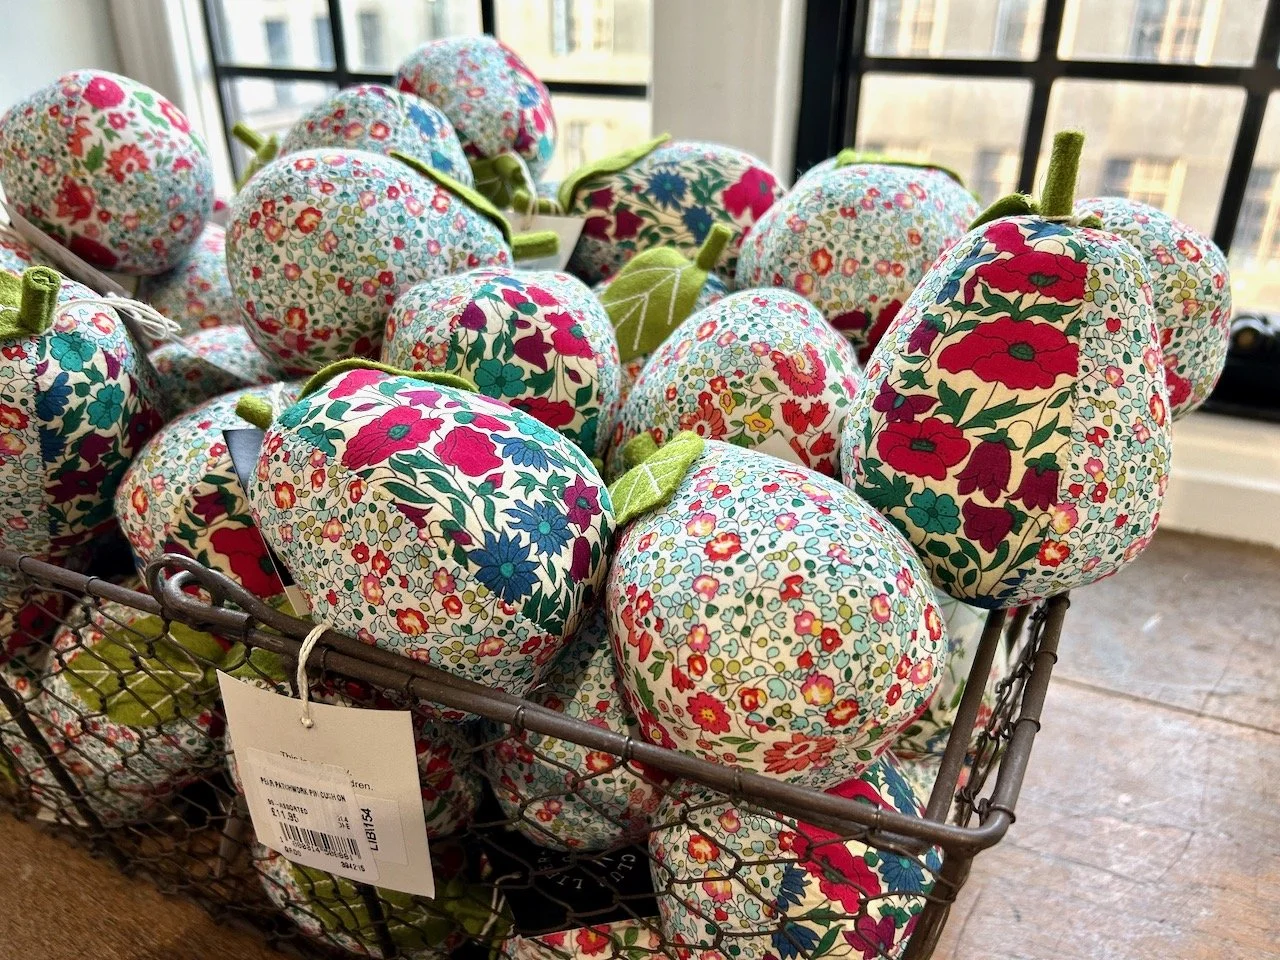
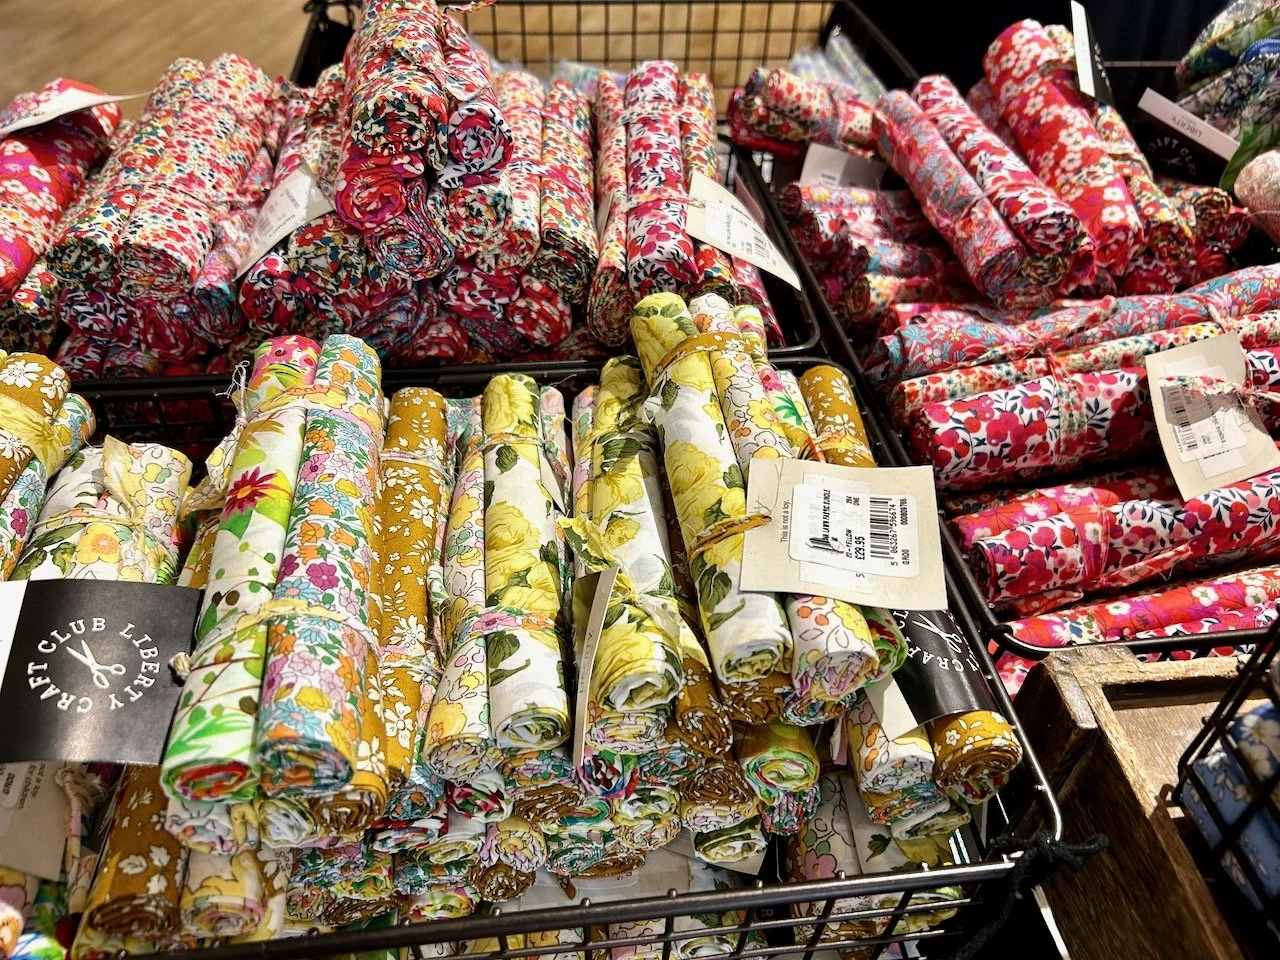
The haberdashery was laden with baskets of tempting Liberty fabric - some already made into pincushions, and others into equally pretty rolls and bundles. I was tempted, but out of the corner of my eye I saw the wall of quilting fabric and I had a new destination in mind.

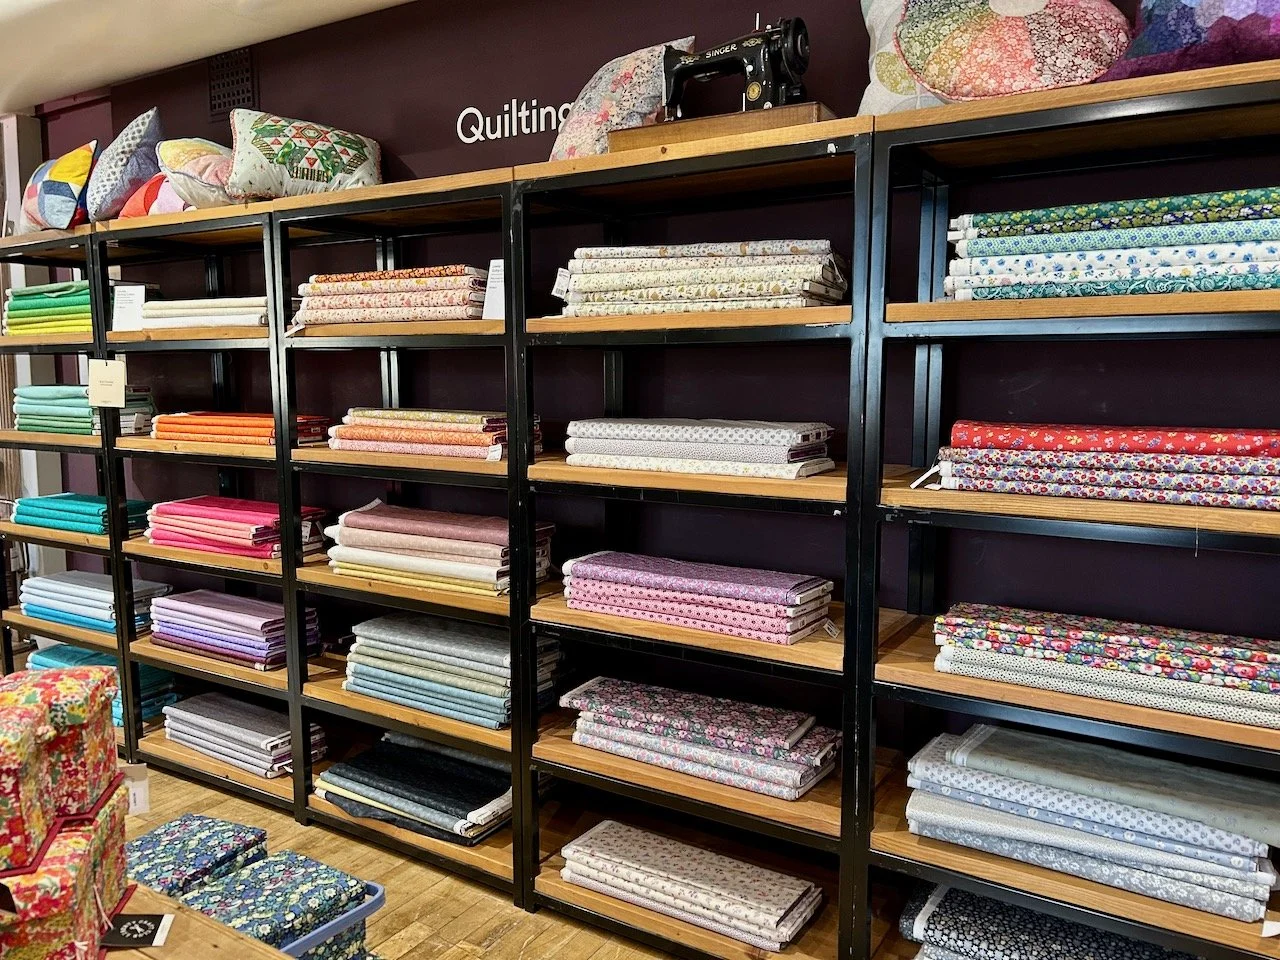
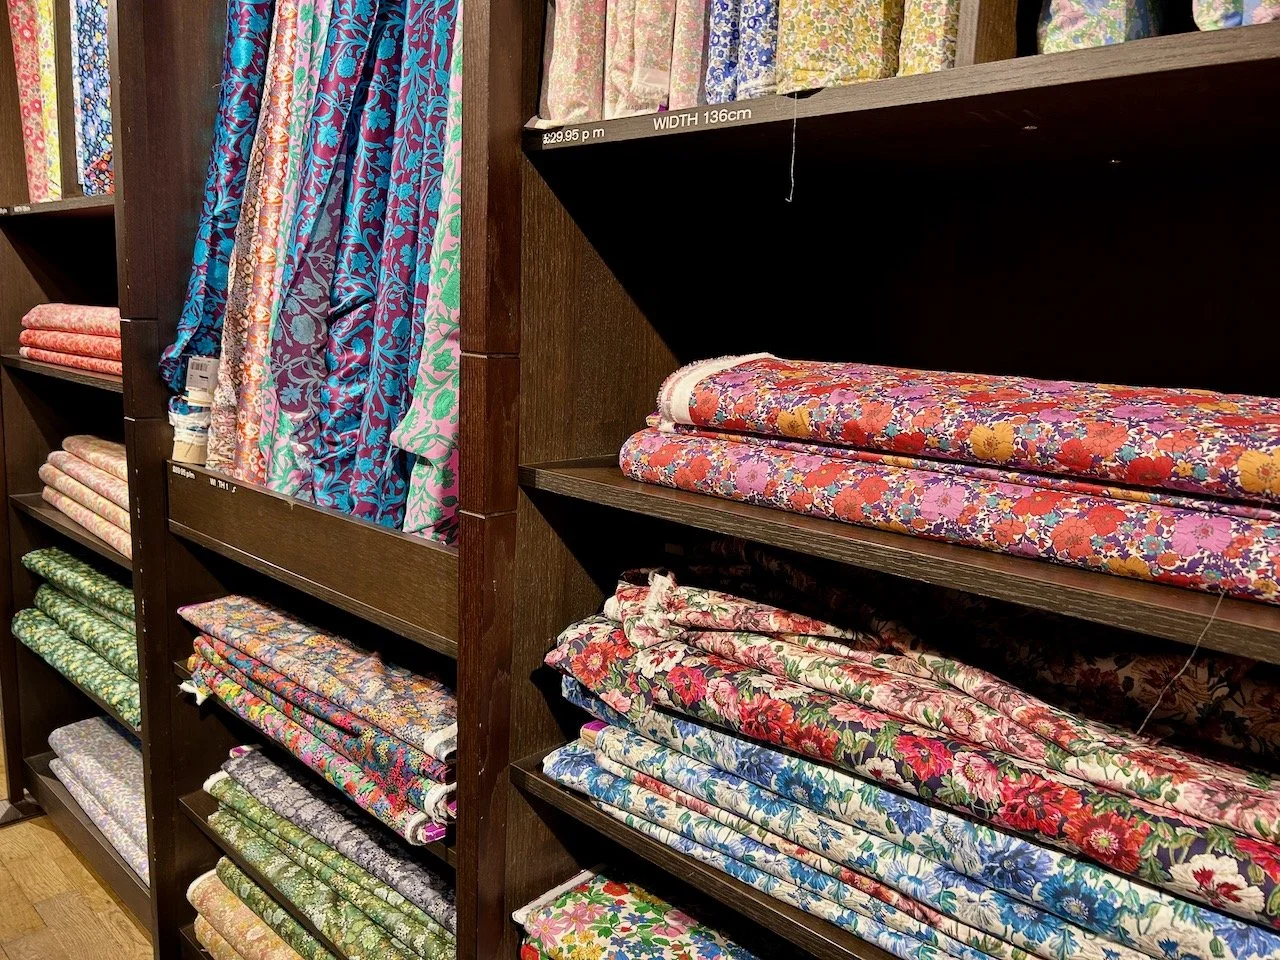
Yes a wall of shelving of Liberty Quilting fabric, which was actually less densely populated with customers than most of the rest of the departments put together. And for Liberty the majority of this range wasn’t extortionate. Clearly I was tempted by the bright and pretty colours, but also I remembered that I was on a ‘grey fabric shopping’ general mission, and so I hunted out the greys, of which there were at least five different shades to choose from! I left with half a metre of a dark and a light grey to add to the stash for my extended Floral Fancy.

Having paid I left the haberdashery before any more damage could be done, and headed into the almost equally dangerous fabric department. Actually it’s probably less dangerous as I think if you’re spending this much on fabric you really need to have a plan. The Tana Lawn fabrics were easily ten pounds more than the quilting fabric I’d just purchased.

But they are ever so nice. And iconic. But also which one to choose?

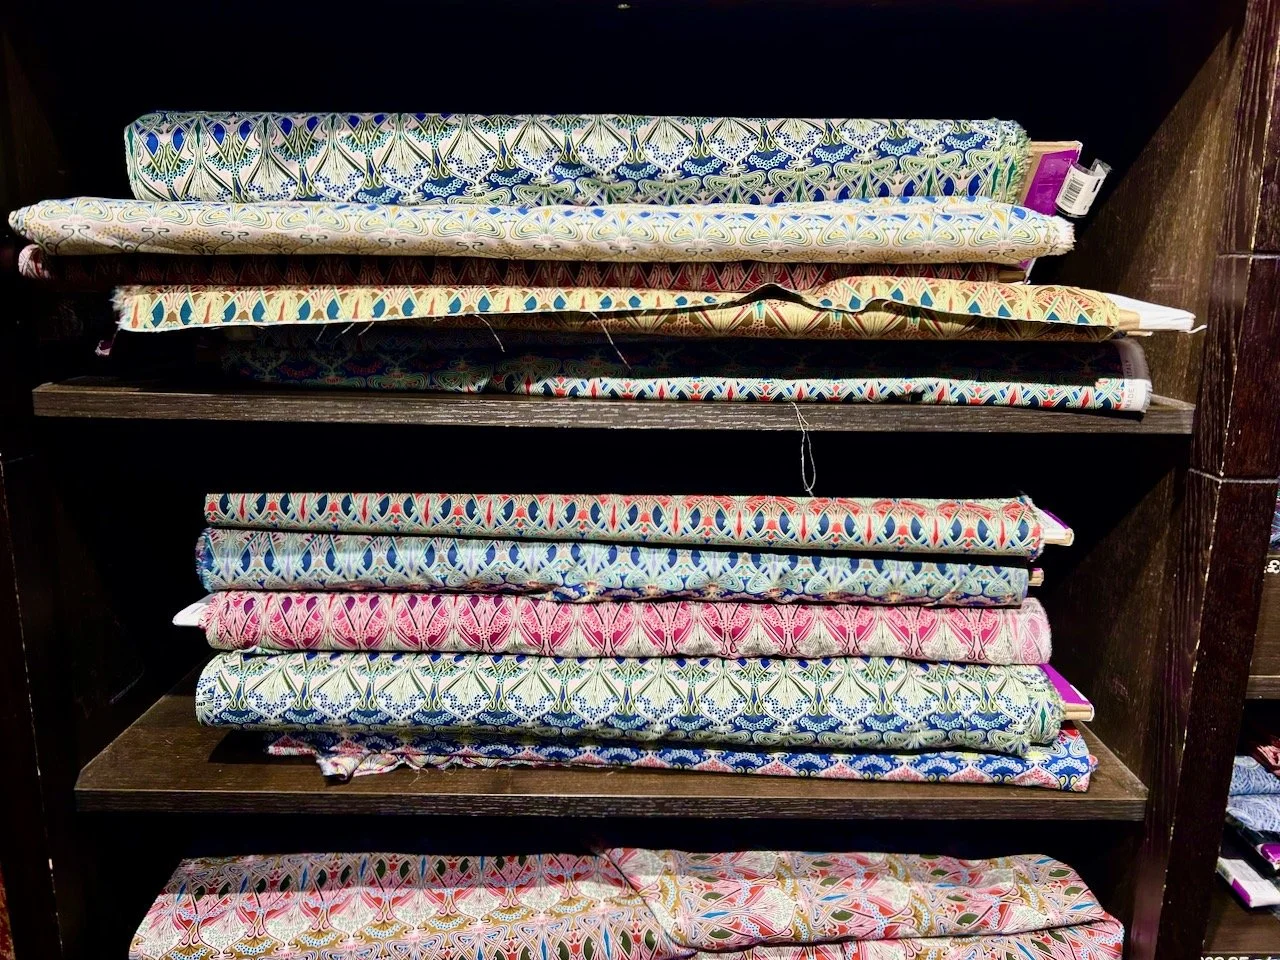
For me I think I’m destined to have do something with the Ianthe range (pictured above) as every time I visit, or even look online I always find myself drawn to this design - but as yet, I’ve not bought any. I love the design and how elegant it is, but I’m still holding out until I have a plan as otherwise I don’t think I’d ever cut into it. Ever. Though actually that’s not such a bad plan either now is it?