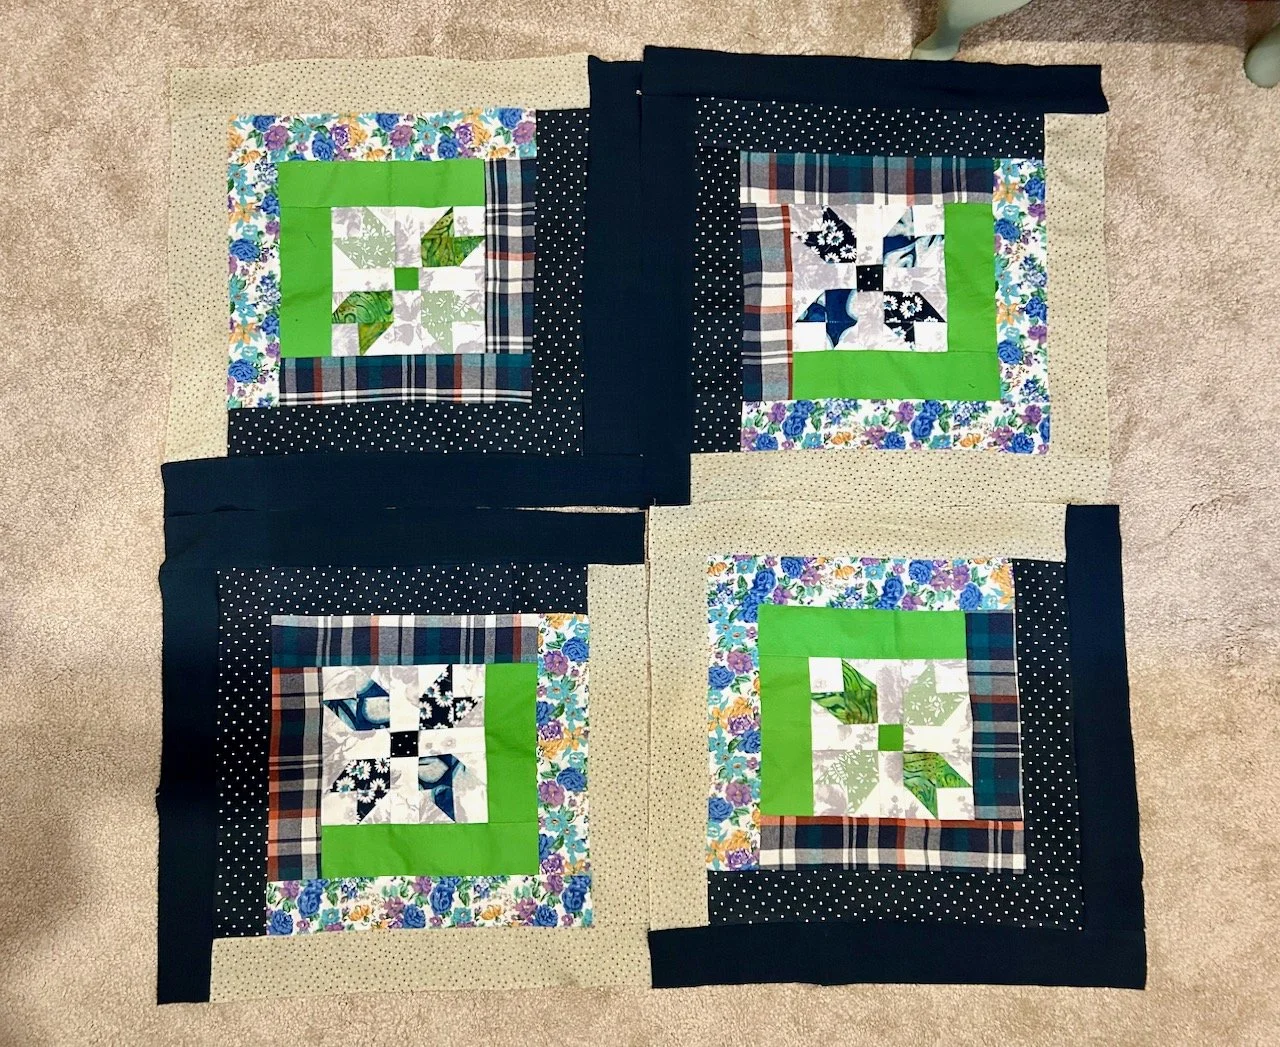
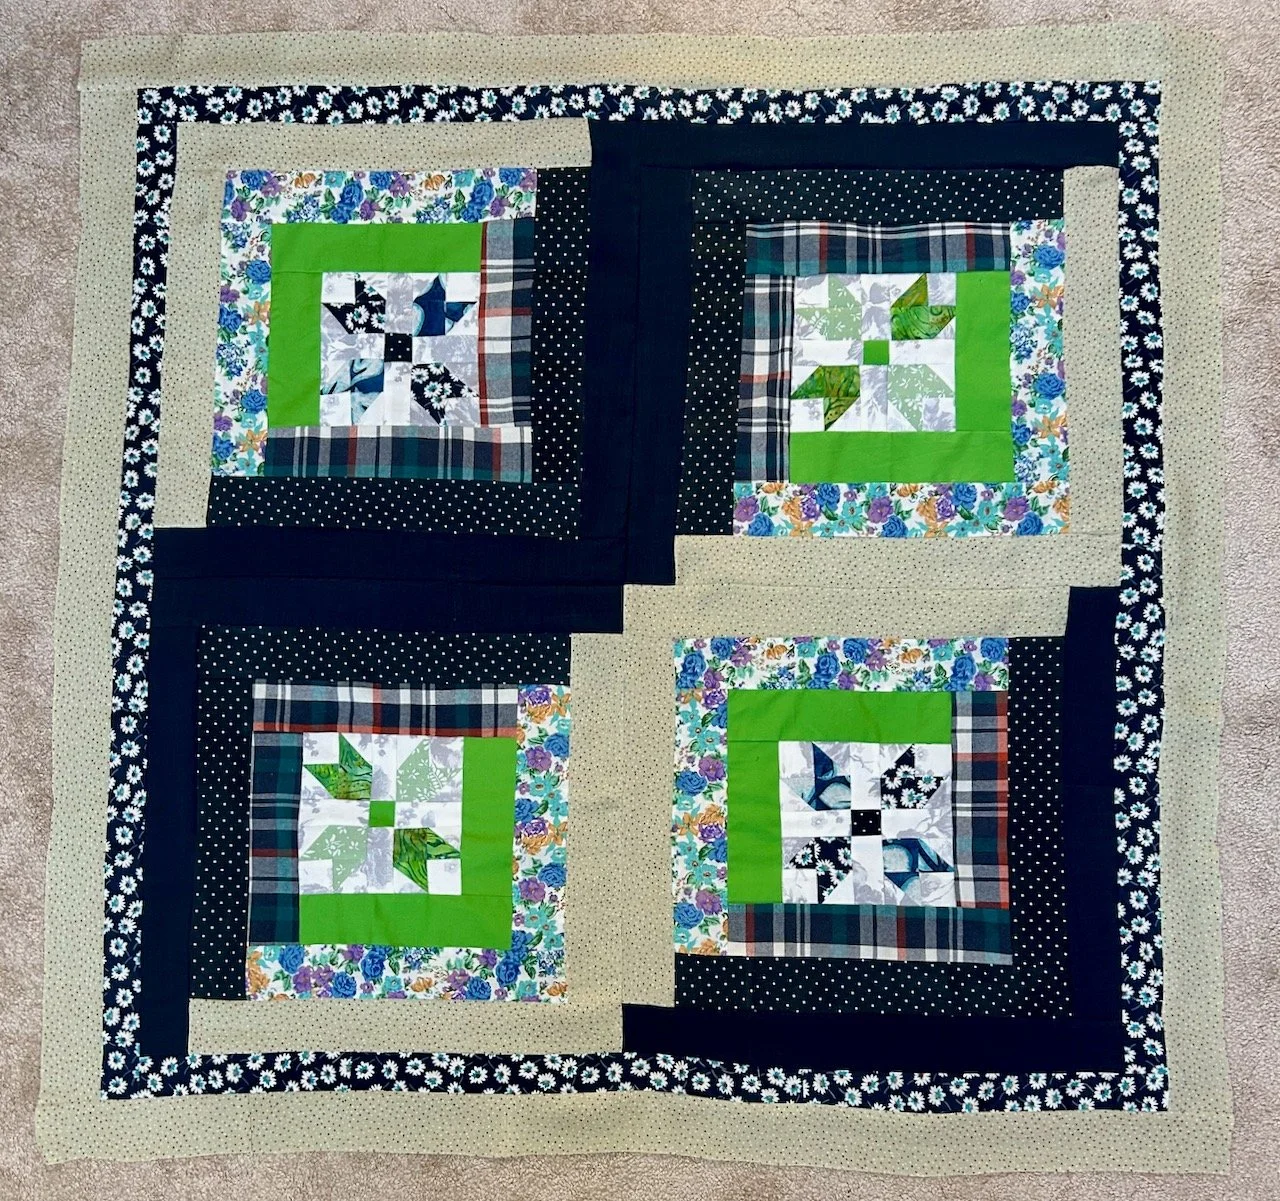
Flying Geese: challenge accepted and completed

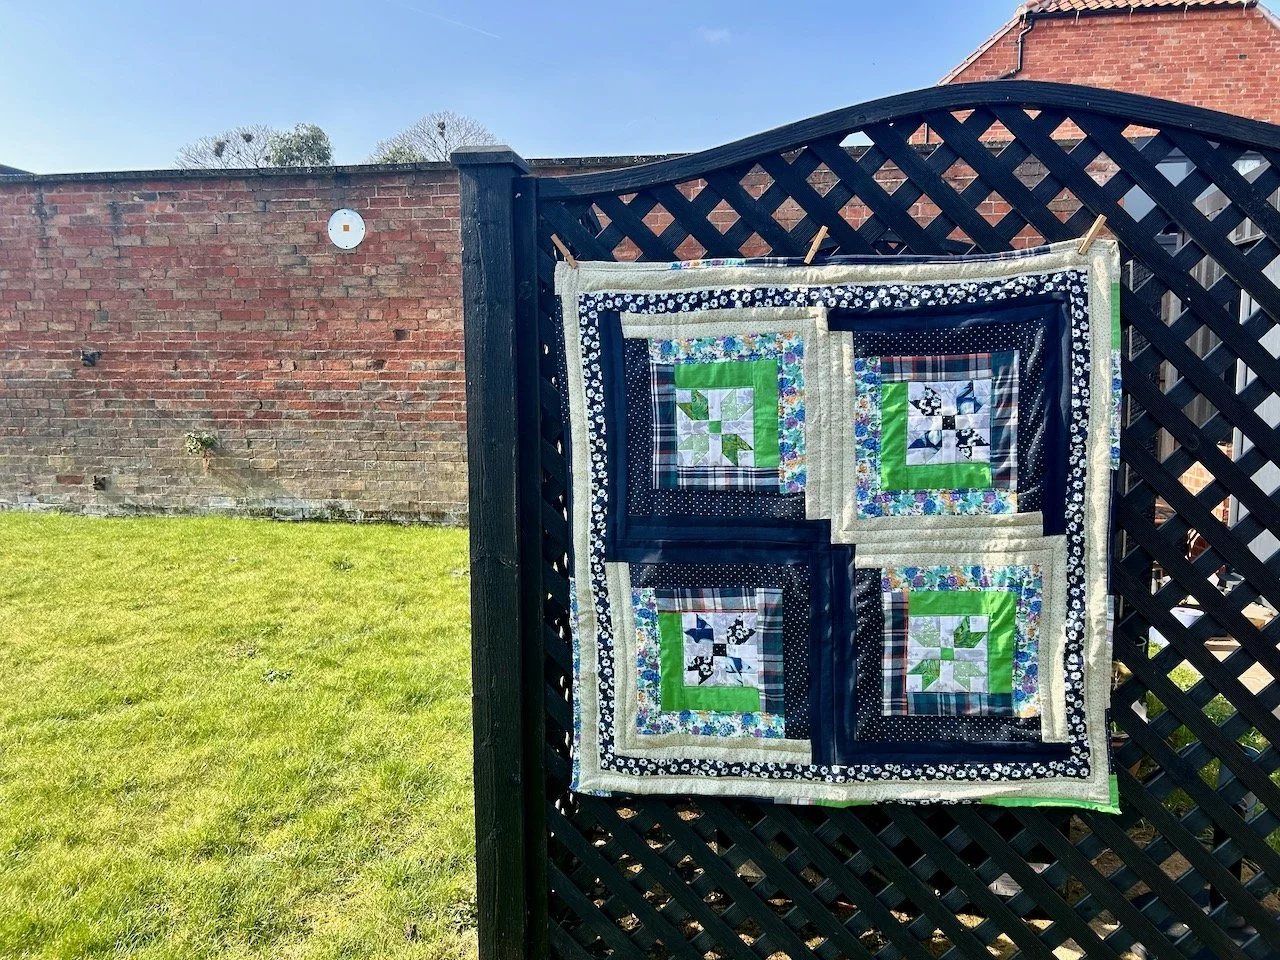
Less than a month ago I shared that I was trying out some patchwork Flying Geese blocks, and that my challenge for the next few weeks ahead was to complete the smaller size quilt top and find some material to back the quilt with.

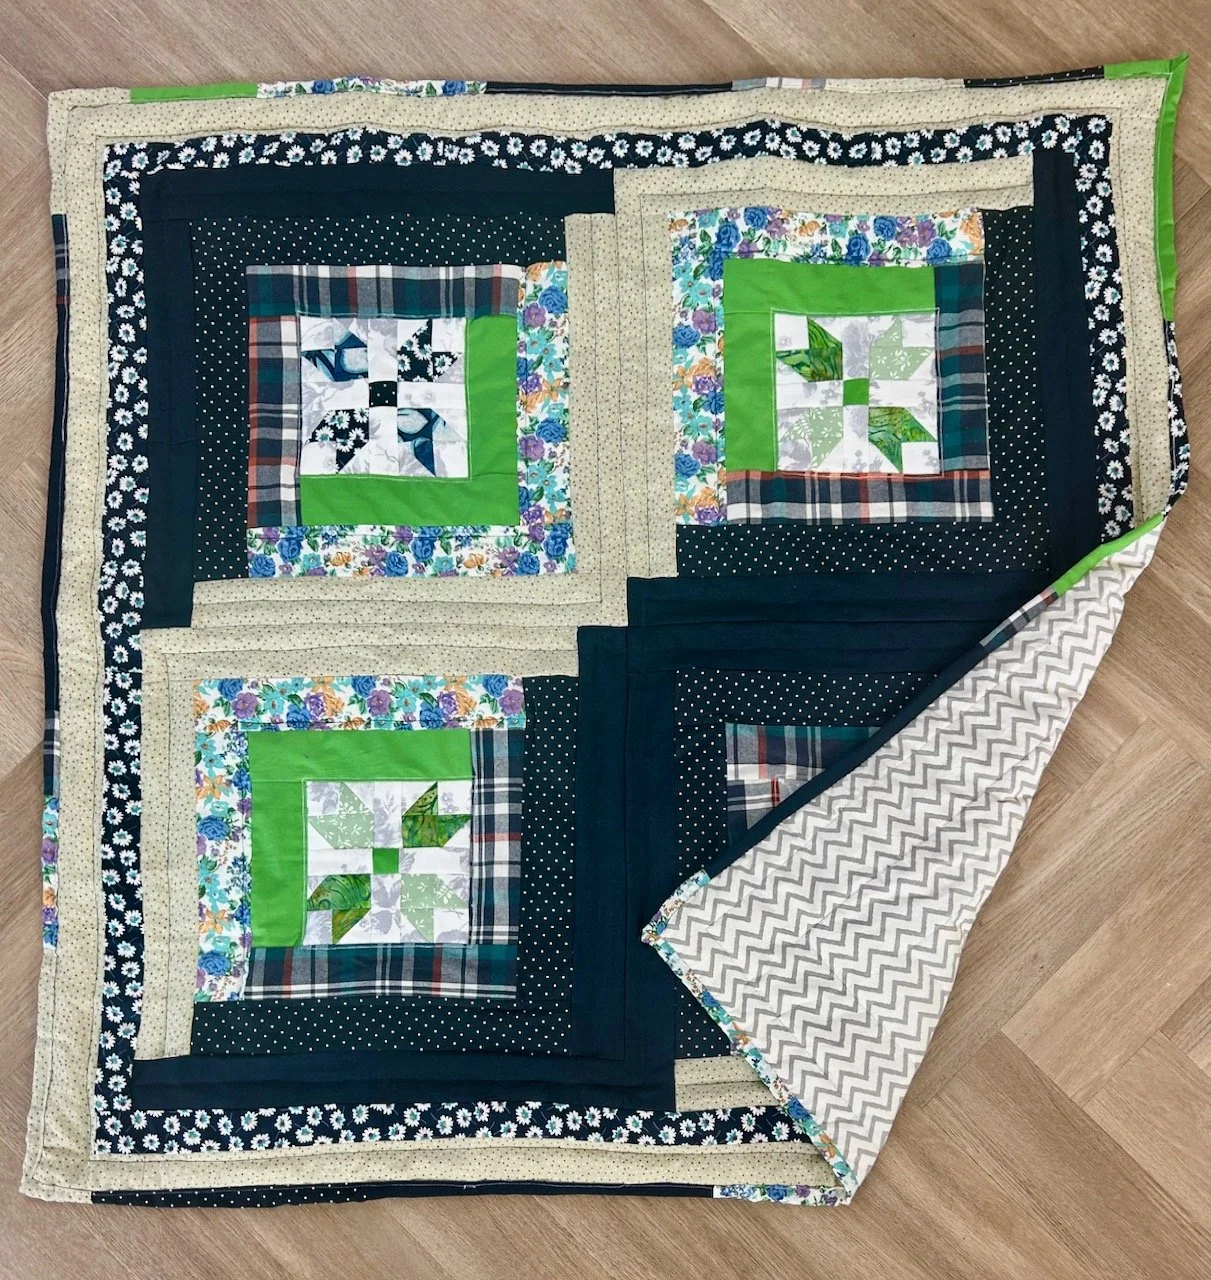
Well, I’ve done better than that - I’ve actually finished the quilt.

And I mean completely finished.

Yes, I’m as shocked as you are!

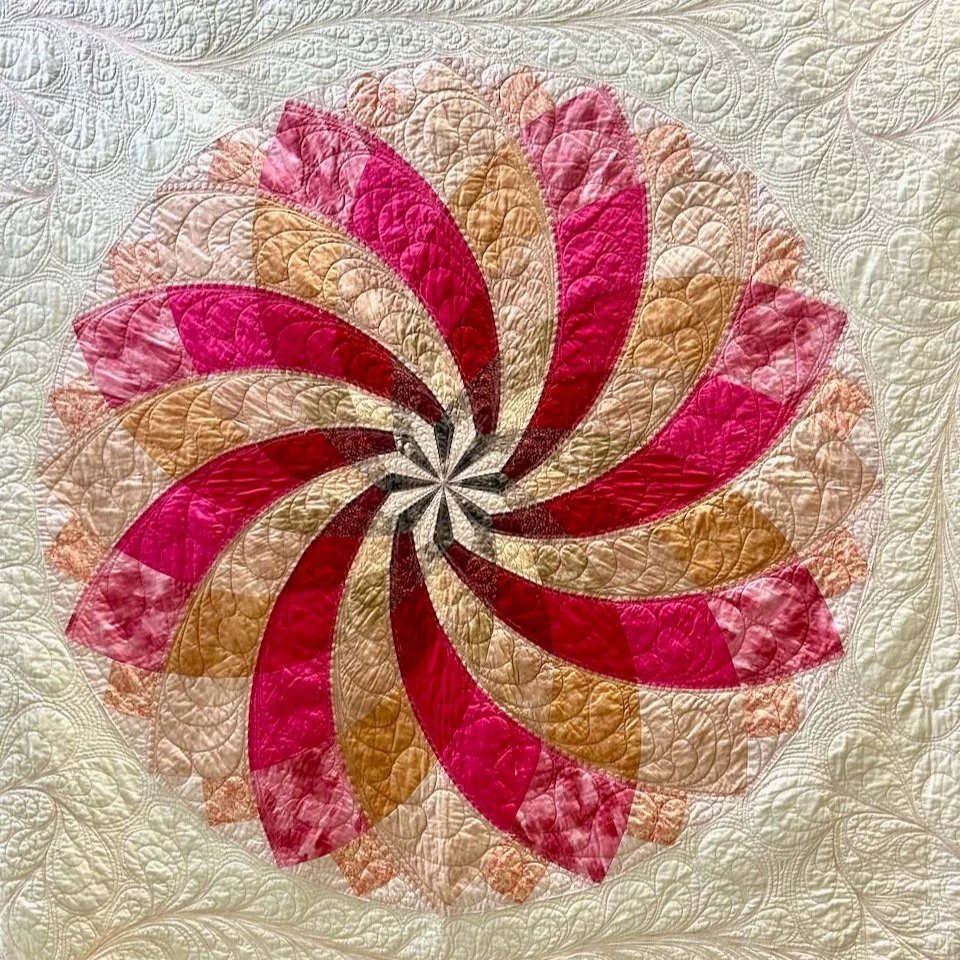
I think it worked out pretty well.

While making this I have learnt and relearnt much - it’s been a very long time since I completely finished and quilted a quilt. And while I love the fancy designs that come from quilting by long arm quilters, I was happy to keep the quilting on this one simple, taking a ‘stitch in the ditch’ approach.

I found the grey duvet cover that I had in mind, and I think the colour works well and the narrow border frames the top nicely. I’ve also impressed myself with the scrappy binding, and took the same approach adding this as I did when I made my sewing machine mat earlier in the year. I’ve since read in an online craft group that many people machine stitch the binding on the back and do their hand sewing to attach the binding to the front. Thankfully in sewing there are no hard and fast rules (or not many anyway), and I think my version of doing the exact opposite works well for me.

Hand sewing the binding could be one of those tasks that gets put off and off; I was fortunate that the timing coincided with my monthly sewing group evening and that was the perfect project to take along and chat as well as sew. The fact that I made huge progress in those two hours - almost two sides sewn - and the compliments from other members were enough to convince me to finish this in just three hand sewing sessions. And I’m so glad I did!

My plan is to donate this quilt to Project Linus UK, a charity whose mission is to provide love, a sense of security, warmth and comfort to children, who are sick, disabled, disadvantaged or distressed through the donation of new, homemade, washable quilts and blankets. 

I was concerned that it wasn’t ‘perfect’ but I’m also not sure that anything homemade is ever really perfect, or as perfect as whoever makes it wants to be, and I’m also sure that only they will see many of the ‘imperfections’ too. And a quilt that is used and loved is way better than no quilt at all.

Are there more Flying Geese on the horizon?

The short answer is yes, but not quite yet.

I enjoyed sewing the Flying Geese and like how they turned out, though I’m not planning on repeating this pattern for my next ‘geese quilt’ - I’ve decided I want a lot more of the geese blocks instead. I’ve seen a couple of designs that I like, one which is made of solely of the flying geese blocks, and another which mixes plain squares. I’m currently deciding between the two, and wondering in reality just how many geese a king size quilt would need.

Well I know its lots, but how many and my tolerance levels are the question.

An interim plan

But as ever a new plan has formed.

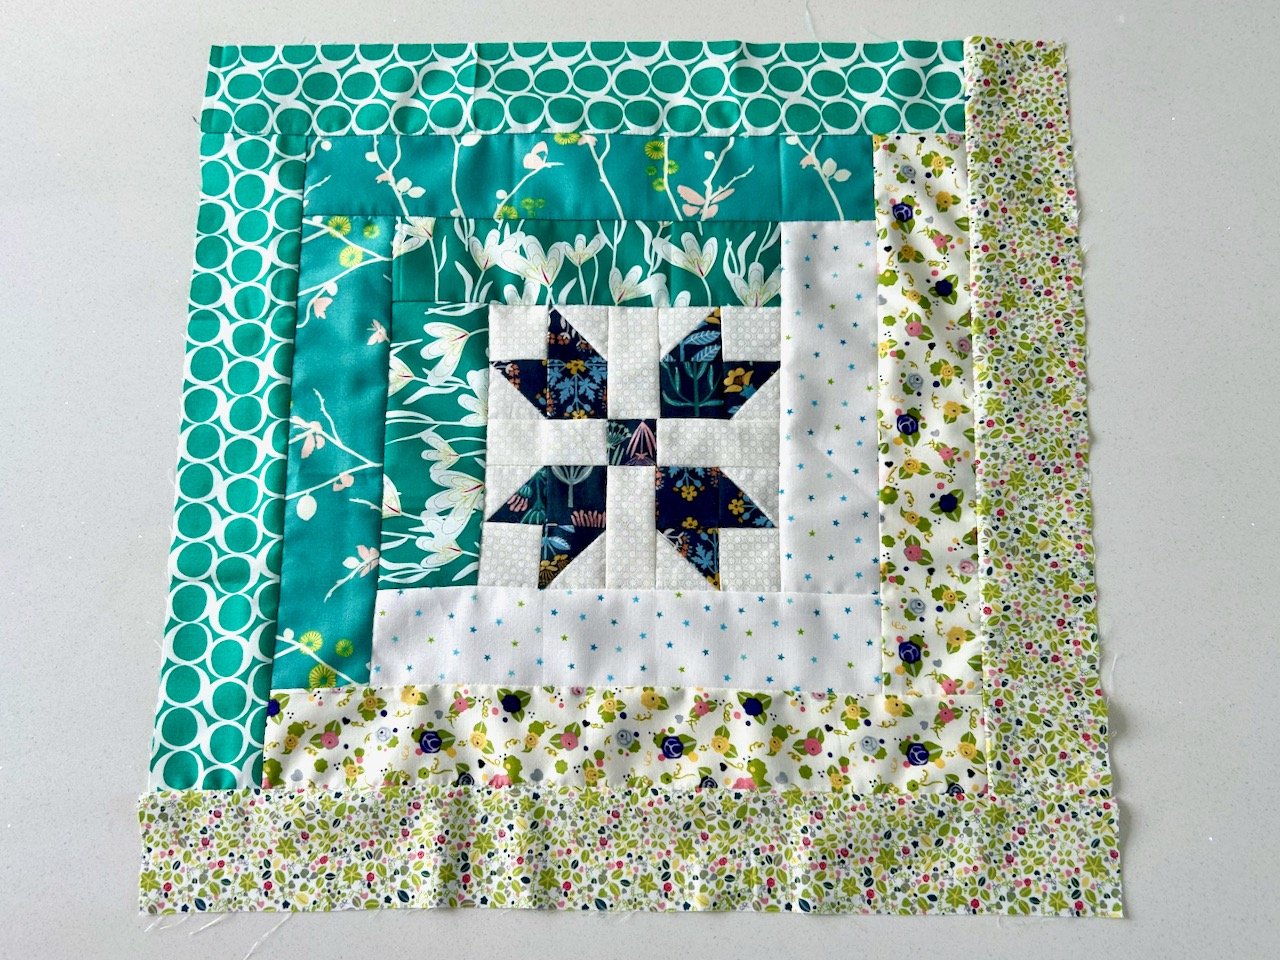
I remembered that I had some blocks left over from my Great Granny Square quilt top (which while sewn together has got no further), even though I’d used some to make reusable kitchen towels by backing the quilt block with towelling squares, but I wasn’t sure how many.

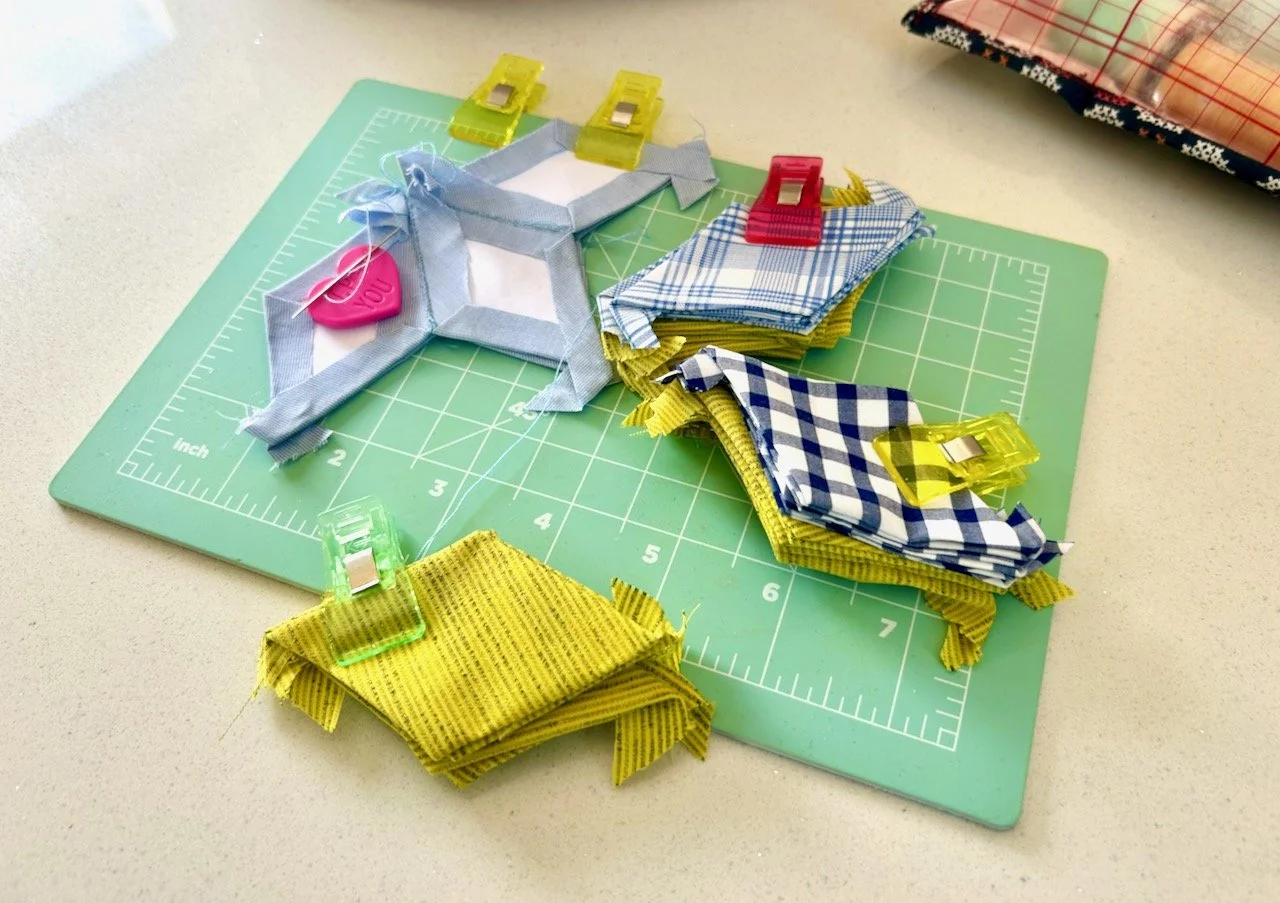
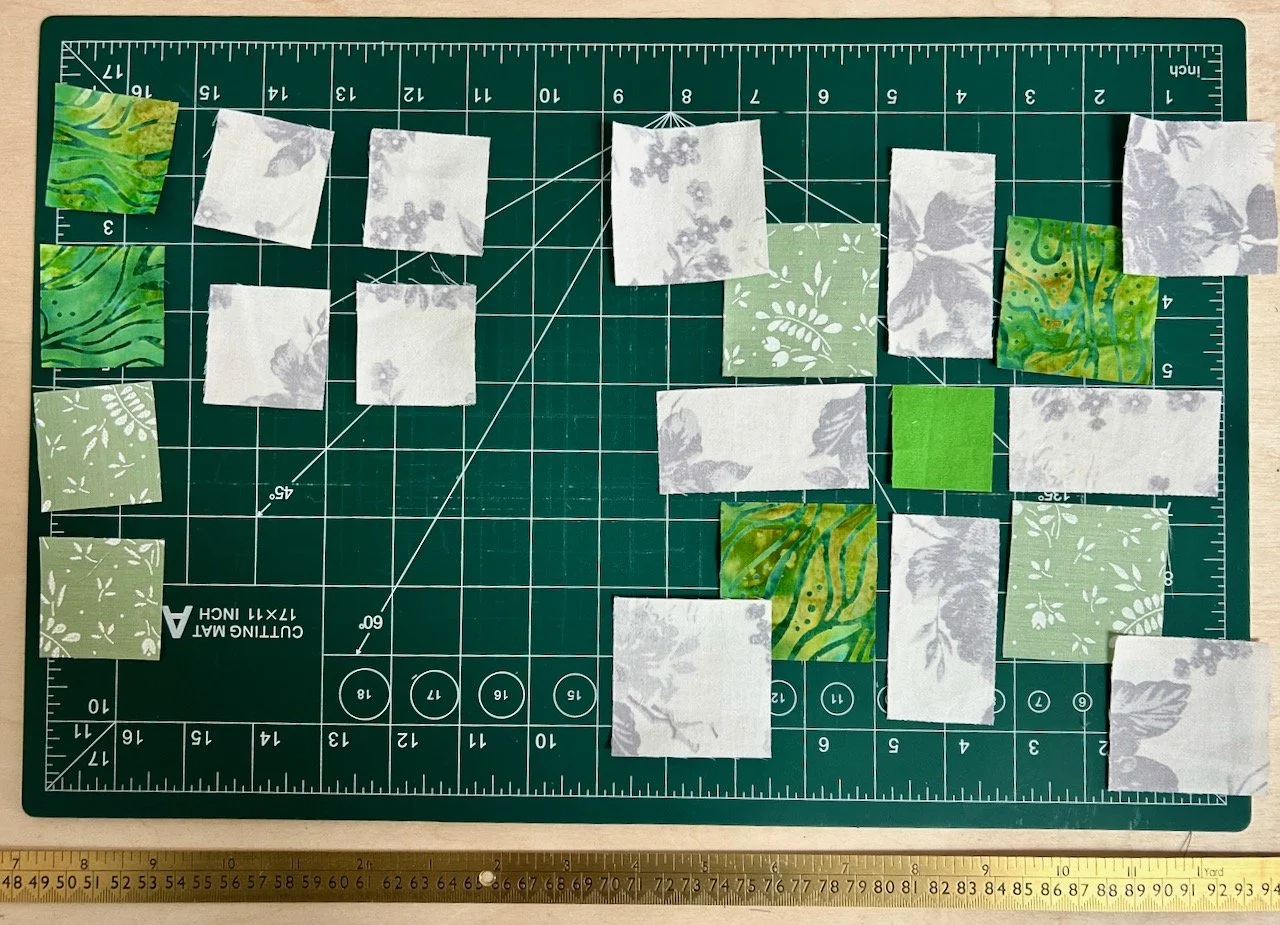
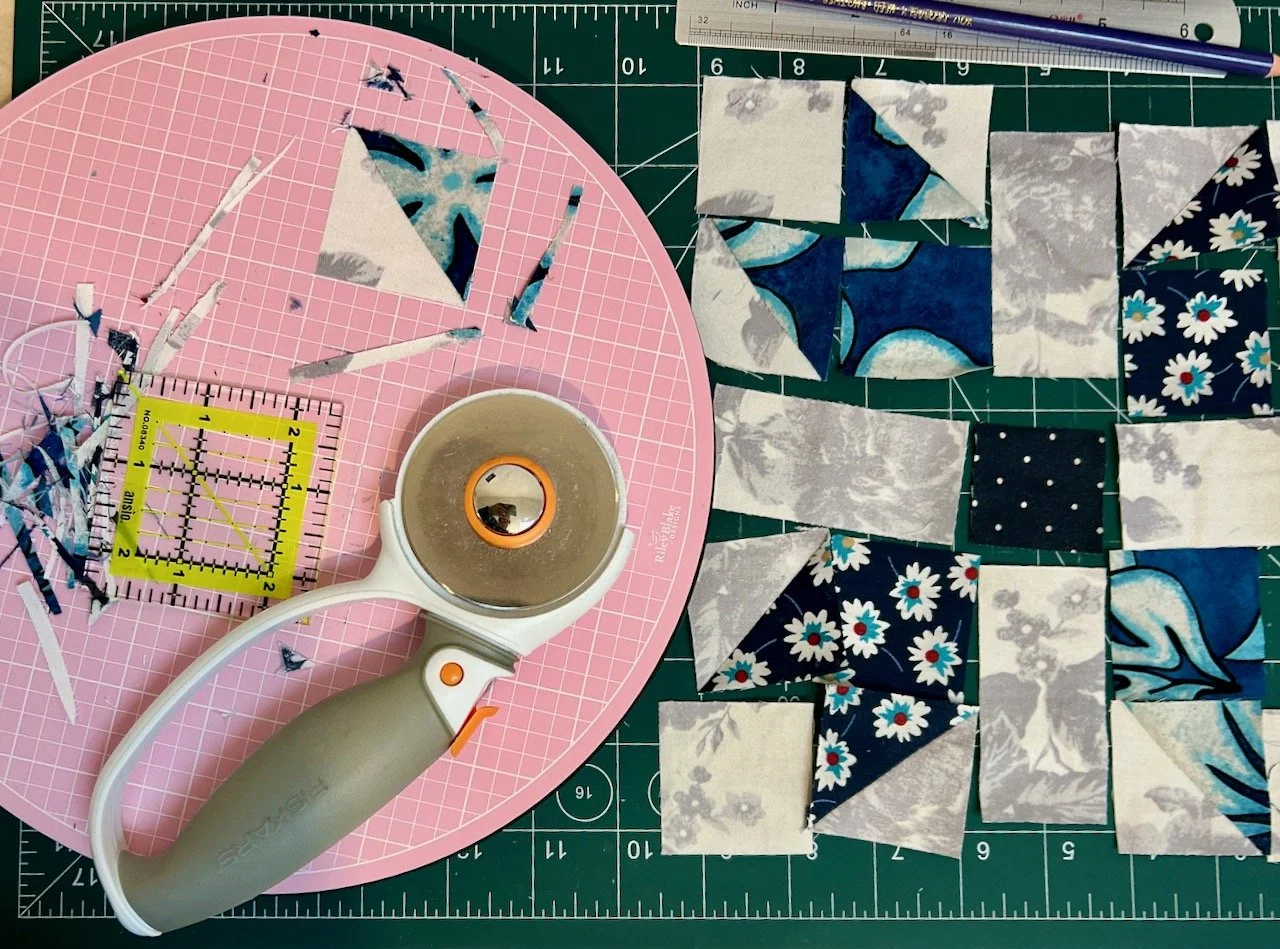
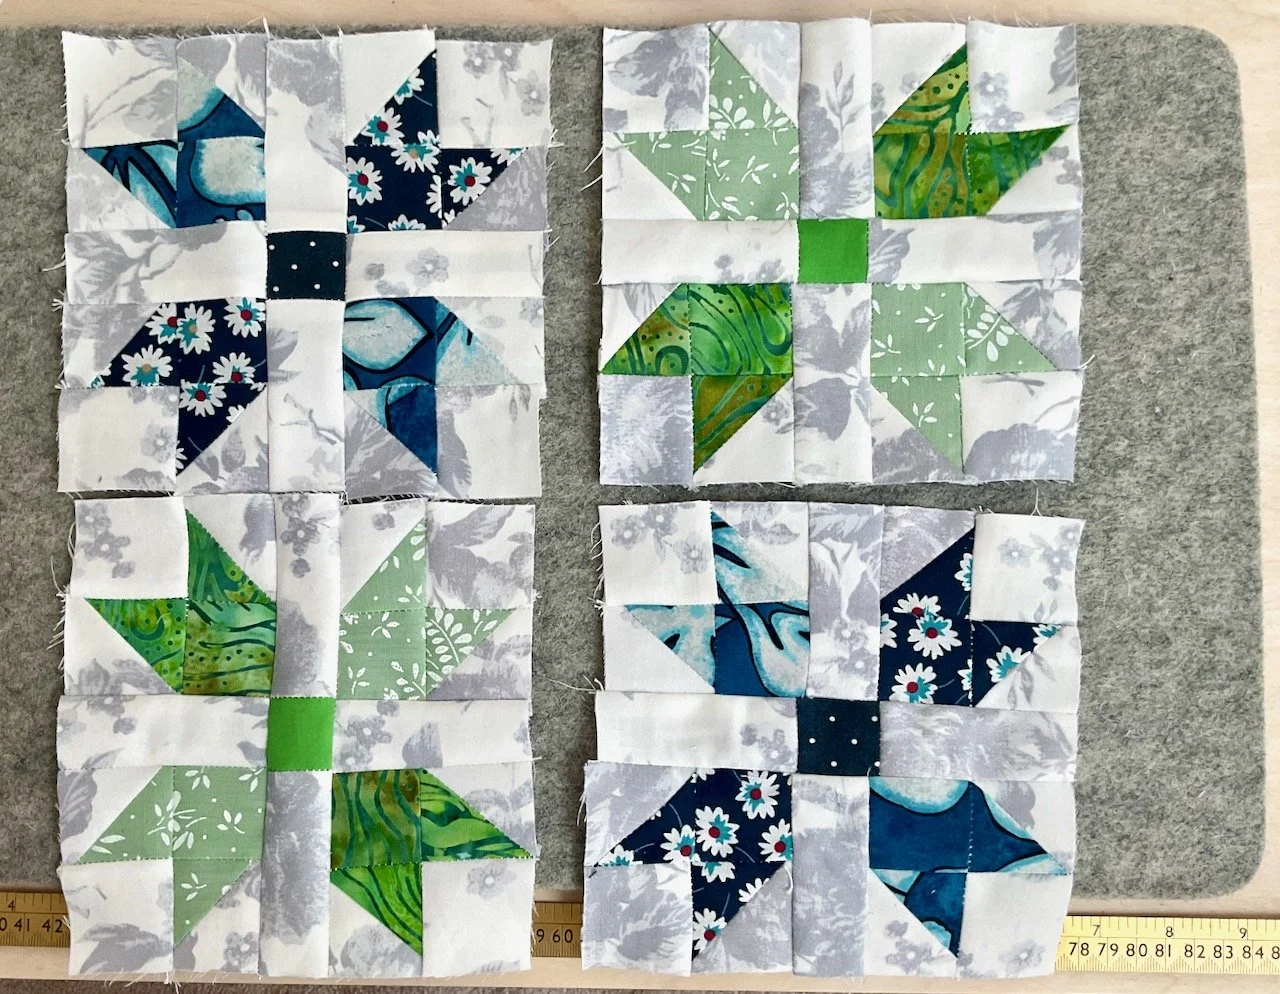
It turns out I have three of these blocks left, which is also a third of a small quilt. So I reckoned that if I added another six blocks I could make another quilt and therefore have two to donate at once, so that’s what I’m working on. I’m trying out another new-to-me-block - the Drunkards Path block, no sniggering please!

It’s early days though, but as ever I have a plan for choosing these too - but all that’s for another day, for now I’m enjoying my perfectly imperfect finished flying geese quilt, and that new block.

PostCommentLove

Making myself some chunky fabric weights

Once I’d cut out the pieces for my outside cushions I was left with a strip of fabric that I knew I wouldn’t use in future cushions, and I wondered if it might work for some chunky pattern weights which I’d had my eye on making since that bag making course I went on in May. I have some smaller pattern weights which I use, but I used some of these on the course, and they were really good at holding the fabric in place on the table, which if you only have a small space to work in is a life saver.

Clearly I could just have easily added the leftover fabric to my stash, but I thought I’d strike while the iron was hot and so I looked out the pattern that the tutor had shared on the course, and worked out with some small adjustments I could make it work. And they’re really easy to make, trust me.

All you need is a rectangle of material, mine was a bit smaller than the suggested 11cm x 21cm, a piece of ribbon for the finger loop, plus something relatively heavy to fill them with. I used rice for these, but would consider adding some dried lavender along with the rice to any future ones I make - as rice alone doesn’t have the greatest smell. I wouldn’t use too much lavender, or lavender on its own as I’d be concerned that the oils might seep through the fabric and onto the fabric I was cutting out.

You simply fold the fabric in half to form a square, insert your ribbon at the fold and then sew along the top and side open edge, leaving the bottom edge unsewn. Then open the bag so the seam is now in the centre, and sew but remember to leave a gap so you can add the filling.

Turn it through, push the corners out and fill with rice (it’s definitely worth putting it into a tray to catch the spilled rice - trust me) and then sew the gap closed.

Simples. And really useful too.

There’s plenty of free patterns for these kind of fabric weights online - if you want more detailed instructions try googling ‘triangular fabric weight patterns’ or ‘pyramid fabric weight patterns’ and you’ll be able to choose from written or video examples.

And of course using the outdoor fabric means that mine will be handy for outside sewing, or cutting out - though not that I’m actually planning any of that!

Trying out some patchwork Flying Geese

Back in January at the Newark Quilt Show I bought a kit to make a quilt, and it’s been on my ‘to make’ list ever since. Shortly after the show I remembered that the kit was for a lap size quilt, which to be honest I don’t have much use for, and so my plan was to ‘collect’ other materials to extend this kit into a quilt that we could use on at least a double bed, and so I’ve been picking up fabrics as I see them, here and there as you do.

I realised though that I probably had enough to be going on with and that it’d probably be a good idea to see what I’d actually got. And so I pulled them all out, and realised that while they ‘went’ with the fabrics in the kit, I actually liked the fabrics I’d collected a lot more than those in the kit.

Oops.

I mean there’s nothing wrong with the fabric that came in the kit, it’s just that (as you’d expect) the ones I’d chosen for myself were much more me, my style and my colours and when they were next to those from the kit they popped, and the ones from the kit felt almost two dimensional.

Clearly another plan was needed. And it was quite an obvious one too - I’d make the kit as it was designed, and use that as a practice for making the Flying Geese blocks which I’d not attempted before. It’d also be a good test to see if I liked this pattern, and could be bothered to do enough of the Flying Geese blocks for a larger quilt.

And this week I got started on those geese.

a flock of flying geese sewn using the chain method part-way through construction in front  of my sewing machine

I added the lilac and cream material from my stash, while the mottled blue fabric was part of the kit. I’m not sure its intended purpose was for the geese, but well, it is now. Over a couple of afternoons I made enough of the flying geese blocks to follow the quilt kit instructions - amazingly I made just the right number without too much effort, and without counting too hard. Phew.

The first set I made I whizzed through and was perhaps a bit more cavalier than perhaps quilters are by nature. I didn’t iron my seams, or trim my blocks as I was keen to see how they worked out, and where my ‘points’ were. They worked out just fine, though I can see the advantage of taking it a bit slower, and so for the second larger batch of blocks that’s exactly what I did. The end result is pretty much the same though, but I think assembling the second batch with the other squares will probably be easier, and so it’s probably worth the extra time.

I used the ‘no waste’ method of creating the blocks and was pleased with how that went - it’s much less confusing in practice than the written instructions led me to believe - and I lost none of my points in any of the blocks, so that’s something.

I was surprised at how quickly they came together, and after just three (part) afternoons I was able to start playing about with the layout - this is just one of the iterations.

It’s not too bad is it, so that’s my challenge for the next few weeks - to complete this smaller size quilt top, and to dig out some suitable material for the backing. In my head, I’m remembering an old grey duvet cover which will work just fine. I just need to remember where I put it!

And then to reevaluate if more flying geese are on my horizon, or not.