


I’ve made another quilt as part of my quilting ‘stretch’ project this time using the block from Sherri at A Quilting Life’s mystery block a month. As I said then I don’t know if I’ll manage to make a quilt a month, but I won’t really know unless I try…
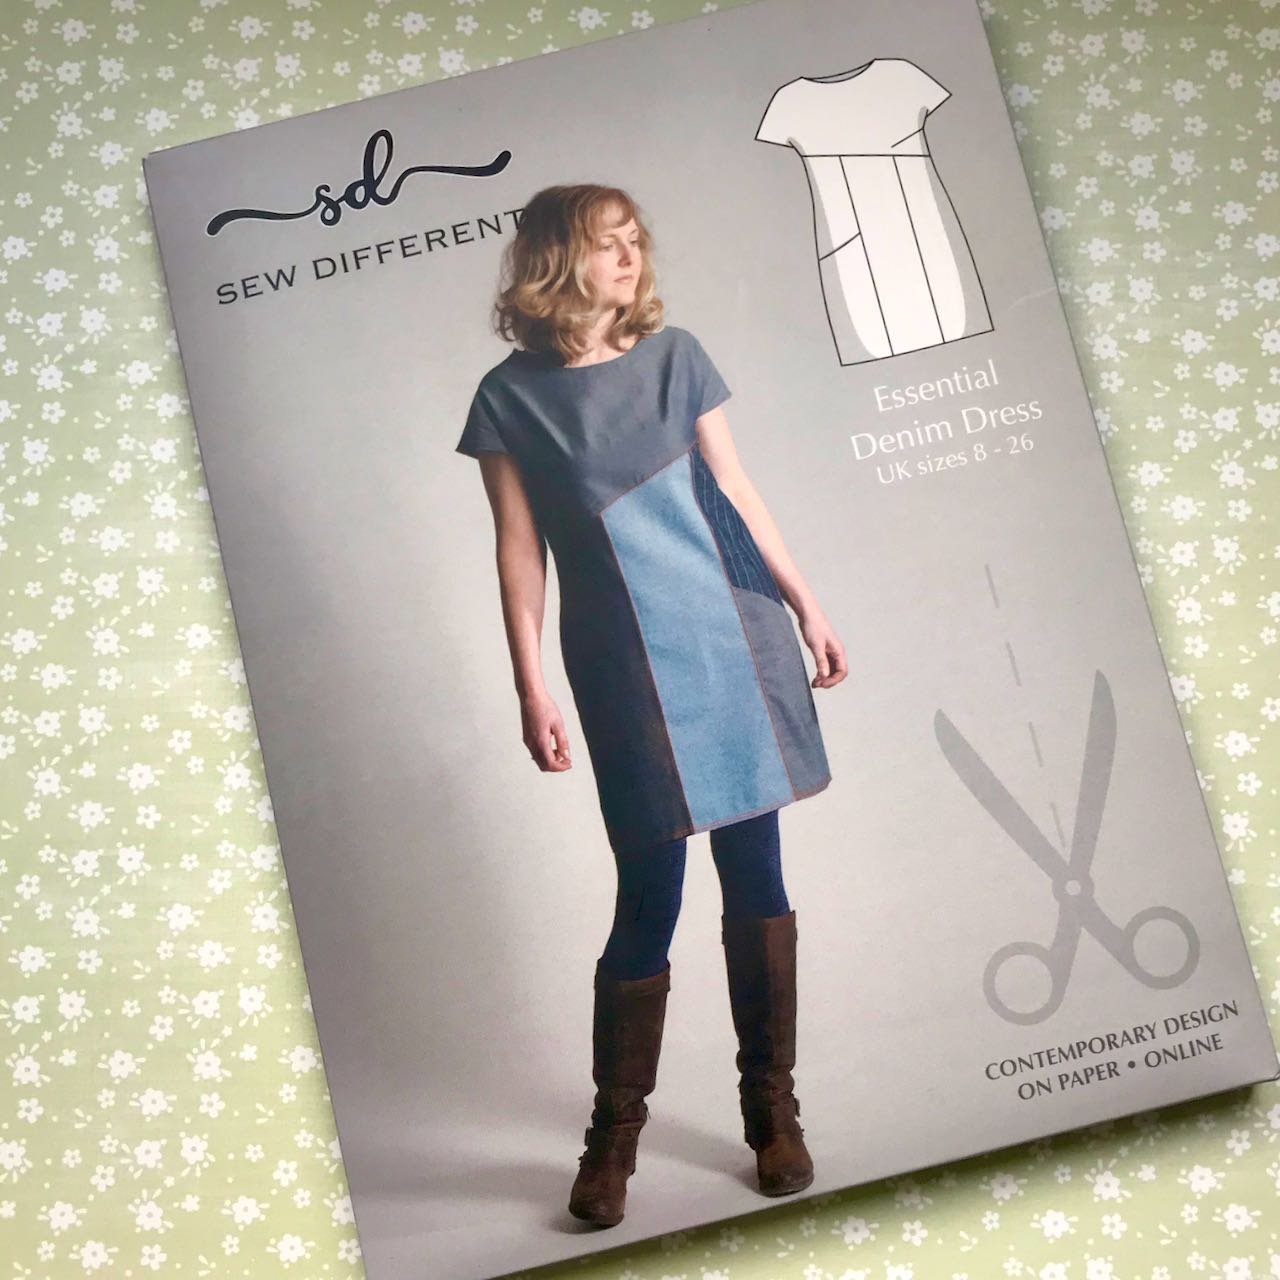
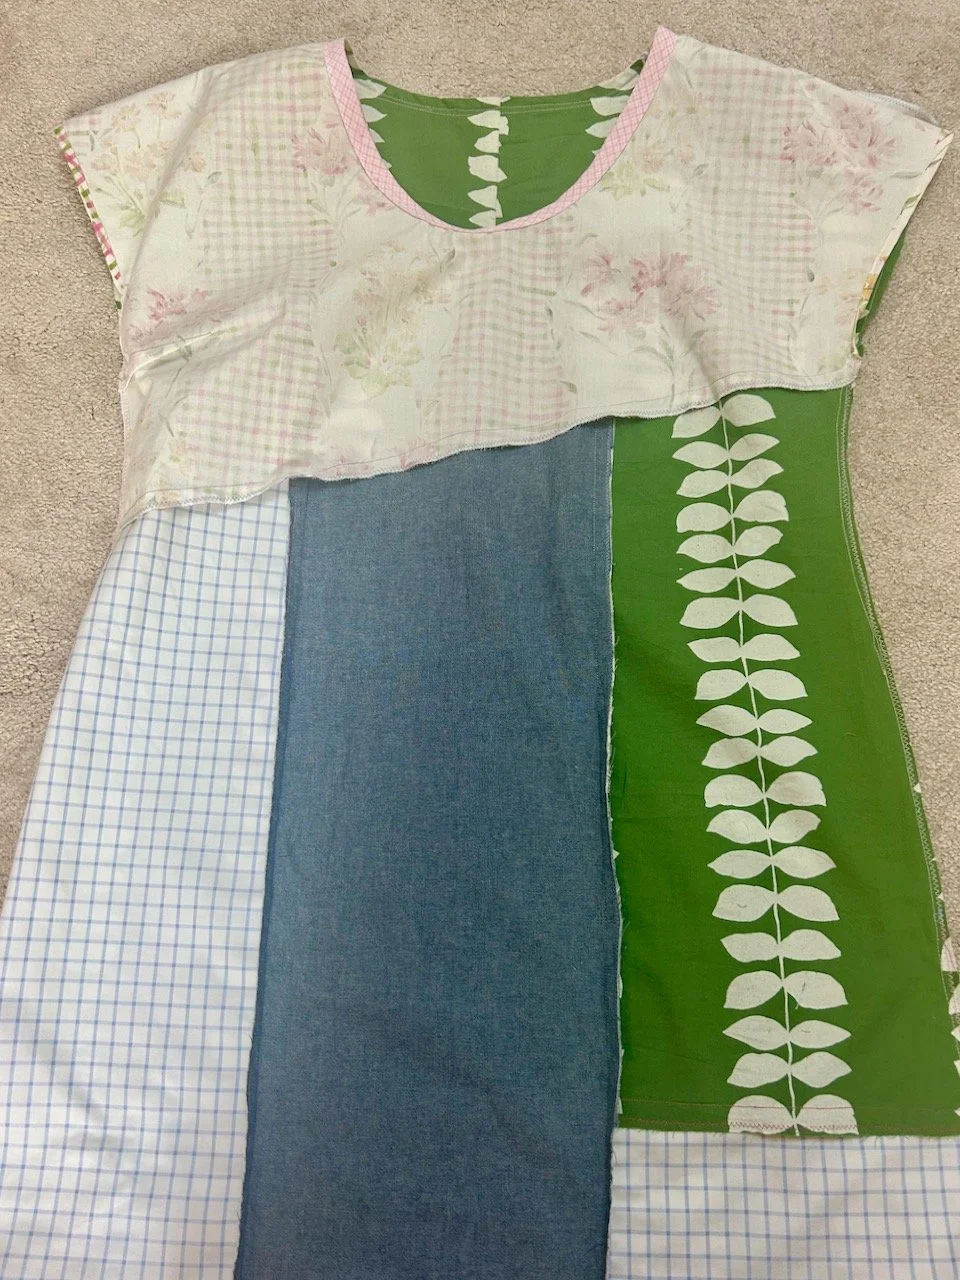
And as I said in my recent Quilty Update I’ve realised that this stretch project is dominating my sewing, so I need to work out how to change that so I stand a chance of achieving more of the quilts and other projects on my list. Small steps and all that, but as you’ll have seen I’ve finally made myself a dress, so there’s some hope!
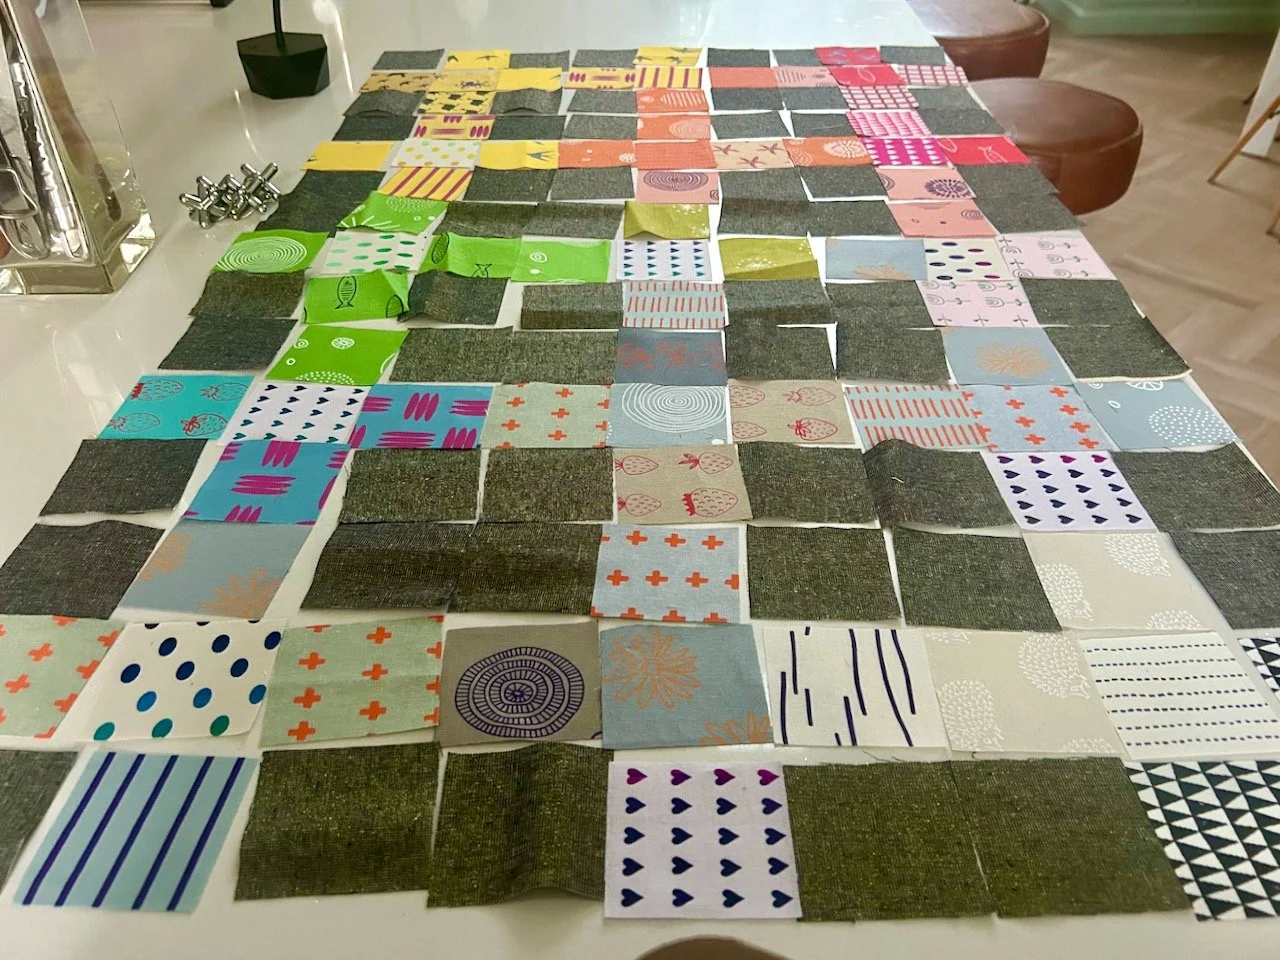
I’m trying not to beat myself up too much for not finishing another quilt, even though I gave myself a bit longer to do this one since we returned from our trip. I’m looking at the positives, which are that given I started this one less than a week ago, it’s already at this stage with only the final steps to complete. And if you say the final steps of baste, quilt and bind quickly, then it really isn’t very much at all!
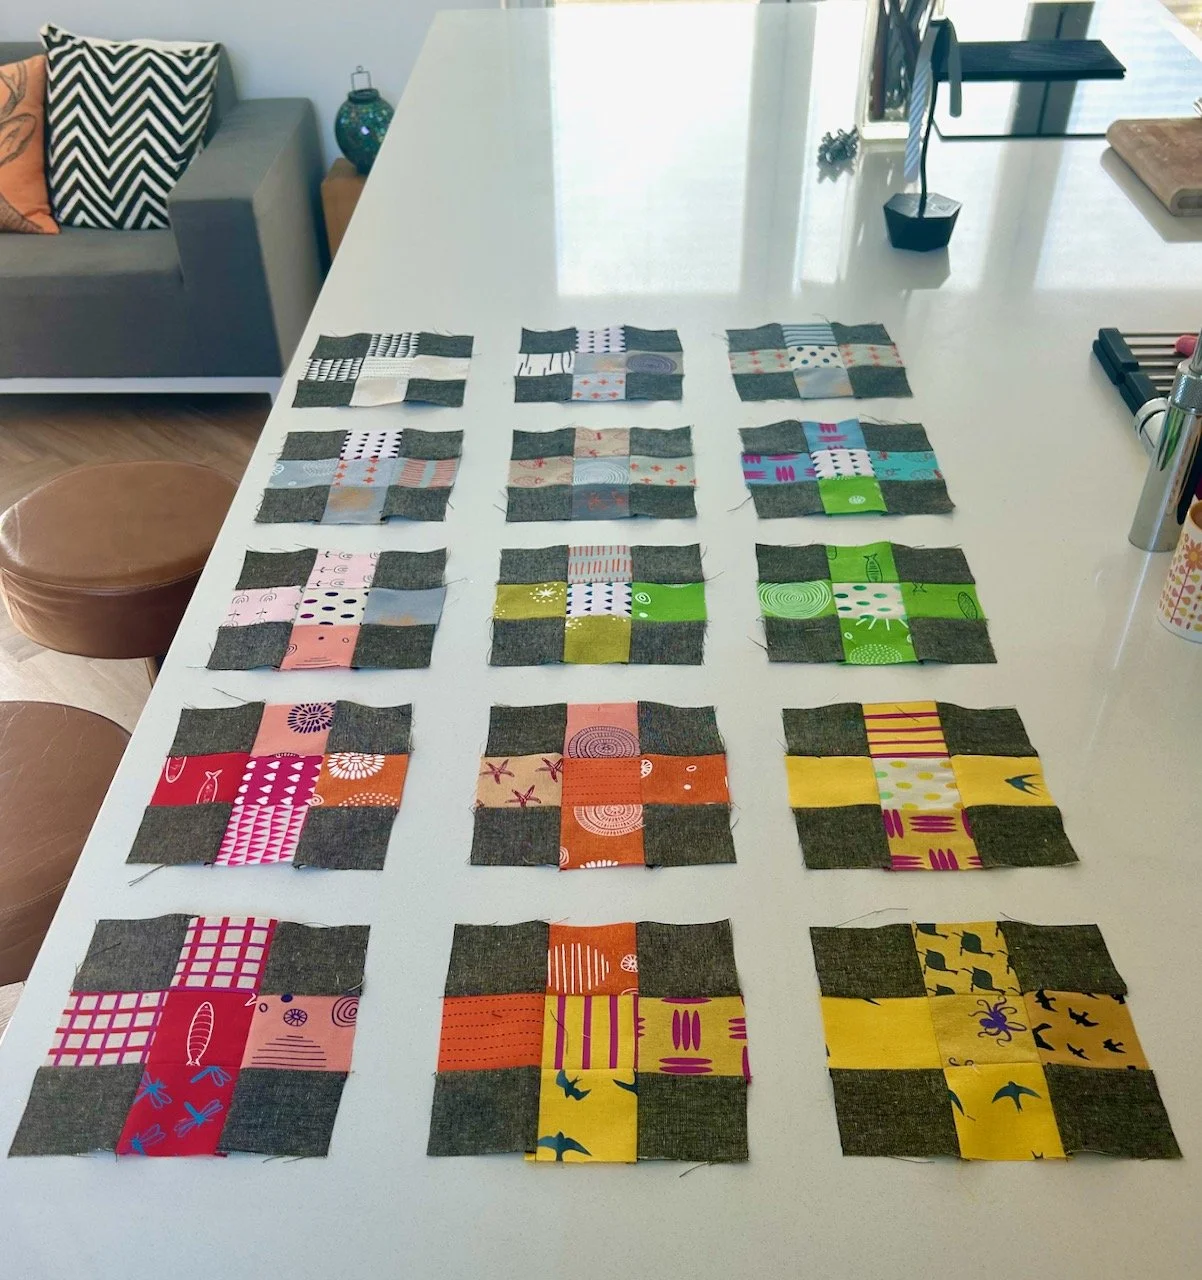
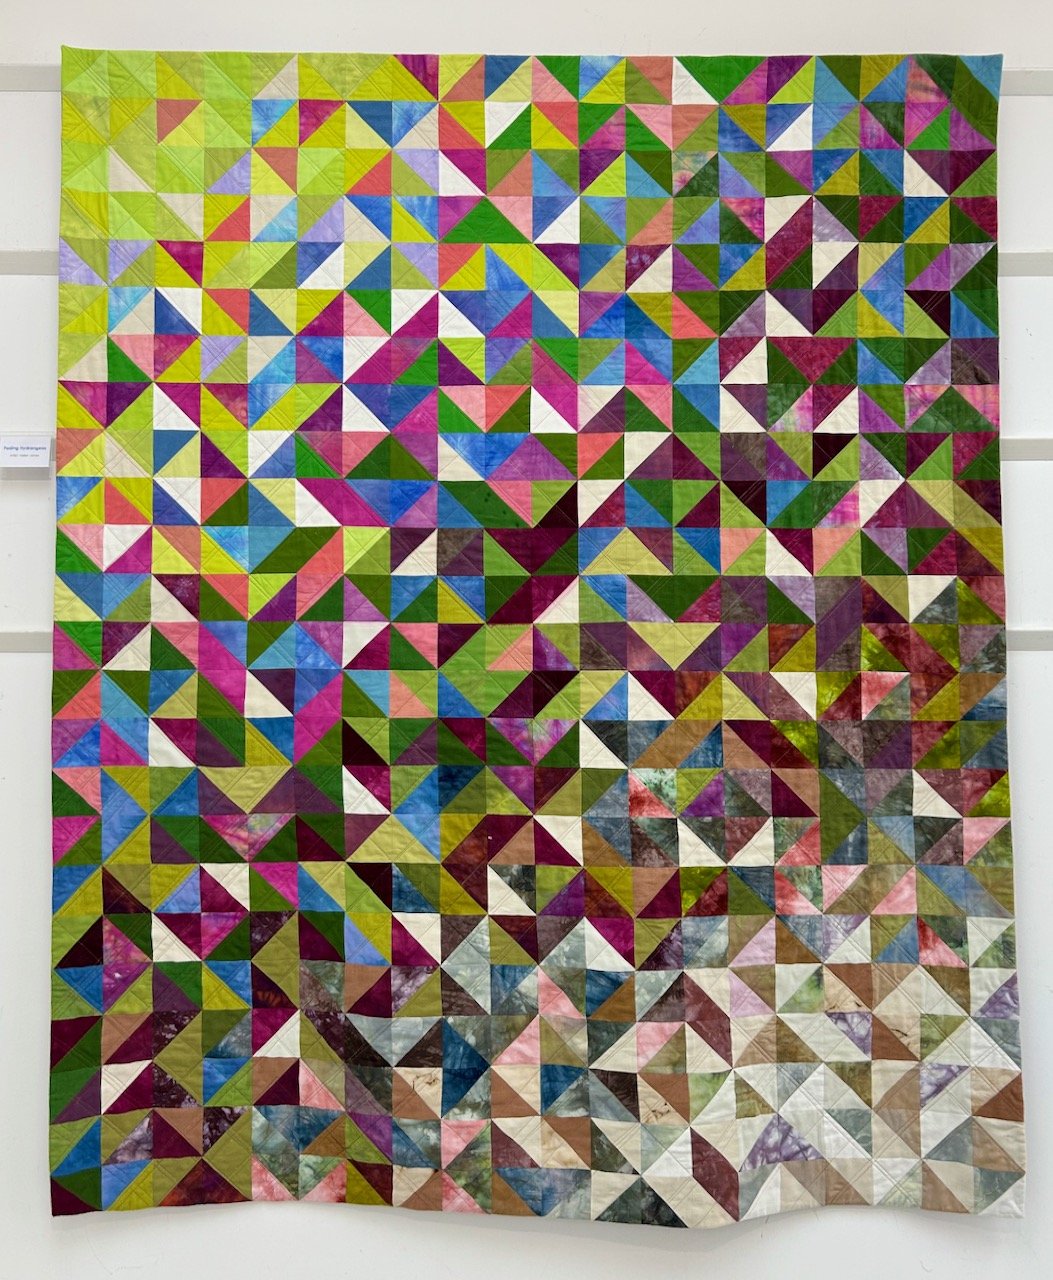
My seventh charity quilt
Last month I intended to include much more yellow in my Friendly Bee quilt, but when I pulled the materials from my stash it didn’t work out that way, so this month I was more determined. And more successful!
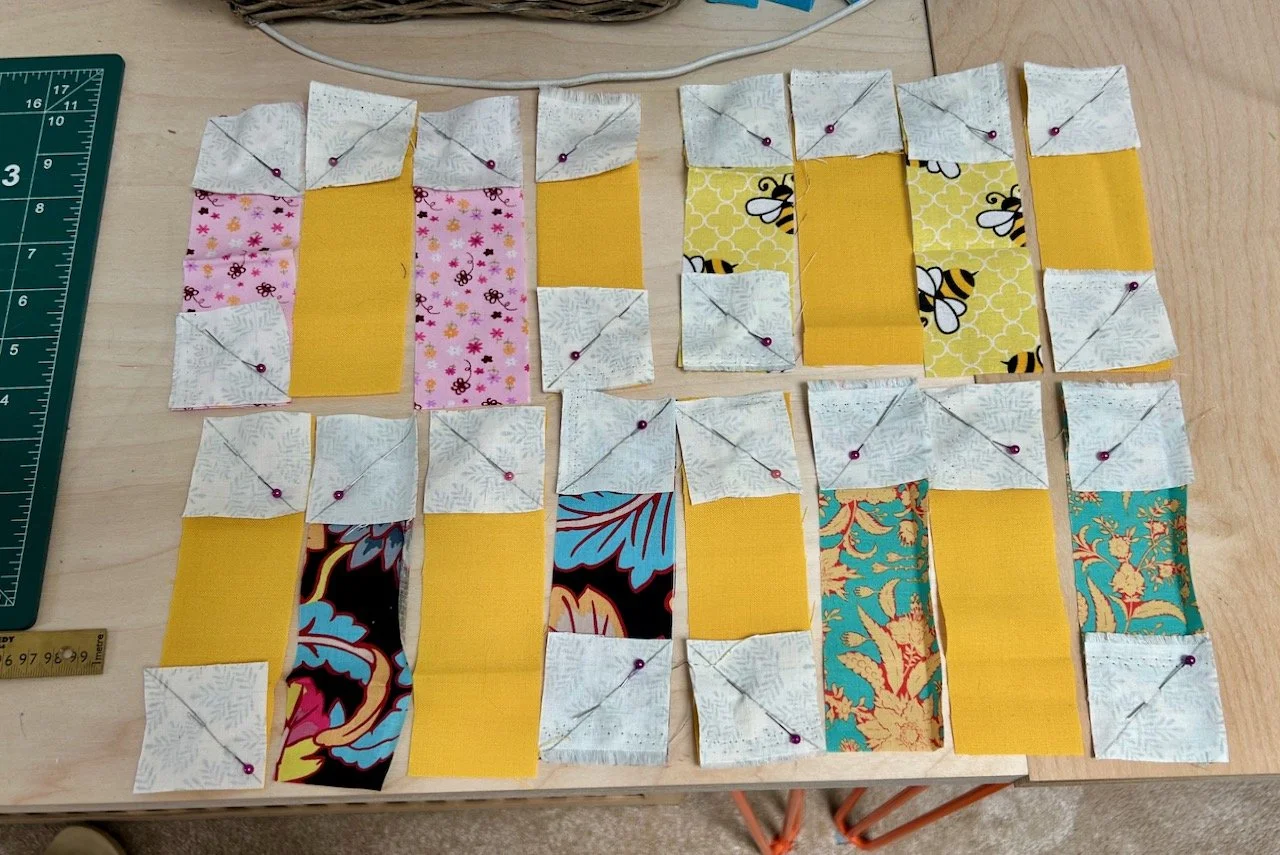
The materials I’ve used in this quilt are parts of four different fat quarters, along with some plain yellow strips from an old netball skirt for the flowers, and some white/gold material as the background and first border which was left over from the backing of last month’s quilt. The pleated yellow border is also from an old netball skirt, which also explains the name. The aztec patterned material is an old duvet cover, and the grey which I’ll explain later was also from an old duvet cover, which I used to back my first charity quilt with Flying Geese. Nothing goes to waste here!
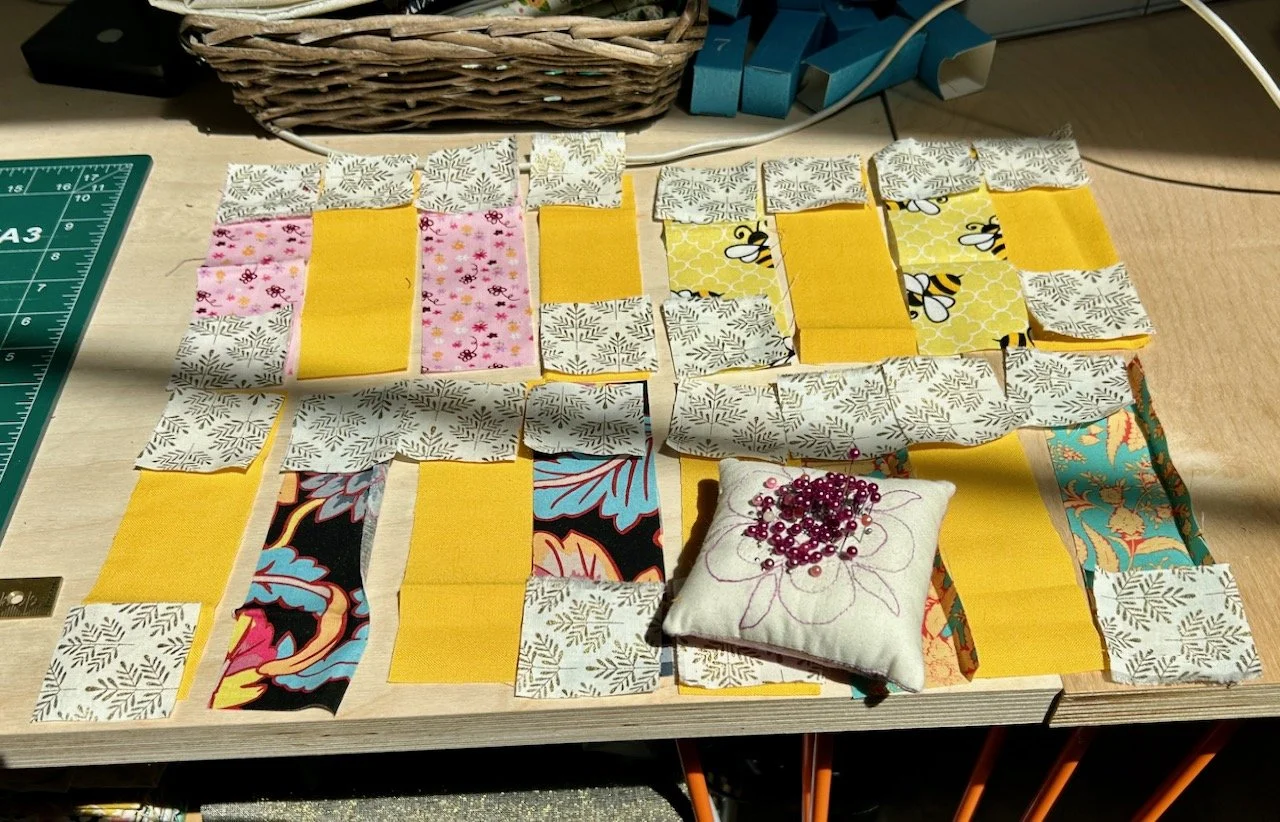
Once I’d drawn lines and pinned the HSTs (half square triangles) in place, it started to make more sense - well perhaps to me at this stage anyway.
Quite quickly four flowers emerged.
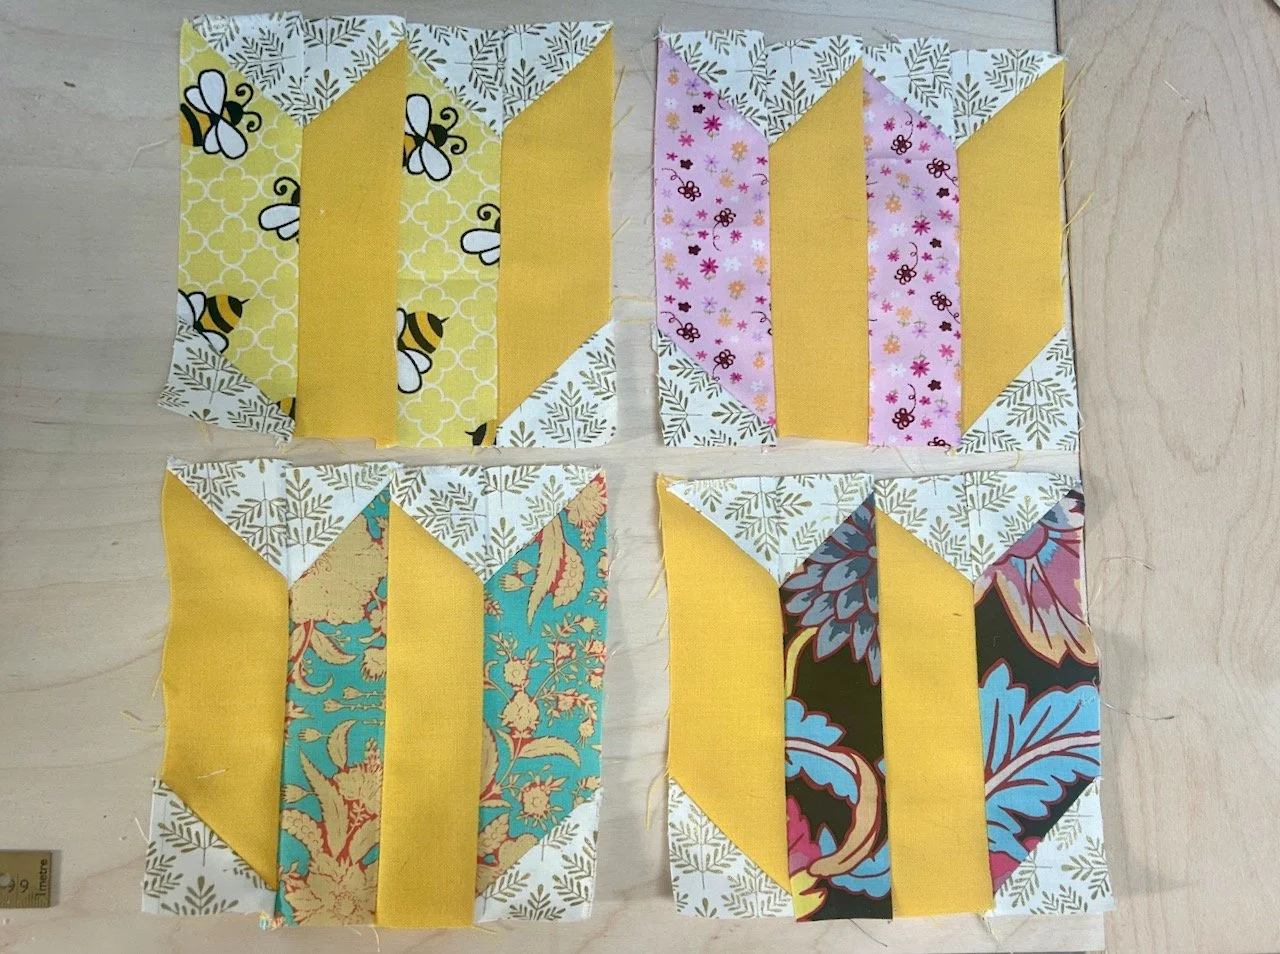
I was mildly irritated with myself as I hadn’t managed to match very many of my seams - but as we know, these are test blocks for my Mystery Block of the Month quilt, so at least I knew where I should focus my attention when it came to making that.
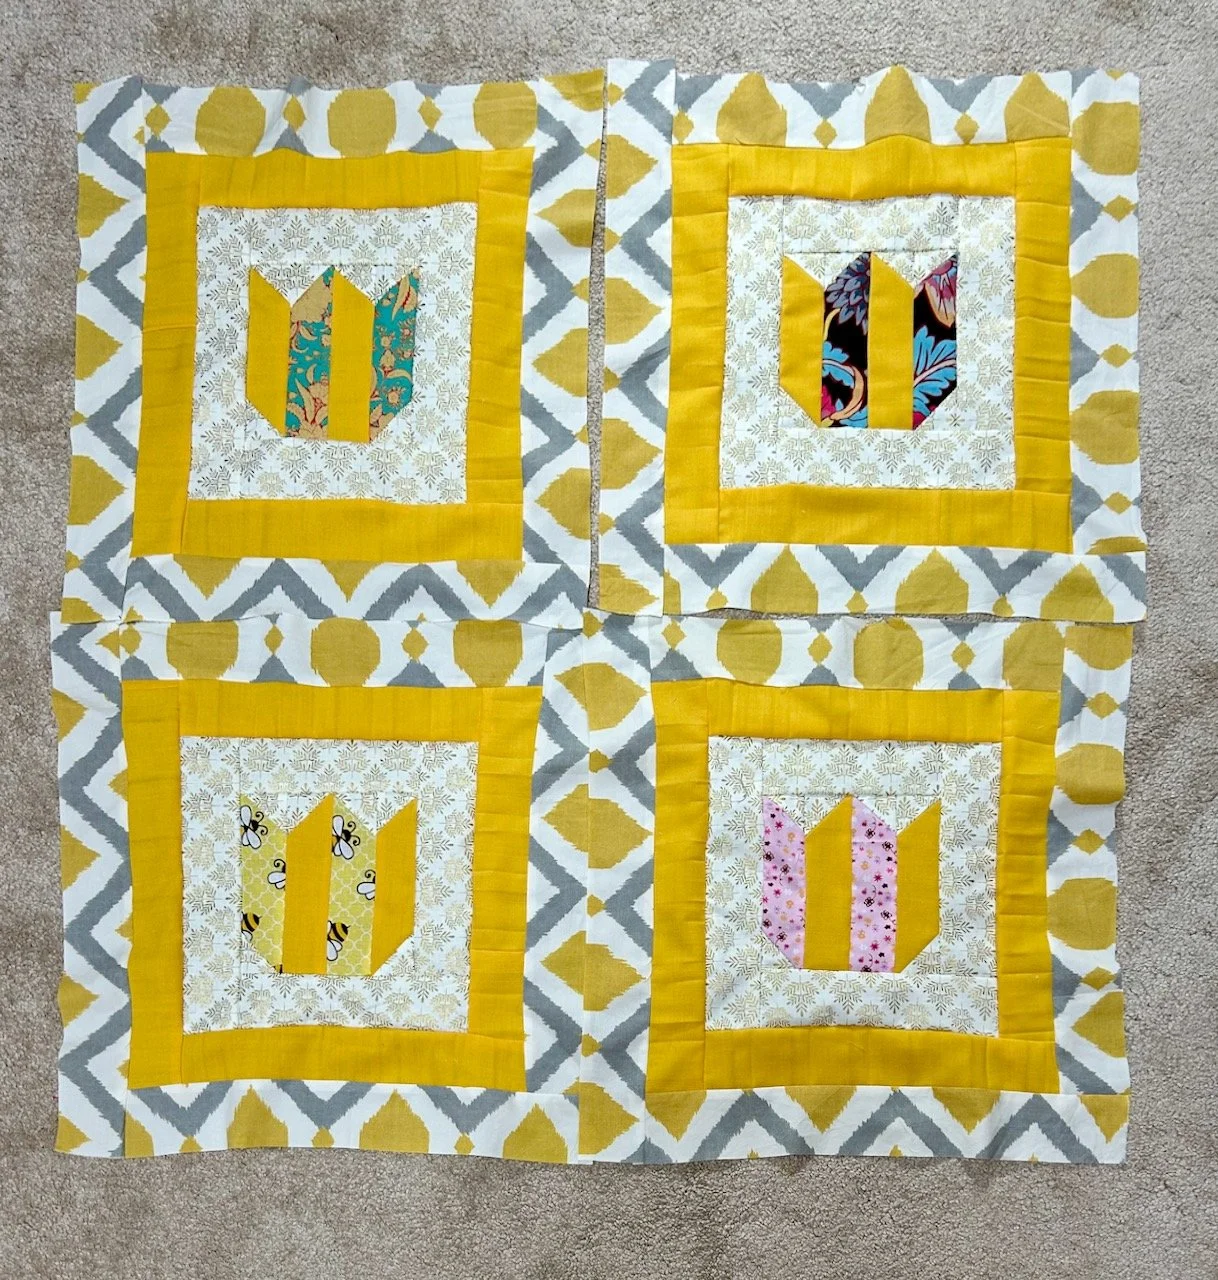
I added borders merrily, enjoying getting back to using my machine. This time I used the same material for all of the borders, mostly because I was that intent on having a cheery yellow quilt I wanted nothing to set me off track.
It was only when I laid the blocks out that I saw the nearly matching of the zig zags, which wasn’t my intention. It was close enough that it would look like I’d tried to pattern match, and failed - and I knew it would be distracting to my eye at least. But I also knew I wasn’t going to unpick them and try to get them to match.
So my plan was to add plain sashing to help distract my eyes - and I think it works. Phew.
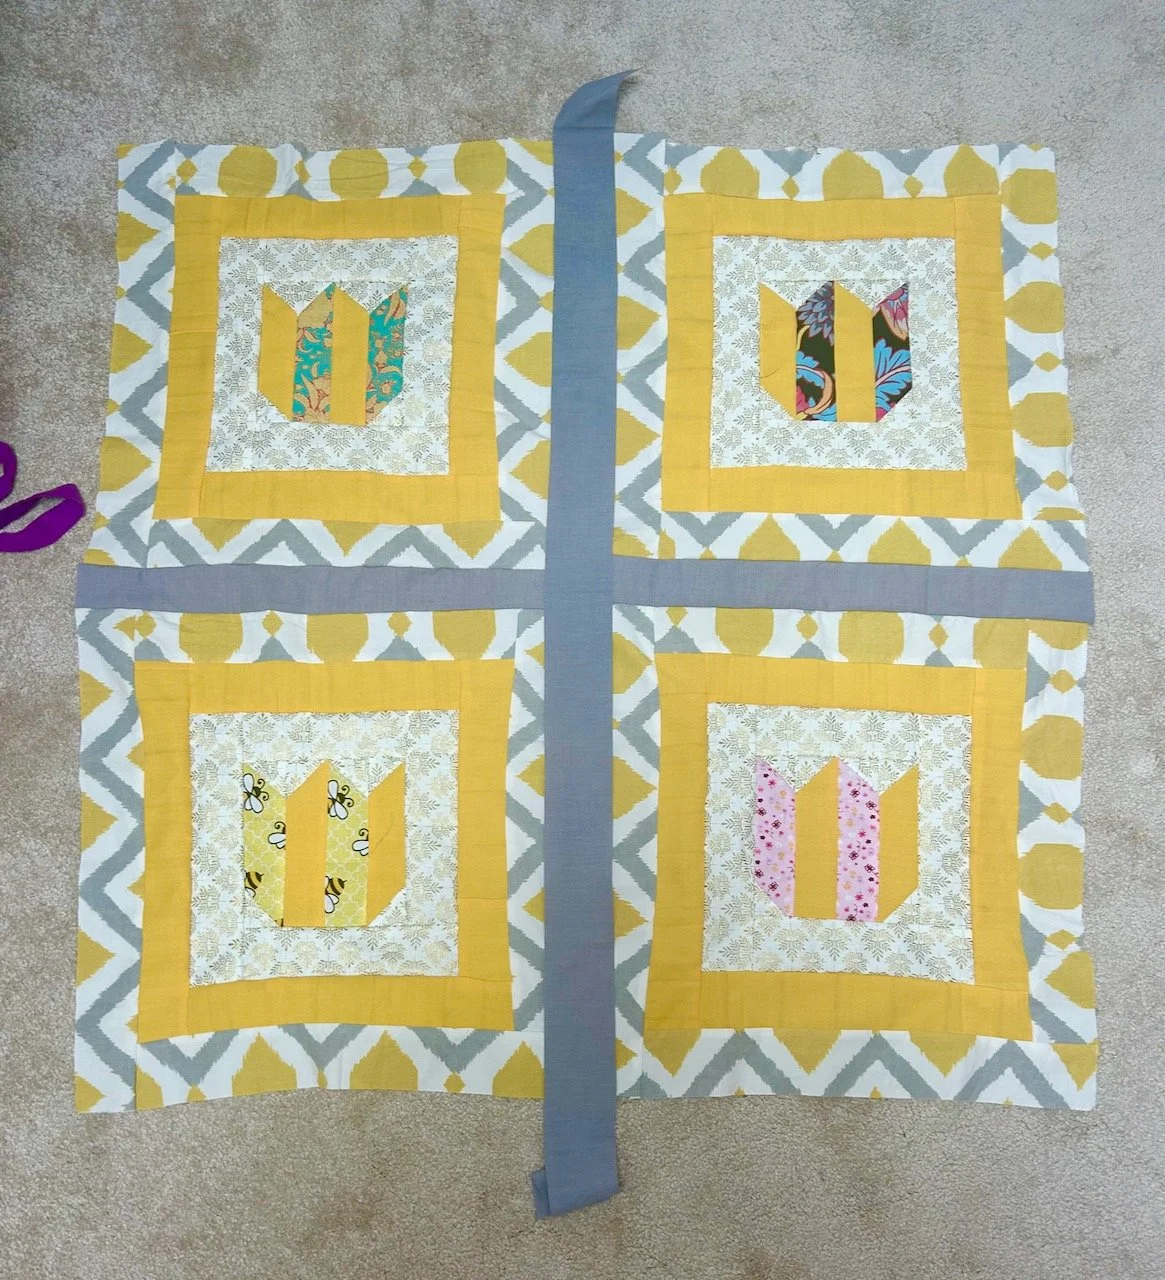
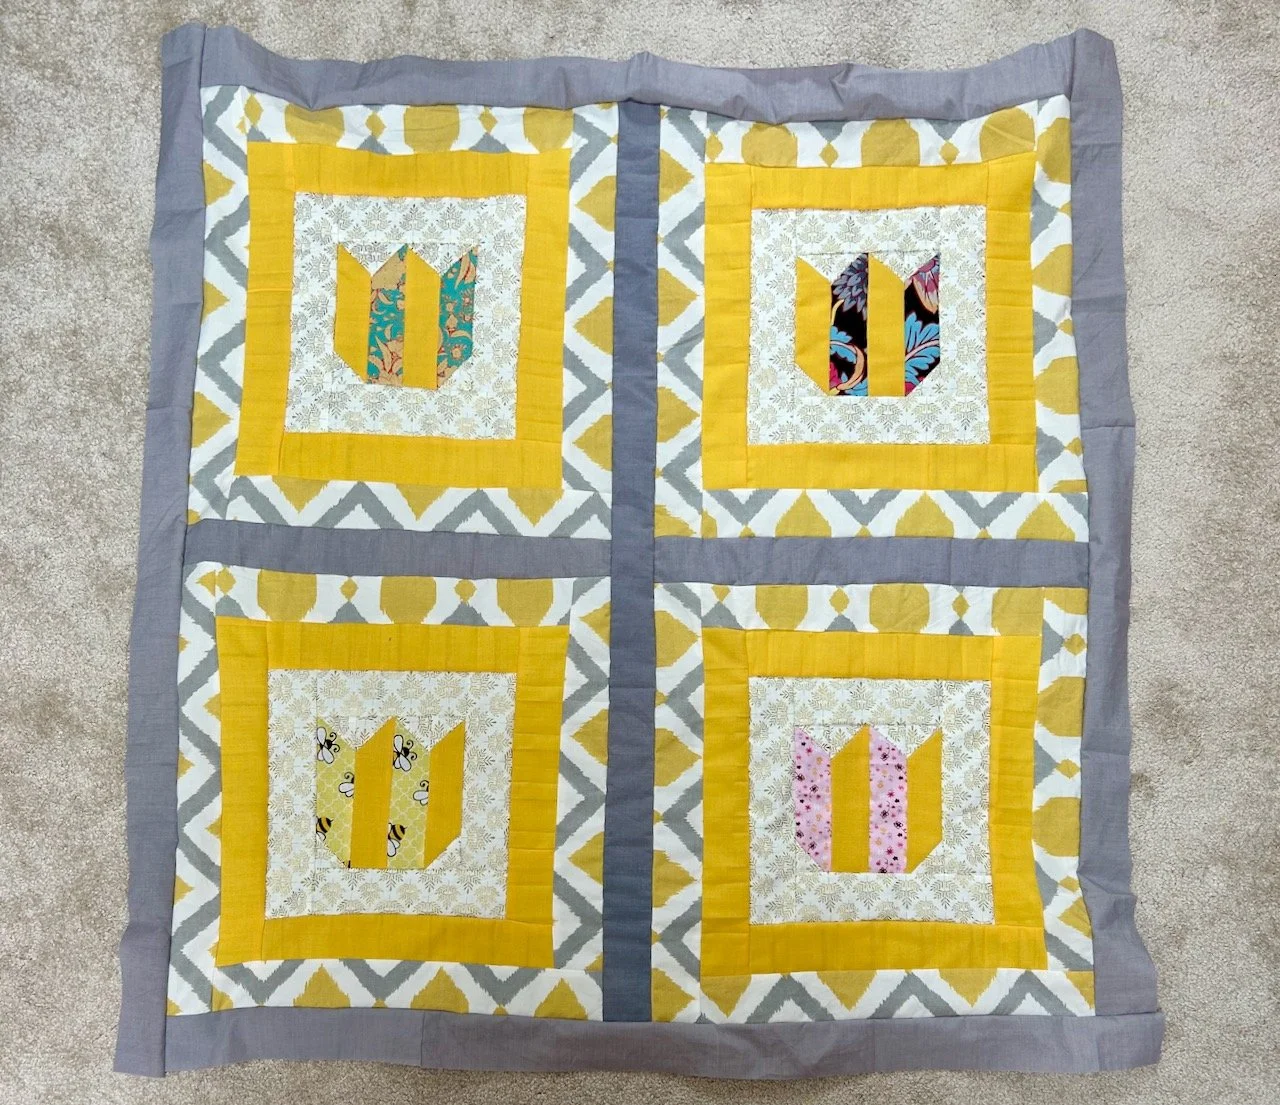
So there it is, my seventh finished charity quilt top waiting to be finished off which I’m hoping will be relatively soon. My plan is to use the grey, white and yellow aztec print on the back of the quilt and to use that as the binding too, but there’s a couple of steps before I get to the binding.
Look out for the updated post, as I’ll share it again when it’s finished.
You can see my other quilts which I’ve made to donate to Project Linus - a charity whose mission is to provide love, a sense of security, warmth and comfort to children, who are sick, disabled, disadvantaged or distressed through the donation of new, homemade, washable quilts and blankets, including those that are part of this ‘stretch’ project in earlier posts. I’m aiming to publish an update on my progress in the last week of each month for the remainder of 2025.