Starting my own floral fancy

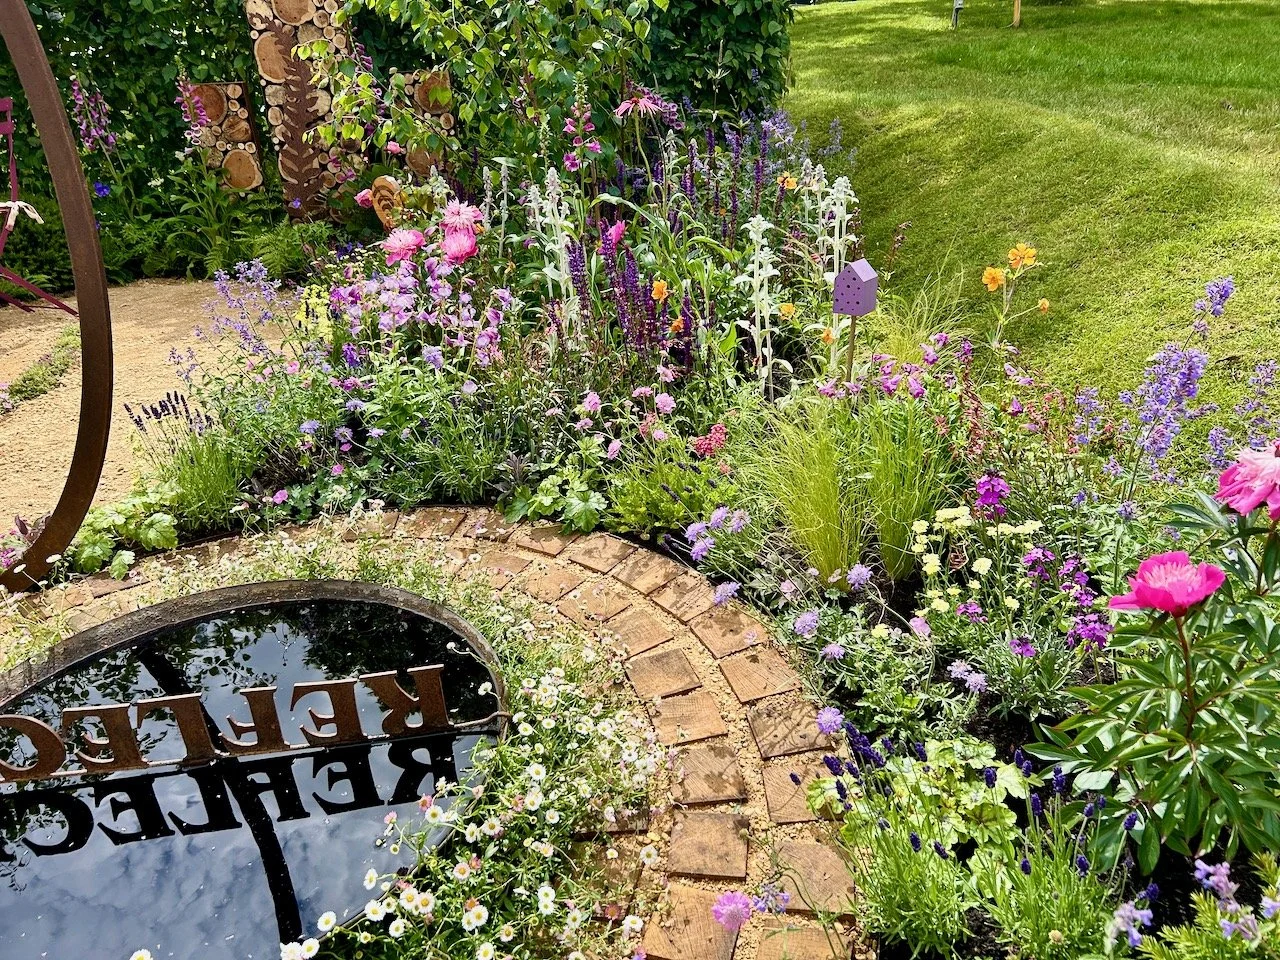
As I said in my This January post I impulsively booked onto a workshop, and then wondered if I had the enough of the right skills and the right sewing stuff to do the ‘floral fancy’ panel justice (spoiler: I did) The workshop was run by Region 10 of the Quilter’s Guild of the British Isles (QGBI), and was taking place in a village about 15 minutes away from me - even better, I knew where the village was!

I needn’t have worried though as while there was quite a long list of stuff needed - some of which I didn’t have and so Amazon was my friend - I was told not to worry about the long list of stuff, but of course I did. The workshop itself was a fabulously creative, inspiring and friendly day, and I was so glad I went. I couldn’t decide between the two panels offered at the workshop, and opted to buy a kit for the material, so that was one less thing to worry about, though to be fair, I probably I could have sourced that from my craft room relatively easily. In the end there was only a kit left for the floral wreath, so the choice was made for me.

I did laugh though as when my Amazon parcel arrived MOH couldn’t help but wonder how I had a whole room of stuff and how I needed more, but as I said to him it wasn’t the right kind of stuff. Well, mostly anyway.

A stitch and flip background

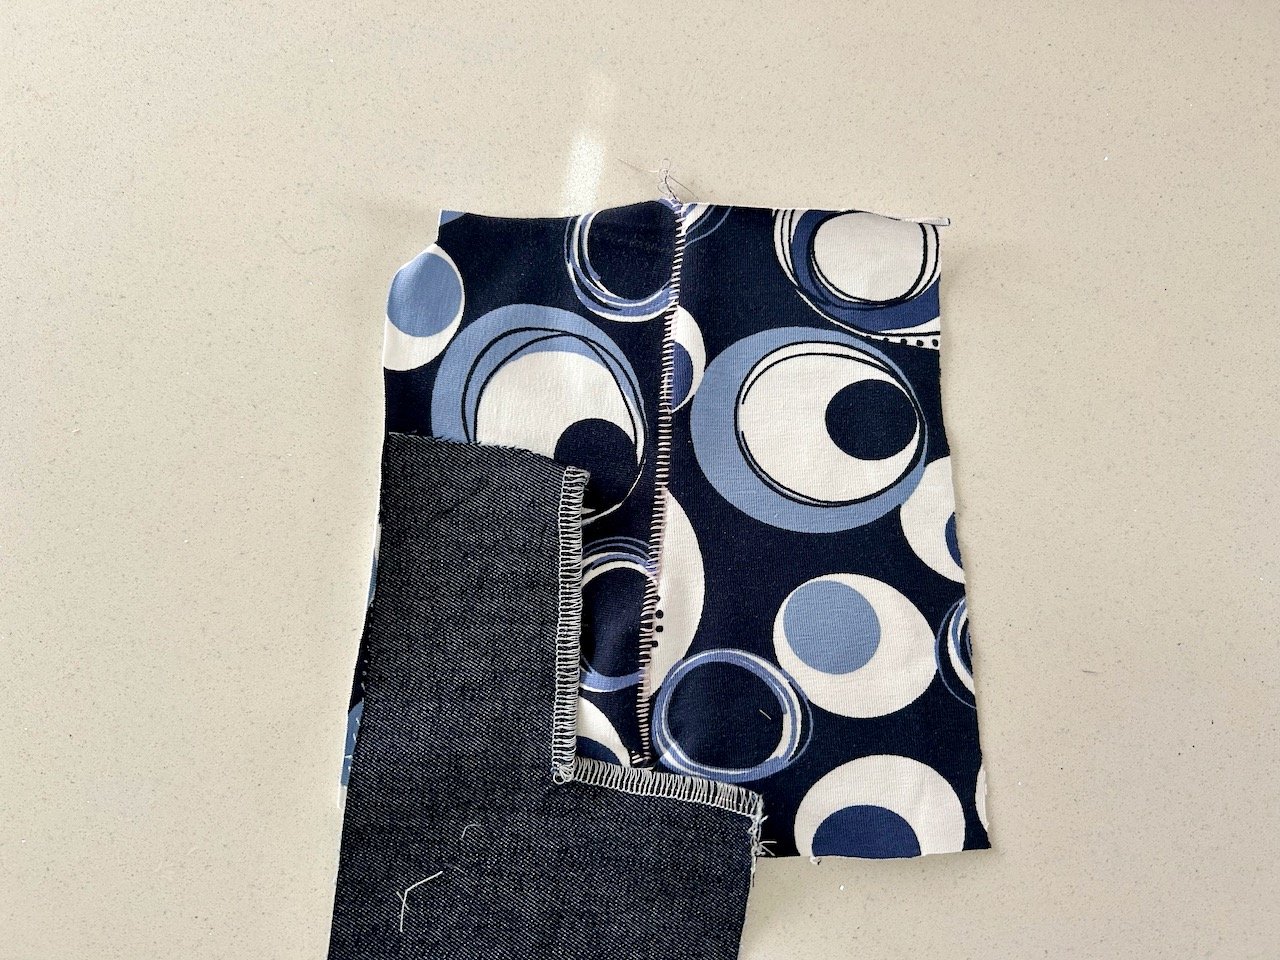
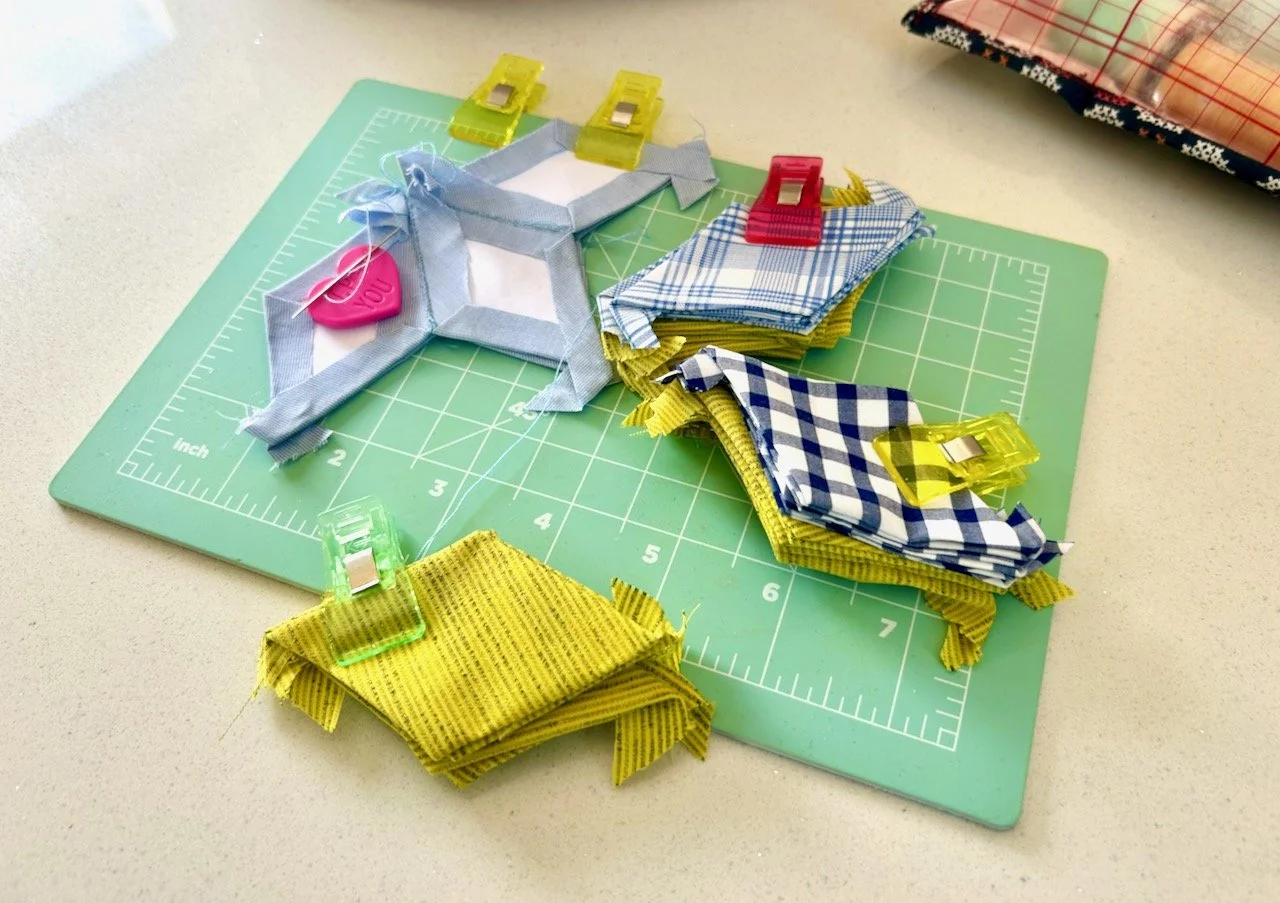
The morning session consisted of assembling the background of the panel using a stitch and flip method, but before any sewing could be done I needed to cut and layout the background in a radial design, with the darker fabrics in the centre. This challenged me more than it should trying to get the different length fabrics (there’s three different lengths) from the fabric I had. Thankfully there were also some spares so I dipped into those, as I think did everyone else.

Despite trying to keep to the same layout, it seems that as I stitched and flipped at one point I must have flipped, stitched and flipped so one of my rows turned around. Of course I only noticed when I was way past sewing that strip, and so it stays. And to be honest this is the background so it’s not the focal point of my piece. So if anyone asks, you didn’t notice it.

After lunch the real creativity started

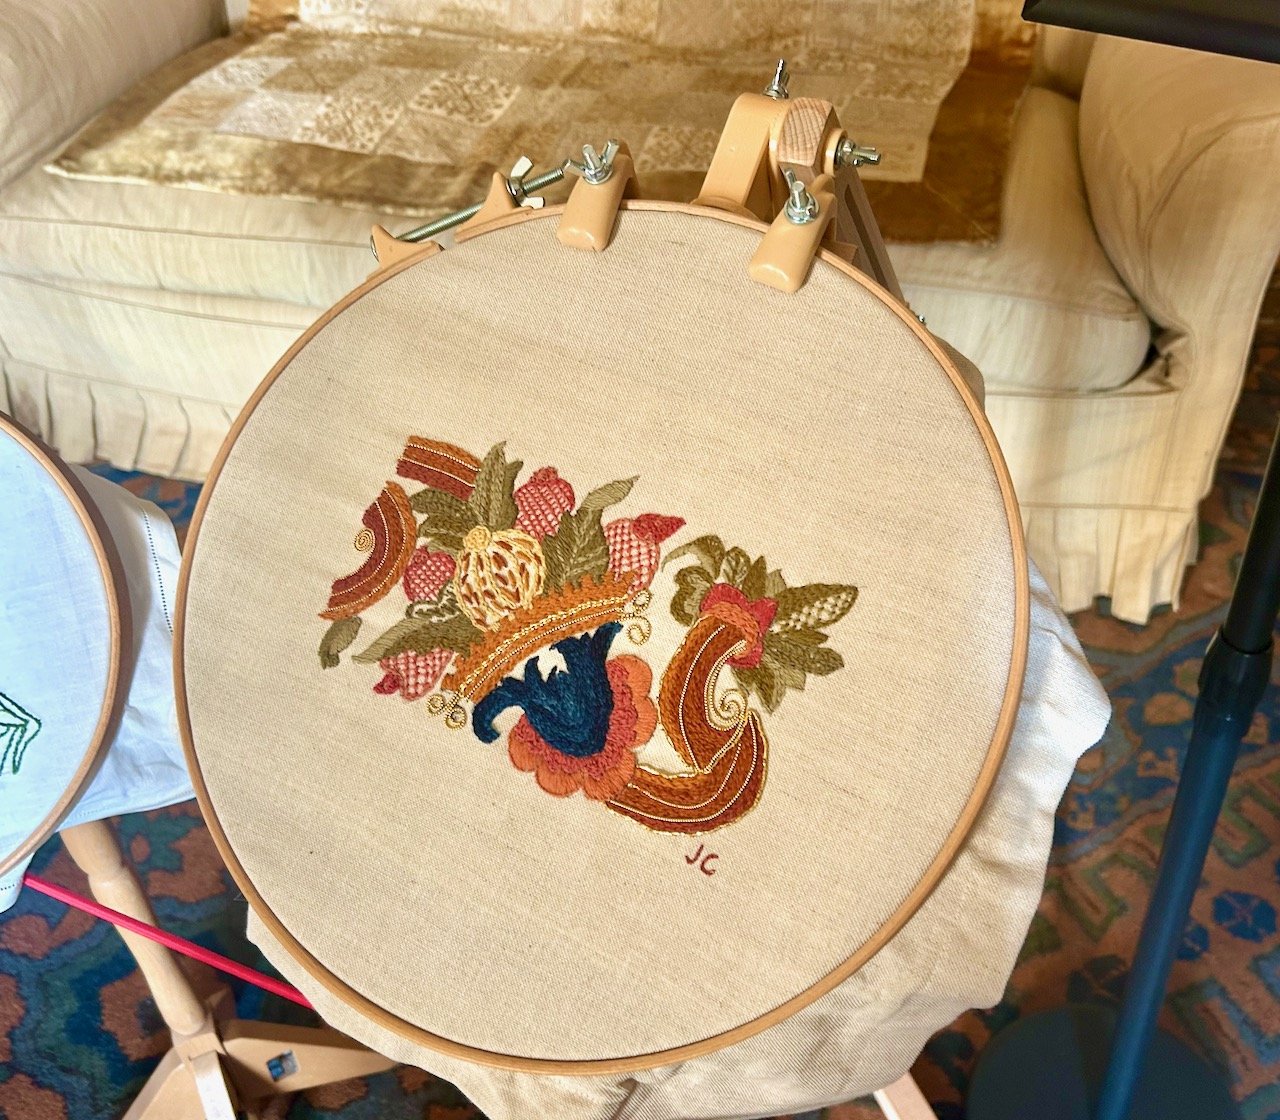
Having completed my background piece before lunch I had the whole afternoon for the most interesting part of the workshop, and that was the floral fancy. My floral fancy was the wreath version, though others were also making a vase of tulips (which was also gorgeous).

As we know all good wreaths start with greenery, and so did mine. I had several greens in my kit of material and so chose a selection of those and headed over to the Sizzix machines, which I’d not heard of before. Though I soon realised they were a die cutting machine for fabric, and worked very similar to my paper cutting die machine.

I choose two leaf dies and cut the designs randomly from my selection of greens, working on the theory that leaves aren’t all the same shape or colour, and the contrast of both would enhance my wreath.

And then I arranged them on a pencil circle line I’d drawn on my background, and rearranged, and faffed about with them some more until I was happy. Without my own fabric die cutting machine it was important to me to get all the cutting out done on the day, and that became my mission.

I cut five simple five petalled flowers from the fabrics that most appealed to me, and then realised they’d look better layered with the same shape offset in a complementing/contrasting fabric.

So back to my kit and I finally settled on the combination above - remembering to take a snap so I didn’t forget my choices!

After I’d added the flowers I realised they needed a middle, so I was back cutting various circles I could use from the offcuts, and then working out where they worked best.

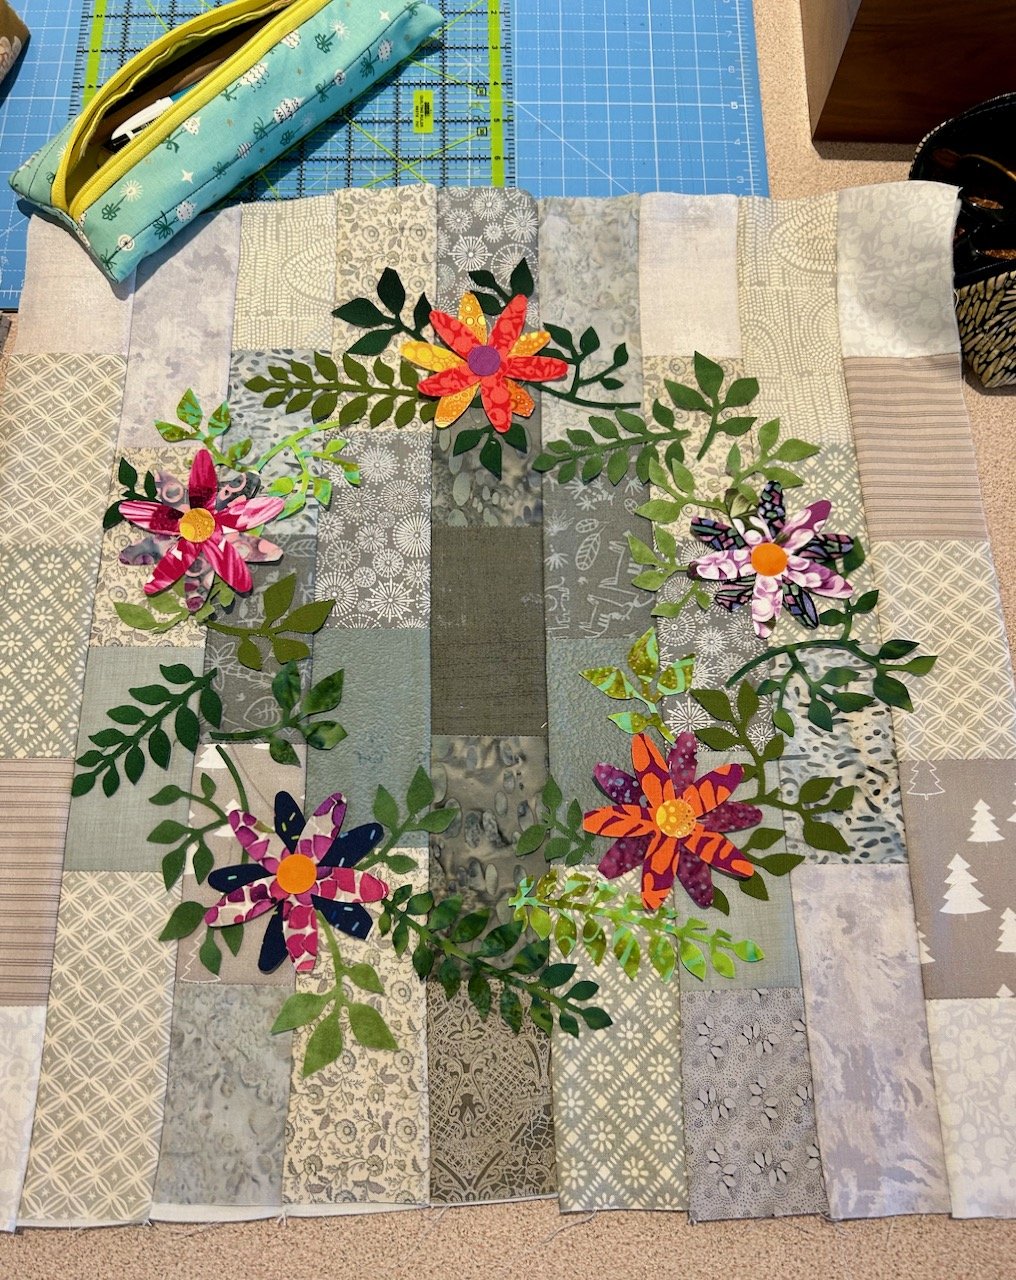
It was good, but I thought it needed more flowers - and probably fatter flowers. So back I went to the die cutting machines again, though this time just taking three fabrics with me, reusing the bright pink material of the flower that’s at about 10pm in the photo above and below.

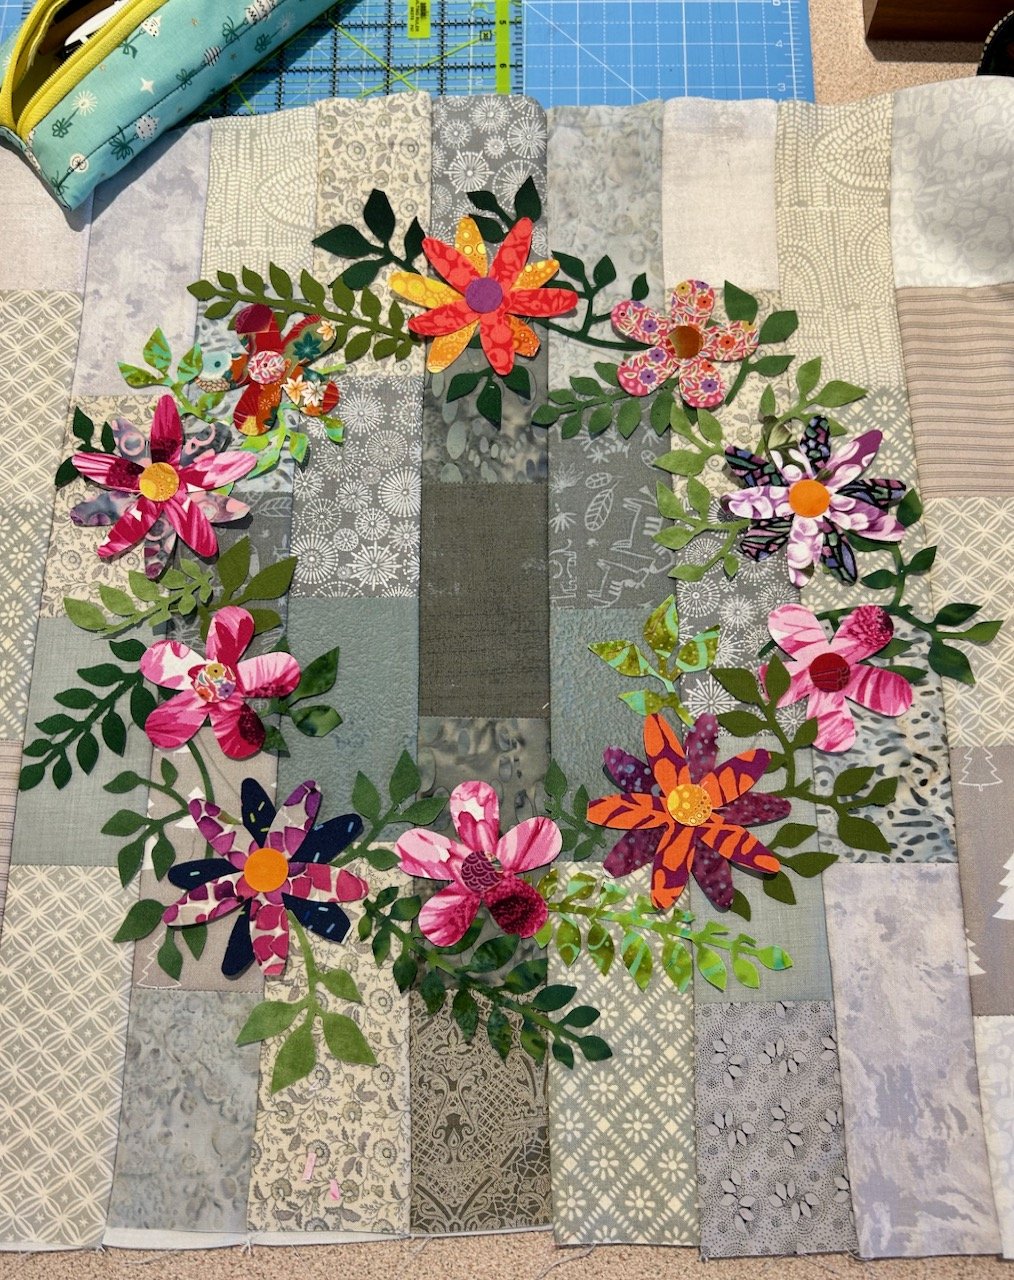
The fatter flowers also needed middles - and all of the middles for these were also cut from offcuts. Needless to say I spent a fair amount of time using those die cutting machines - and got everything I wanted cut out on the day. Though since the workshop I’ve decided I definitely need a Sizzix in my craft room - so I’ve been sussing them out online, and I’m planning to order one from Hobbycraft this week taking advantage of an online offer, and vouchers I seem to have accrued.

Finishing it off

With my design finalised and home safely (phew), this has definitely gone on my craft to do list to get finished. It won’t be a small job though as first I’ll need to dismantle it - I’ve already printed out a picture - and peel the bondaweb backing off each piece before ironing and stitching it into place. And that probably needs to be done in layers so the stitching builds up as you’d expect.

But I can’t wait (sort of). I’m keen to get going, but also keen not to mess it up! Though given that I wasn’t sure if I had the skills to get this far, I’m pretty certain I’ll be fine I just need to get on with it.

It was a great workshop and I left feeling really pleased I’d gone along as well as feeling like I’d really achieved something. It was also a really friendly and welcoming space so that helped too.

I also brought all the offcuts home as my plan is to make this into something bigger - I know running before I can walk again, but I’m aiming high, though I’m not sure just how high yet. I don’t want this panel to be a cushion cover, or a bag and I want it to live outside my craft room, so I’m thinking it would work as the central panel in a quilt for our spare room with more panels that complement it, but aren’t the same - that’s the bit that’s mulling over in my mind, and I think will continue to percolate for a while yet.

And anyway, I’ve plenty of other projects in mind before that - but keep an eye out on the progress I make with this one. This isn’t a project that’s going to sit in the cupboard I’m pretty sure of that.

Dyeing my own yarn

And doesn’t that sound grand?

Well technically I did, and it was easier than I expected, but it was at a workshop I booked on, and so I had a fair bit of help and lots of guidance. To be honest dyeing wool isn’t something I was brave enough to try for the first time at home, and in reality I don’t think it’ll be something I’ll do at home in the future either, but it was great to try it out and to get a greater understanding of the process. Clearly dyeing one or two skeins, is way easier and much less effort than doing anything even remotely ‘in bulk’ and so my hat goes off to the small businesses where dyeing wool is their thing, they are truly amazing.

I’d seen on Instagram stories that the wool shop in Nottingham where holding workshops, and had one coming up that piqued my interest, and so that’s how I came to dye my own yarn. I spent a couple of hours in their workshop room chatting to the shop’s new owner, while MOH ran a few errands and enjoyed a solo coffee.

Unusually for me I actually had a plan for what I wanted to do with my newly dyed yarn; I’d seen a short sleeved jumper in a knitting magazine a week or so before which had caught my eye. It’s knitted in the round and it has a decorative slip stitch pattern with a multicoloured yarn - I think there’s was named hydrangea and the main colour of the jumper was a delicate pastel green. But as I’m never one for following the colours in patterns, that didn’t faze me, nor did attempting anything in the round.

I have another knitting project on the go, which has been put aside for the summer, so the actual knitting part shouldn’t cause me any issues either. Before I learnt to crochet, I was a knitter - and I’ve knitted many complex patterns in the past, though sadly I have none of these picture jumpers today. Oh how I wish I did!

But anyway, having a plan made a lot of sense as there were a lot of colours to choose from. I decided to go with colours I wear frequently - so pinks, greens, yellows and oranges, though I skipped the orange at the final moment.

The workshop included three 20g skeins and one 100g skeins, so I opted for the multi-coloured versions of the smaller skeins and a plainer - but not completely plain/solid colour - for the larger skein.

Two smaller skeins with pink and green dyes applied

The smaller skeins were up first and they’d been soaking in a water and white vinegar solution to prepare them for taking up the dye, so placed on clingfilm and armed with my squeezy ‘ketchup’ bottles of dye I dabbed and dotted colour randomly along their lengths. I used four colours on the natural coloured yarn, two pinks and two greens.

Happy with the dye I dabbed and squirted on, the clingfilm was wrapped up and my skeins were off to the microwave to cook, and set the dye - who knew - while I set about putting a lot of mustard dye on the larger skein.

the same skeins, but almost dry
the larger, and plainer, mustard skein - almost dry

While I wanted it plainer, I didn’t want the mustard skein to be a uniform colour - that seemed a big ask for a first time dyer to be honest, and so I’m pleased with the variations that came out, and even the small area which has an element of darker green.

I think if anyone really wants a very precise colour, then it’s likely that this process isn’t for them and they should stick to large manufactured wool where they aim to deliver a standard colour for each and every ball of wool.

Final drying took place with the skeins hung over the clothes horse in our plant room

The skeins were wound and tied when they were mostly dry, but they needed to finish drying at home. I set them up over the clothes horse in our plant room, which is a lovely warm small room I use to dry my washing. It’s worth putting an old towel or some newspaper underneath as the water has to go somewhere, and gravity can take over.

And so I ended up with some pretty colourful skeins of yarn, and I’m more than happy with that.

My finished skeins - a multicoloured pink and green version and a plainer (but not solid colour) mustard

I realised though that I needed twice the amount of mustard yarn, I could have added an extra large skein to my workshop had I given it more thought in advance but I hadn’t, and in the back of my mind I was sure I had a mustard skein of yarn at home, which I probably should use before buying even more yarn…

Thing is though when I checked, it was the wrong colour mustard - a more brown pigment, still lovely but not a good match for this newer mustard. Then I saw another skein (yes I have a few) which was a better match for the mustard, but is more colourful than perhaps I’d like for this project.

My dyed skiens - multicoloured and mustard - alongside a third larger skein I already had

But the tone is right, and so now I’m convincing myself that I can use these together. I think I can, but as I’m not starting just yet I’ve a little while longer to muse over this.

I think the plan will be to start with the third skein (on the right above) and then switch to the plainer mustard, using the multi-coloured skeins as planned for the decorative pattern. Well, I think that’s the plan, for now anyway!

PostCommentLove

Learning to love my overlocker

At the start of the year I acquired an overlocker - thanks mum - but had little idea of how to use it. While I have all the manuals, I figured it would be easier to book myself onto a workshop to learn all about it - and to remove some of the Fear.

So I did just that and a couple of weekends ago I headed off to Mansfield for the first time - I didn’t see much of Mansfield apart from the one way system, but I’m sure I’ll be back to have a proper look at more than that at some point. My destination for the workshop was Sally Twinkles (aka Sewing Direct) for a workshop led by Tracey Symonds, who was a semi-finalist in series 4 of the Great British Sewing Bee.

After navigating the one way system more than once I got my bearings, found a car park, parked up and dashed over the road with my machine. Once settled I realised that the other workshop participants had their overlocker already threaded - but that at least meant Tracey had a machine she could demo on and I learnt where the threads should go first hand.

My first learning was that the four cones of thread were split into two for needles and two for the loopers - using four different colours for these meant it was easy to track what was doing what, and while mine are mostly pastels I quite like the idea of using different colours. The spool furthest right seems to determine which colour is on show, as long as you’re set up right.

A large part of the workshop was ‘to overcome the Fear’ - and the fear was real!

Tracey had us all testing our machine’s capabilities on different fabrics, encouraging us all to make a note of the settings for each so that once we knew and noted it down, we at least had a starting point - which makes a lot of sense.

We were overlocking, gathering, doing rolled and lettuce hems and flatlock seams like, well not like we’d only just learnt that’s for sure - and all the time building confidence, and reducing the fear. Tracey was a brilliant teacher - as you’d expect, she’s a retired teacher - though I think I was her problem child for the session! She was unflustered though and her ability to switch between the various makes and machines we had brought with and offer expert advice on each was impressive.

I left the workshop with my examples, which for me were an achievement. However I recognise that the pictures here may seem a little underwhelming, but believe me I wouldn’t have tried half of this had I sat alone with the manuals.

OVERLOCKING ON WOVENS (GREEN), GATHERING (FLOWERY MATERIAL) AND OVERLOCKING ON KNITS (STRIPED)

HEMS: LETTUCE (STRIPED) AND ROLLED (FLOWERY)

FLATLOCK SEAM (CIRCLES) AND OVERLOCKING A CORNER (DENIM)

Of course part of the reason there’s not much to show is that the overlocker trims as it goes, so as I went over and over the lengths of fabric my previous attempts were chopped off. Most were binned but some have the potential for use in collages, but I’ve yet to play further with that.

My other key learnings from the workshop, which I’m including here to remind me, were:

  • Chain before starting, and chain at the end - it’s much easier to have a length of overlocked stitching at each end of the fabric, and it saves the machine eating the thread - which means it saves rethreading!

  • The fourth spool is the colour you’ll see the most, so unless you’re very particular you can probably just change this one, however neutrals may work with many fabrics, test it first. Cream and grey are less harsh than white and black, and therefore could be more versatile.

  • Deal with the ends, or they will come undone eventually. If you’re not overlocking at right angles then either zigzag over them using the sewing machine or thread back through with a large sewing needle.

  • No pins near an overlocker ever.

  • For the overlocked corners, move the fabric so it’s in a straight line and though there’ll be some loops which don’t catch, you’ll hardly notice them.

Trying it at home

I knew that if I didn’t try it at home fairly soon afterwards then the workshop would have been a waste of time. So the next day I set it up in my craft room, checked nothing had moved on the journey home and set about trying it for myself. I’m glad I did as even though I’d checked it one of the tension loops had spat out its thread, and my loops were a bit irregular.

But I fixed it - yay! That’s how good the workshop was!

Edging the valance

Then I could set about edging the material for one of my next projects. I’ve signed up for an Indian Block Print & Stitch class and needed to take along some fabric to print on, and they suggested old bedding would be fine. Which is good, as I’ve plenty of that - and when I was sorting out the towels to add to my new bathroom cupboard shelves, I found an old valance sheet which I hadn’t used for years.

Like most valance sheets it was a wotsit to iron, even though it has box pleats rather than frills. So it was repurposed - I cut the frill off, ironed it and set to it with my overlocker.

using my overlocker at home - looking down on the machine, 3 spools are visible along with a ruffle of fabric coming out of the machine, with the edge overlocked
A pile of trimmings cut off by the machine
A folded overlocked length of material ready for one of my next projects

It was a long old piece of overlocking, but it served two purposes - proving to myself I can do this at home, and readying for some future projects. Don’t you just love it when things come together like that?

So if you’ve got an overlocker in your cupboard that you just don’t love (yet) then I can’t recommend highly enough booking yourself on a workshop and finding out what it can do - I bet you surprise yourself, just like I did!