A mandala pouch for my poppers

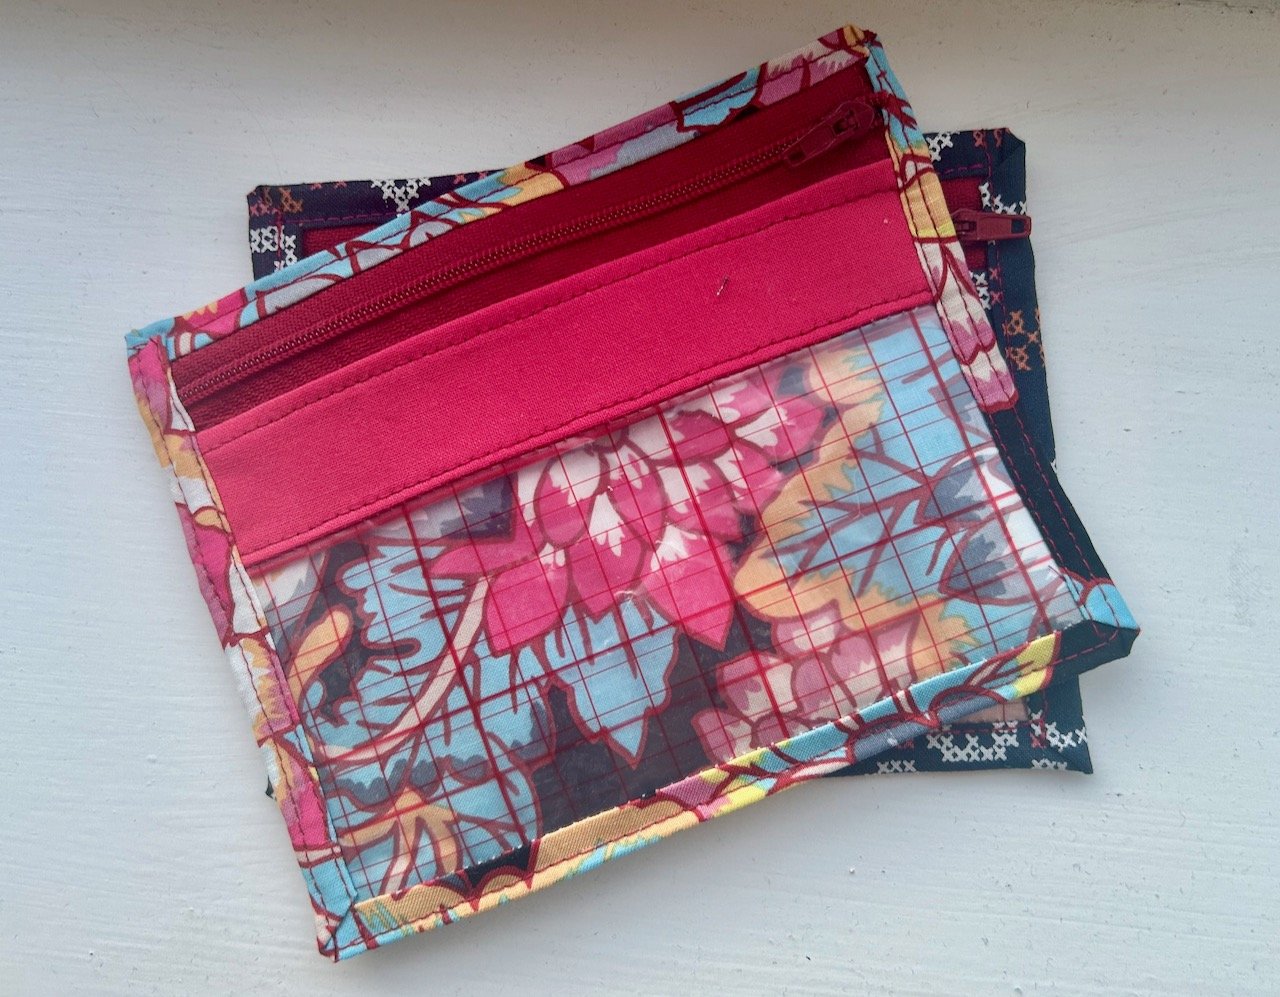
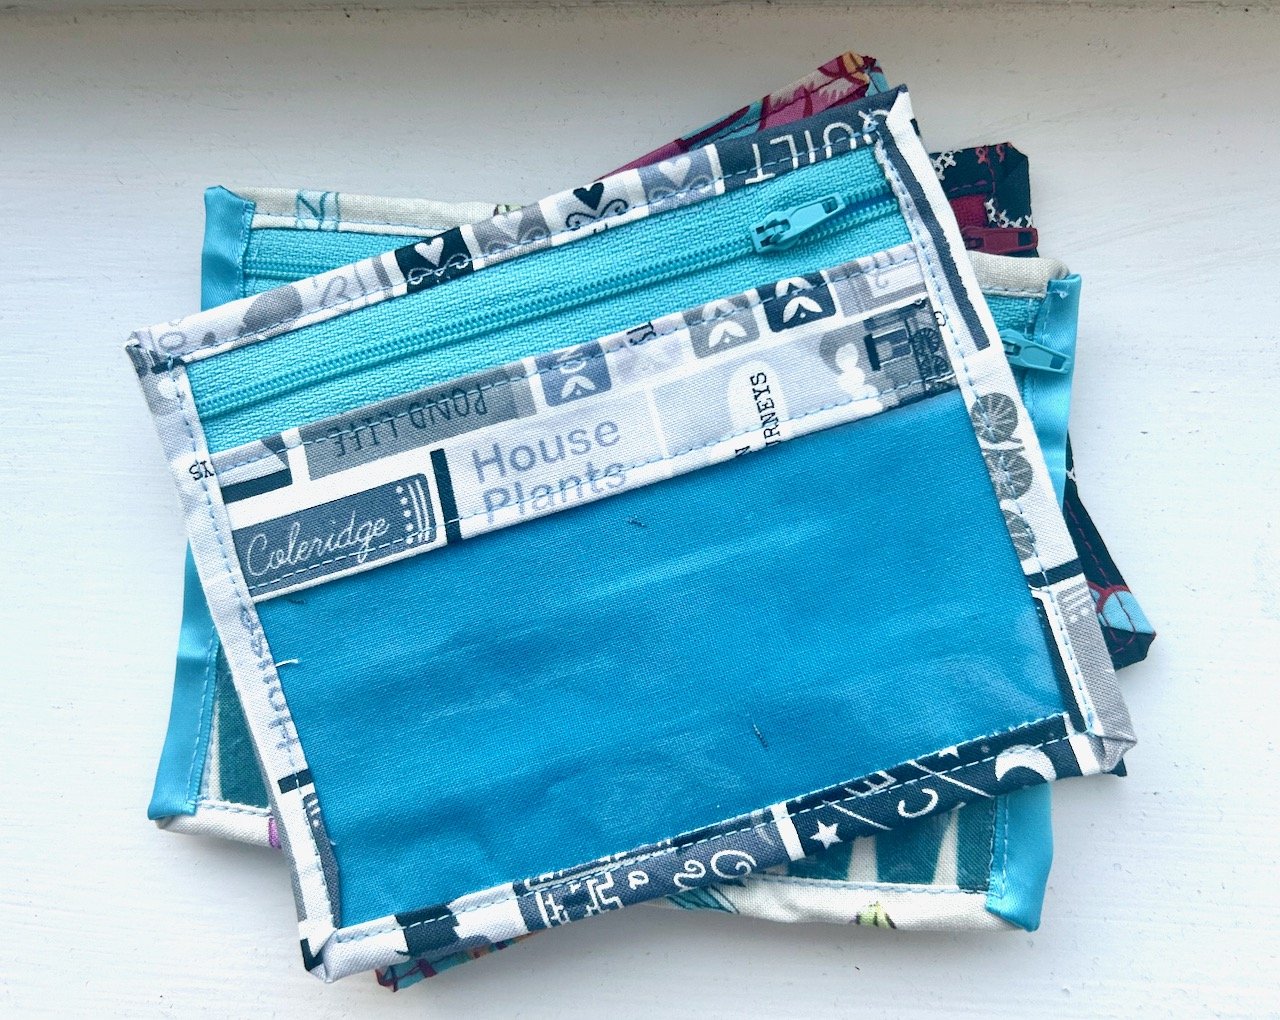
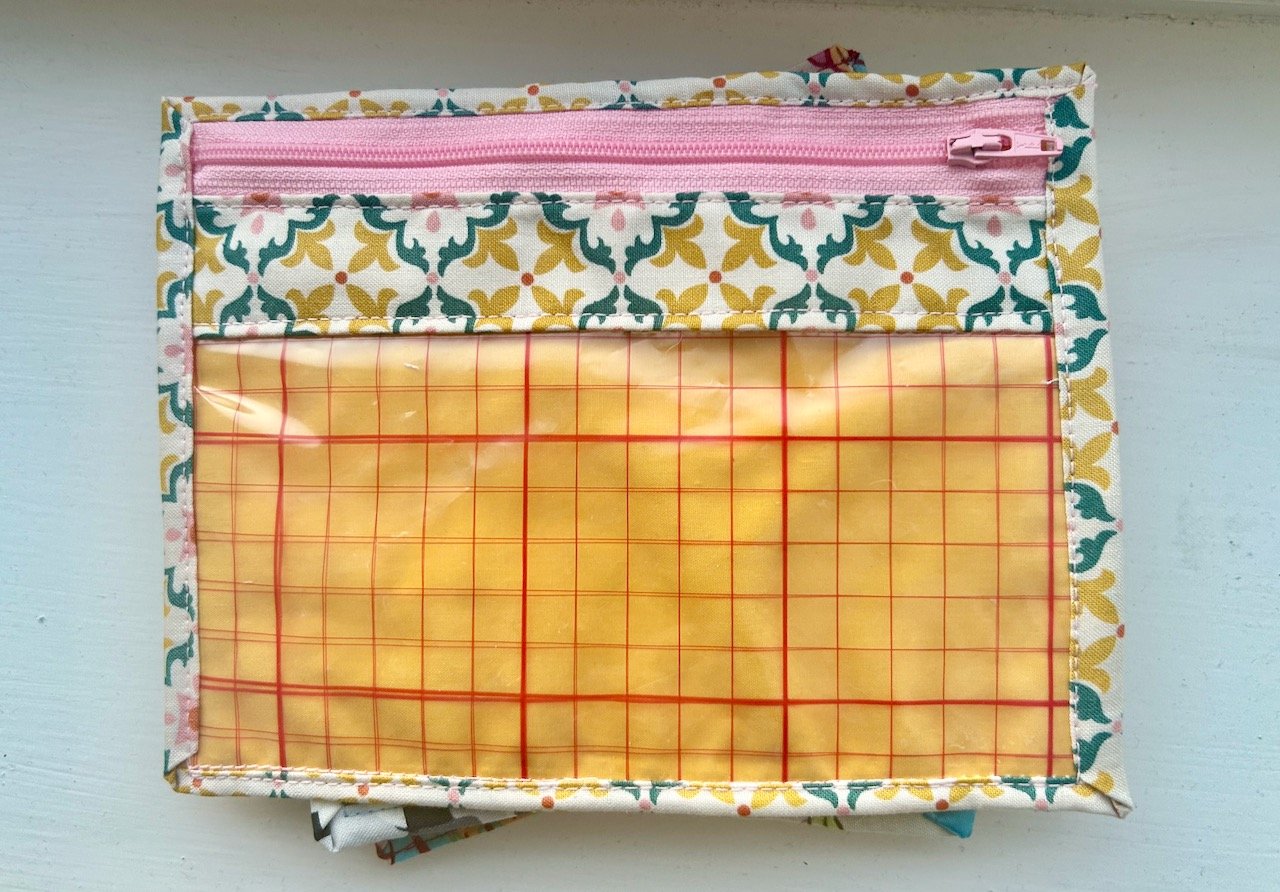
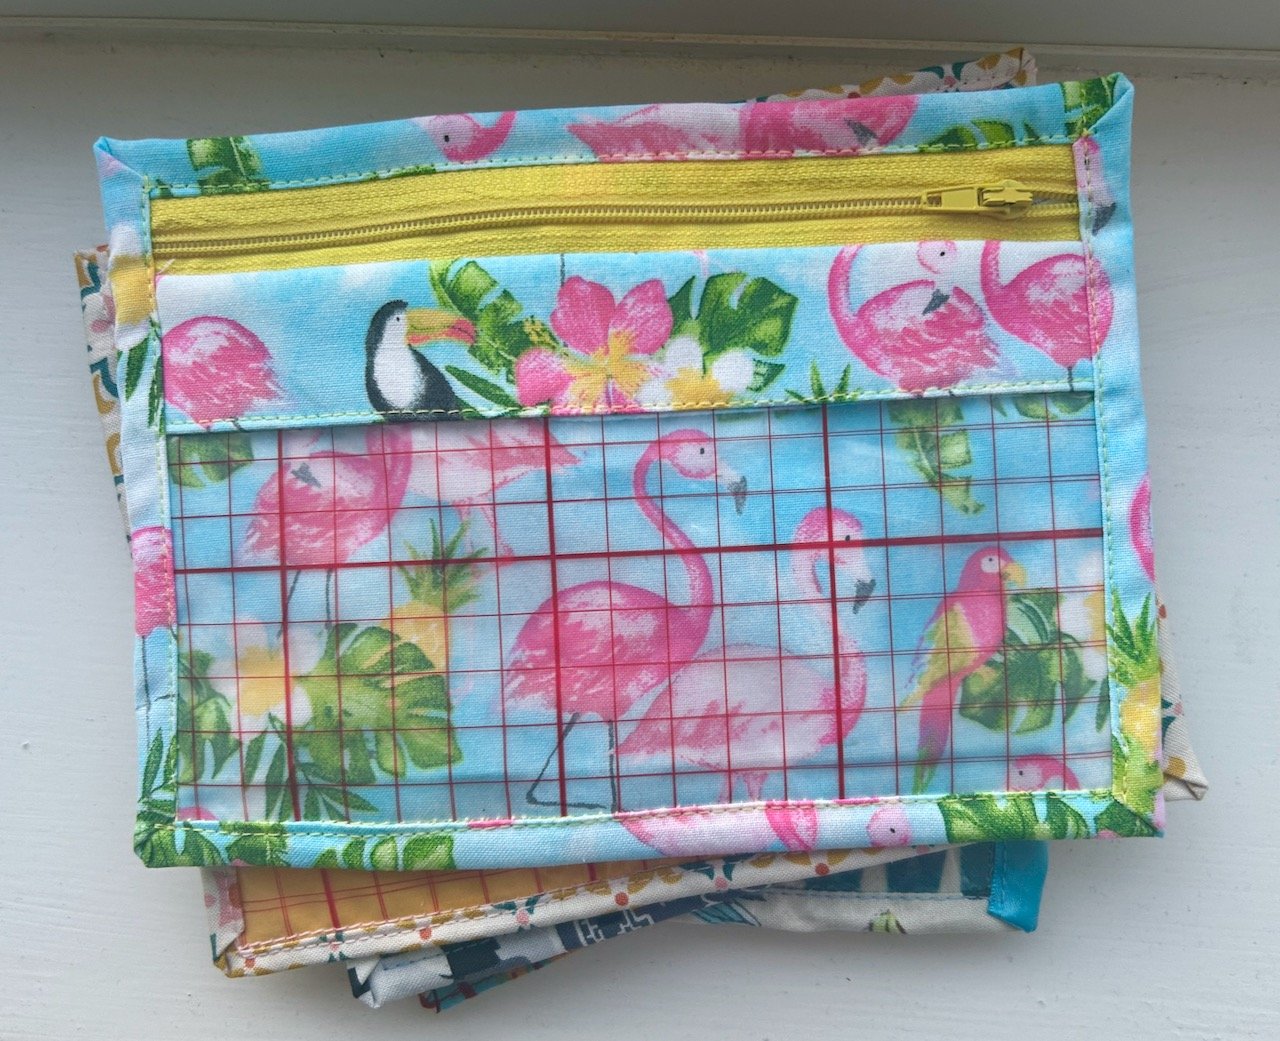
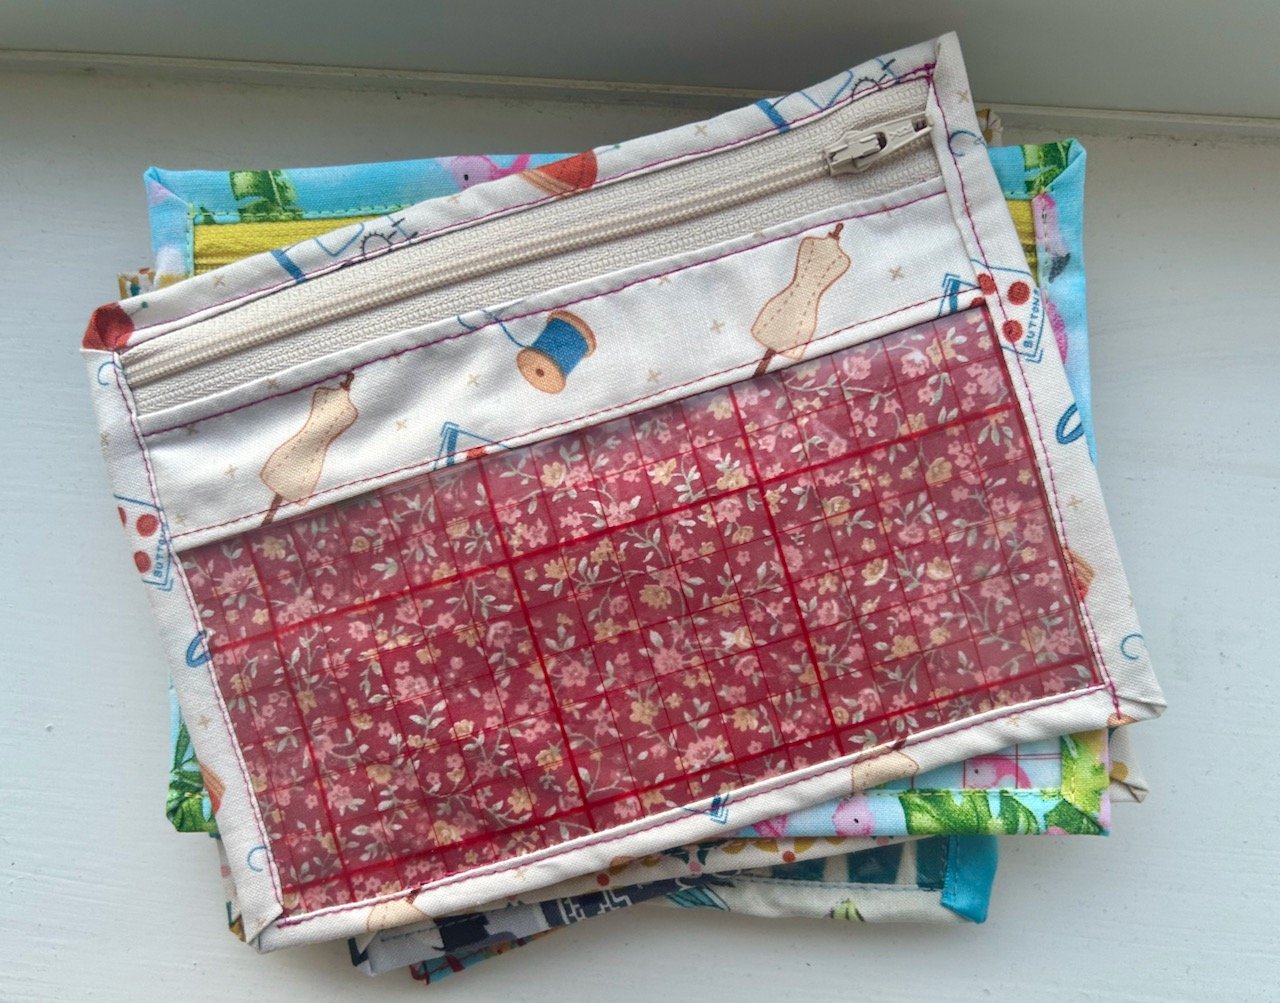
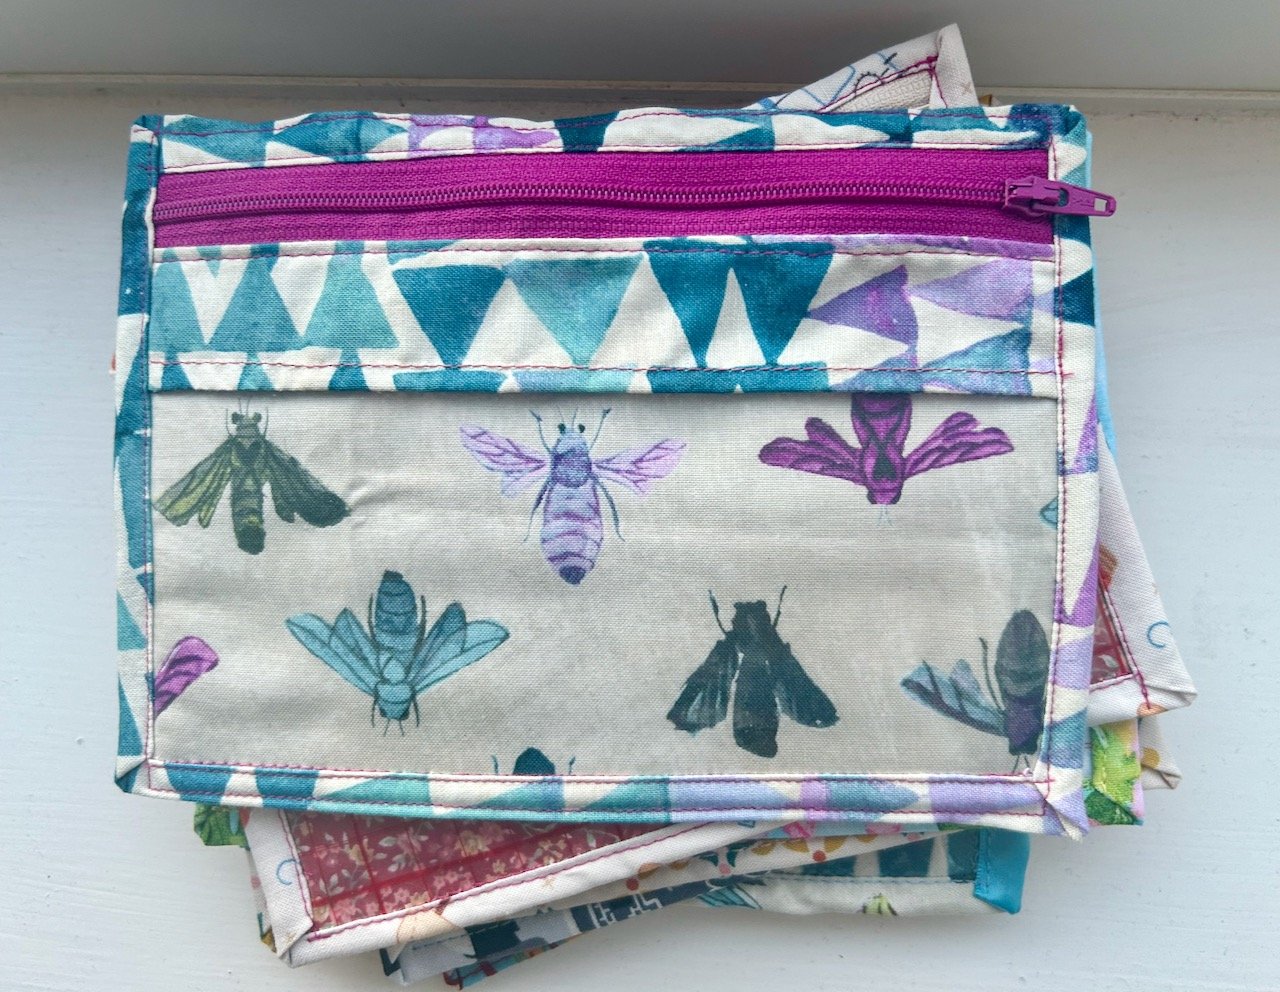
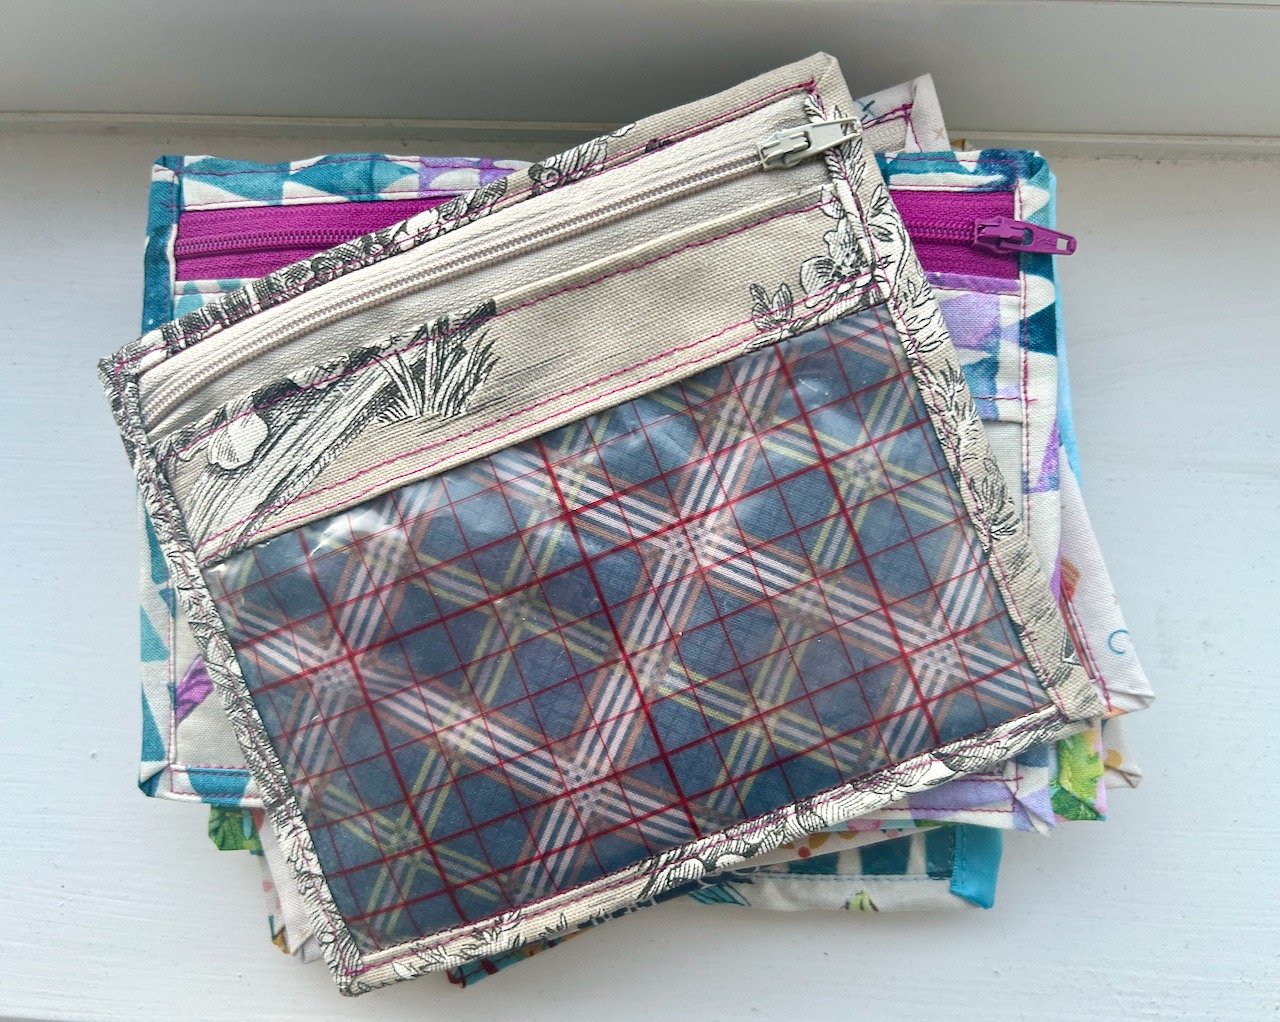
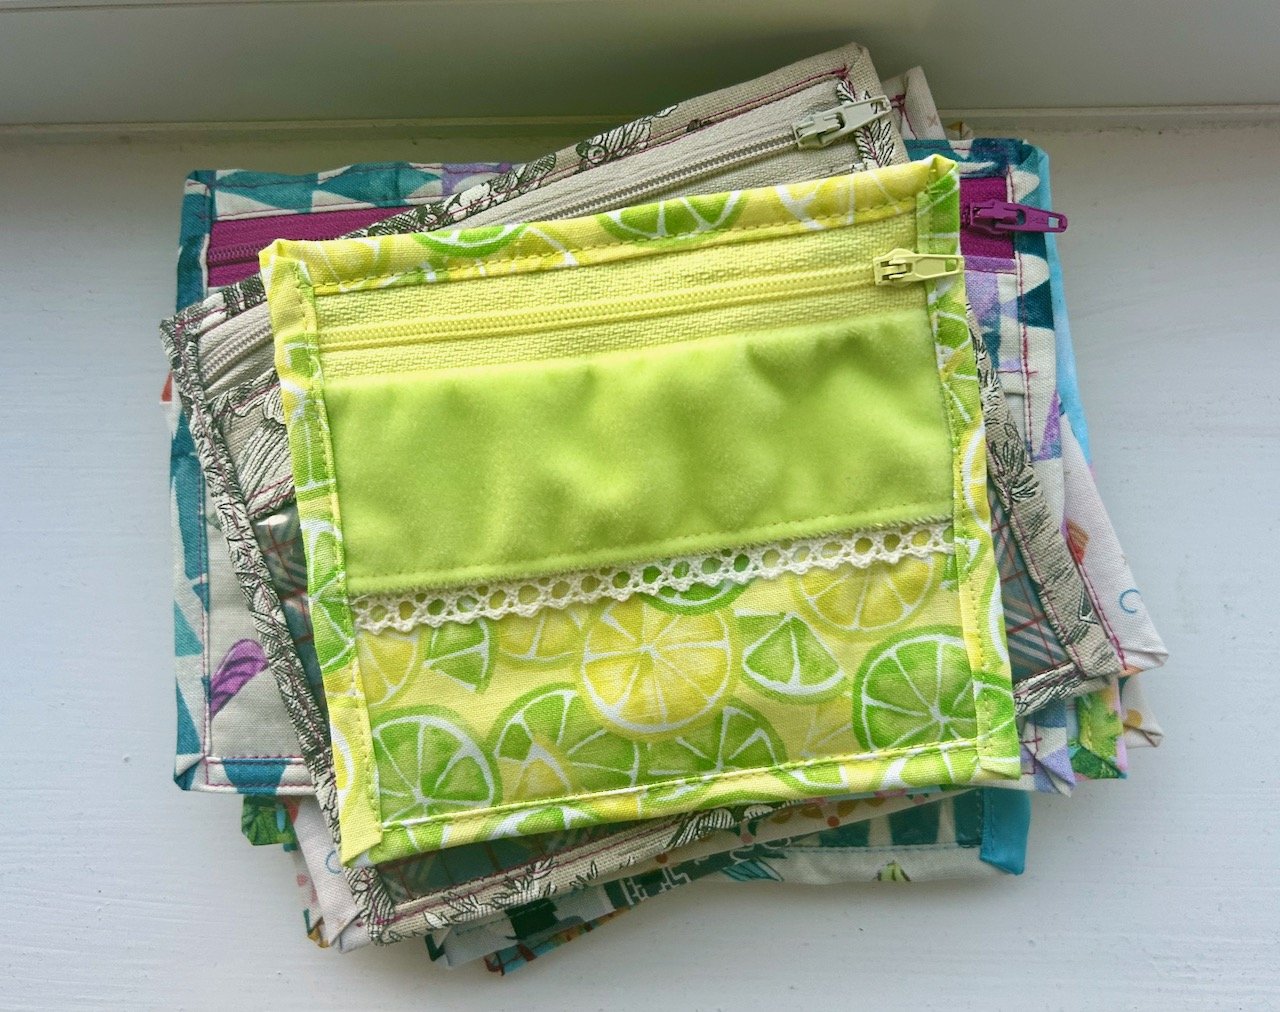
Since I shared the stack of vinyl pouches with you, pouches seem to have overtaken my life, which is a little dramatic I know. But I seriously have a bad case of Pouch Love!

This isn’t new to me, I’ve known I’ve had it for a long time - but what is new is that now I’m creating my own, and my answer really is ‘oh I need a pouch for that’ whatever the question. I’ve a few ready to share with you so will start to do that over the next few weeks, and don’t say I didn’t warn you.

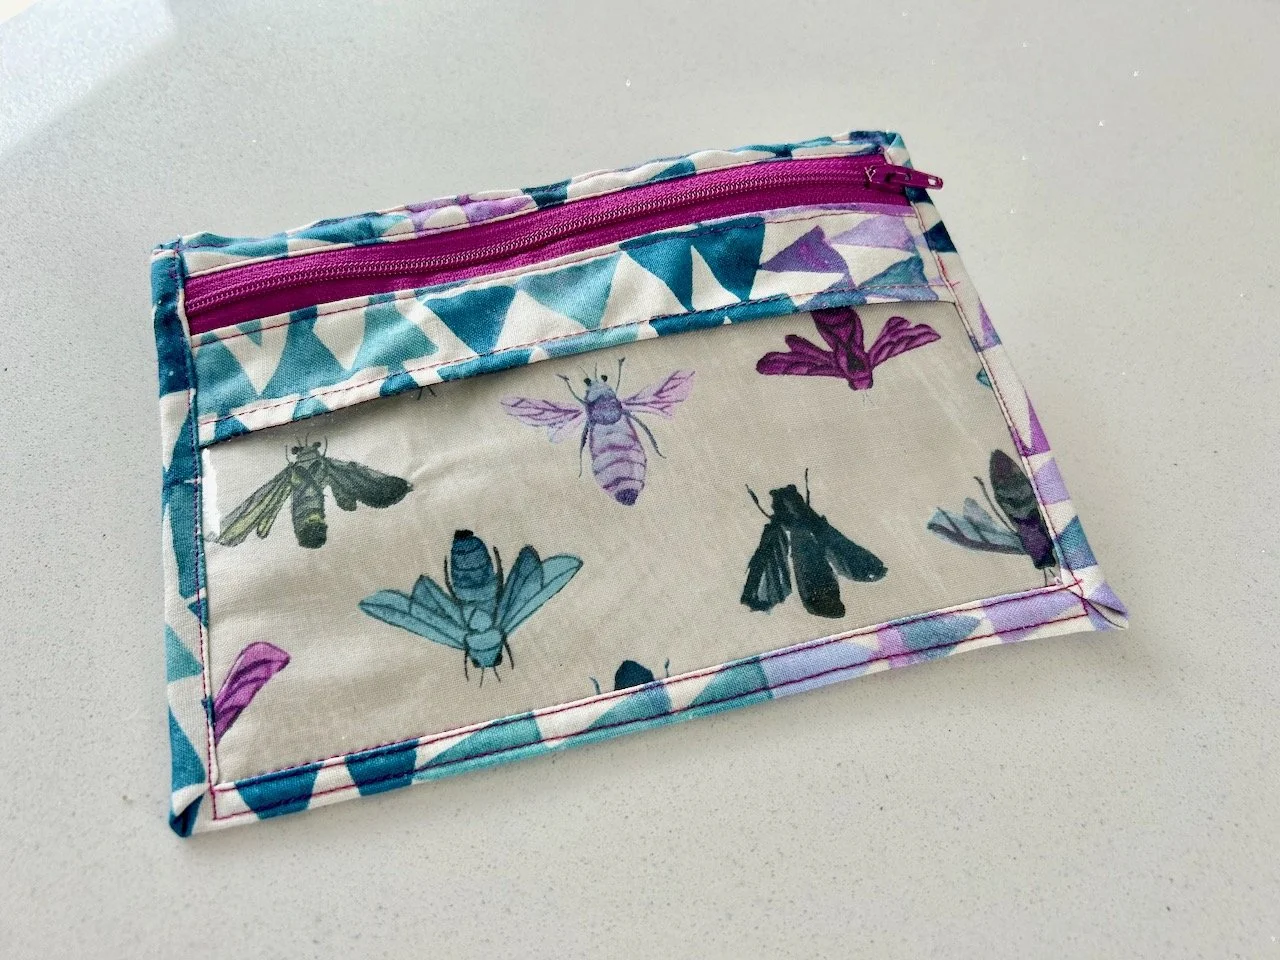
This one though is both practical - it’s already in use - and had made use of two of the Adult Learning courses I did last year. This combines a print from the Indian Block Printing & Stitch course, along with the skills I picked up in the Bag Making course - most notably zips.

Though for all of the pouches I’ve made so far, I’ve still not switched to a zipper foot, so I think I probably should add that to my ‘to conquer’ list for this year, but back to this pouch.

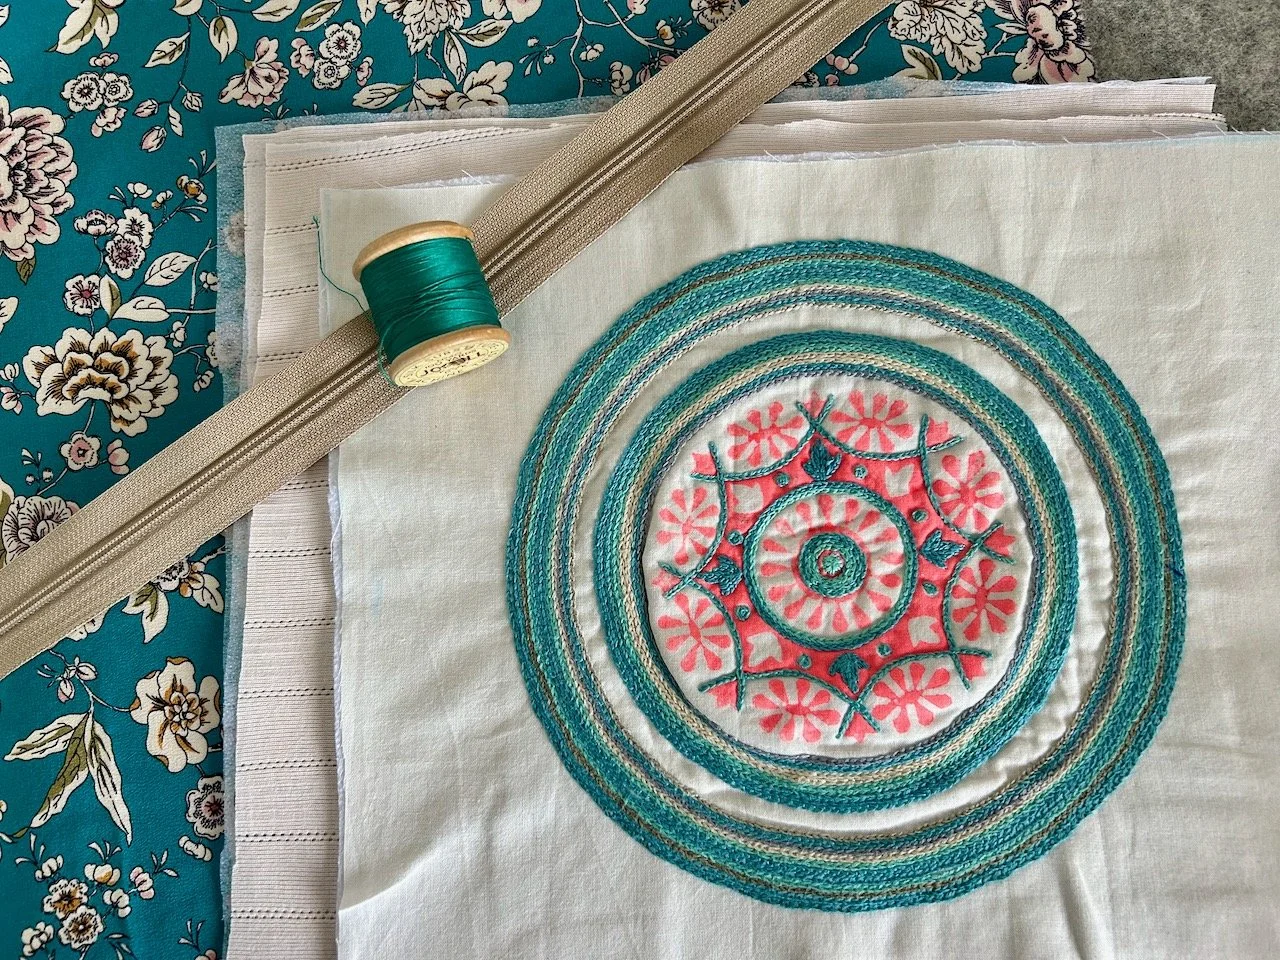
It started off as a neon pink printed mandala on the cut up frill of an old valance sheet. Seriously.

Quite humble beginnings. At this point not even the edges had been finished on my overlocker - I guess I was keen to carry on printing during the class, and had underestimated just how many squares I’d need so printed and cut as I went!

As for many of the prints that I did in the class I had no real plans for what I’d do with the outputs, I was just enjoying the creative process and exploring the patterns and colours available. After the class finished I made more of a plan as to how I would embellish the prints, or at least chose a colour scheme.

The colour scheme chose me

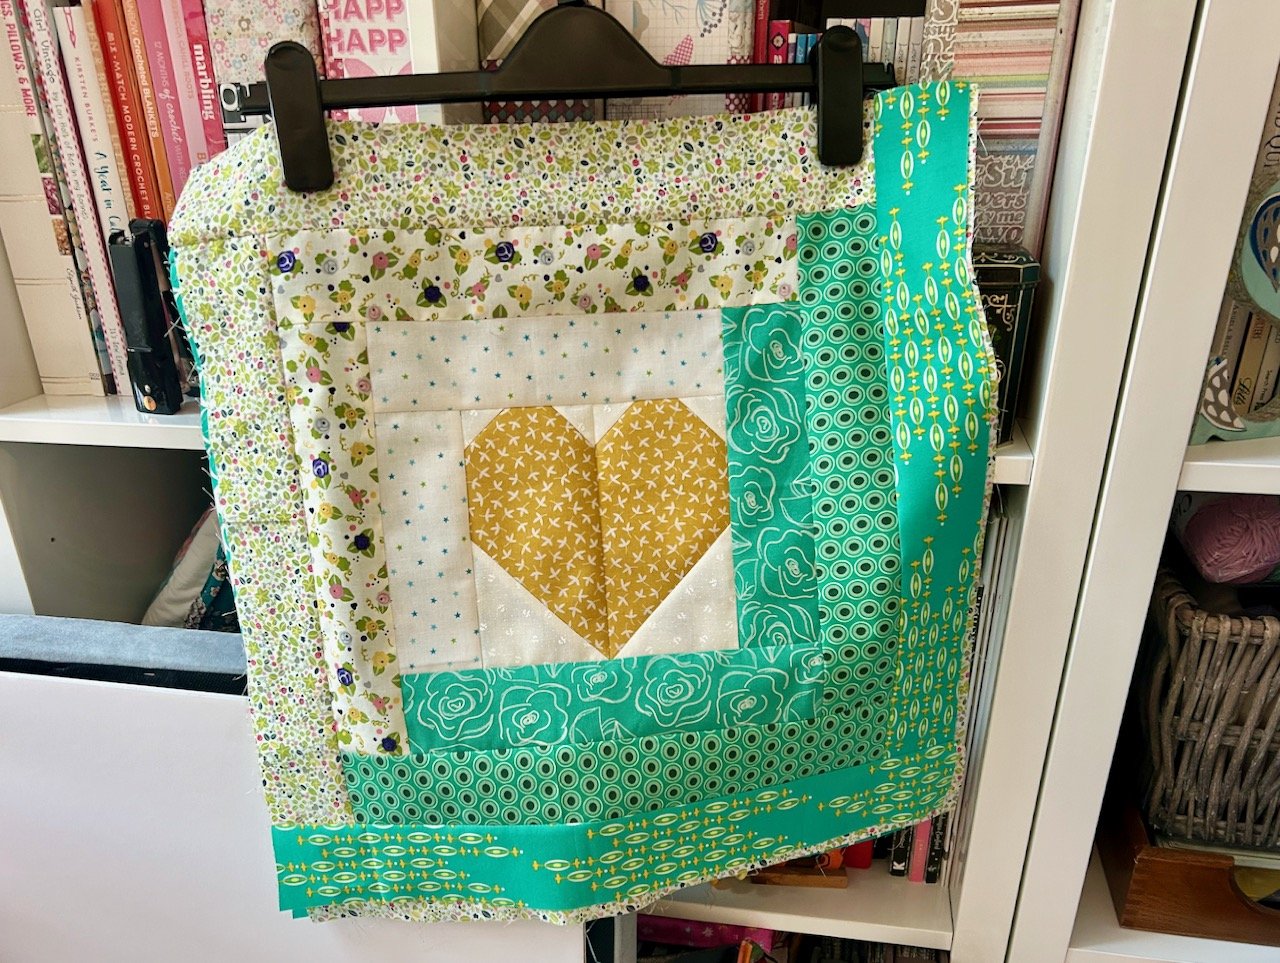
This was was always going to have an element of teal, and I don’t know why. It’s not a colour I usually go for, though I have since bought clothes that are a similar colour, and I think it goes well with the pink. I was also keen for some of the printing to remain on show, and not to cover it all with embroidery, other than that I had no real plans when I started out.

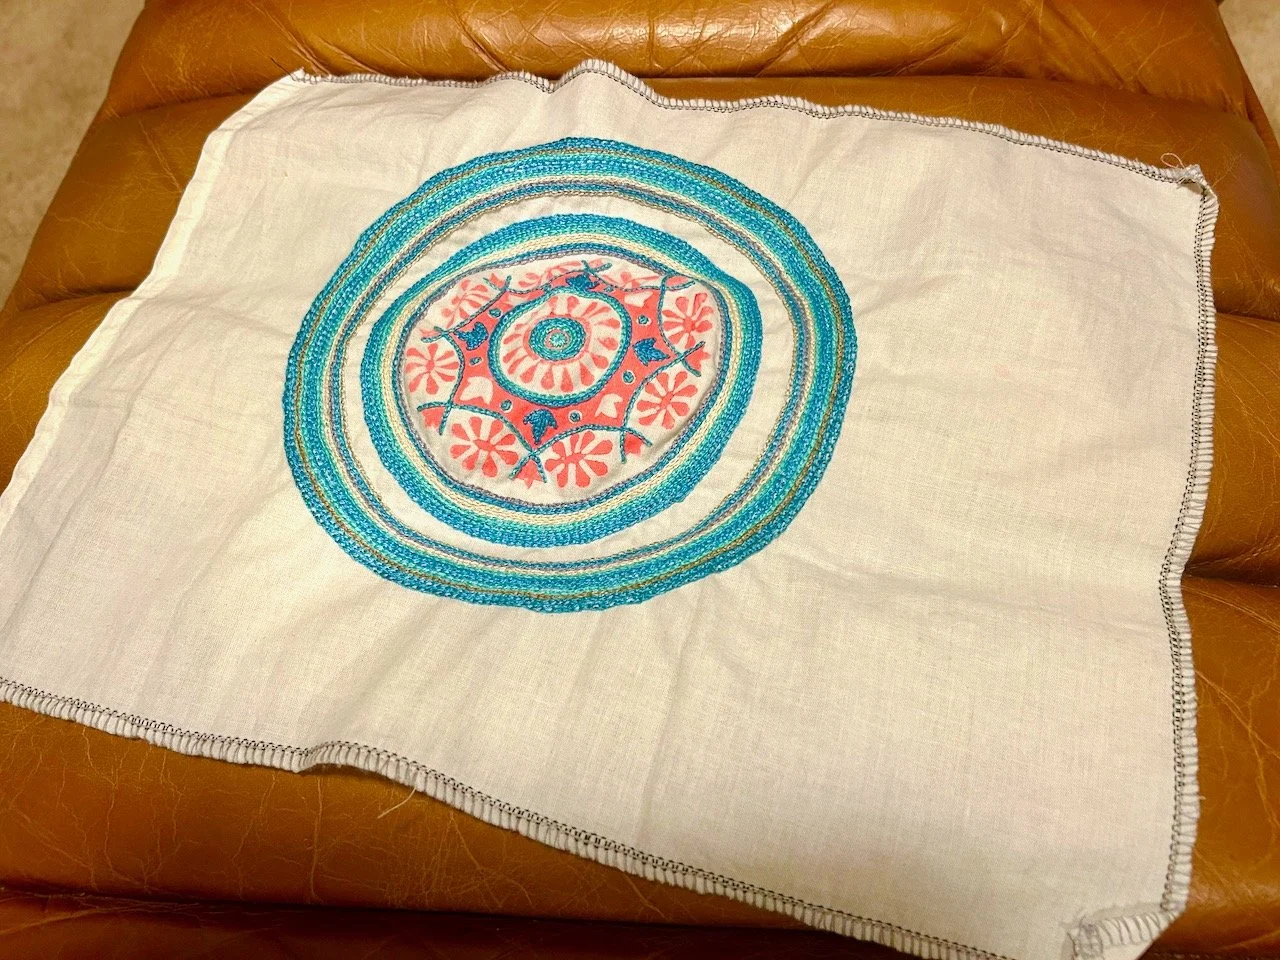
After embellishing some of the printed area I knew I wanted more teal, and so it seemed natural to enclose it with a circle. And I thought I might turn it into an eye, but as I continued to embroider I decided against that. I didn’t do the outer circles - or at least two of them - freehand, I used a glass vase and then a plate to draw around to stop it all going skewif.

Nor did I use an embroidery hoop, and on reflection I probably should have for this one, as I ended up with more material than necessary in the centre. Thankfully though I came up with a plan for dealing with that - to use wadding to fill the hole, and so creating an almost raised central area. This in turn reminded me of the poppers I’d used on the first pouches I’d made, which the all important tools for were functionally, but not prettily stored in the metallic plastic bag it arrived in.

Now I really had a plan

With that I realised the answer was ‘I needed a pouch for that’ and what better than one with a big circle on the front. It was meant to be! But did I have any material that would match my teal scheme, probably - and as it turns out I did.

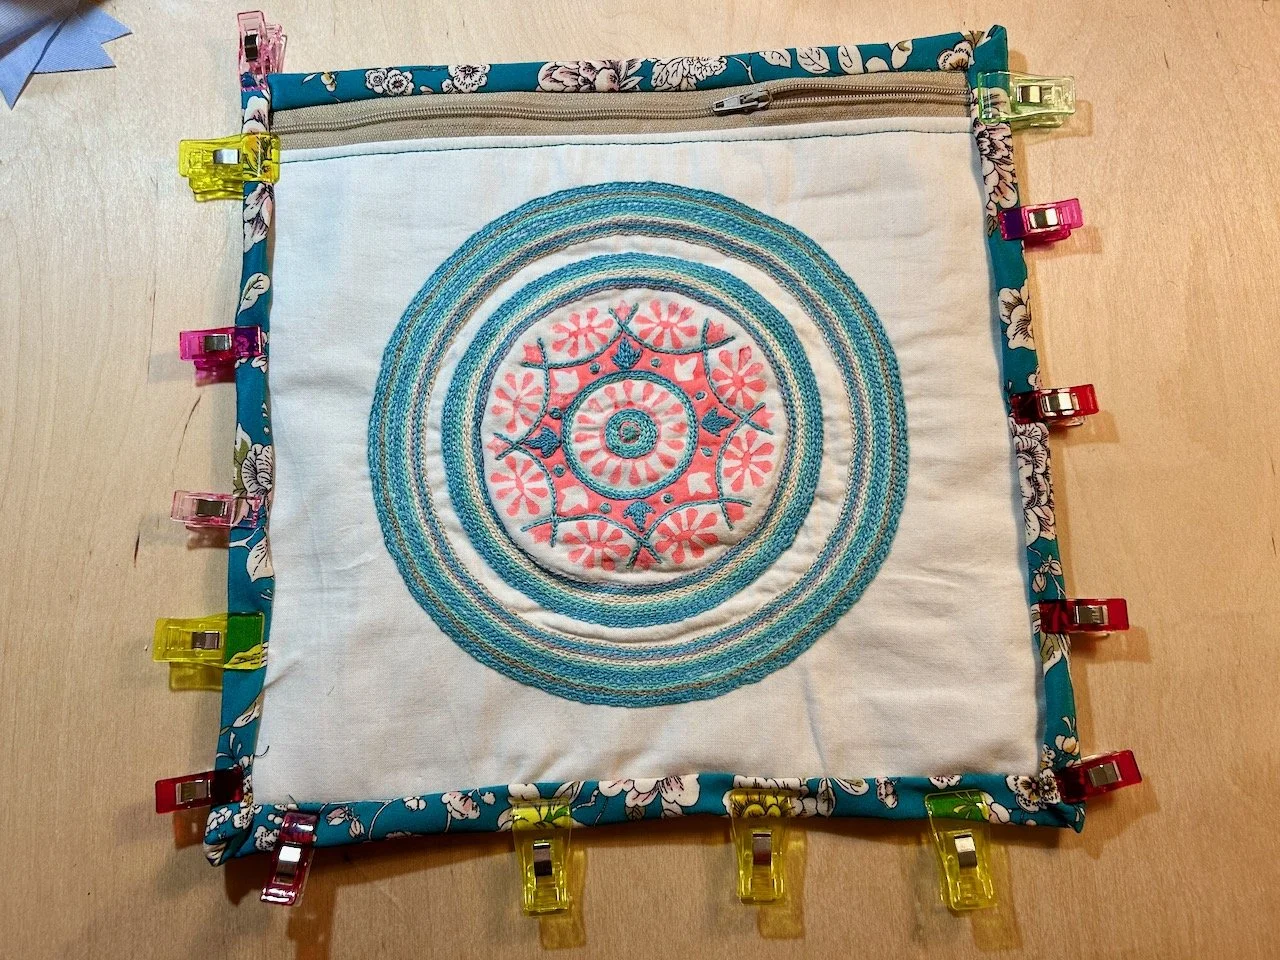
I’d bought the Liberty silk remnant during lockdown, along with some other prints which I’d used for some fancy masks, but I hadn’t used this one at all. Now was its time - I even found a complementary zip from the large stash I bought from eBay. The lining is the pale pink t-shirt remnant which I’d saved from a recently retired camisole top. Perfect.

I used the same approach as for the vinyl fronted pouches, but obviously without the vinyl part - and a whole lot bigger. Having made that stack of pouches really helped me out, as knowing how they were assembled meant I could made the adaptations I needed.

And it turned our really well.

Not only does it hold the tools for attaching the poppers - and the spare bits that came with it, it also holds the plastic container full of poppers.

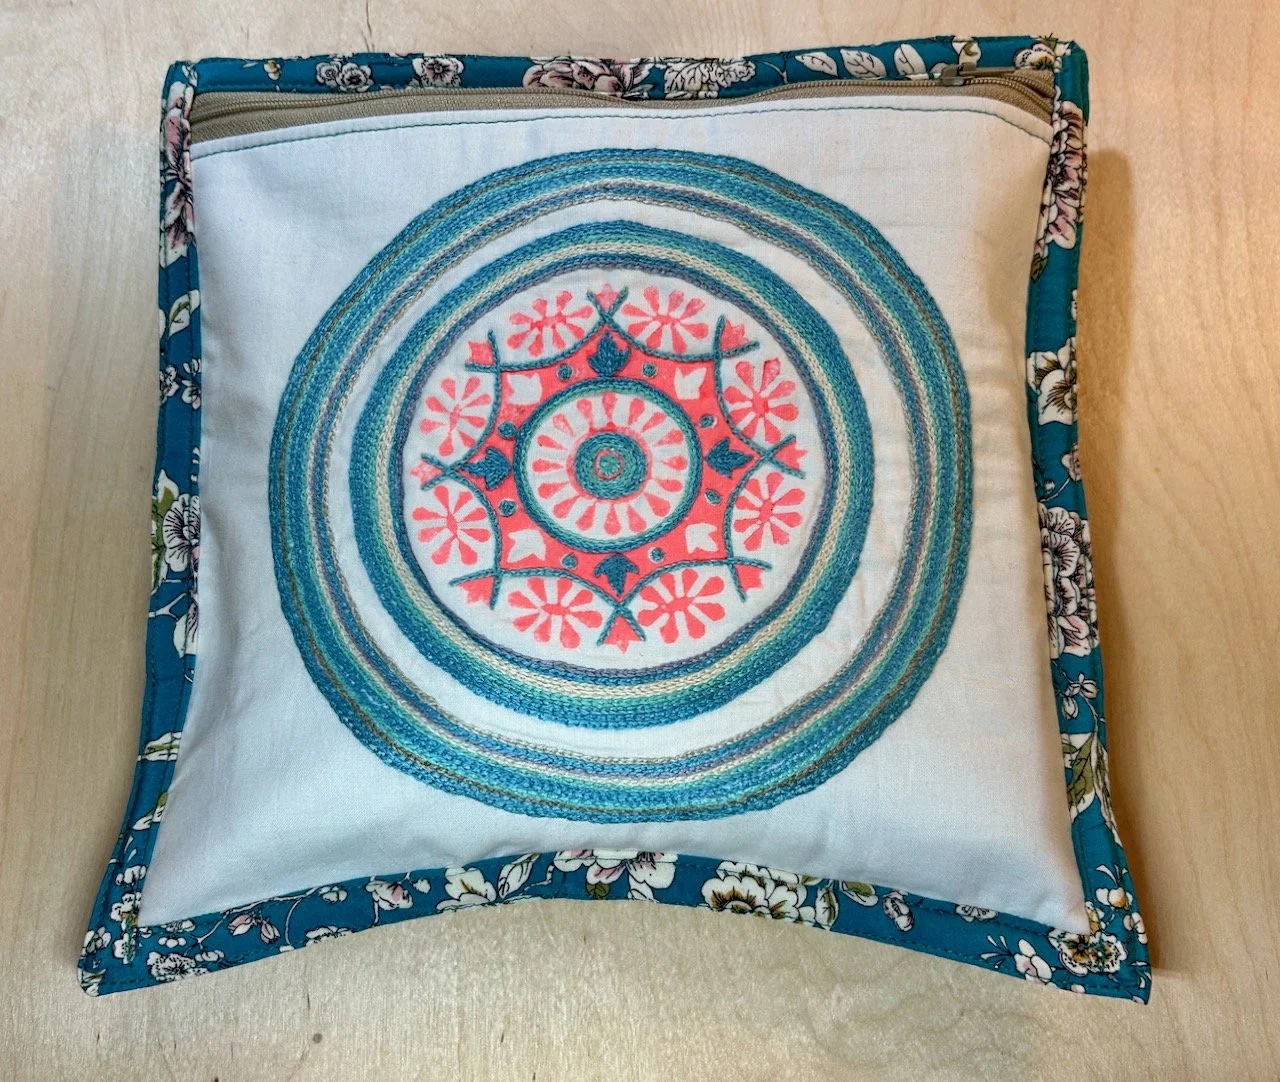
So now when I want to add a popper I just need to go to my mandala pouch for my poppers - which may not always be easy to say, but it sure is easy to find!

PostCommentLove

A stack of vinyl pouches

You’ll know that I did a bag making course earlier in the year, and I even completed the pouch that I hadn’t quite finished before our holiday. I wanted to get more confident with zips, and since then have gone a bit zip crazy, what with those garden cushions I’ve shared recently, and now this stack of little pouches.

It started with a kit I picked up a while back after seeing them online and deciding I couldn’t live without them. Before the bag making course I sat down to tackle it but got stuck at the first tip, which was to put the interfacing on the whole fat quarter before cutting out - but there was more fat quarter than I needed for the little pouch, and much more than the amount of interfacing included. The other tips for sewing the vinyl put me off too - it recommended using tissue paper, which makes a lot of sense - and a zipper foot. Neither of which I used making these - so the course has been a success as it’s given me the knowledge and confidence to follow what I’ve learnt in practice.

But anyway, they are rather cute - I made the small and mini versions from some of the materials provided in the pack, which are probably ones I wouldn’t have chosen myself, but I like nonetheless.

Following the instructions, and using the materials provided in the kit I ended up with a small vinyl pouch which I’m very pleased with - and definitely benefited from having the experience of a tutor-led session previously, even though it wasn’t for this exact item as there was lots that could be applied to this pouch.

I realised after I’d finished that while I’d used the fleece lining on the pocket’s lining (the insect fabric) I hadn’t used the thinner interfacing anywhere, and it probably would have benefited from it, at least on the strip below the zip.

I decided to have another go and make a mini version - that one didn’t go quite so well, but it does have the interfacing below the zip. I added some ribbon embellishments to the sides as afterwards I worked out that I’d attached the backing piece the wrong way round - doh! I was pleased to find the zigzag strip in my stash as it covers a stitching mishap - but you wouldn’t have known that if I hadn’t told you.

Even at this stage I could see how useful they would be, both for crafts and elsewhere. But I didn’t want to leave it there on my ‘embellished’ version, as I was sure I could master this little pouch, and I’d also been saving some red-checked vinyl which had (strangely) come as packing, all scrunched up between bottles, and I was keen to see if that would work.

Turns out it did, and I’ve now made ten of these pouches, learning and adapting as I’ve gone along - and I’ve got a stack of pretty pouches too!

PostCommentLove

A pincushion and two pouches for starters

My journey with the Adult Learning classes here in Newark continues, I’m currently attending the Machine Sewing for Beginners class for bags, and while I’m not a beginner with my sewing machine, I am new to bags. I also want to up my skill levels on putting in zips and buttonholes and as both of these are covered in the 6 week course, and knowing how good the courses I’ve been on so far have been, I signed myself up.

This is actually my third course - I started with the Gelli Plate Printing class and then quickly followed that with an Indian Block Printing and Stitch course, which was amazing and I’m hooked on printing onto fabric. I’ve not shared much of that yet, and none here though you may have seen some on my Instagram feed and stories, but I have so much to share from that one, so keep an eye out for that.

The bag making class is small - there’s just five of us and the tutor, and the skill level is mixed which is something I anticipated when I signed up. However there is still much to learn, especially as I’m using a machine provided by the course which is a newer model than mine and has a top loading bobbin which I’d not seen before, and it’s also nice to spend time with other people doing the same thing.

It’s also been hands-on too, some theory obviously, but not overly so. In fact the first week we all left having made a pincushion, so that was nice. As I wasn’t sure what it’d be like or what we would start with, I decided to take along fabric that wasn’t at the top of my favourites list, and that which I’d probably not rush to use.

And so that first week I made a Christmas pincushion, like you do!

A light grey square fabric pincushion, the material has snowflakes arrows and reindeers in red, green and brown line drawings - and there's a large red button at the centre

I’d misjudged the seam allowance on the new-to-me machine and only realised once I’d turned the pincushion the right way through, which meant that hand sewing the closure was more tricky than it needed to be and therefore it wasn’t as neat as it could have been.

That annoyed me in a minor way, but later on I realised that I could pimp up my pin cushion and make it even more Christmassy by adding a simple red and white twine around the edge. The ‘twine’ I used is actually paper (but quite solid) which I’d saved from Christmas presents last year!

the same pincushion as the previous photo, now with orange and green pins pressed into the top and a red and white trimming around the seamed edge

There was nothing wrong with it before, but I’m much happier with it now!

Next up it was a simple pouch, and for this we needed two pieces of material - outer material and lining - approximately the size of an A4 sheet of paper. While I had my B team material to choose from, I also had something else in mind. It was a bit smaller than needed but as this sort of pouch can be flexible on size I decided to go for it, and left with this completed pouch.

A cream pouch with black and white printed detail and a purple popper

I’ve not made anything like this for a long time, and this was easier than I remembered. As the tutor said she’s a big fan of straight line sewing, and this is mostly that - and the purple popper sets it off nicely too, and complements the purple batik lining (which was firmly in my B team fabric list).

There was one part that I wasn’t entirely happy with (again) - if you look in the bottom left hand corner you can see the sewing is a bit wild where I started off and revved the machine a little too much and off it went! It was a shame it was on the plain background of the material, had it been on the other side in the pattern I don’t think I’d have noticed it quite so much.

But I wasn’t undoing it, this was a practice pouch and it still worked perfectly well.

Then I realised I had some ribbon that was very similar to the background colour, so I dug that out and added an embellishment in that corner, front and back.

The opened pouch showing purple batik lining, and the addition of a toning trim in the bottom left hand corner

Now it looks as if it was always meant to be there, and I’m much, much happier.

I also got to start another similar but different pouch - one that’s ideal for sunglasses, and as I didn’t have sunglasses case it was perfect for me. I choose A team material for the outside, and again B team material for the lining. There’s nothing wrong with the lining material, but I think a lot of what I’m calling my B team materials just look better in small doses!

The same pouch as the photo above, this time with the flap open to show the lining - navy with a green/blue and white/brown checked design

The outer material reminds me of Portuguese tiles, and the lining of a man’s shirt from the 1970s!

And for a change this one hasn’t been pimped up, I finished it in the third week of the course just as the sun decided to make an appearance (at last!) - so I couldn’t have timed it better!