Eight colourful cards for autumn

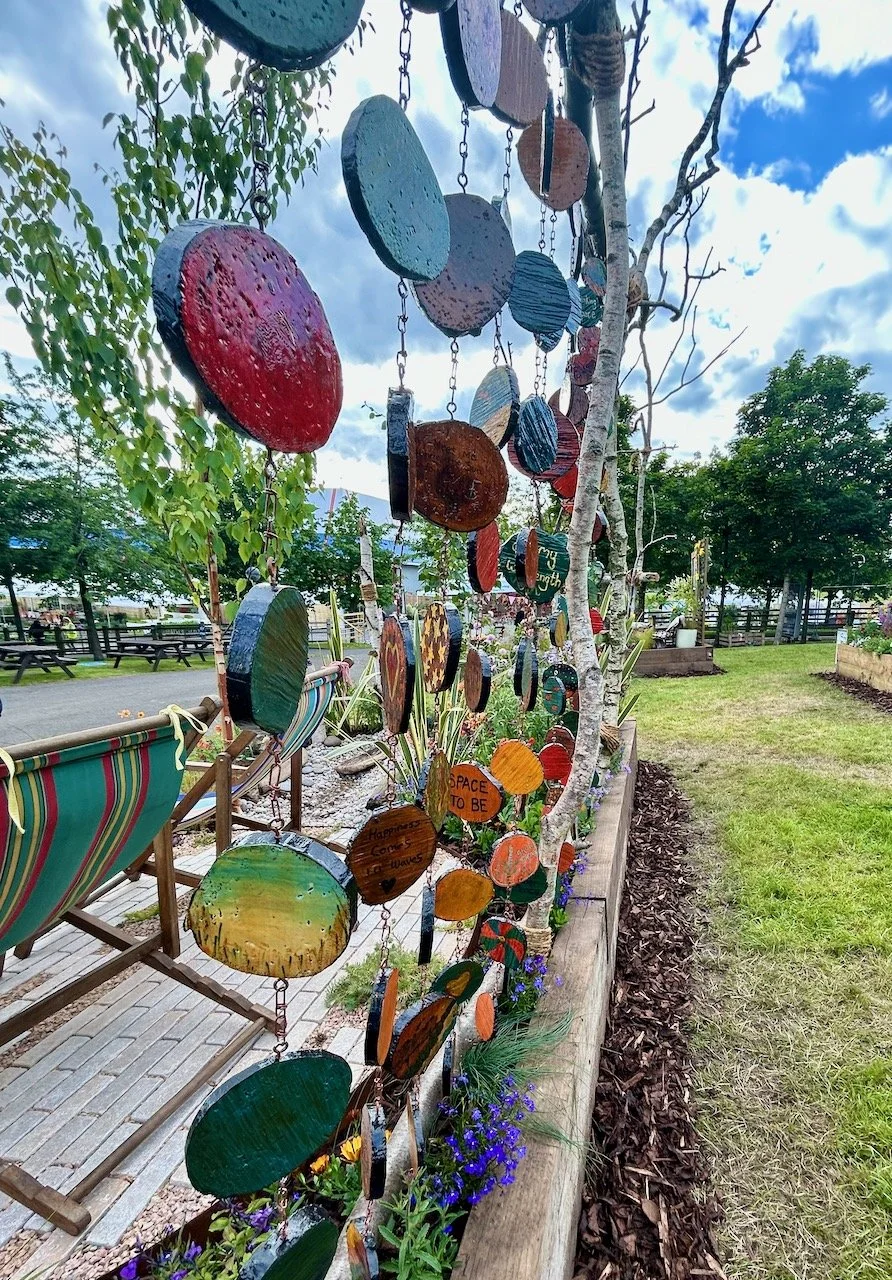
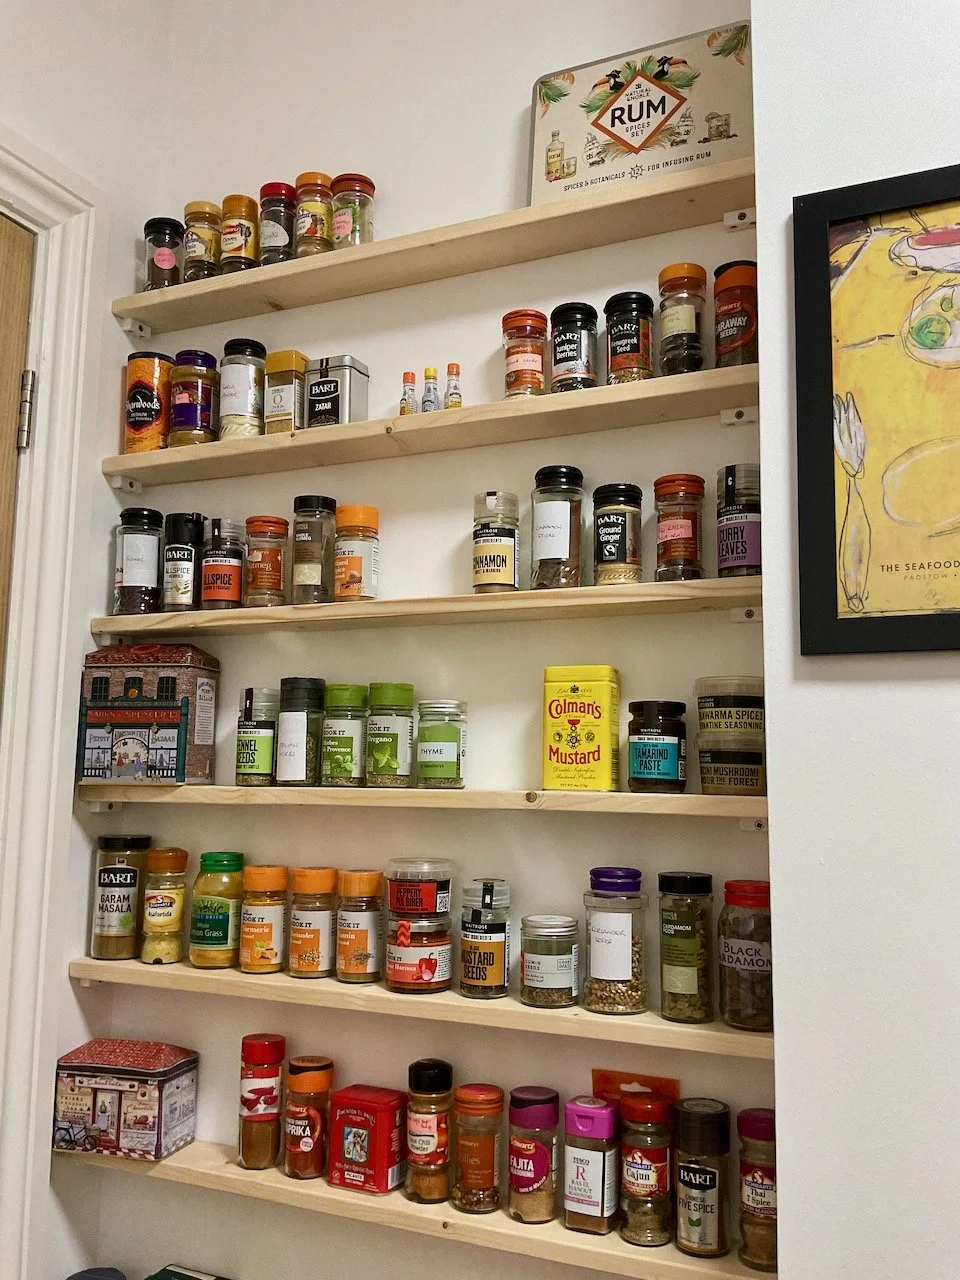
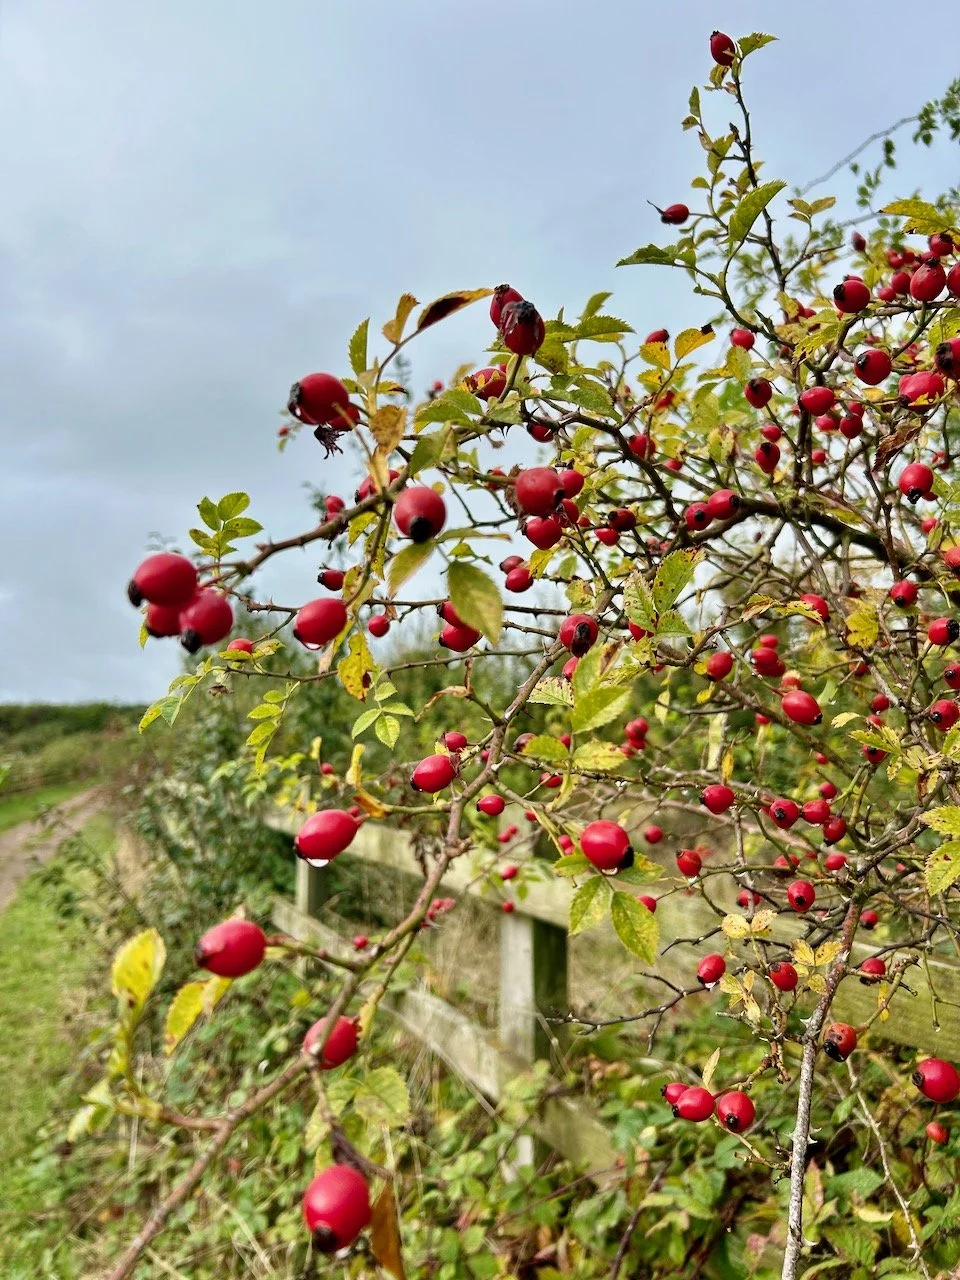
My card deliveries seem to come around more quickly, but that’s ok as I’m still enjoying receiving them - and using them. And even more so now that we don’t have a shop around the corner it’s handy to have a selection of cards to choose from. The Card Boys also do a Christmas selection, but once again I’ve decided against that hoping that I will make most of ours, and supplement those that I don’t with charity cards.

Once again though for my homemade cards I’ve gone for Christmas trees - it’s definitely a theme of mine, which also seems to have slipped into the charity cards I’ve bought unintentionally. It’s not something I’m sad about though!

As before the eight cards in the quarterly subscription box are all blank inside, and usually only a couple of the cards in each box have determined use, in this box two are for birthdays, but in previous boxes there has also been a thank you card.
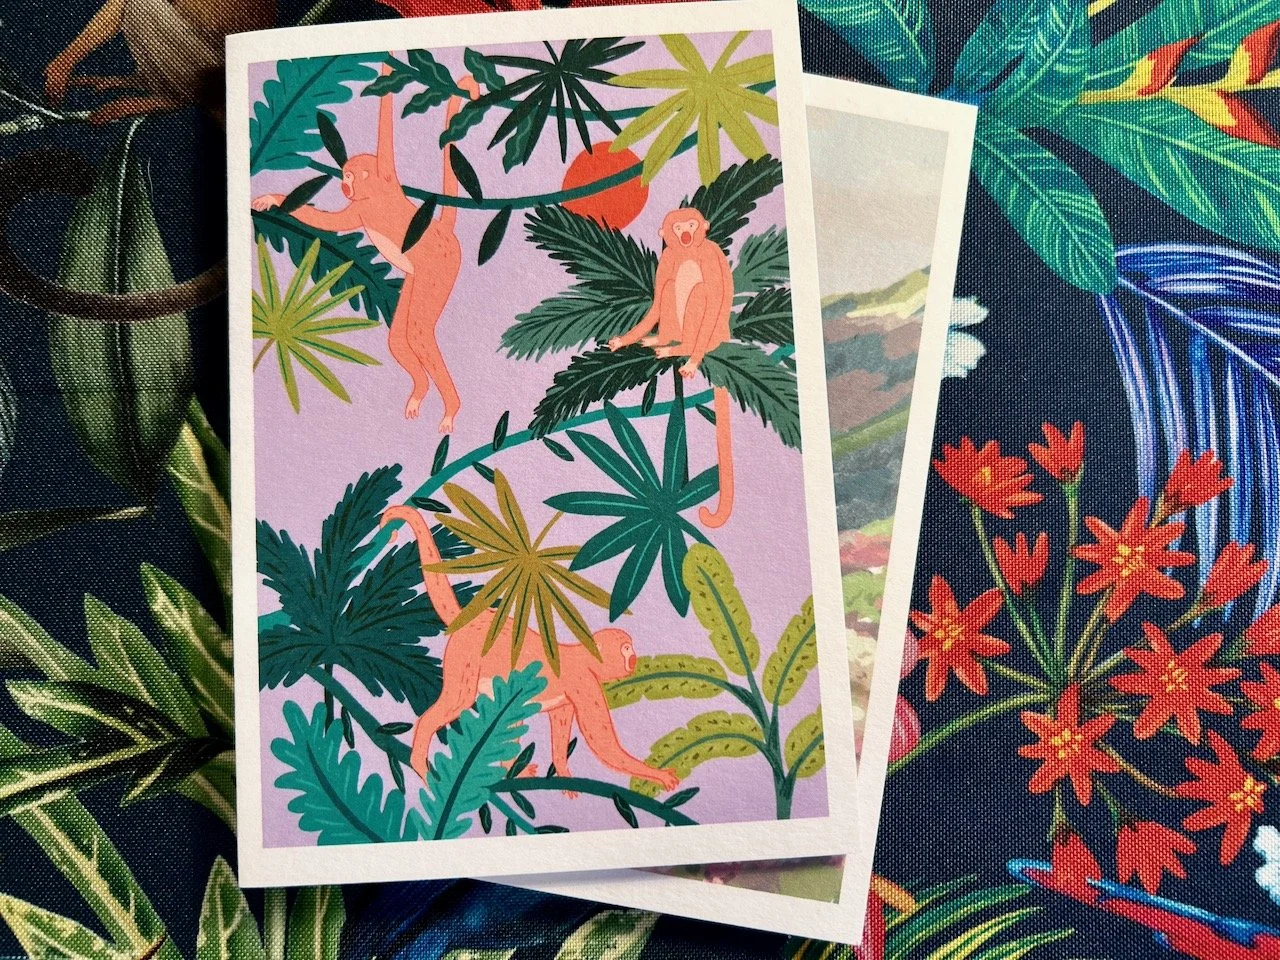
ARTIST: CLAIRE PAUL

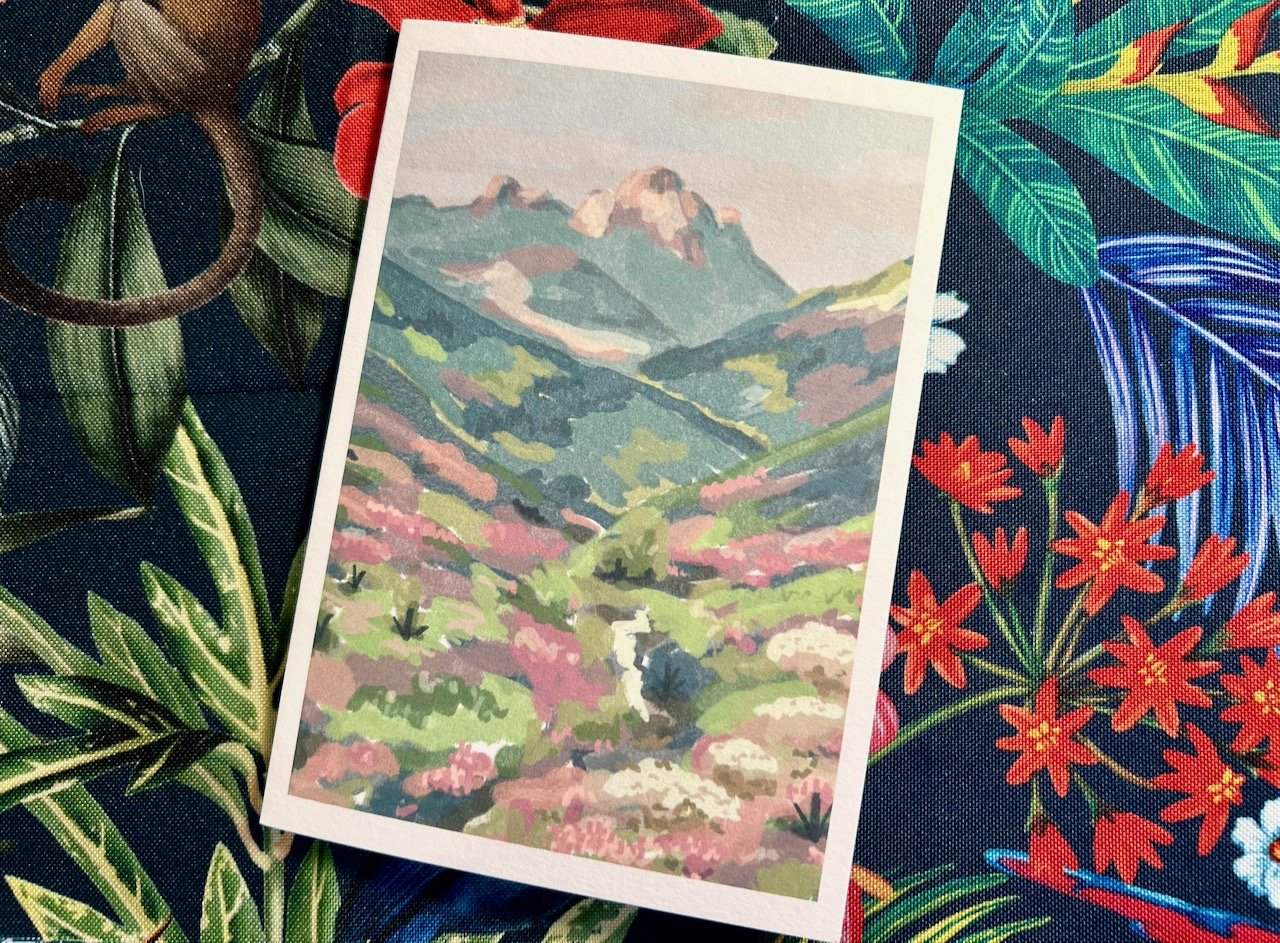
This month I’ve photographed them on a colourful, tropical background which works well for many of the cards which also have vibrant colours, but also works with the more muted colours in the mountain and valley scene above.

ARTIST: LAURA BARNES

The three cheeky monkey cards is one of my favourites in this box and may just have influenced the background - if you look in the top left corner you can just spot part of another monkey! I’m not sure if this was an intentional plan of mine or not.

A simple white figure wearing a pink swimming costume on a blue background with white squiggly waves

ARTIST: MARTHA DUNCAN

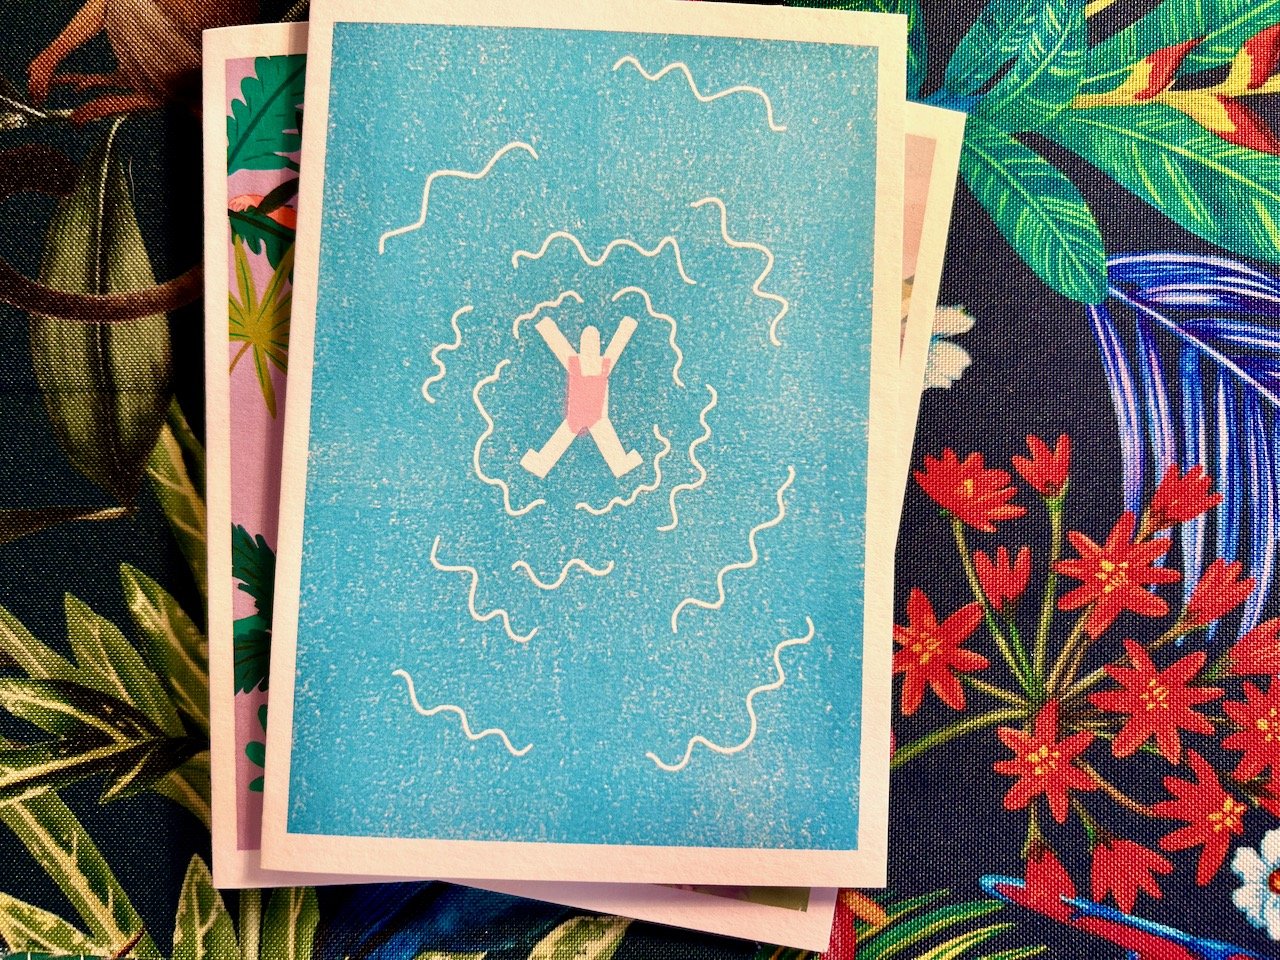
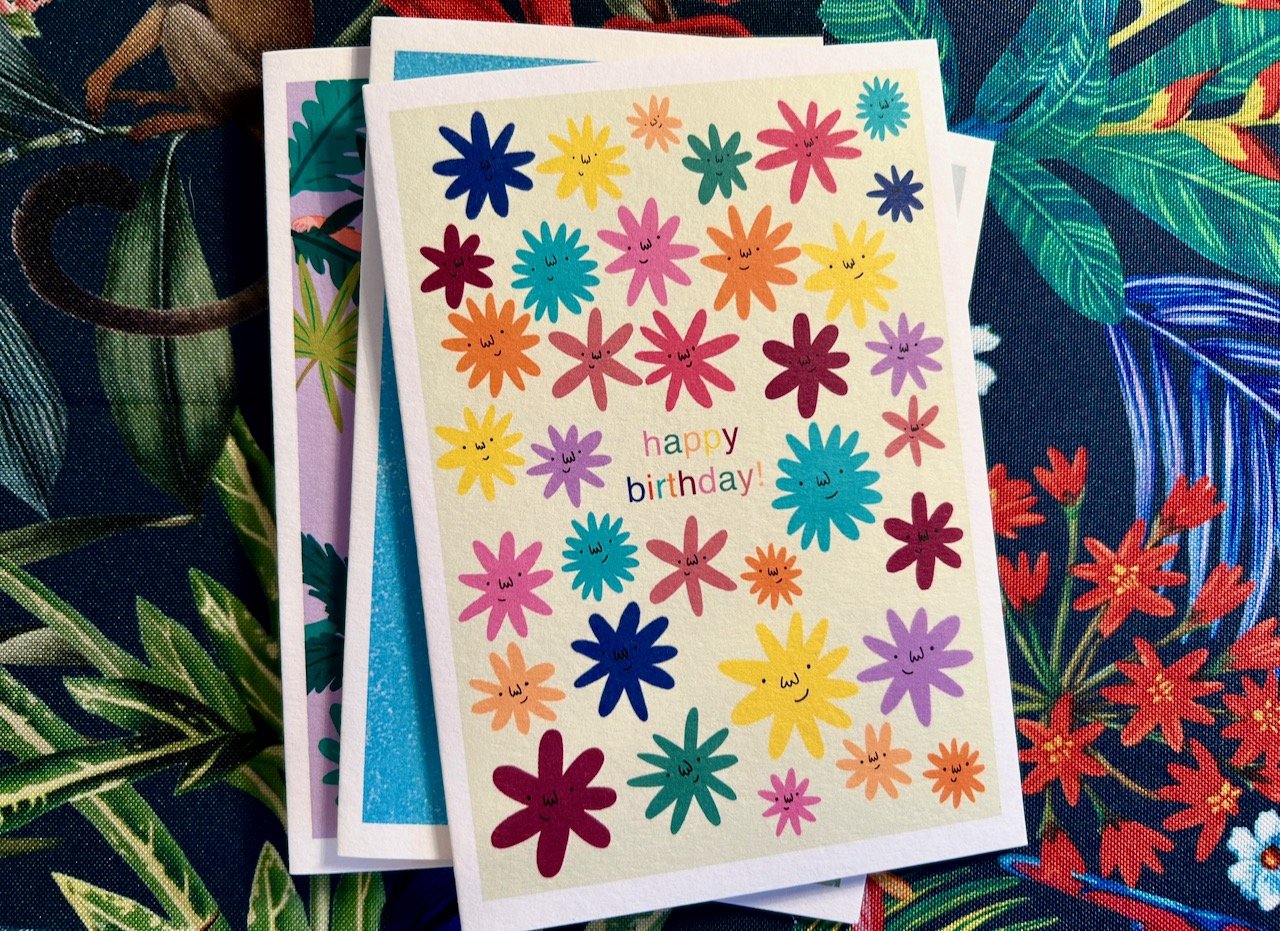
I like the simplicity of this swimmer shot, and the squiggly ripples that they’re making. It has a calm about it and I can see this card having many uses. The asterisks with faces card below is cheery and it’s clear what its intended purpose is from a single glance.

multi-coloured asterisks with faces around the colourful text 'happy birthday!'

ARTIST: ABBIE INGLEBY

ARTIST: MARTHA DUNCAN

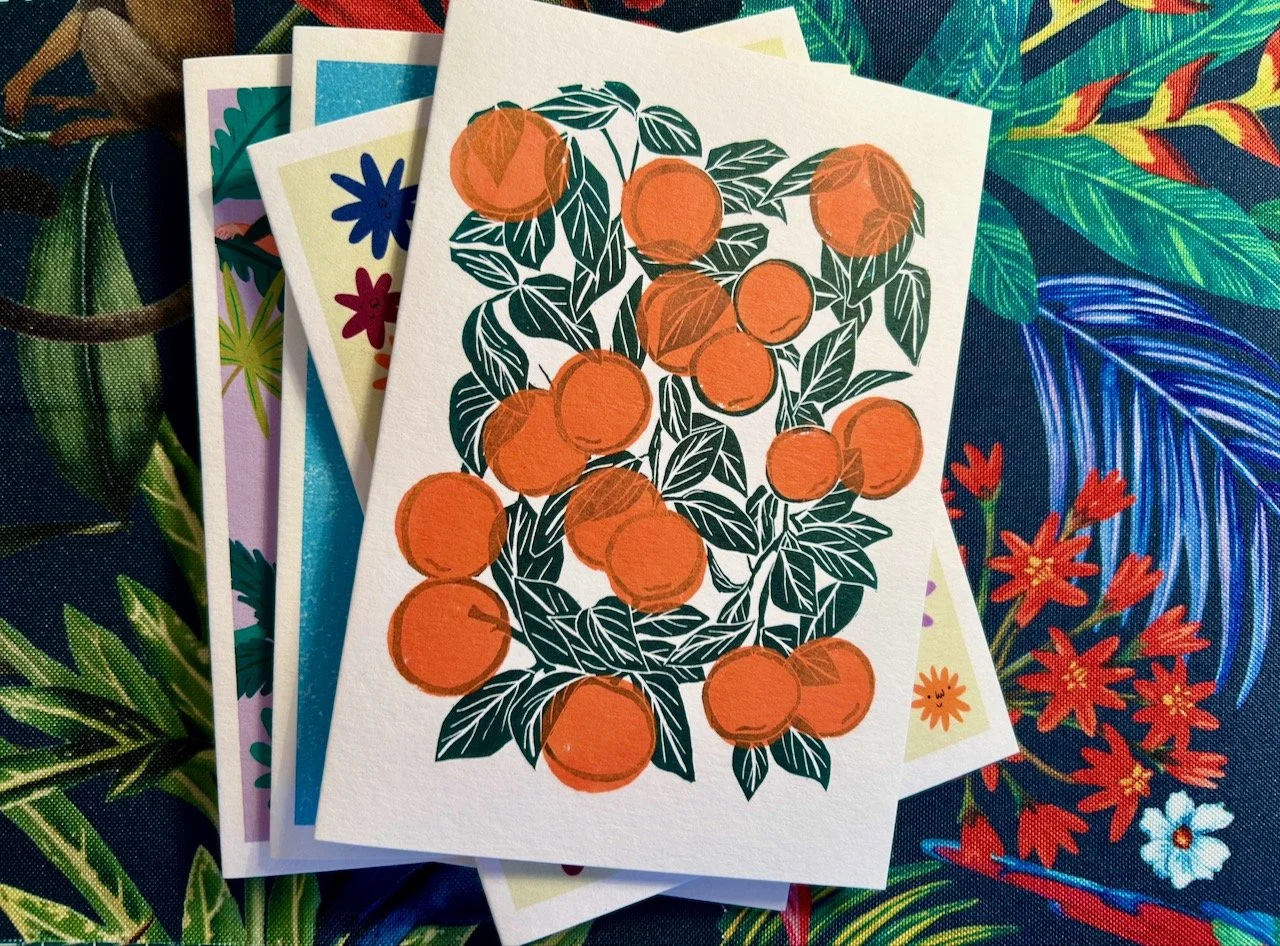
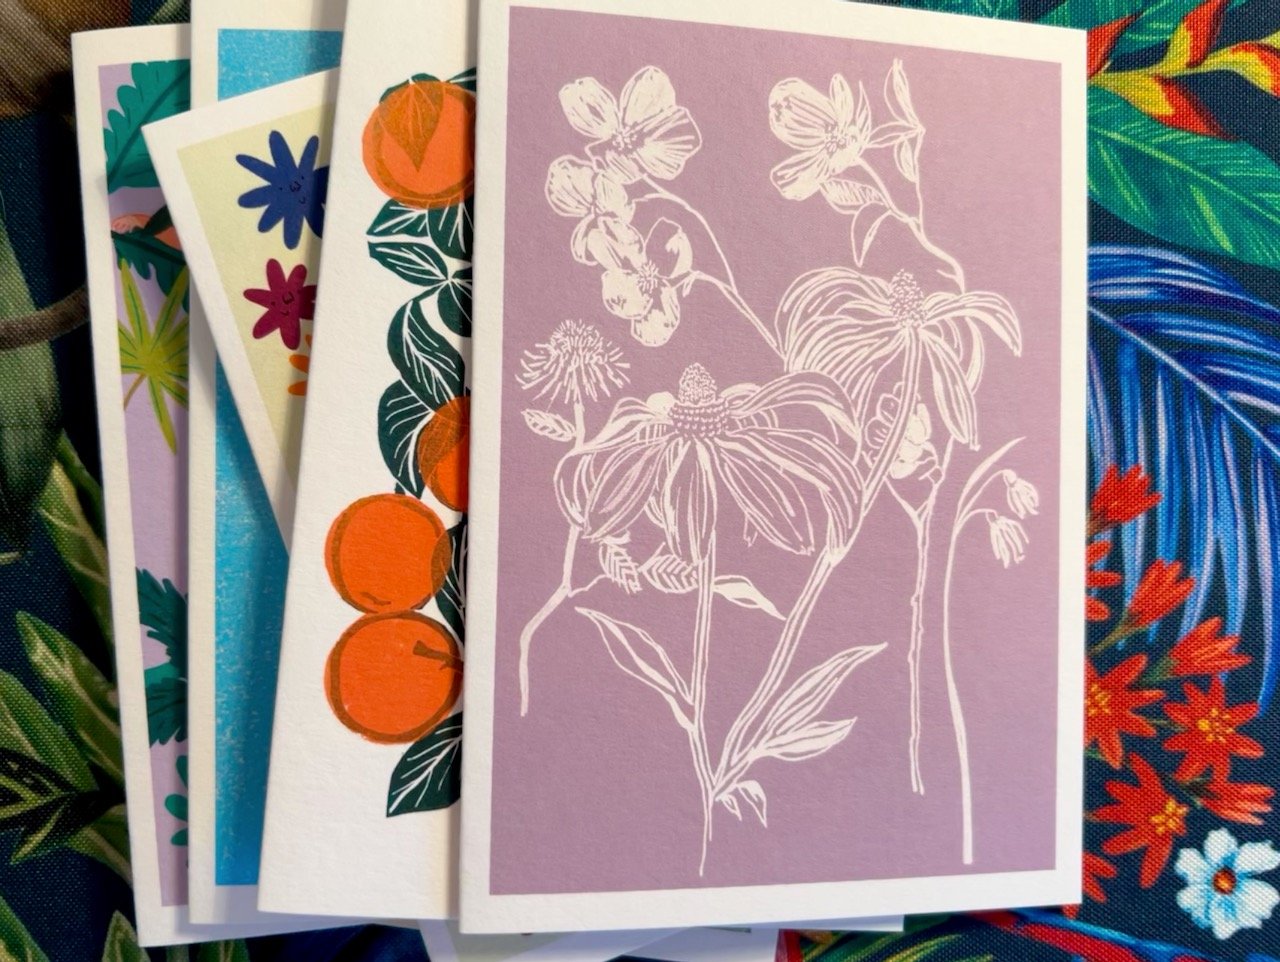
The cards in these boxes often feature flora and fauna, and these two are no different but their approach in entirely different. Above you have the punchy oranges design, and below a more delicate line drawing of flowers.

ARTIST: REBECCA DIGGLE

Cheery blue, orange and pink flowers on stems with leaves, with the happy birthday banner across them

ARTIST: MELISSA DONNE

The final two cards are by the same artist, and you can see that they’re related both with (and I mean this is a good way) splodgy flowers, which have an almost folklore feel to them.

A pink and white dove with a floral pattern carrying an olive branch on a pale blue background

ARTIST: MELISSA DONNE

My other favourite in this box is the dove card above, it just has a special feel about it and I think could be used for many occasions and correspondence. It also symbolises peace, which I’m sure we all agree the world could do with a lot more of right now.

Embroidered sunflowers

Another craft post, I guess my craft room is paying dividends! Though in fairness these stick & stitch embroidery patches were a pre-move purchase from BlackbirdnBloom on Etsy. I bought them, along with some bee patches, to use to embroider over those annoying holes you get in some t-shirts, but what with everything going on I didn’t get around to doing anything more than popping them into my sewing box. I knew that I had enough embroidery threads in varying colours and even better, I knew where these where now that I’d unpacked in the new house.

They’re easy to use too, all I needed to do to get started was work out where I wanted the designs and what colours to use.

Two sunflower patches stuck on a navy blue t shirt - covering holes
Choosing colours - from many enbroidery threads wound around cardboard

And while sunflowers are traditionally yellow and brown, I opted for the card with the dusky pinks and pale yellows (I told you in my recent crochet post that they’re my go to colours!), and then quickly realised that my choice was also probably influenced by my top!

Deciding on a colour pallete of muted yellows and dusky pinks
My chosen colours *may* have been influenced by the top I'm wearing - yeap, the same colours

But anyway, the embroidery finally started.

Starting embroidering the petals with deep burgundys through to dusky pinks

As ever I decided to improvise, with the colours, the blending and pretty much everything else. I also got braver with this as I went along, likening the embroidery thread to colouring helped a lot, and I think the effort was worth it.

Making progress - three completed sunflowers - with the template sticky material around them

Once the embroidery covering the small annoying holes was complete, it was time to wash off the excess patch.

It was magic. Cold water and a very small amount of rubbing and the white surrounds easily disappeared.

Washing off the template material in cold water - starting to reveal the finished embroidery

I think the photos look much more dramatic when it’s wet!

Anyway, after trying my top on to admire my embroidery skills, I decided to add more embroidery, and not just to cover the holes. Before I could back out I stuck the design in place and got my needle out again, sewing more flowers up towards the neck, but off centre - I’ve a thing for things being a bit skew-whiff, to me it’s much more pleasing.

The t shirt laid out to show the embroidered sunflowers which have now migrated up the top (I liked them so much)

And I’m really pleased with the results, though less pleased with my attempts to photograph them. In fact the navy blue top wasn’t photographing at all well, so there was nothing else for it but a mirror selfie.

Me wearing the top- it was too hard to get a photo not wearing it - I've worn it out and no one asked if it was home made - result!

As you can see, it’s subtle but visible - and I think it looks like it’s meant to be there. I’ve worn this t-shirt out a few times now, including to a local sewing group here, and no one has asked if I made it. I’m hoping that’s because it looks good, rather than the other!

I’ve yet to start a t-shirt with the bees, but it’s on my list - and more importantly on my workbench, rather than shoved away. But it’s behind a project or two yet, but I’m pretty sure it won’t be long before I start…

PostCommentLove

Making an autumn wreath

A few weeks ago I saw a post on Facebook by The Flower Fairy here in Newark offering workshops to create an autumn wreath, and I thought why not.

I’ve tried Christmas wreaths before, with mixed results - they look ok on the table, and ok on the door for a while, but not as good as those in the shops created by professionals. So I signed up before first making sure the workshops could accommodate a novice.

The first step was to fill the wreath ring with moss, which isn’t something I’d done previously - and after a trim it looked ok - and still round!

Moss added onto the wire florist ring - a good start!

Lucinda had provided all the materials for the workshop, including tons (probably not literally) of stems in a range of greens, oranges and whites to create the wreaths. The next step was to break these larger stems into more manageable sections, and end up with smaller pieces to create bunches to add to the mossy ring. As well as these there were rosehips, chinese lanterns, crab apples and grasses. I opted for the first two, knowing that I could use the crab apples and grasses from my own garden if I wanted to top up my wreath, or even make another at some point!

I spent the evening wiring small bunches of plants onto the mossy ring, while chatting to the women alongside me. It seems that I was so busy making my wreath that I didn’t take any more photos until it was done.

And I’m pretty pleased with how it turned out.

I purposely chose not to make it symmetrical, as nature rarely is, and I like the natural look.

I’d not used moss on a florist ring before, and each bunch was secured by winding wire around the stems, using a single length for the whole way round - which seemed much easier than I remembered. Arriving home I put my newest treasured possession safely in the garage so that I could work out how to hang it the next day.

Of course, we didn’t have the right sized hook and nor did we really want to put anything too permanent on our new door, either of them. I knew that I’d be hanging this on our back door, which is the door we use - we rarely use our front door, and so wouldn’t get to admire my handiwork hardly at all.

If you look closely at the photo you can see a dark strip over the top of the door - that’s a very clever wreath door hanger, which hooks easily over the top of the door. The wreath fits into the hook, but I’ve also used the ribbon to tie it on so it’s a little bit more secure - hopefully!

I’m so pleased with it that I’ve already bought some florists wire and some large wire rings (I already had some small ones) - all I need when I’m ready to make another is some moss and some greenery. I’ve already been eyeing up the plants in our border and I’ll be keeping a keen eye on the hedgerows when we’re out walking.

But in the meantime, I’m going to indulge myself with a few more detailed pictures of the one that’s hanging on the door.

Rose hips, chinese lanterns and burnished eucalyptus stems on my wreath
The orange tinged eucalyptus with some smaller orange berries, ivy and greenery
PostCommentLove