Bringing the bling to Zumba

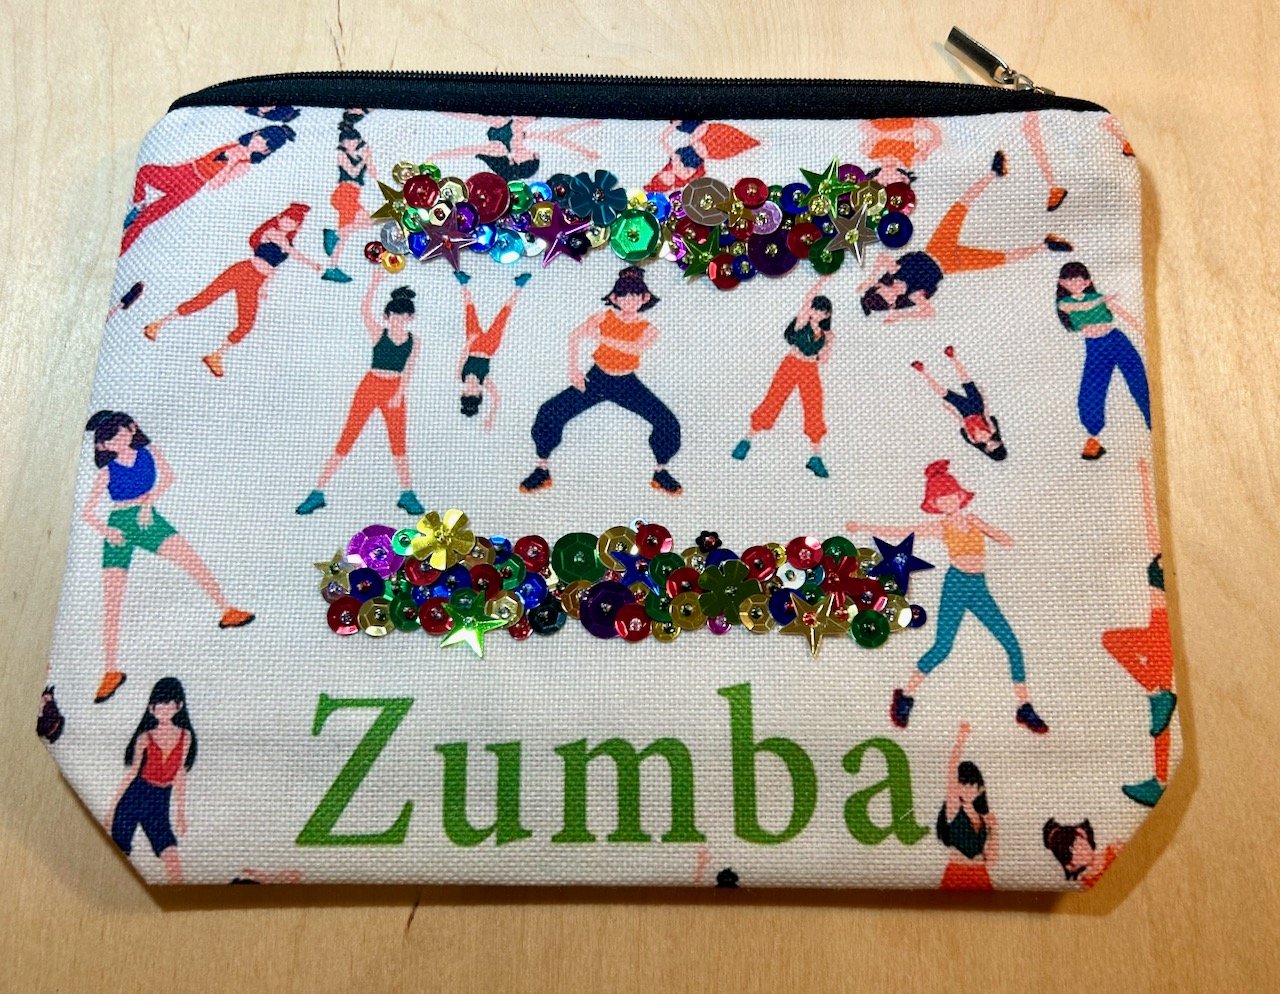
I haven’t shared any pouches for a while, but don’t worry they’re still around - and the pouch love wait is over! Though today’s pouch is one that I’ve embellished rather than made myself.

At the start of 2024 one of our neighbours started a Zumba class in the next village, and so I’ve found myself heading along most Thursdays never having zumba-ed before - and quite honestly, I’m still not sure I’m technically doing it right, but it’s good fun and it’s a great group of people.

At Christmas our Zumba-leading neighbour held a fuddle for the group to celebrate our first year, which was a really thoughtful thing to do, and I think has helped cement the relationships that were already forming. We all insisted on helping cater the evening, as you would, and for a while our Zumba chat was the list of who was bringing what - and most importantly not to forget your slippers on the actual evening.

Now that’s my type of party!

Or fuddle. Not even knowing what a fuddle was, I’ve now been to two as my Sewing Group had one too. It’s a term I’d not come across before, and if you haven’t either, this is Wikipedia’s definition:

(UK, dialect, Derbyshire, Nottinghamshire, Bedfordshire) A party or picnic where attendees bring food and wine; a kind of potluck.

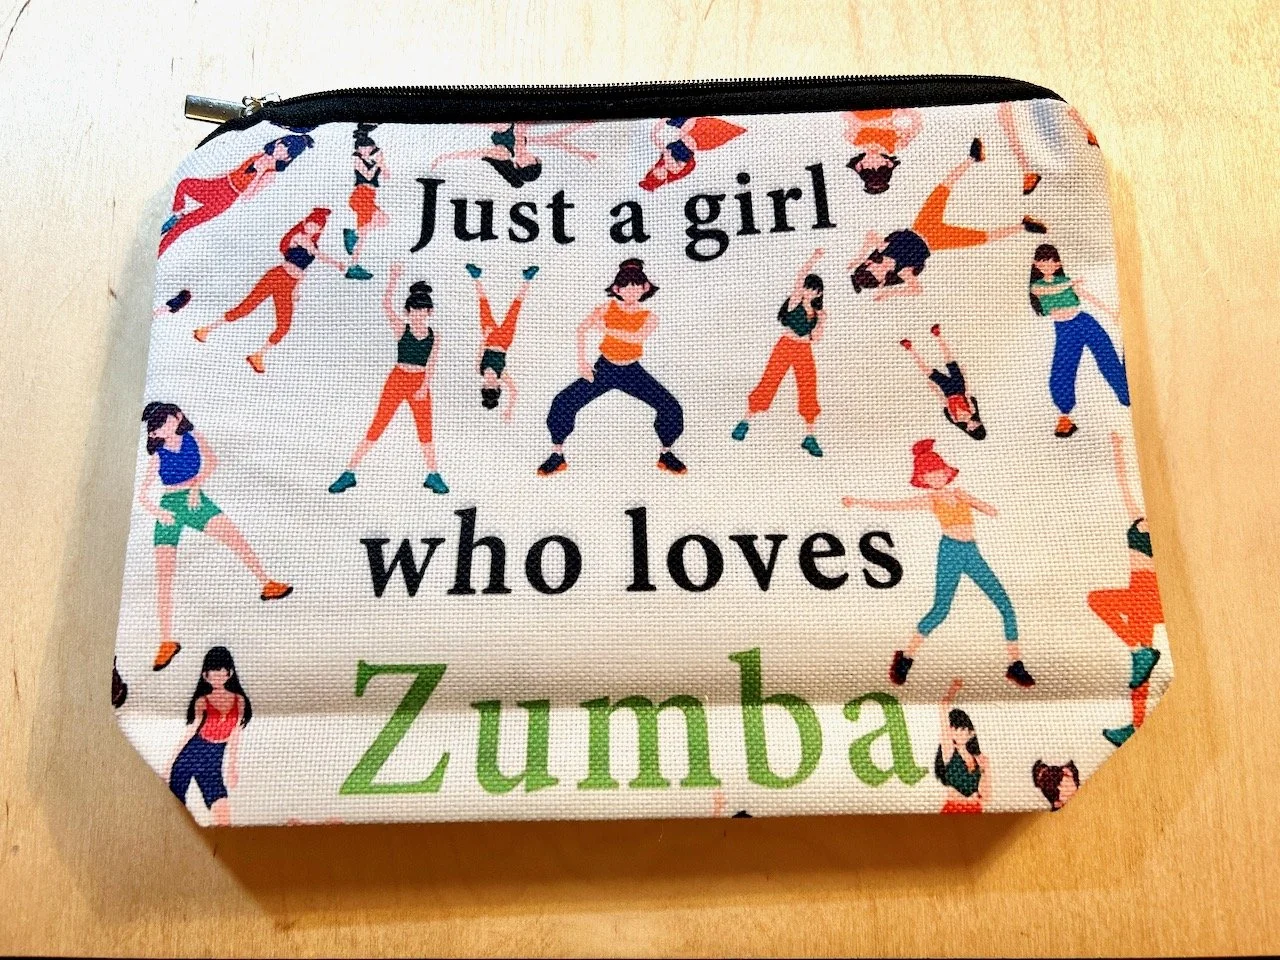
But anyway, at the fuddle we all left with a Zumba pouch - imagine my joy, wearing slippers to a party and bringing a pouch home!

Embellishing my Zumba pouch

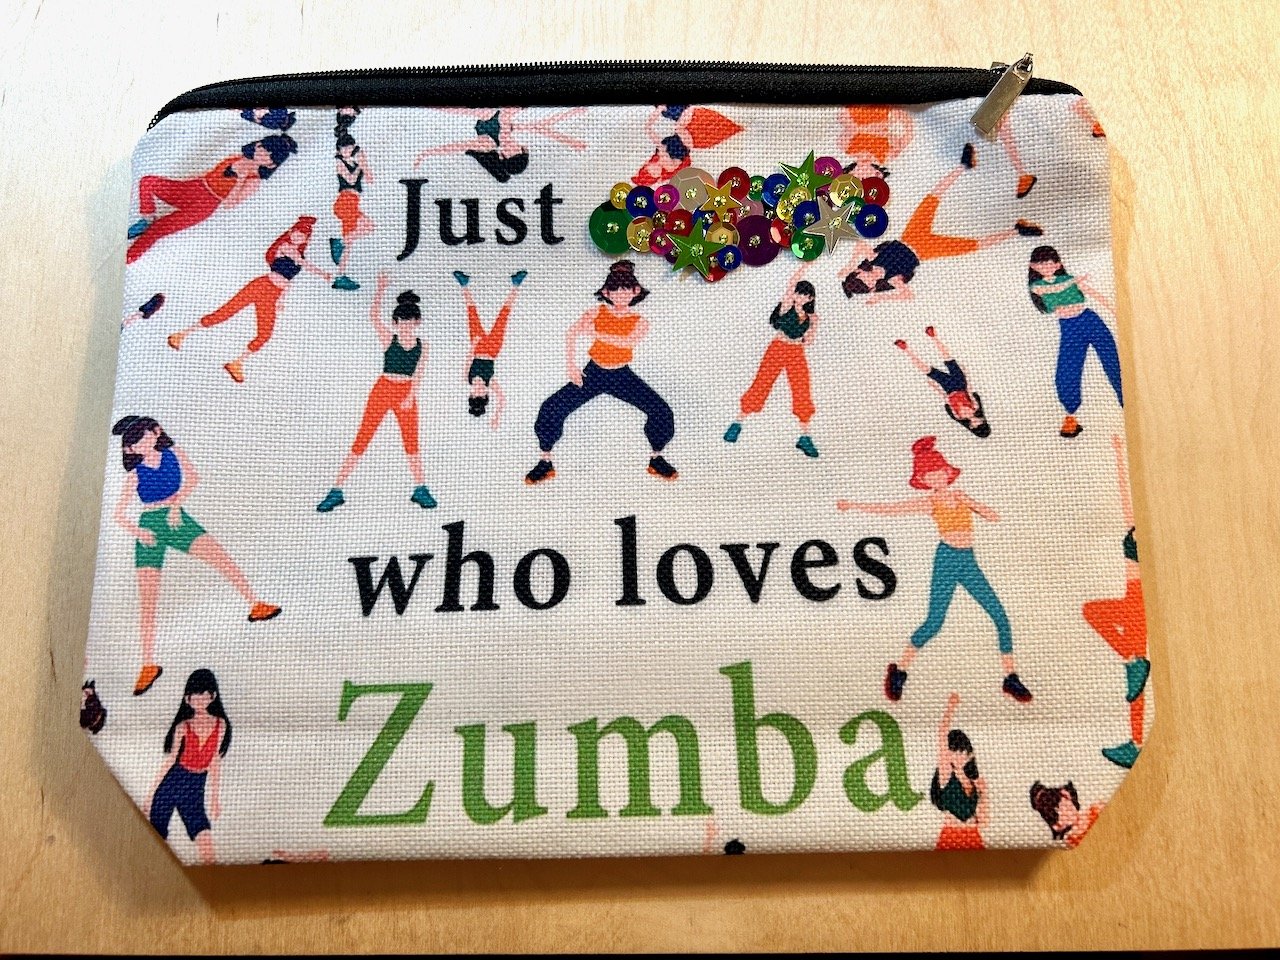
Obviously with twenty or so of these pouches now in the wild in my local area there was a high chance that some would make it to a Zumba class near me every week, and with them all looking the same that might not be the best move. So I decided some kind of customisation was required - and while I could have simply written my name inside, I decided to go bigger than that.

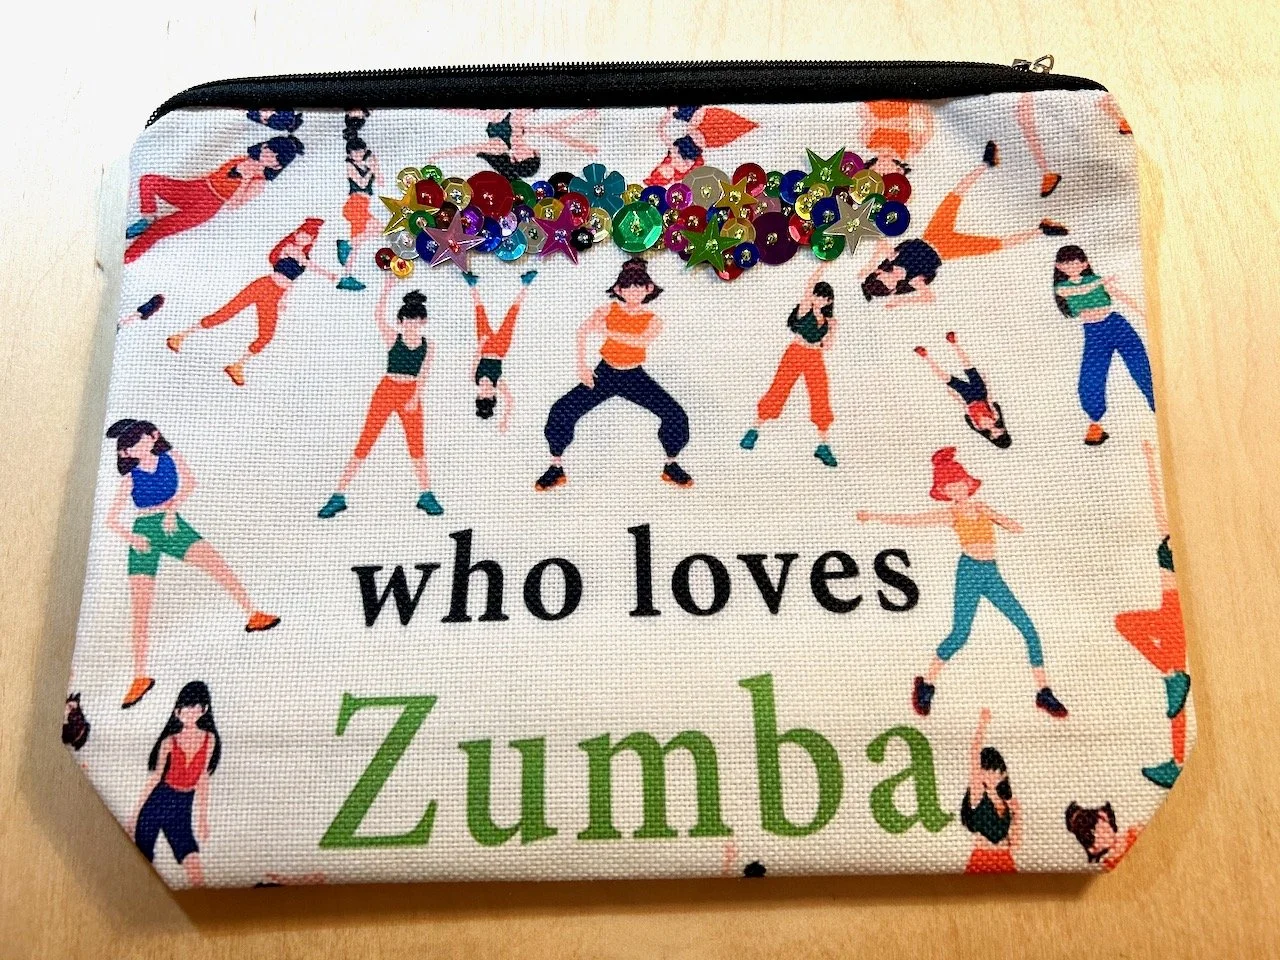
I also wanted to cover some of the text as that wasn’t for me. I know it’s fairly inoffensive, and more descriptive but I knew I’d be happier with just having the Zumba on my pouch - I can’t explain why. And I knew I had some sequins hanging around, like you do - and so I thought I’d put the mismatch of those together in ‘disco-type bands’ above and below the main zumba-ing figures.

This gave me the opportunity to test out my sequin applying skills, as well as my ability to thread teeny tiny needles - small enough to go through those tiny beads!

More sequins added, covering the top line of text (was previously 'just a girl')

And actually it was quite a soothing thing to do. Before long I had two sparkly borders, which makes me smile - and then I remembered I had to do the other side too!

The completed pouch - sequins in two bands covering the text but around the zumba figures

So now I have a bling inspired Zumba pouch, which definitely stands out from the others - and that’s mainly how I bring the bling to Zumba - my ‘moves’ mostly still need quite a bit of work, but really I don’t care too much about that!

Planning a greenhouse

At Gardener’s World Live last year one of the things I was keen to look at, apart from all the show gardens and beautiful borders, was greenhouses. We don’t have one here yet, and I’m missing it - pottering about at the greenhouse staging in the garage is ok, but the garage isn’t ideal for germinating seeds, and I really could do with a light, sheltered space for some of our plants to over winter to give them the best chance.

Not too big, not too small

I don’t want a huge greenhouse, though I’ve already doubled the size I first thought of! And I do want to integrate it into our overall garden design.

In our previous house I had the standard 6x8 aluminium Rhino greenhouse, and it was great - but as I’ve said my plans for this garden are a bit smaller. Originally I was looking at a 2x4 patio greenhouse, but given that it needs to be two foot from any boundary for maintenance, that seemed a lot of space for not very much greenhouse at all.

And so I upscaled my tentative plans to a 6x4 - but also preferring the black frame, rather than aluminium. Of course, all of this is just plans at the moment - though I did come dangerously close to buying one of the show greenhouses in one of the sales, but in the end I resisted as I wanted our plans to be a bit more developed first.

Testing it out for size

So would a 6x4 greenhouse work in our space? Well as there’s nothing else really in our garden, apart from the trellis around the heat pump and the small crab apple tree, the answer is clearly a yes, But would it work how I wanted it too, where I envisaged it - or would it dominate the garden?

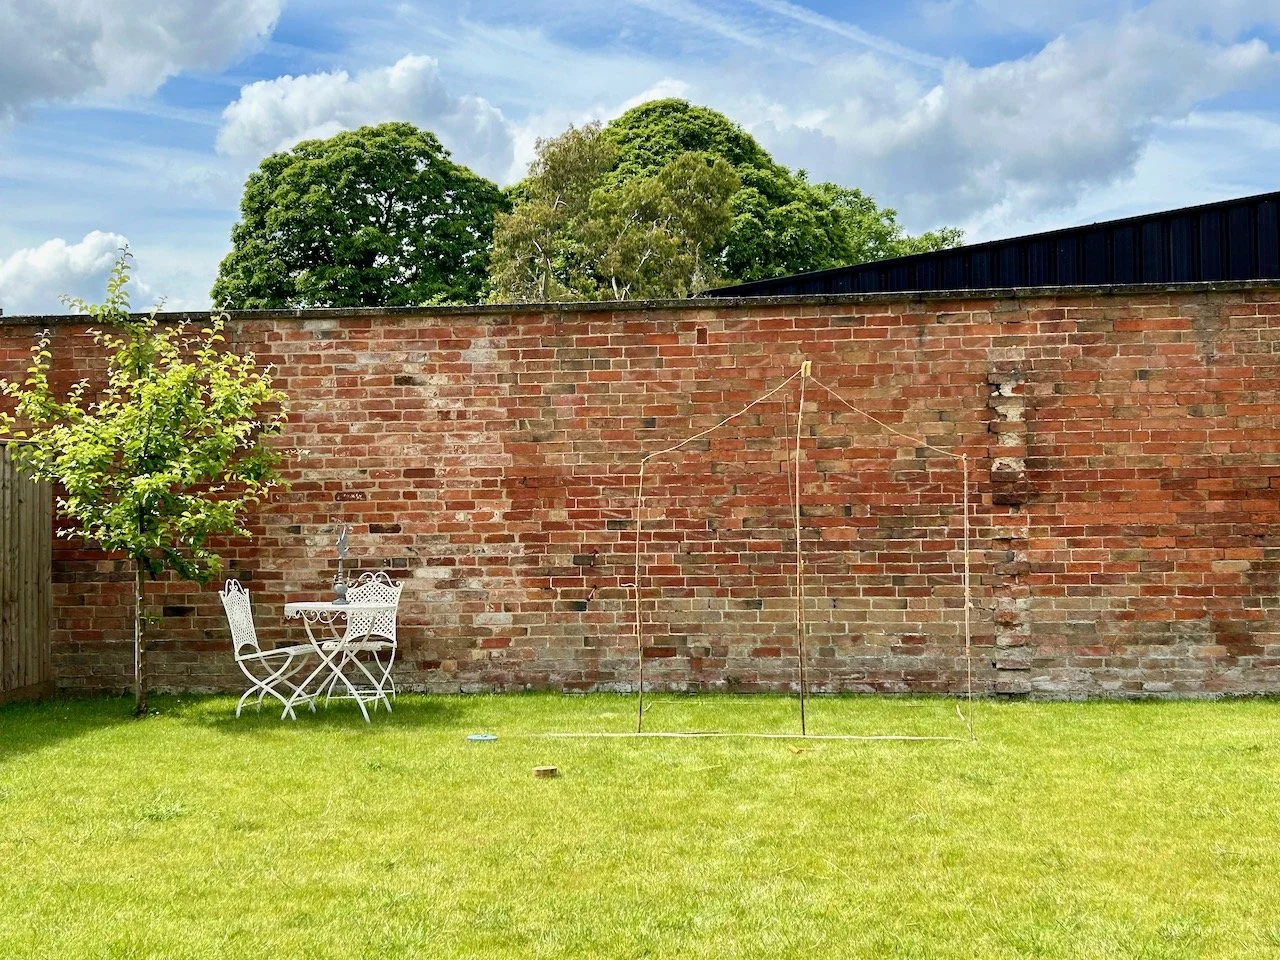
I decided to try it out using bamboo canes and string. So this visualisation spent a fortnight or so in place in our garden last summer, and no doubt any neighbours that spotted it clearly must have thought we’d lost the plot.

Mocking up a greenhouse with string and bamboo canes

But it worked, well visually of course, not as an actual greenhouse!

It was easy (and easier than it looks in the photo) to see its footprint, how high it would come up the wall, how far it would come into the garden - and most importantly, how dominant it would be from the house. Putting it directly opposite our lounge windows might not seem the most obvious positioning, but I’m hoping it will also help keep it tidy and on the prettier side. I fully intend to retain the greenhouse staging in the garage for the real functional work, and use the greenhouse for what it does best - providing a sheltered growing space.

Of course I spent the time that it was up, looking out of every window to check what it looked like from that vantage point - and I was happy, until of course my temporary structure collapsed a little. But by then it had done its job and confirmed this is the size and location for me.

Now only if the rest of planning the garden was that easy - but more on that another day!

Dismantling a fabric sample book

Before we moved I stumbled across a bargain selection of fabric sample books, which I tried to ignore. But the fabric patterns and designs kept calling my name and so I became the proud owner of three fabric sample books, or as they became known - another b****y thing to move!

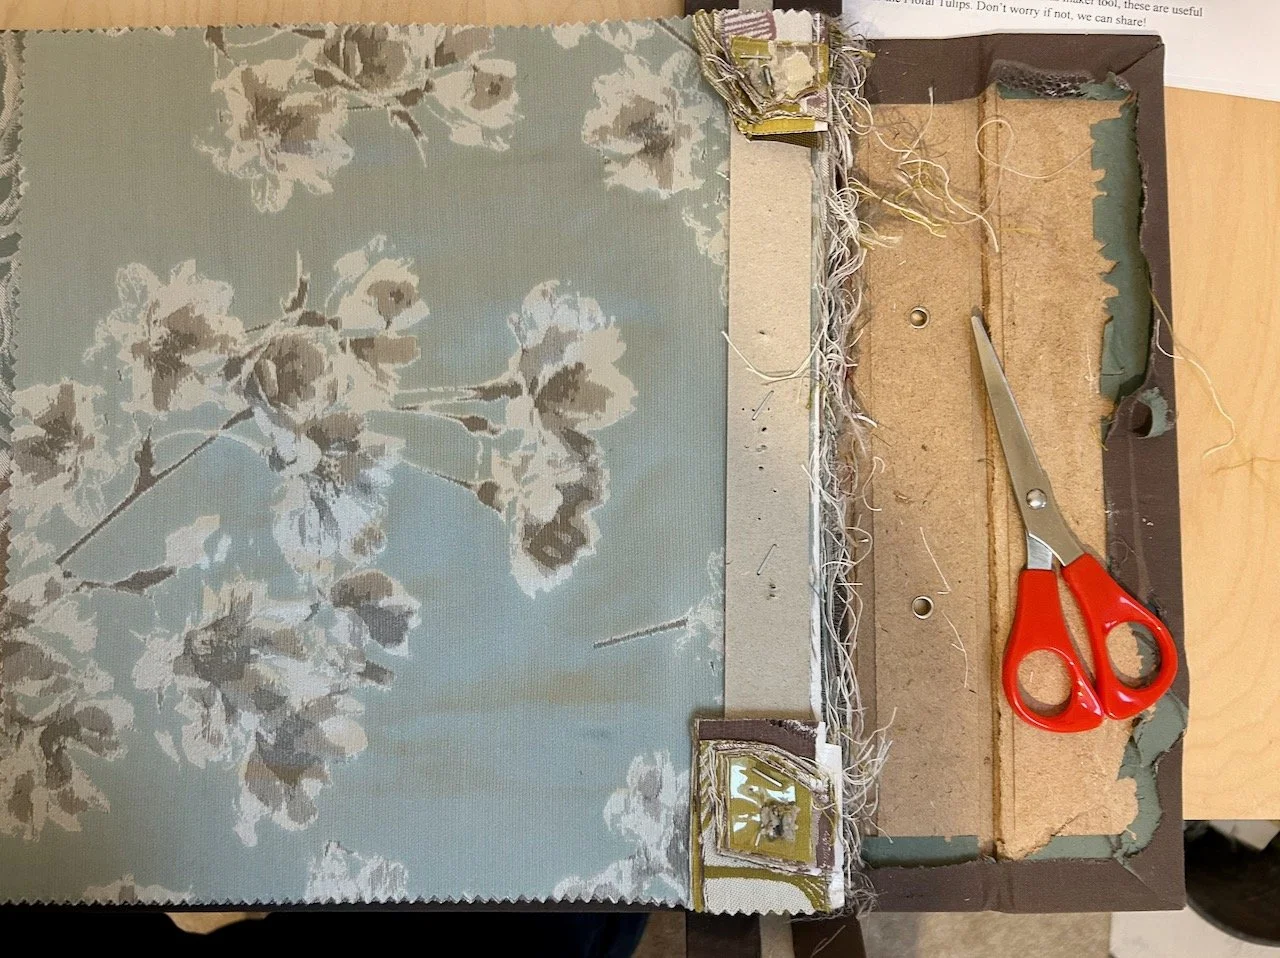
Well recently the time came when they called my name again, but obviously in the book they weren’t a whole lot of use to me - and so I decided to dismantle one, thinking how hard can it be?

The short answer is - quite hard.

In the end I needed some of MOH’s tools, some of his strength and also the encouragement to keep going.

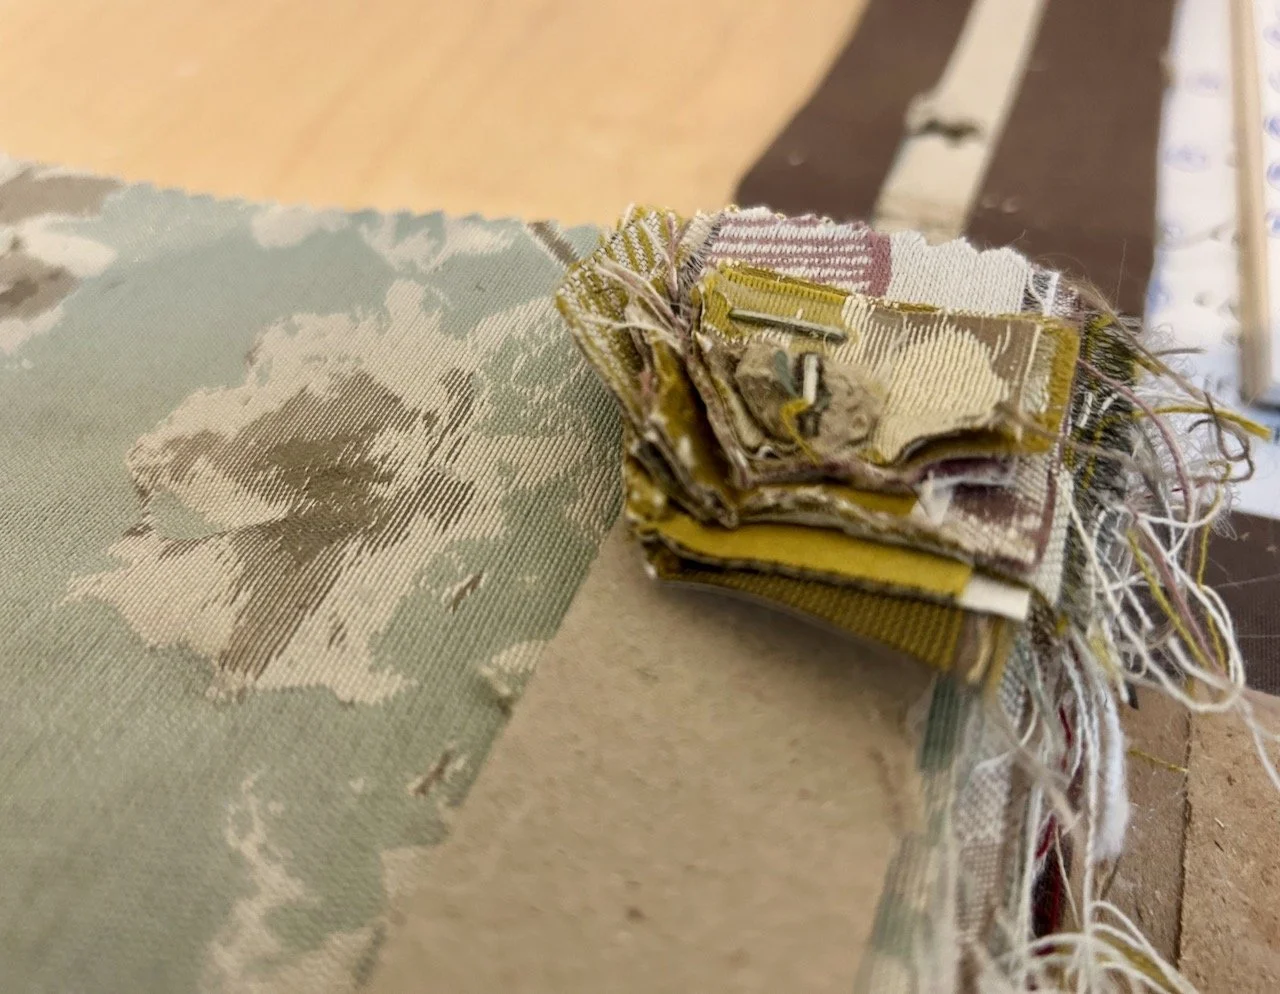
There was a lot of strong glue, and multiple layers of staples. The middle ones were easier to remove than the end ones - and so they stayed and I cut the material around them.

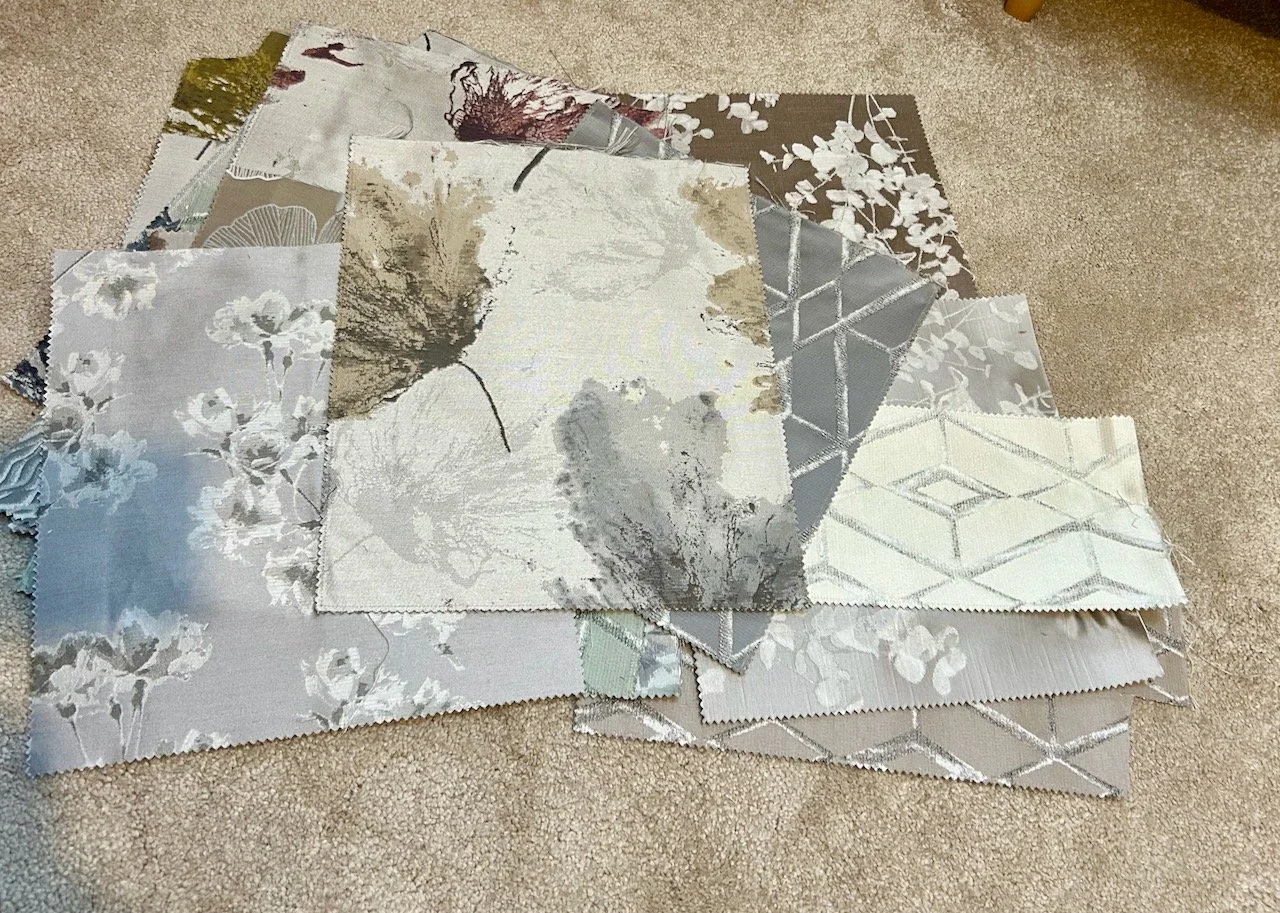
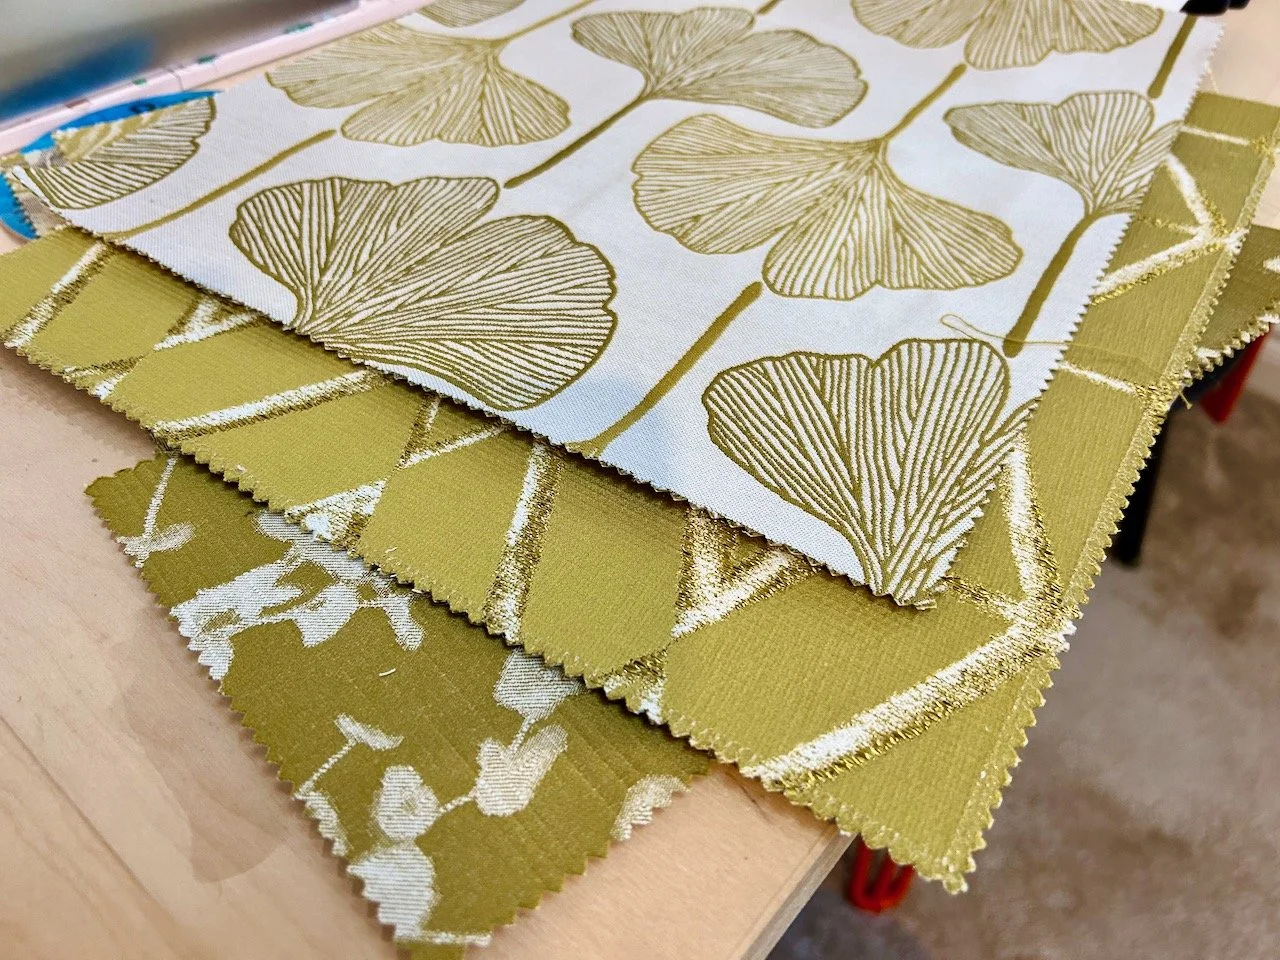
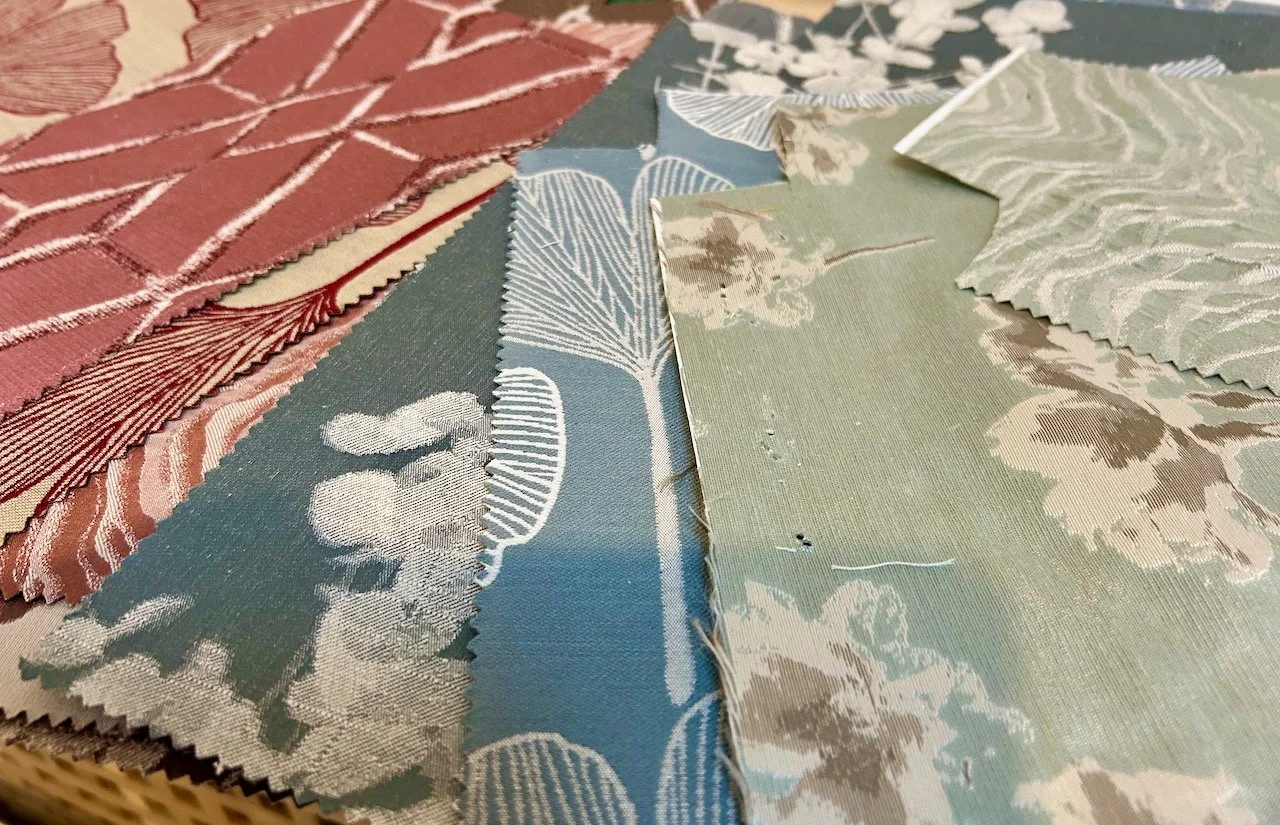
But I got there, and it was worth it - just look at the material I freed!

And that’s from just one of the sample books, though I think I’ll leave the other two for another time!

There was still more to do though as even though I’d got the fabric out of the books I still needed to remove the paper border on the reverse of each piece. I was less successful here though as the paper I did get off didn’t come away cleanly. I tried soaking, and peeling carefully - but it was a lot of work, so in the end I settled for trimming the edges, which was a shame. Frustratingly one of the other books I tried the paper backing came off much more easily!

But I now have another pile of fabrics to refresh my stash, and right now which I don’t have any firm plans for - though the mustard ones are calling out to be a pouch, but I’ve not found the right question yet! The greys and neutrals may make their way into my ‘grey collection’ for my floral fancy extension, but I think I want to use some of the other pieces first before I commit.

But as ever, the possibilities are endless - and promise to be pretty creative too.