Repurposing a cycling top

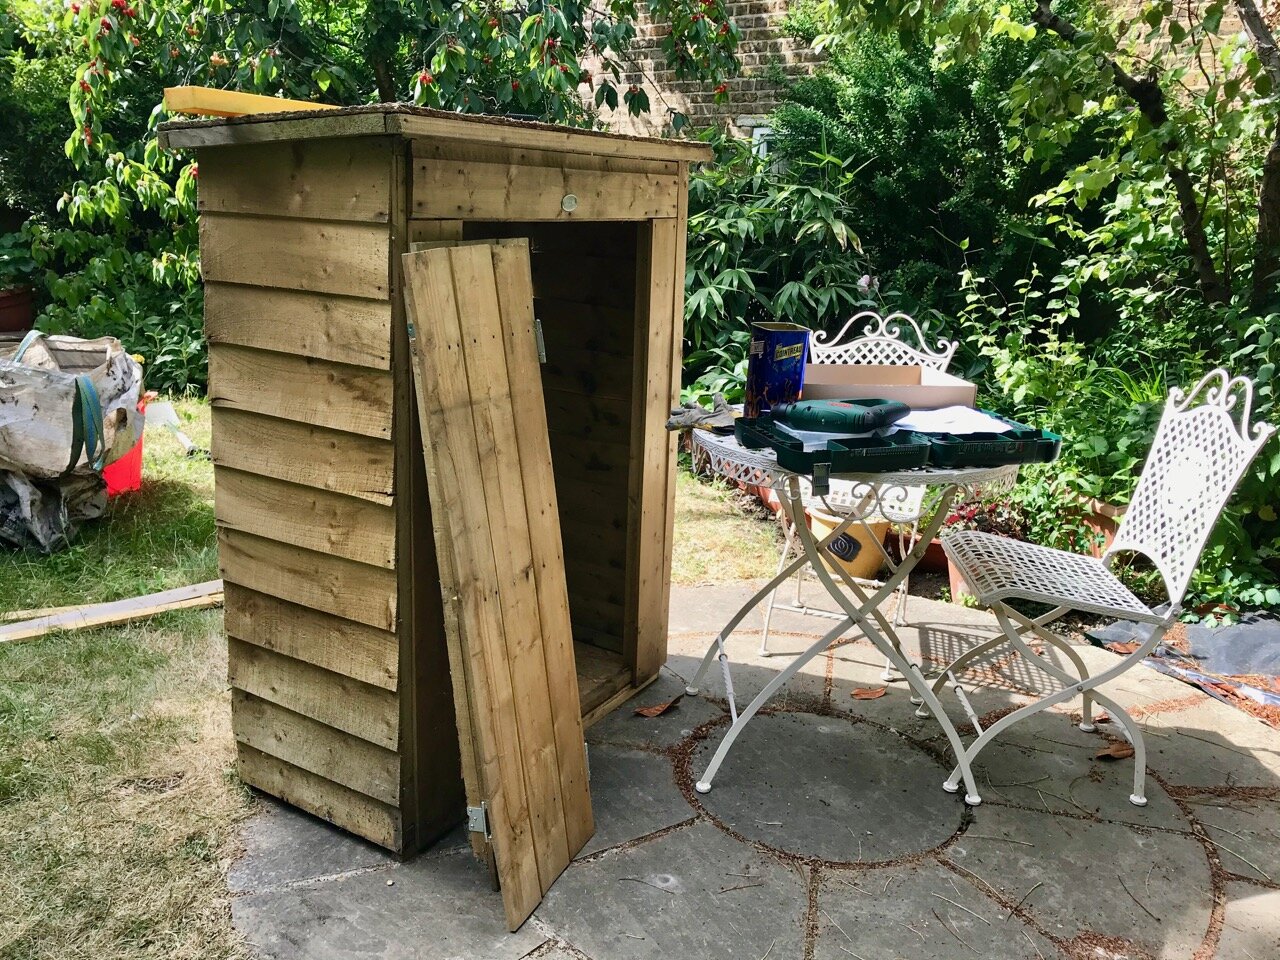
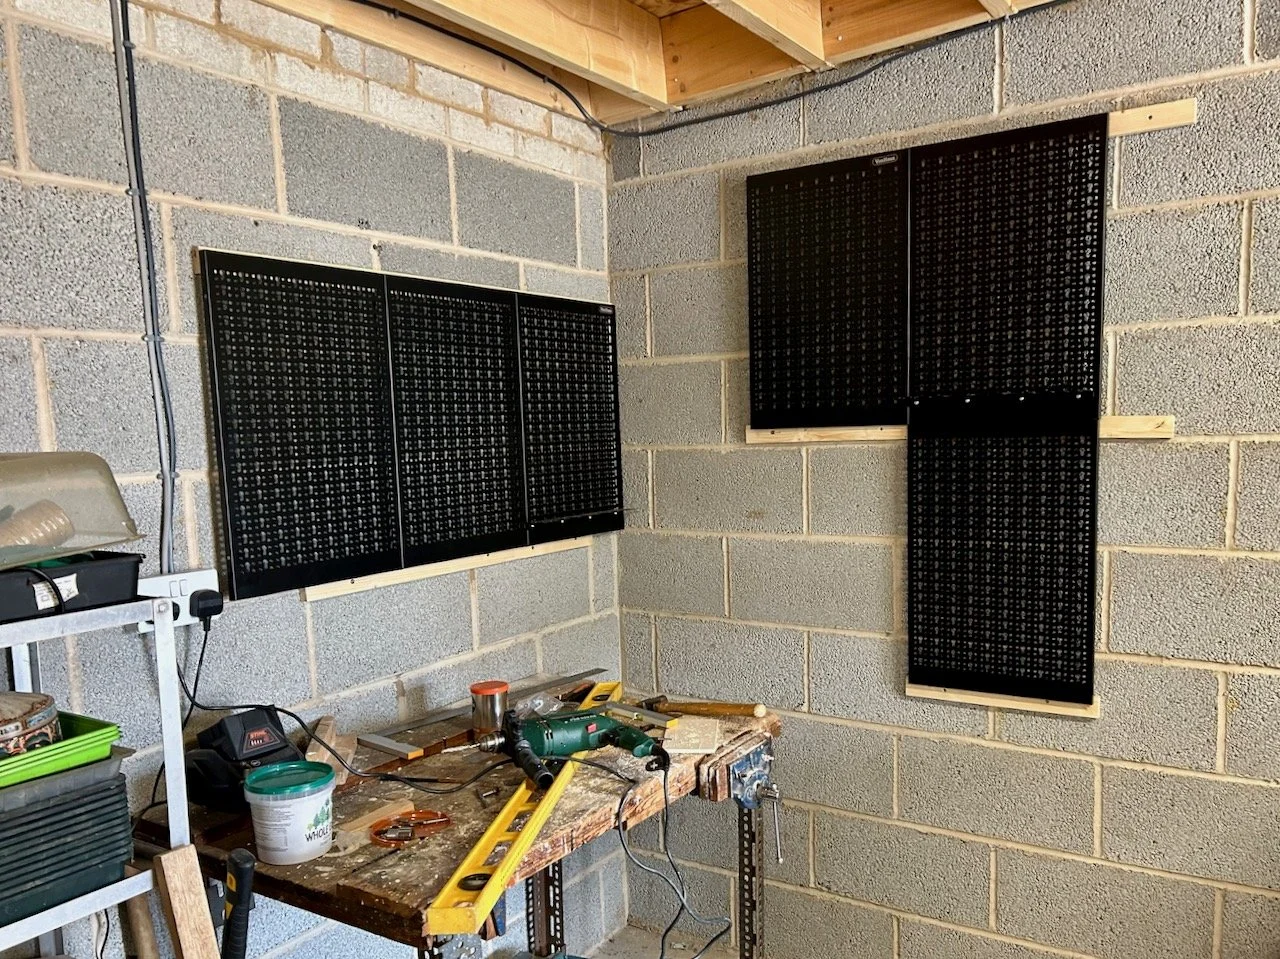
Over the winter MOH spent some time creating a workout space in the garage, as let’s face it not many of us put our cars in there these days and there’s no longer a gym or such like on our doorstep. There’s still space for all our junk (though there’s getting less and less of that as we continue to sort through our moving boxes), the usual paraphernalia and my greenhouse station, so all’s good.

We’ve spent the summer using the space and it’s been really good to have - I already know we’ll appreciate it even more in the winter months - but it is kind of, well functional. There’s some finishing touches that I want to add and I’m hoping to get to more of those soon.

We’ve also finally had our large inbuilt wardrobes kitted out so we can make the most of the space we have (more on those another day!) and so we’ve been sorting through our clothes; some have headed to the charity shop and others are for sale on eBay and Vinted (with many more to list!) and some I’ve kept to reuse. One of MOH’s first cycling tops was in the reuse pile, along with one of his now holey Superdry t-shirts.

In our workout space we knew that storage was going to be key, and we’ve hooks of all shapes and sizes to add to the walls (when we decide where things need to go) but sometimes you just want to shove stuff out of sight don’t you? And away from the spiders (or as much as we can, anyway).

And so the idea for a drawstring bag was born.

A pile of fabrics from a cycling top, and old t-shirt and elastic from the top of some old cycling shorts ready to be repurposed

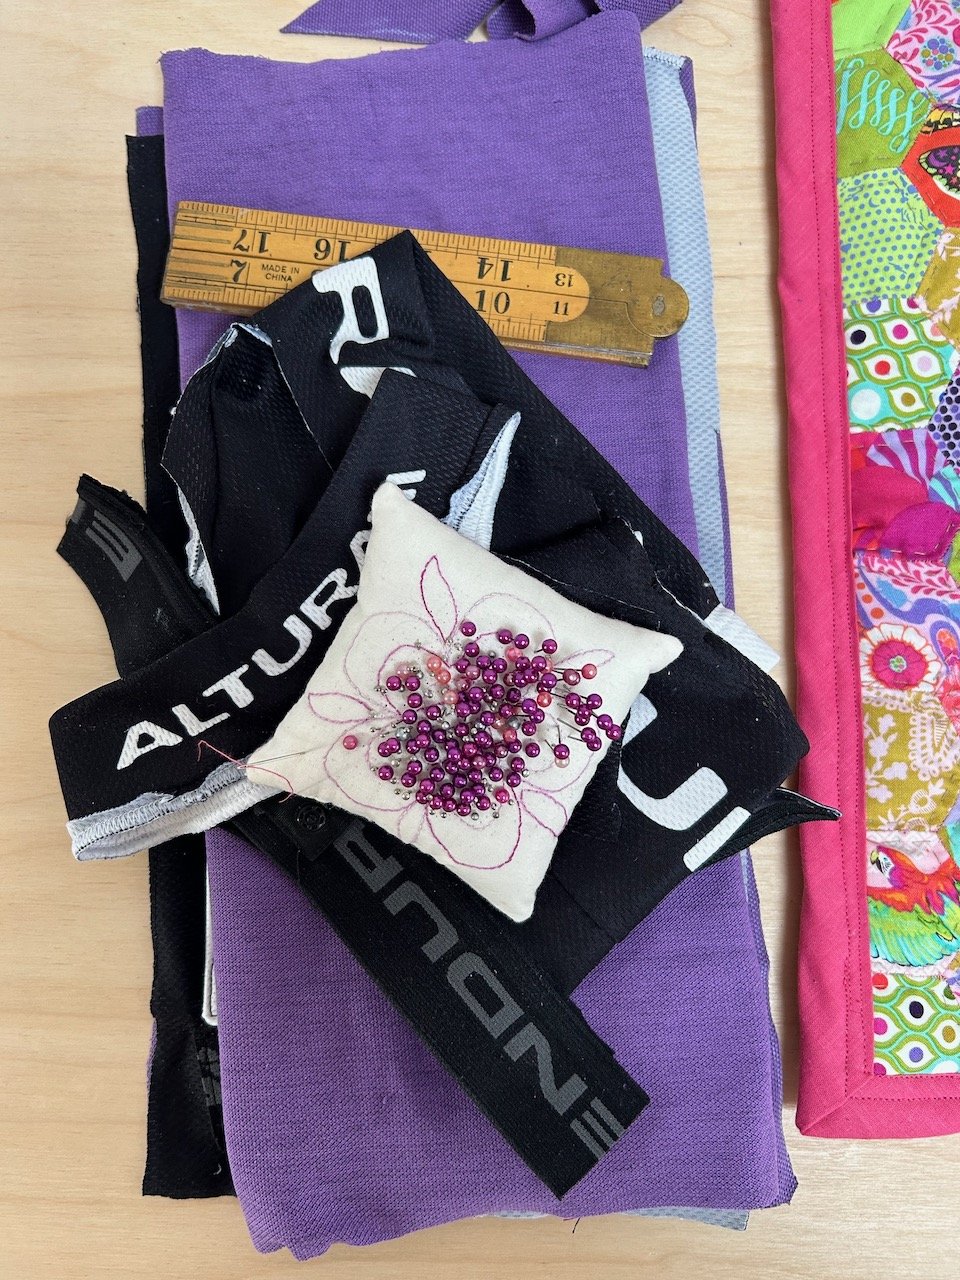
Having looked for an easy tutorial on YouTube I set about creating the front and backs using the purple t-shirt as lining. I wanted to keep the cycling top details, so cut off the Altura logos from the parts I wasn’t using and supplemented these with the elastic waistband of some cycling shorts which were heading for the bin.

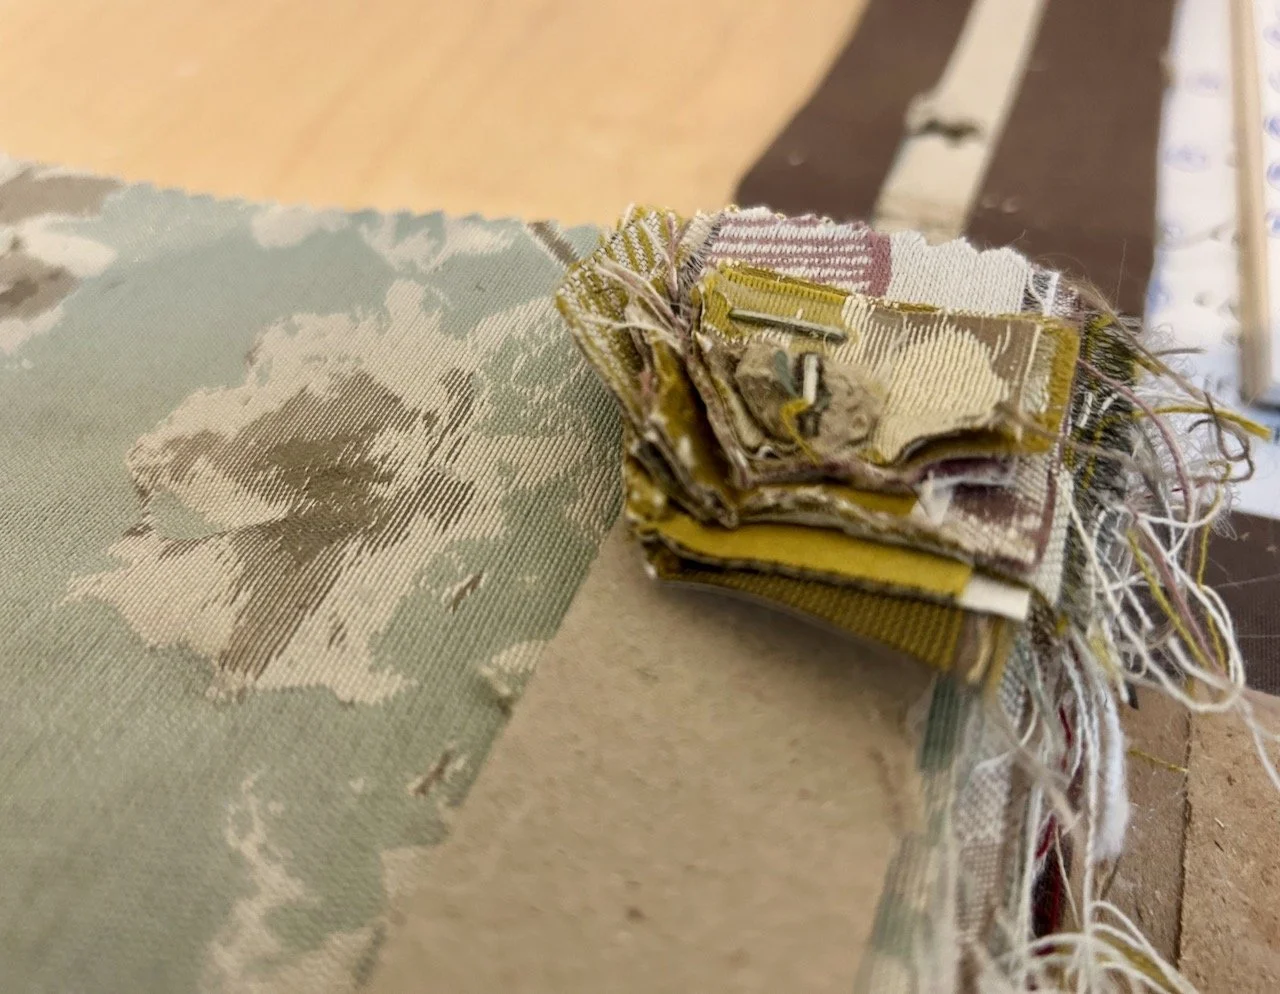
Rather than start by sewing the bag together, my first job was to piece the logos and elastic to add detail to the front and back of the bag, which I’d used the main body of the cycling top for. It was only then that I could actually make the bag, and it turned out pretty well.

The front of the repurposed cycling top bag, complete with additional logos and reflective strips

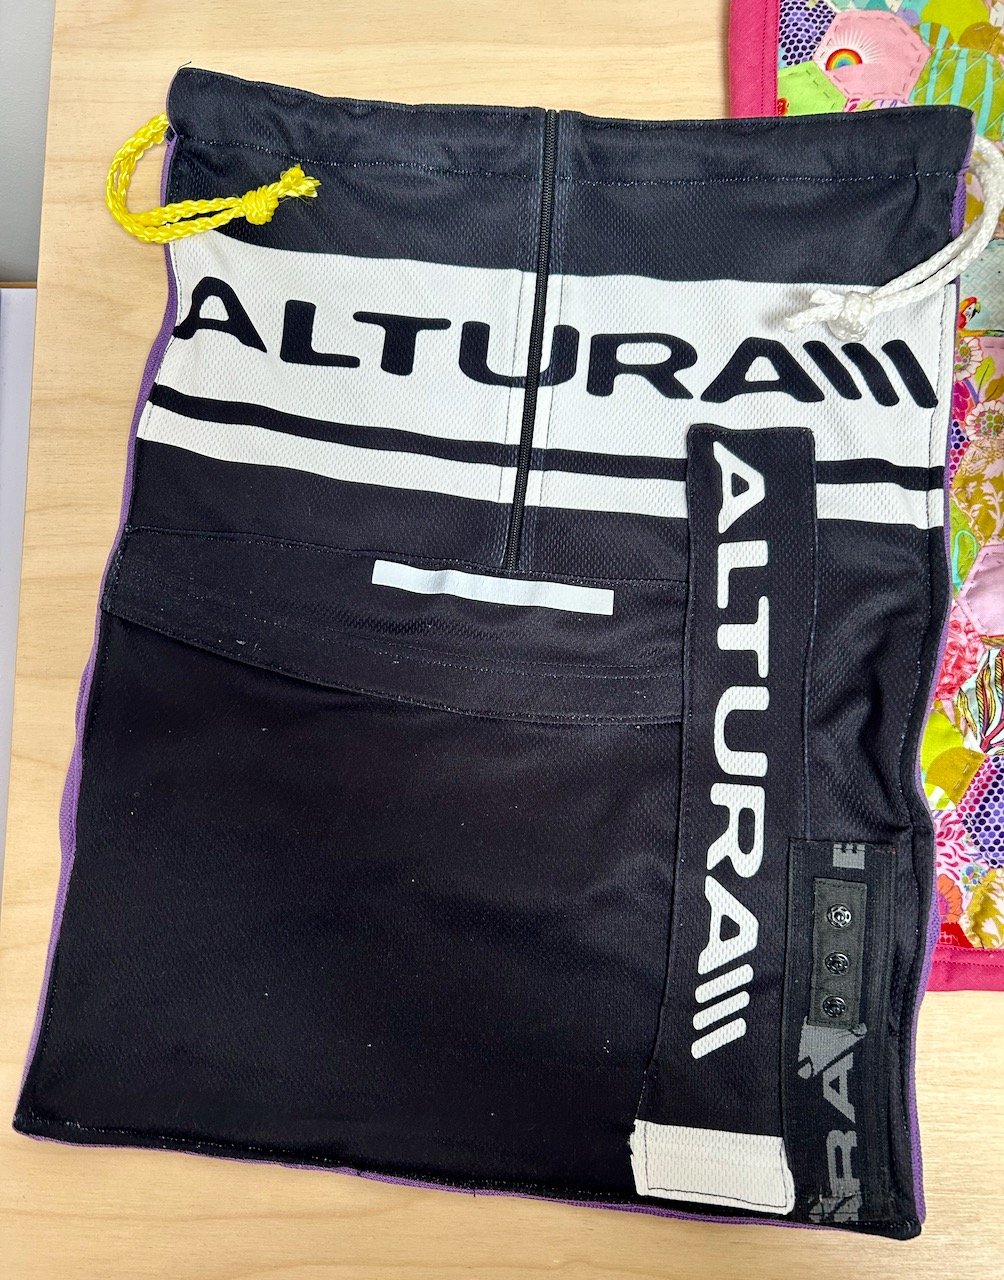
THE FRONT, COMPLETE WITH THE CYCLING TOP ZIP IN ITS ORIGINAL PLACE

I kept it simple and kept the zip from the front of the cycling top, though at one point my sewing machine grumbled about that. The front has an additional logo (at right angles) and some of the elastic with poppers on the front, as well as the curved lower edge of the back, complete with the reflective strip.

The back, which is the back of the cycling top has another logo added across the back, and thinking ahead to spider-proof this (you can never be too careful) on this side the waist of the cycling shorts was used to seal the pockets.

THE BACK OF THE BAG USES THE BACK OF THE CYCLING TOP WITH ADDITIONAL LOGOS ADDED AND ELASTIC TRIM SEALING THE POCKETS

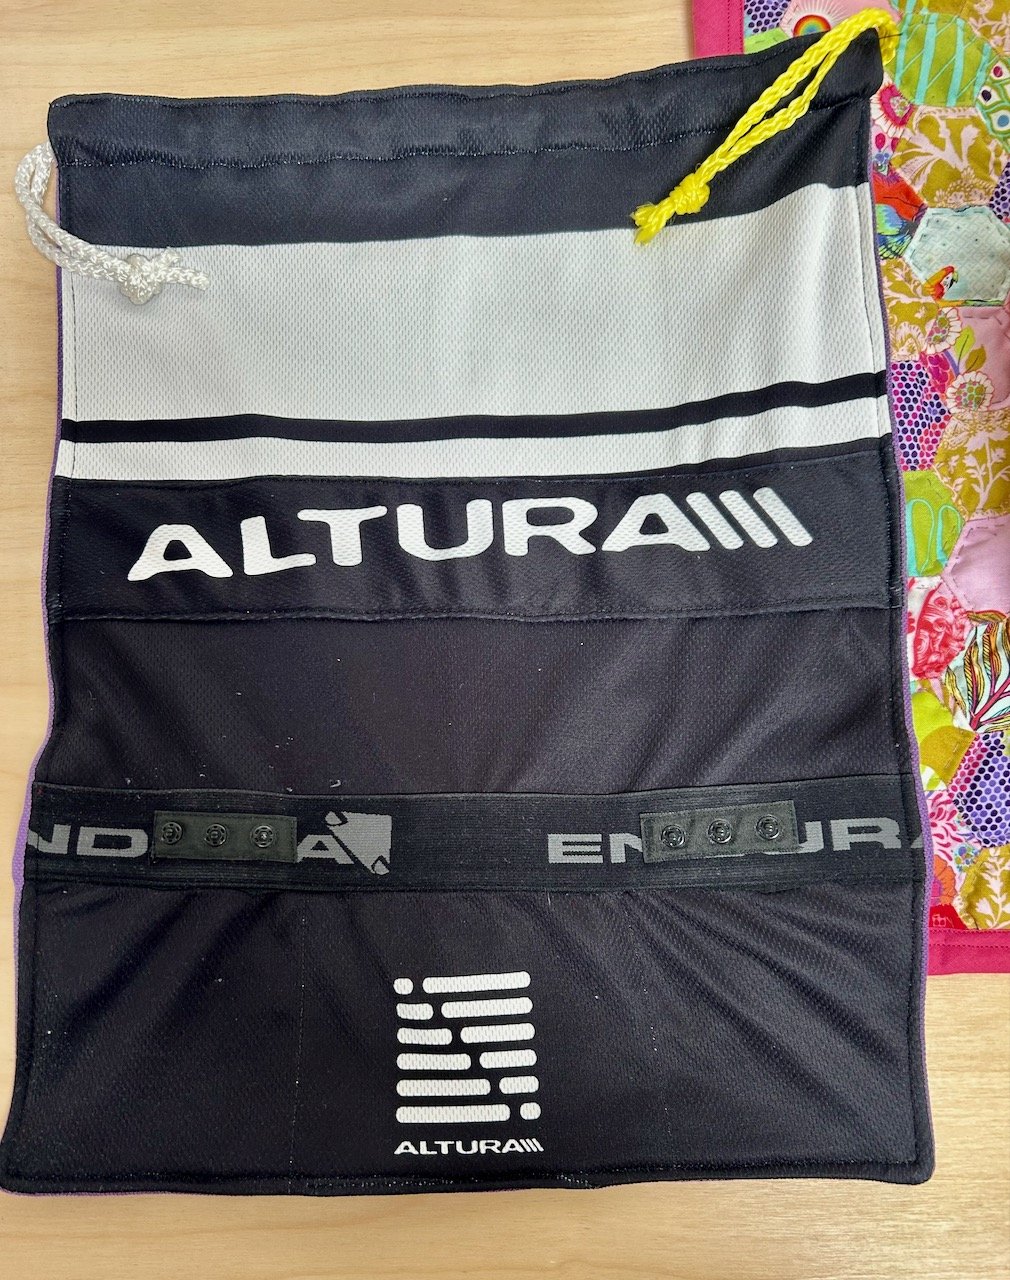
AND THE BACK, THE THREE REAR POCKETS HAVE BEEN SEALED WITH THE ELASTIC TRIM

The yellow and white cord I’d kept from carrier bags - you know the duffle bag type - which were no longer used (and in fact had already been recycled long before we moved).

I’d planned to make myself a bag along the same lines, but was undecided about which of my netball kits to use. In the end I found my Adidas gym bag which I used to take to netball matches - I know this because it still had the eight safety pins pinned into in for pinning on those velcro bibs to non-velcro-ed tops - something I’d completely forgotten about!

A pink and white adidas drawstring rucksack from my netballing days

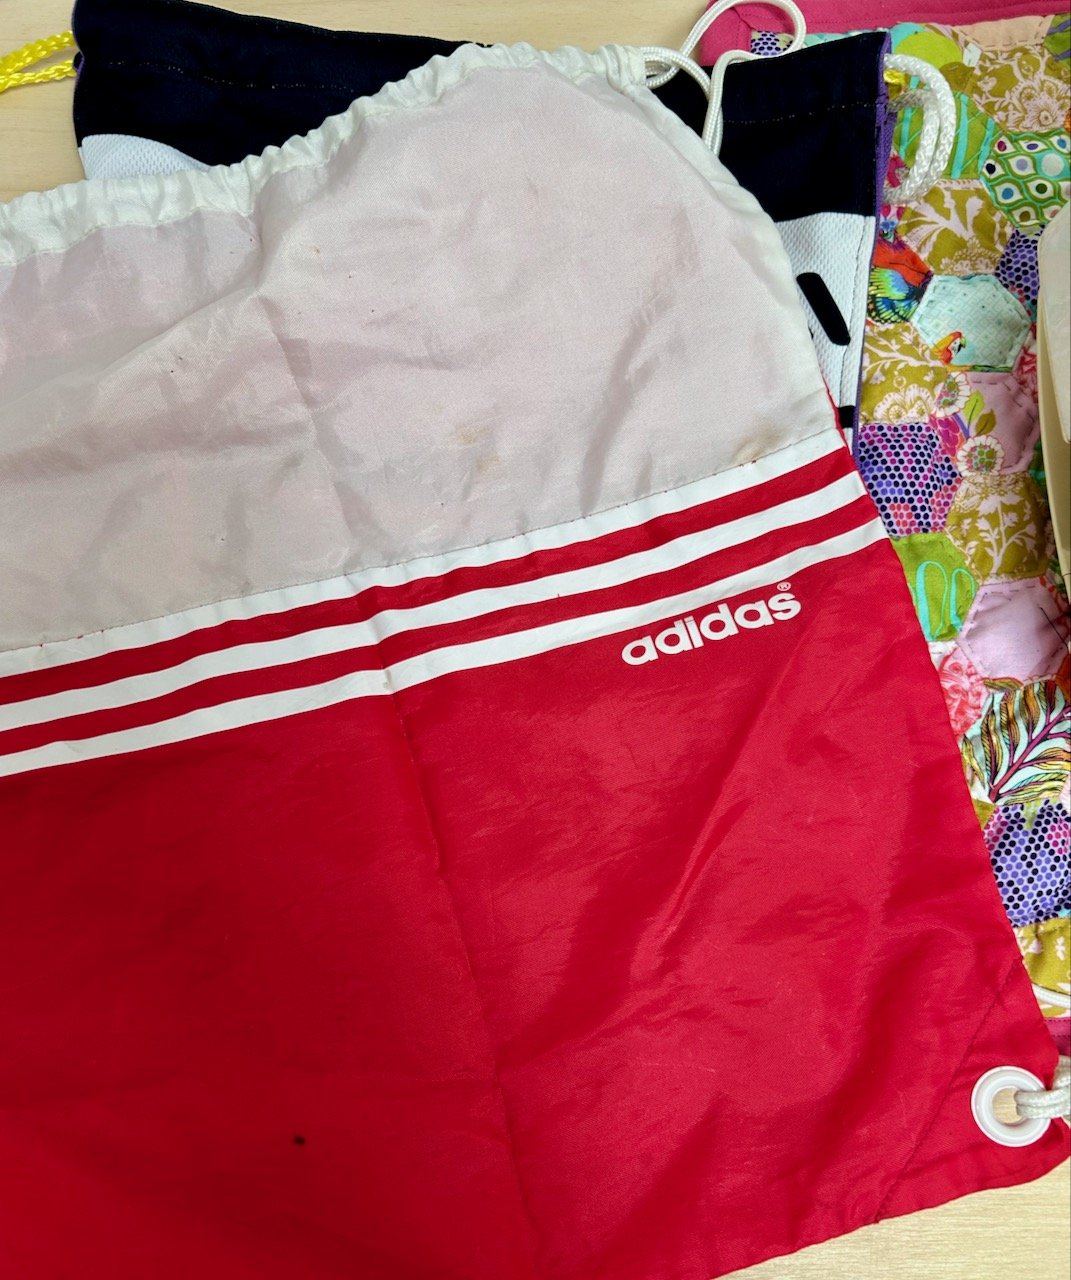
So I’m reusing this one as a starting point, though I’ve a feeling that turning old sports kit into drawstring bags could become a bit of thing - and I’m not sad about that at all!

PostCommentLove

A 'green' ironing pad

One of our finds during lockdown is cheese deliveries. I know, what a find, and quite a treat. We’ve had three so far and each time we’re encouraged to order another after tasting the fabulous British cheeses. They arrive well packaged, using WoolCool to insulate the packages. The pure wool insulation is reusable and if you look at #LetsBoxClever on social media, you’ll start to see how.

woolcool insulation packs

I’ve talked before about my mini iron, a birthday present this year, and how just by having a mini iron I’ll sew more - because having an iron near the sewing machine, is a real boon! What I quickly realised is that not having anything to iron on, was my newest dilemma.

I tried a towel, and while it was ok, it wasn’t great. Then I remembered the insulation from the cheese deliveries. I was convinced it would work, which to be honest was based on little more than enthusiasm.

layering the woolcool for my #LetsBoxClever idea

So off I went to create.

I found some material that I thought would be wasted on face coverings, and made my ironing pad big enough to fit the material!

pretty material and recycled padding

Before I cut the wool insulation, I thought it might be nice to leave the natural fibres on display. However once I cut it and saw the mess it left behind I quickly changed my mind!

a mini iron and my ironing pad

It’s working really well, and hopefully will inspire more people to try this #LetsBoxClever idea.

PoCoLo

Reassembling the little shed

Ever since we brought the little shed home from the allotment it’s taken up residency in a spare corner of the garden, hidden behind the pizza oven. Still in its component parts. Our intention was always to reassemble it. I’d hatched a plan to use it to free up some space in the greenhouse, which was becoming a bit full.

And finally it happened.

Reassembling the little shed

MOH is a perfectionist, and I’m a just get it done kind of person. He wanted the warped doors straight, I was happy for them to provide some shelter for the contents. Well, they say opposites attract!

While he perfected the banana shaped doors, I cleared a space for it. Finally emptying the last of my ‘reserved’ soil in pots around the garden. That’s been hanging around for a while too.

A space ready for the shed
he got the doors on
Doors on, now for the roof felt

Neither of us had even put felt on a shed roof before. But how hard can it be? It turns out, I was more of a perfectionist at this point.

It was about now that I shared my next masterplan with MOH. You’ll see why he’s the patient one. As part of clearing space in the greenhouse I wanted to change the staging, and the wooden shelving which had already been cut in half and repurposed once before, was now set for its final destination. Unfortunately it didn’t fit in in a single piece. Perhaps we should have built the shed around it?!

a new plan for this shelving

And so we started to take it apart. Some of the bolts were rusted, he was the one with the muscles and the patience. And no doubt bemusement. But they came apart, and along with some old brackets we had in the shed were soon inside the shed almost where I wanted them. Remember it’s a small shed, and let’s just say at some points he wasn’t that impressed with my shelving plan. Mostly when he was head and shoulders and twisted inside the shed, when I was insistent the shelves didn’t wobble.

rusty bolts

These bolts, and a bit of rotten wood were all that was left. Not bad for a reuse project.

loading the little shed

Once we got the shed in place - which took a little longer than it should have - it was surprisingly easy to fill. Without the shelves, it wouldn’t have been anywhere near as useful.

those doors close very nicely

Another job jobbed. Finally. Though he’s still not happy with that banana shaped door!

PoCoLo