


Sometimes things unplanned happen, and just have to be acted upon. I mean, I never knew I needed let alone wanted a patchwork pie carrier, but when things collide at just the right time you just have to go with it.
Let me explain.
Scrolling Instagram a post from @suzyquilts for a quilted pie carrier caught my eye, I looked a little closer before thinking that I’d quite like one, and then how hard can it be. Which as we know is dangerous.
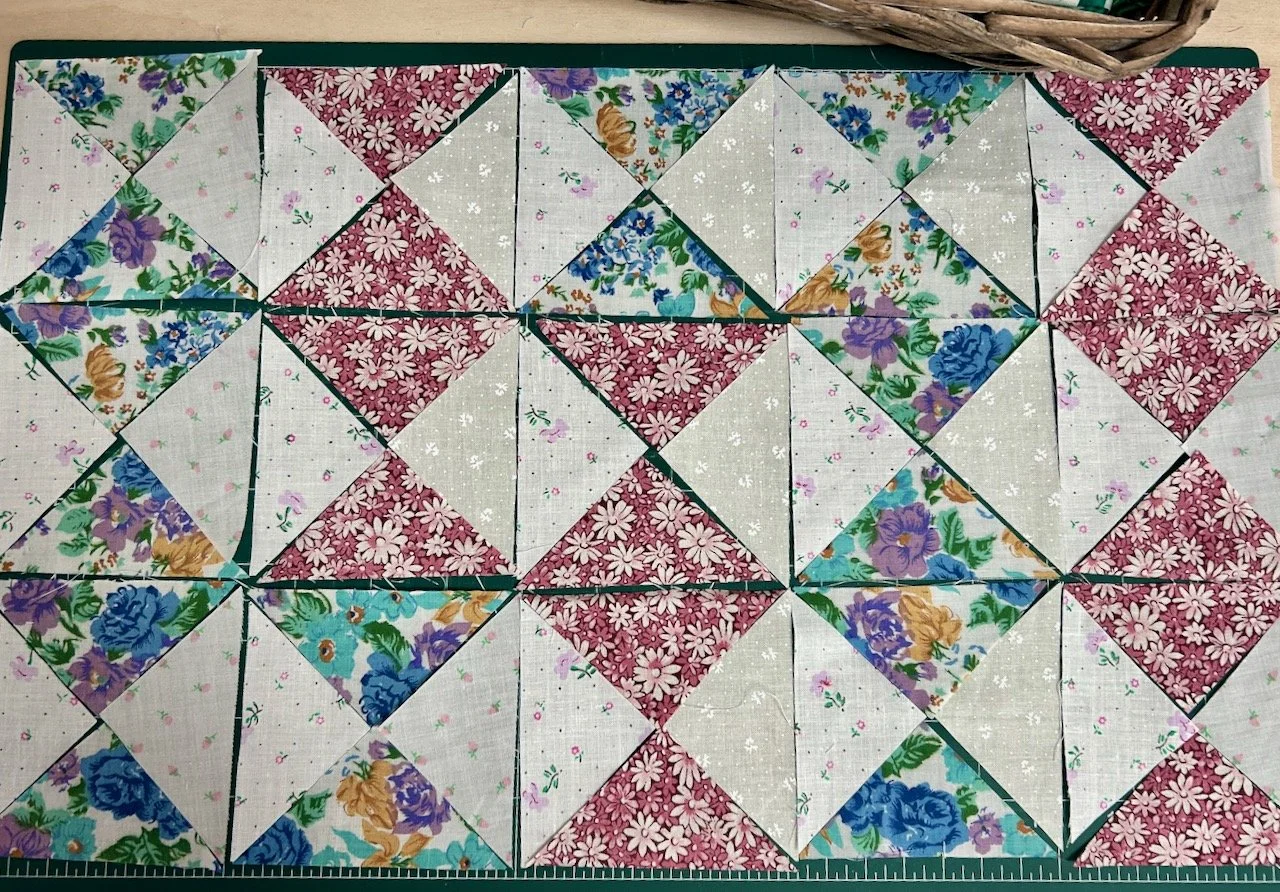
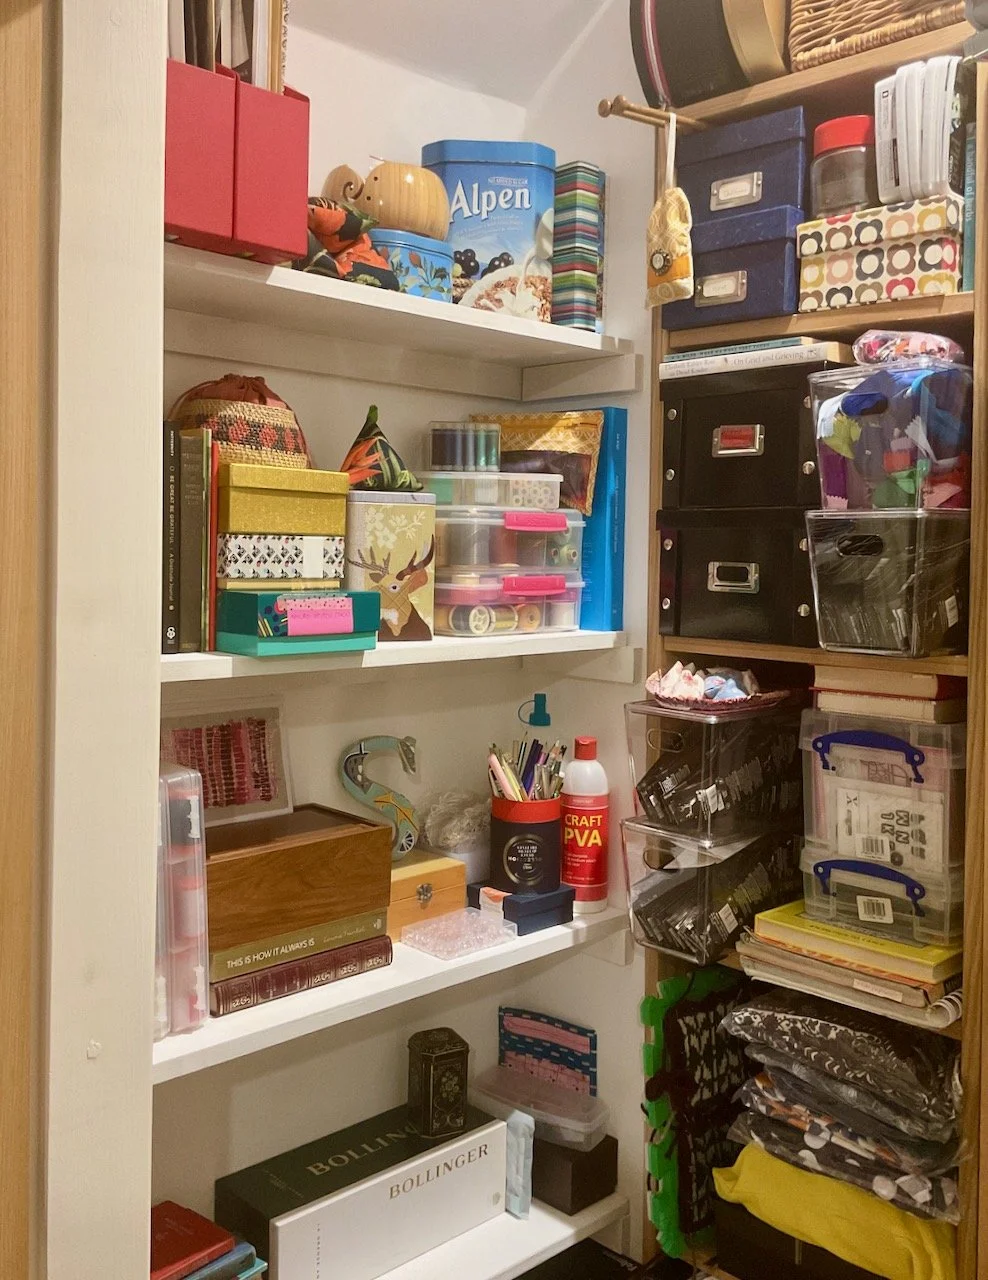
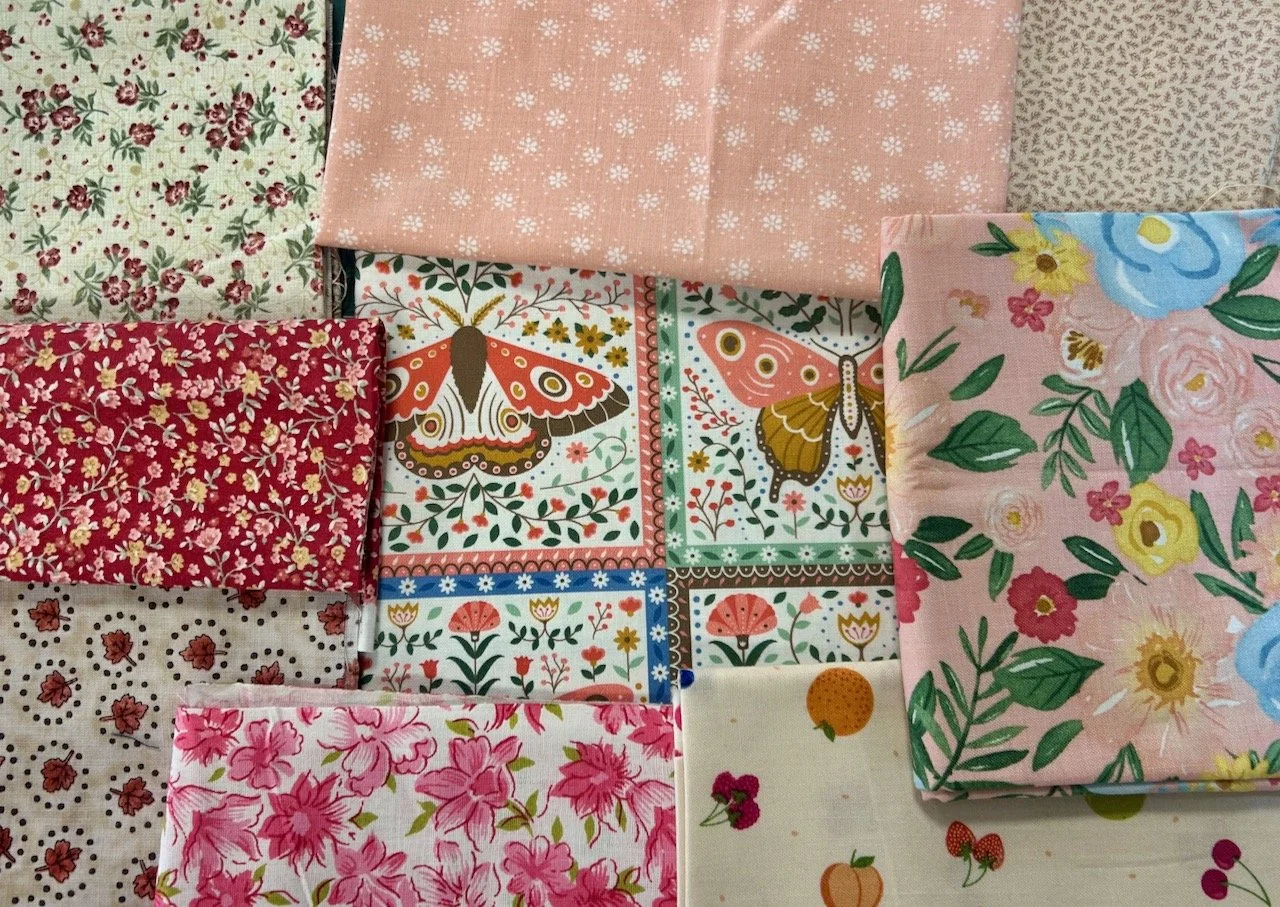
So I dived into my stash and emerged with a gloriousness of pink, butterflies and fruit.
And at around the same time my love for flying geese was reawakened with the Cloud Nine block by Debbie Maddie in the Moda Blockhead emails which I’m subscribed to and rarely act upon. I was smitten, and realised I could combine my new yearning for a pie carrier with this Moda block, and then I really would be on cloud nine.
Assembling the block
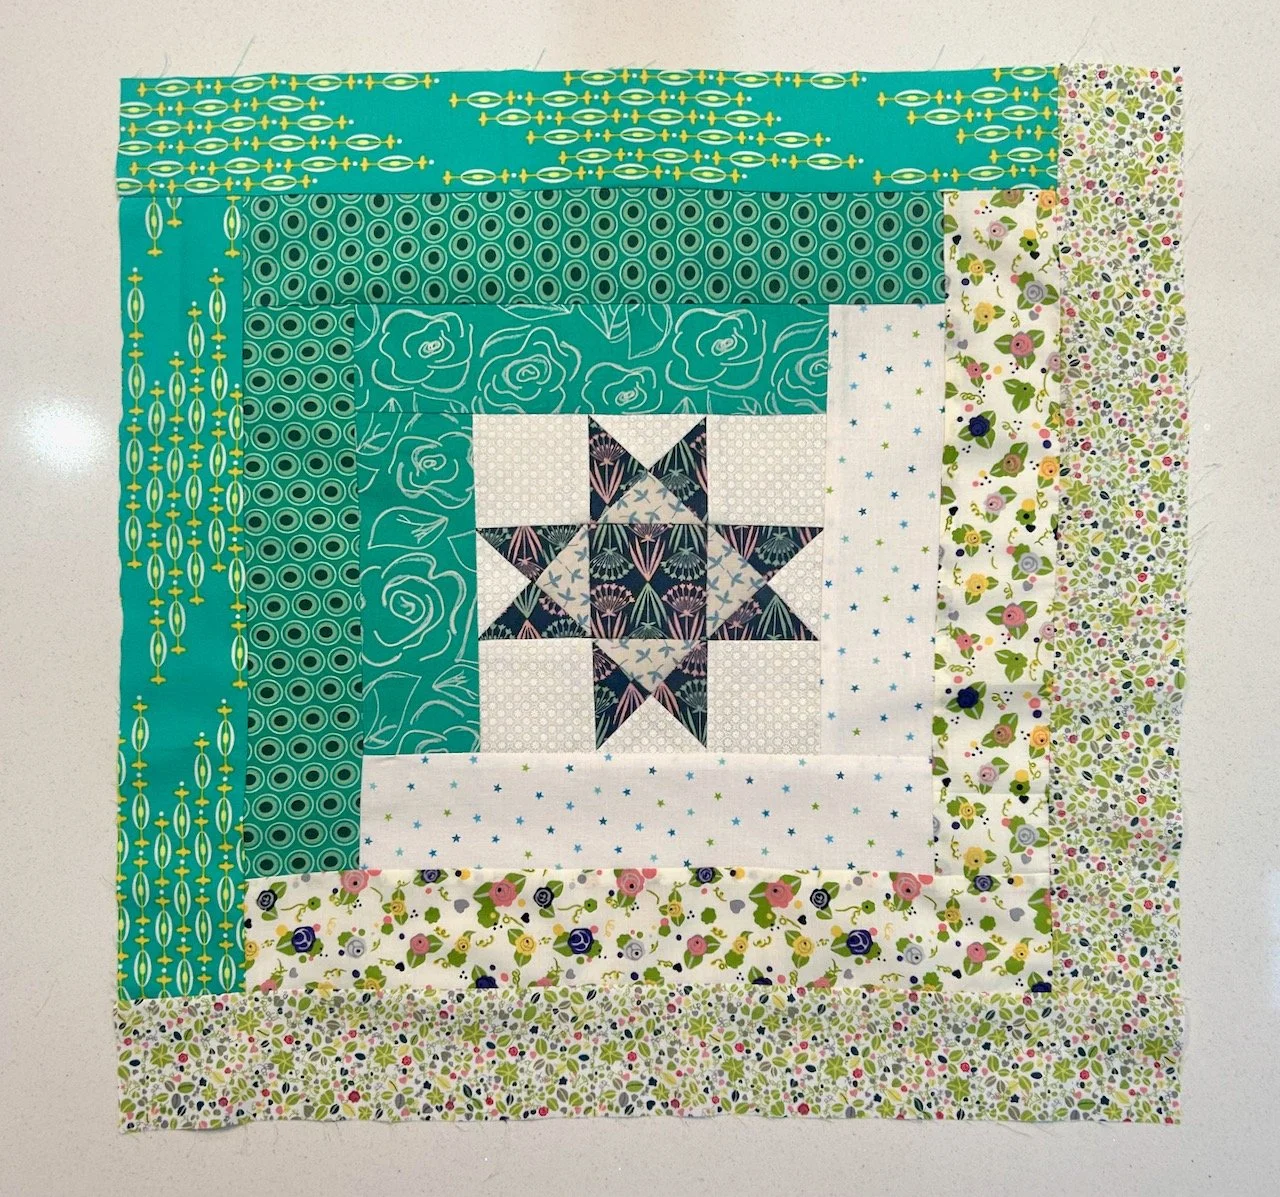
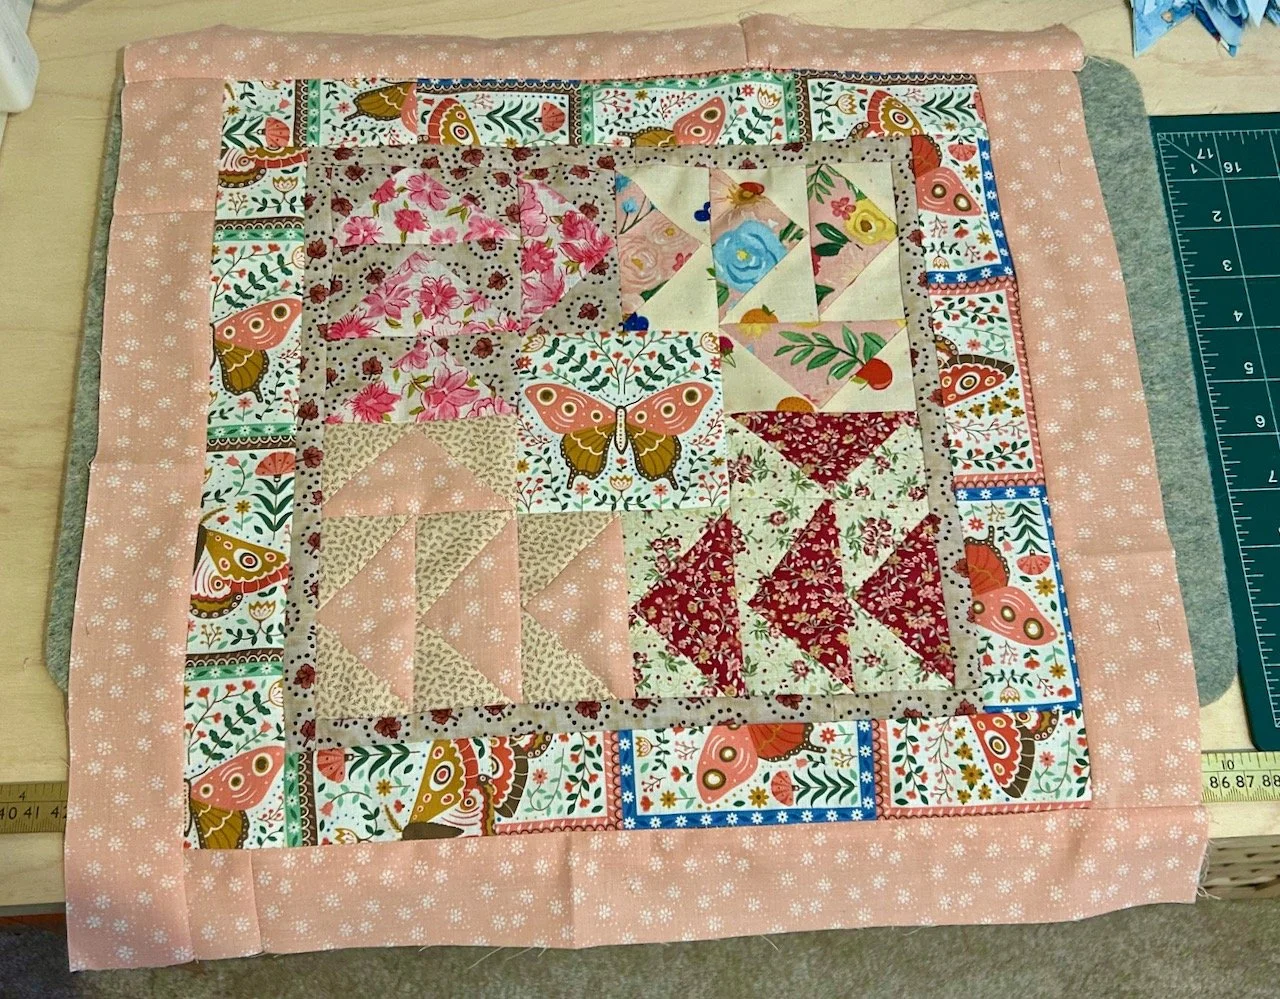
Well this was the easy part as I had instructions (yes, I still hadn’t bought the pie carrier pattern), and after a morning sewing group session I was well on the way to finishing the Cloud Nine block.
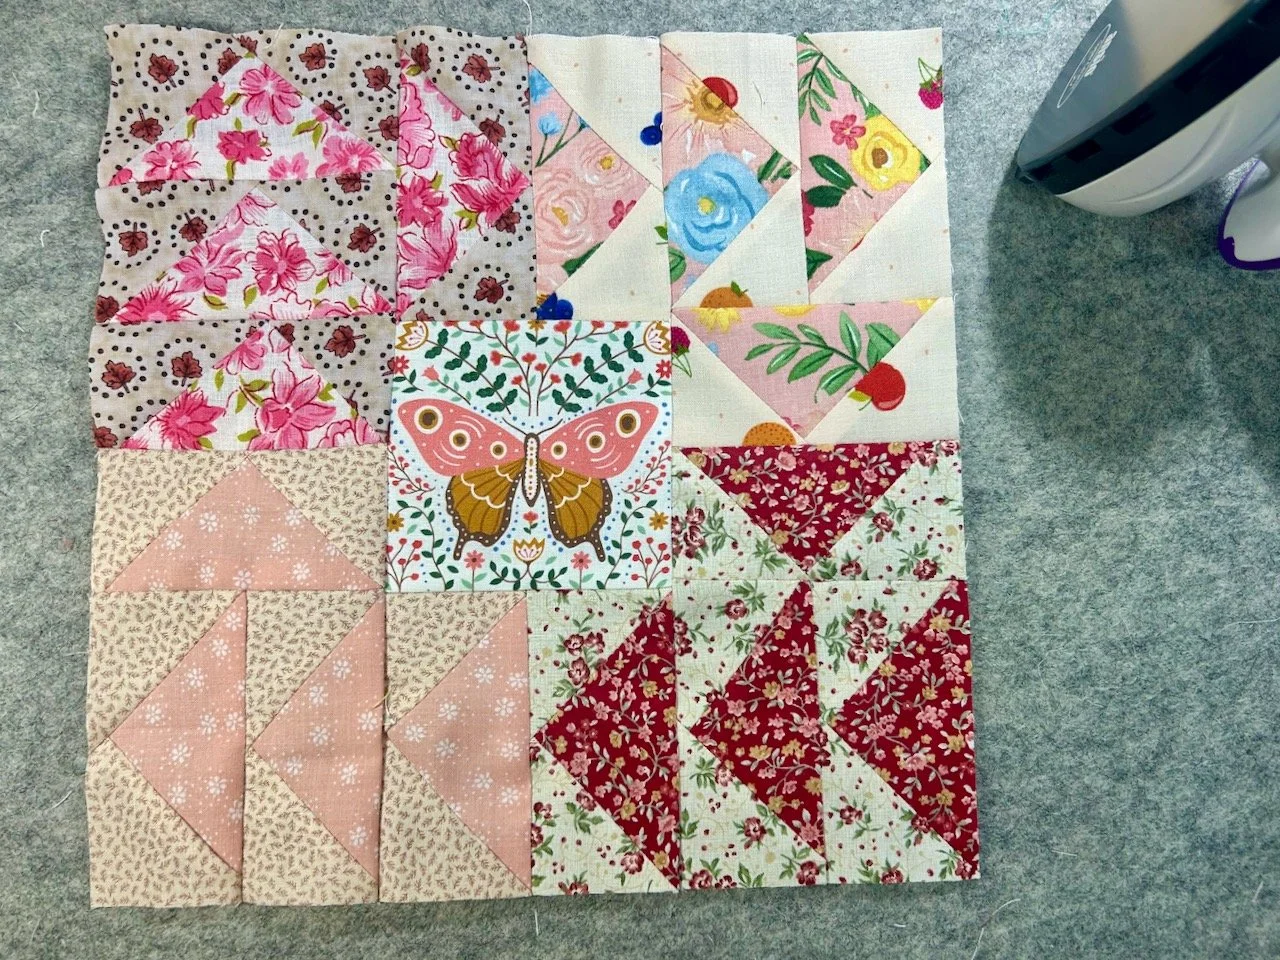
It’s busy, but I thought that will hide any spills when it gets used - practical and honest! And mostly I’m happy with it - if I were to use these fabrics again I think I’d make some changes to the flying geese (outer row) block on the top left - there’s not quite enough contrast between the two fabrics I’ve used. But I decided to live it with and carry on - it’s only a pie carrier after all.
I also knew I’d need to add some borders to my square to give it a chance of being big enough, and it’s at this point that the patterns all went a bit crazy, but I was ok with that, as I said it’s a pie carrier and honestly it will get some use, but only occasionally.
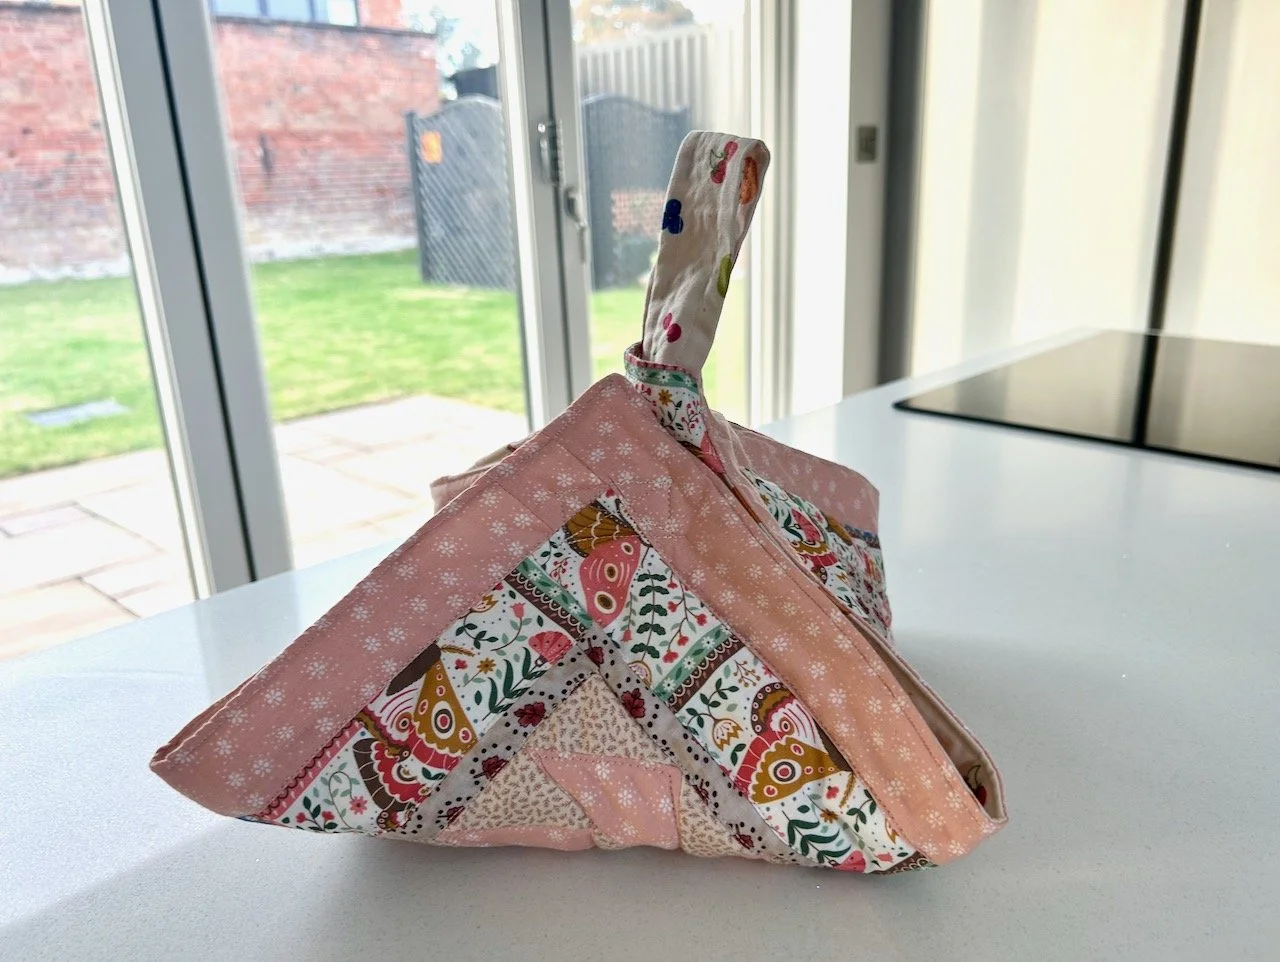
I followed loosely Madam Sew’s pie carrier tutorial , adapting things such as the corner handle length, and decided to pin it together to see how it might work.
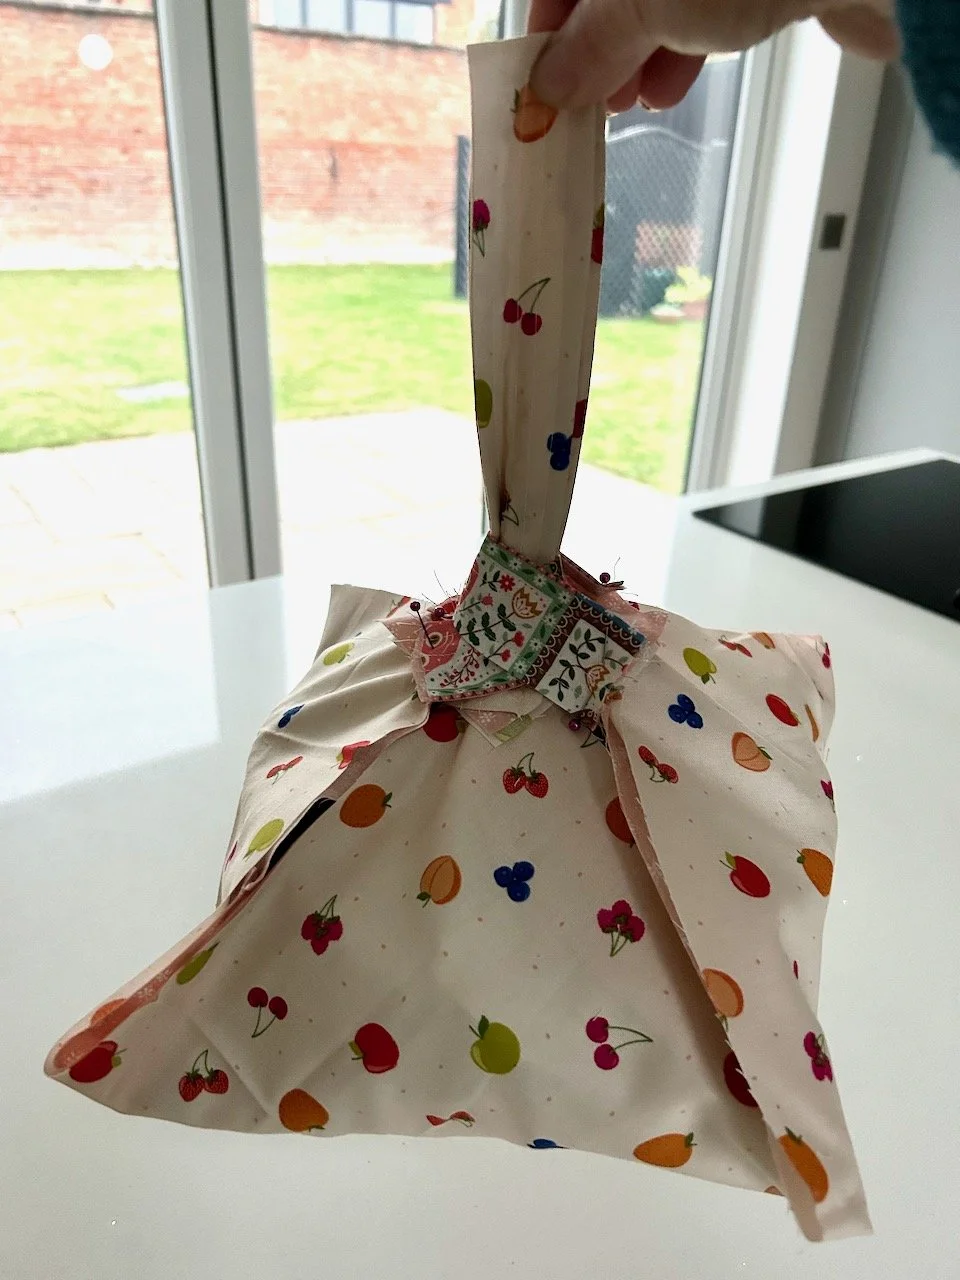
Phew. It was looking as if it might work…
I also decided to ‘bag’ my square rather than sew the wadding to either the top or bottom fabric, and I’d remembered to add in and secure the corner loops before I connected the top, wadding and backing layers.
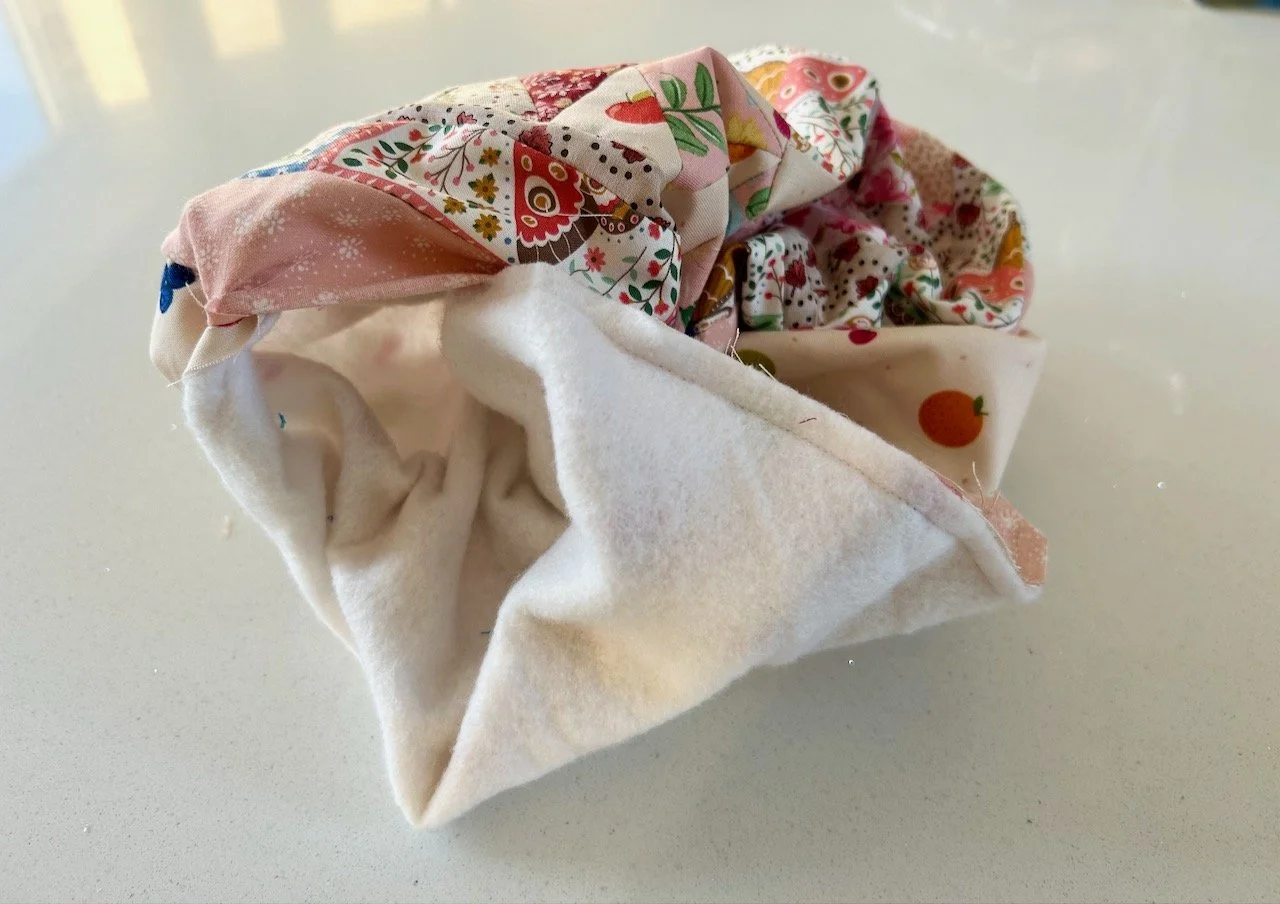
I even remembered there were pins in evidence when I turned it through, which was something.
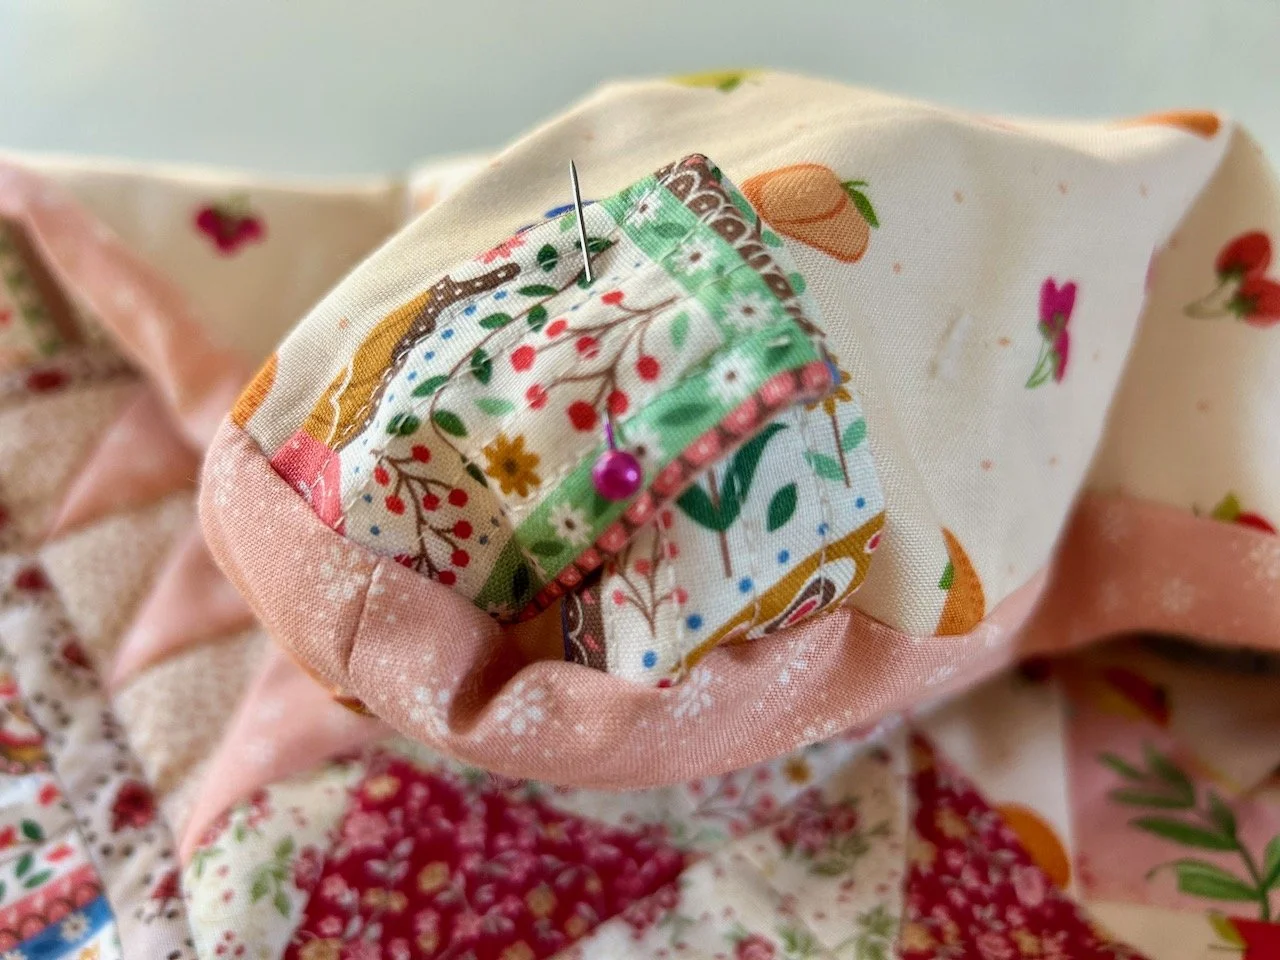
And it still looked like it might work (the longer ‘handle’ strap is still pinned on in this photo).
Adding some detail
With my newfound Bernina BSR skills and keen to practice them at home relatively soon after my training day I decided to add some machine stitched detail to the central butterfly. Tracing the outline of the wings, body and markings freehand.
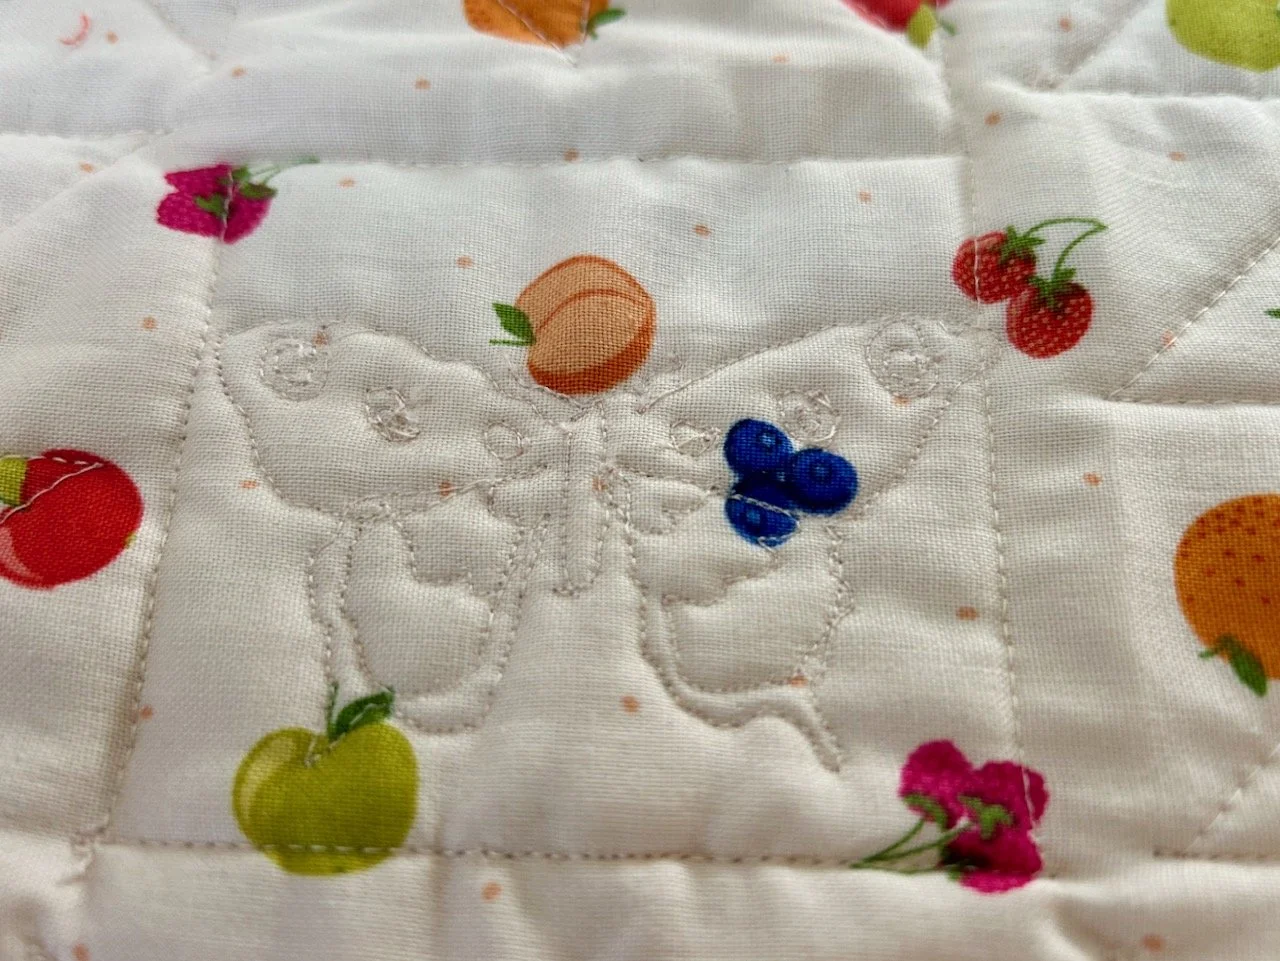
It’s easier to see where I went on the backing side - and I’m pleased with that, especially given it was the first time I tried it on my machine for real.
That only left the longer handle to attach, and with plenty of securing stitches that’s just what I did.
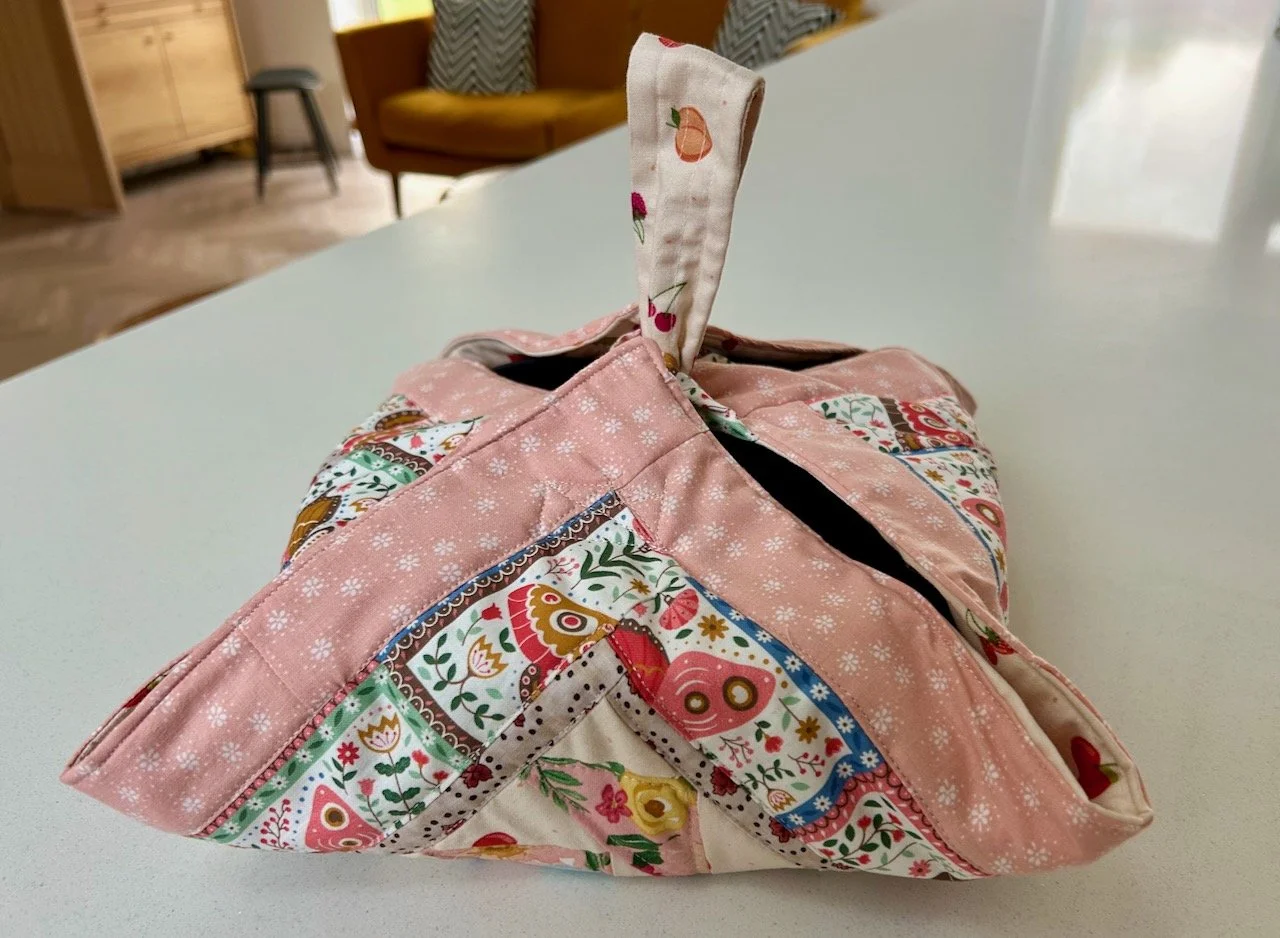
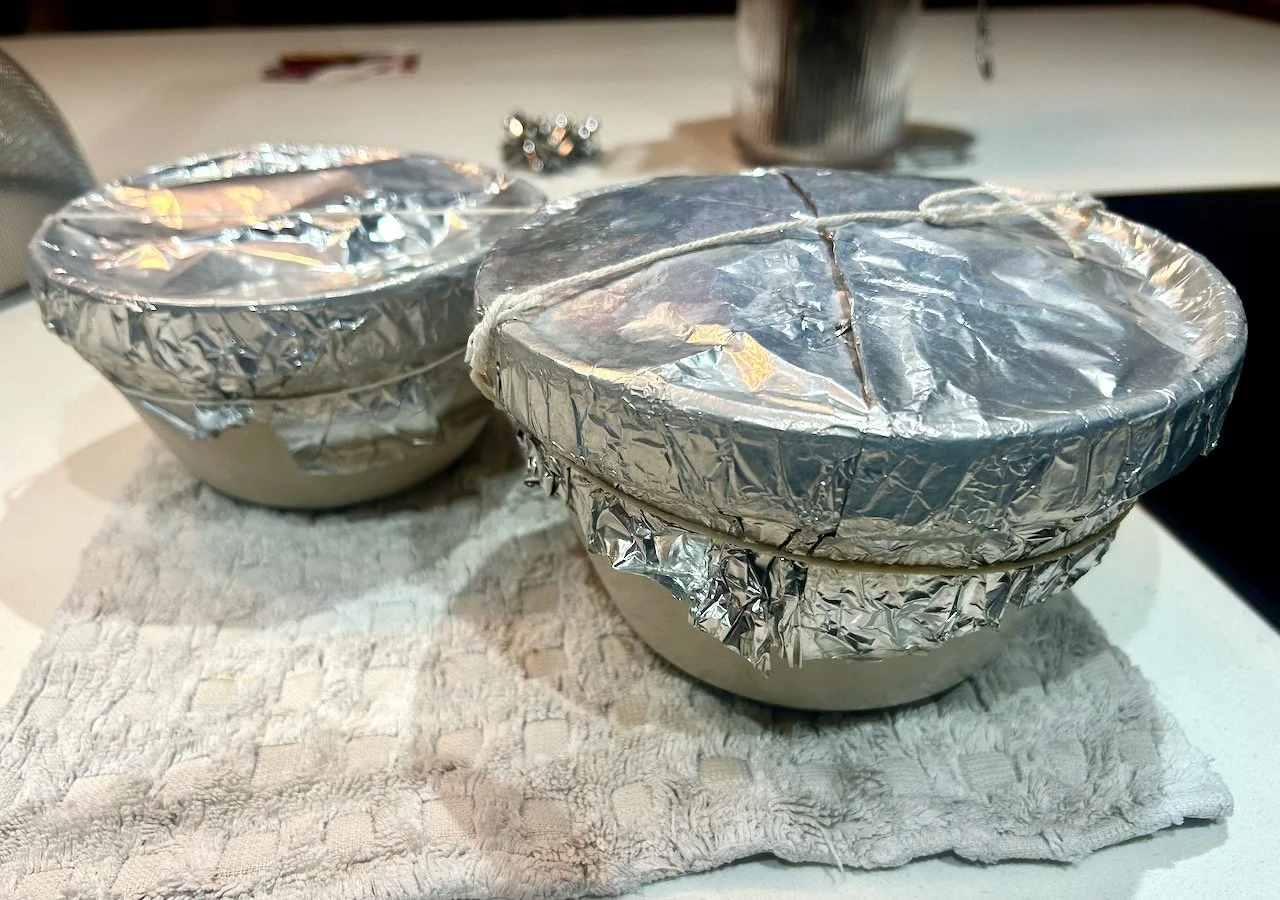
And it works, just. I’d forgotten to allow enough for a seam allowance so any pie in an 8 inch tin will get a bit of an airing. But carry pies it does - or rather it has already successfully carried a flourless chocolate cake. I think though this one will be better size for my small quiche dish, but that really doesn’t get taken out much!
So this one is really to test the process, and to have a bit of fun - but I’m planning to make another, larger and more practical one just as soon as I can decide what fabrics to use, or rather where to place the fabrics I’ve chosen.
Watch this space, and if you’re lucky I might even bring a pie (or something alternatively sweet) with my non-prototype pie carrier!