'All the patterns' project bag

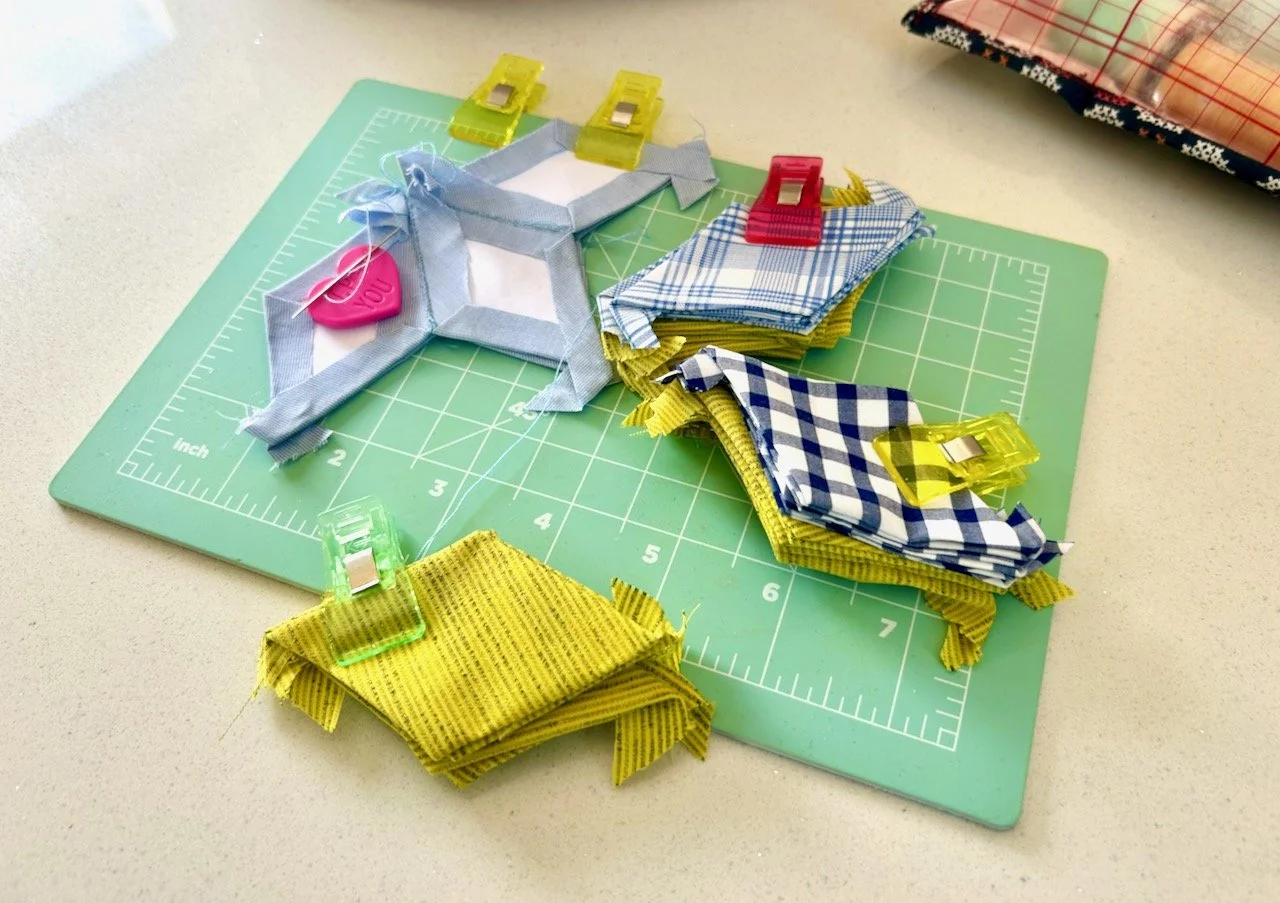
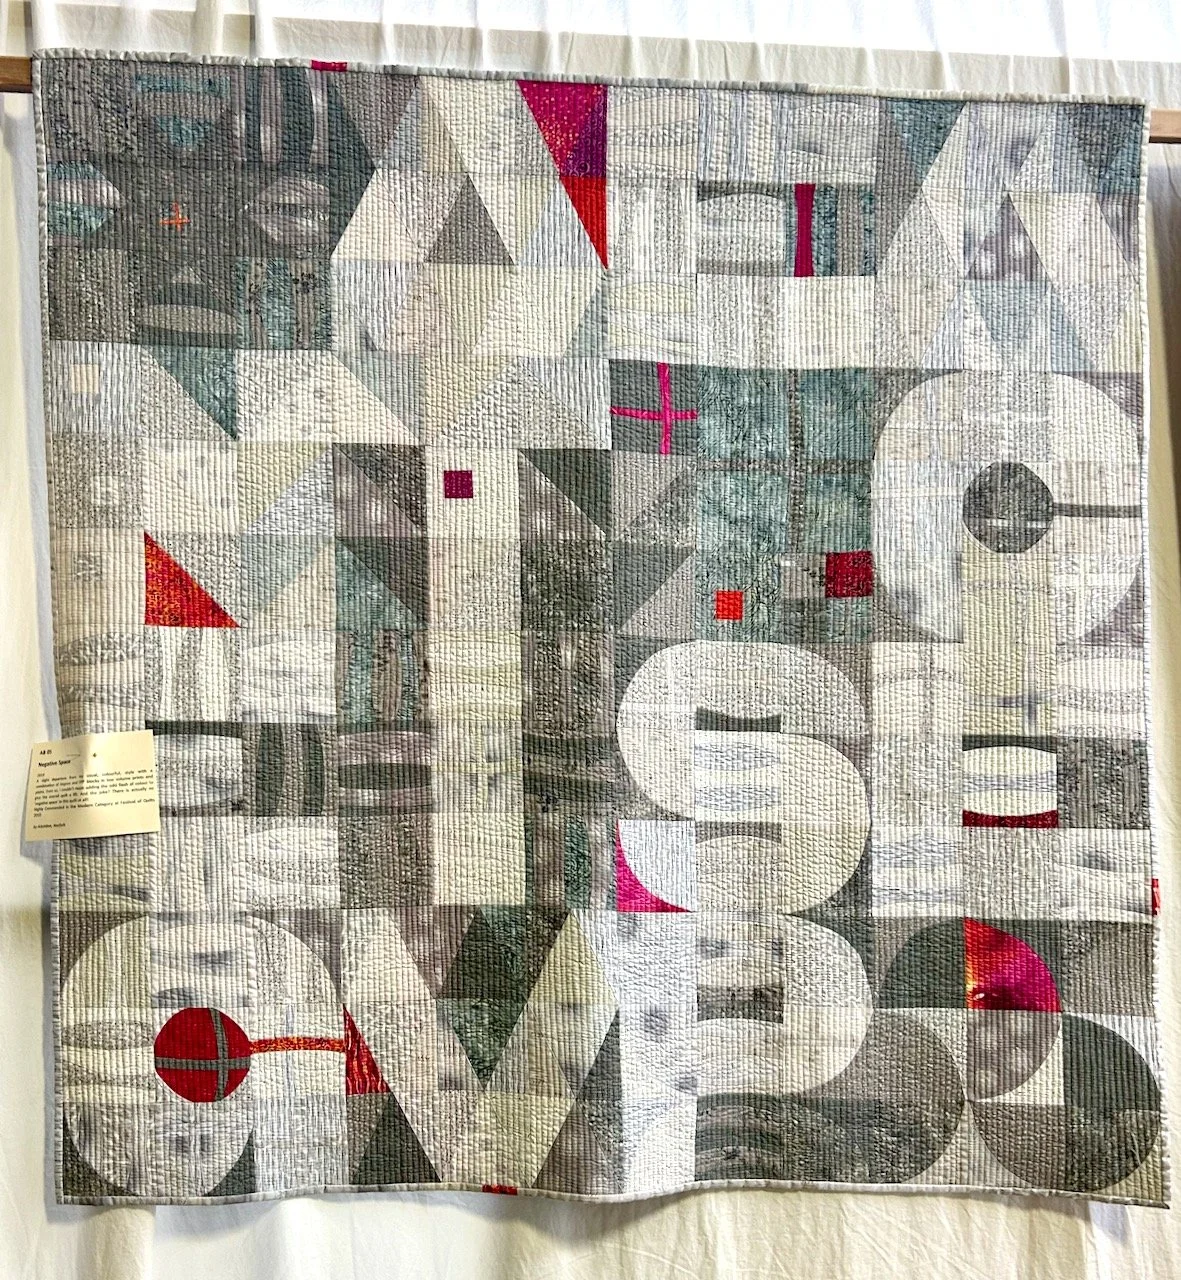
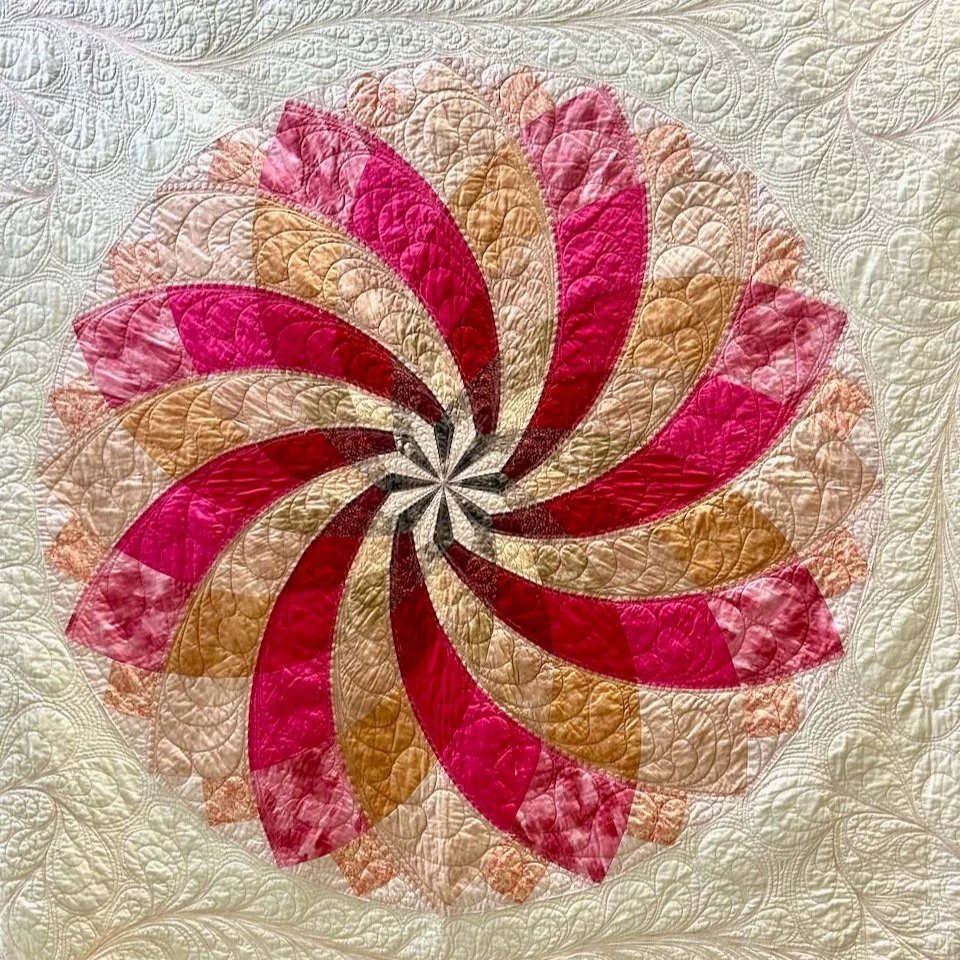
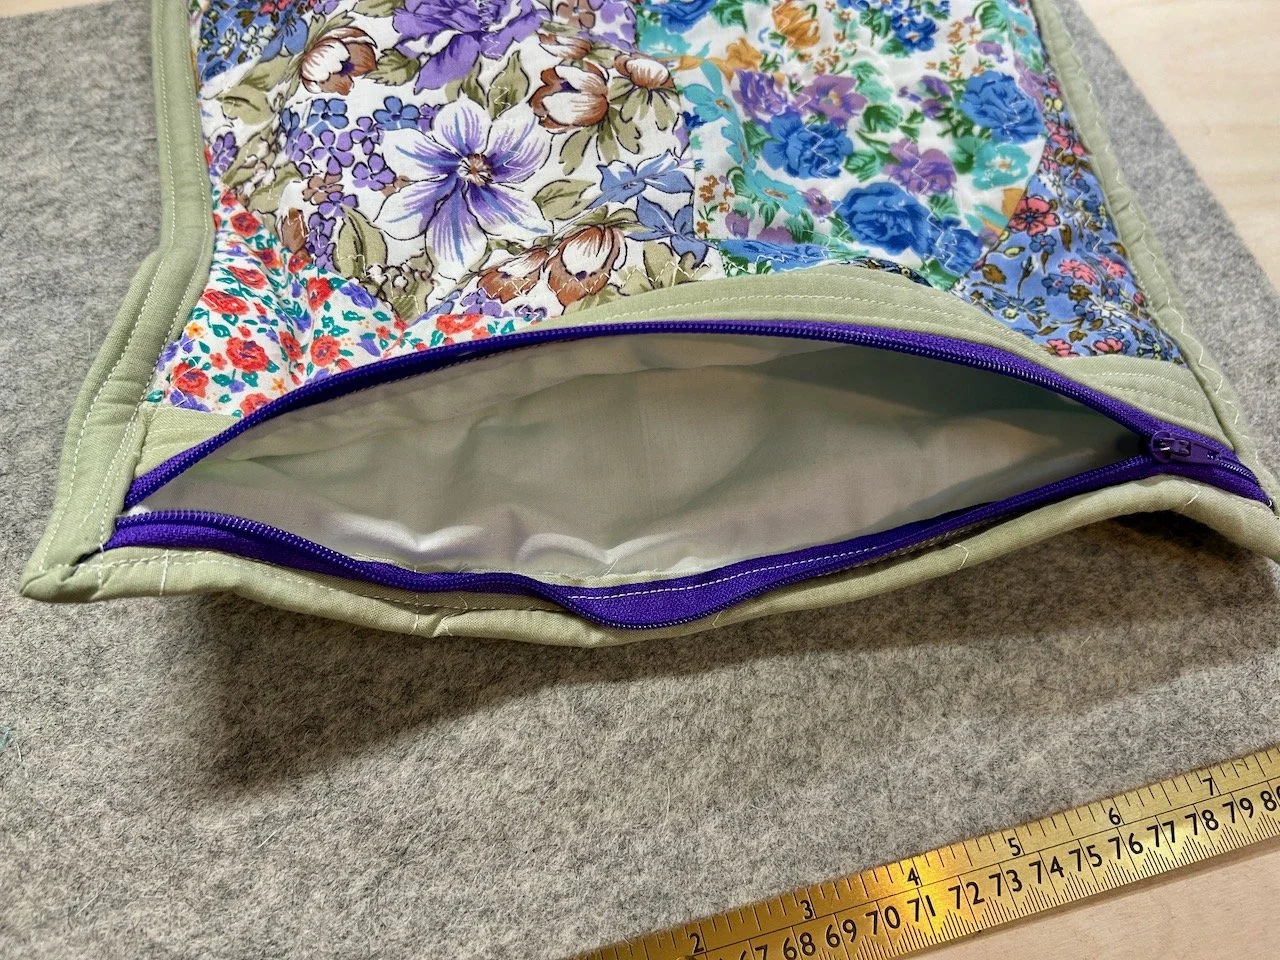
Before starting to make my Noughts and Crosses quilt I had a trial run of sewing curved blocks using all the patterns I’d pulled out of my stash, which left me with a very colourful test run. And as I don’t like to see anything go to waste, I was sure that I could do something with it.

And sure enough I could, even though it took a little while for the idea to materialise, let alone come to fruition. But as you’ll see, it’s the answer* to a question I regularly have, and so it’s a wonder it took so long.

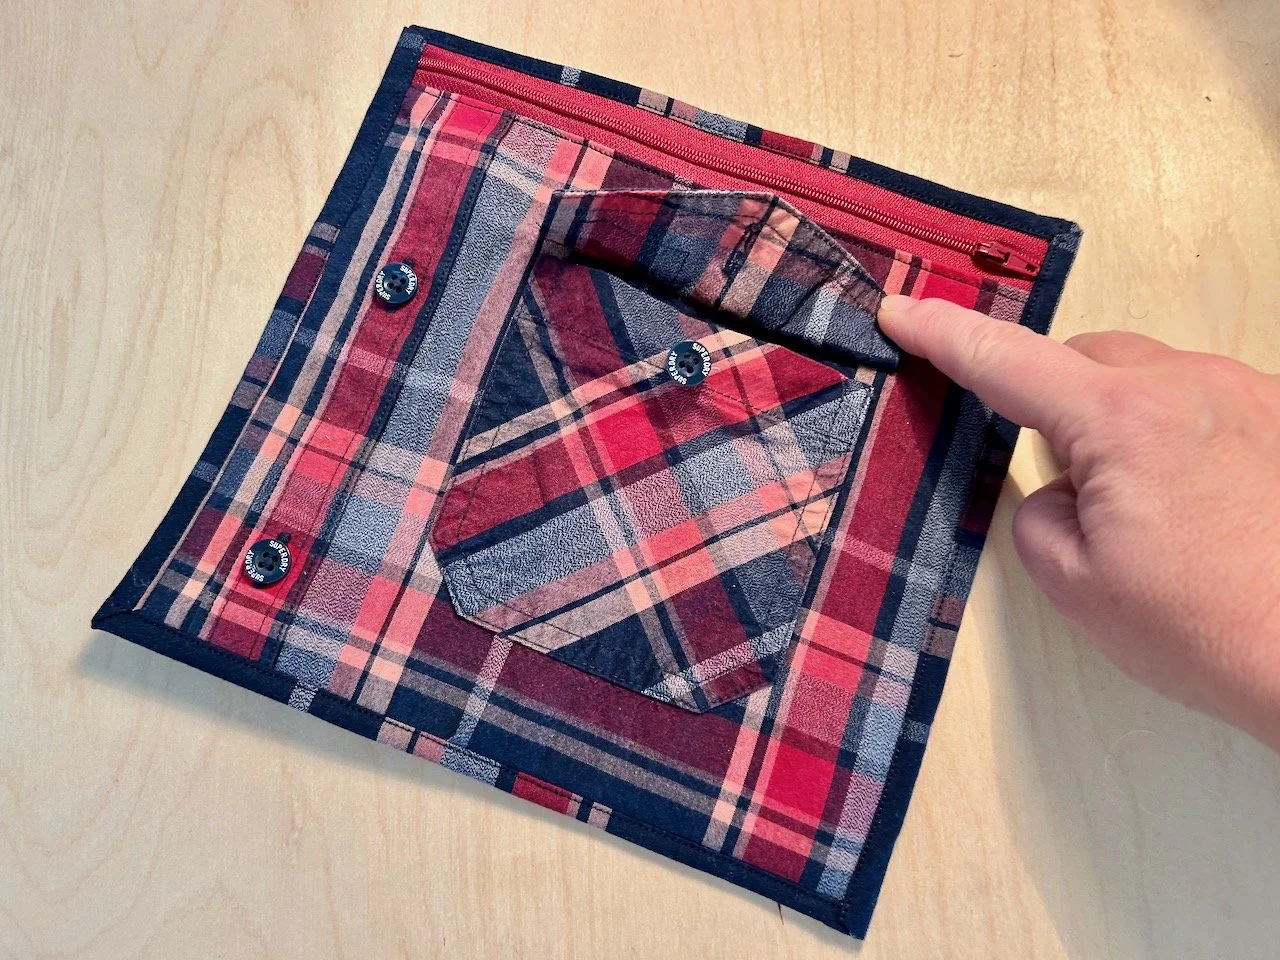
It’s fair to say at almost 33cm by 30cm it’s the largest pouch I’ve made, but `I didn’t want to cut into the circle, which if you look close enough is just about visible in the jumble of patterns.

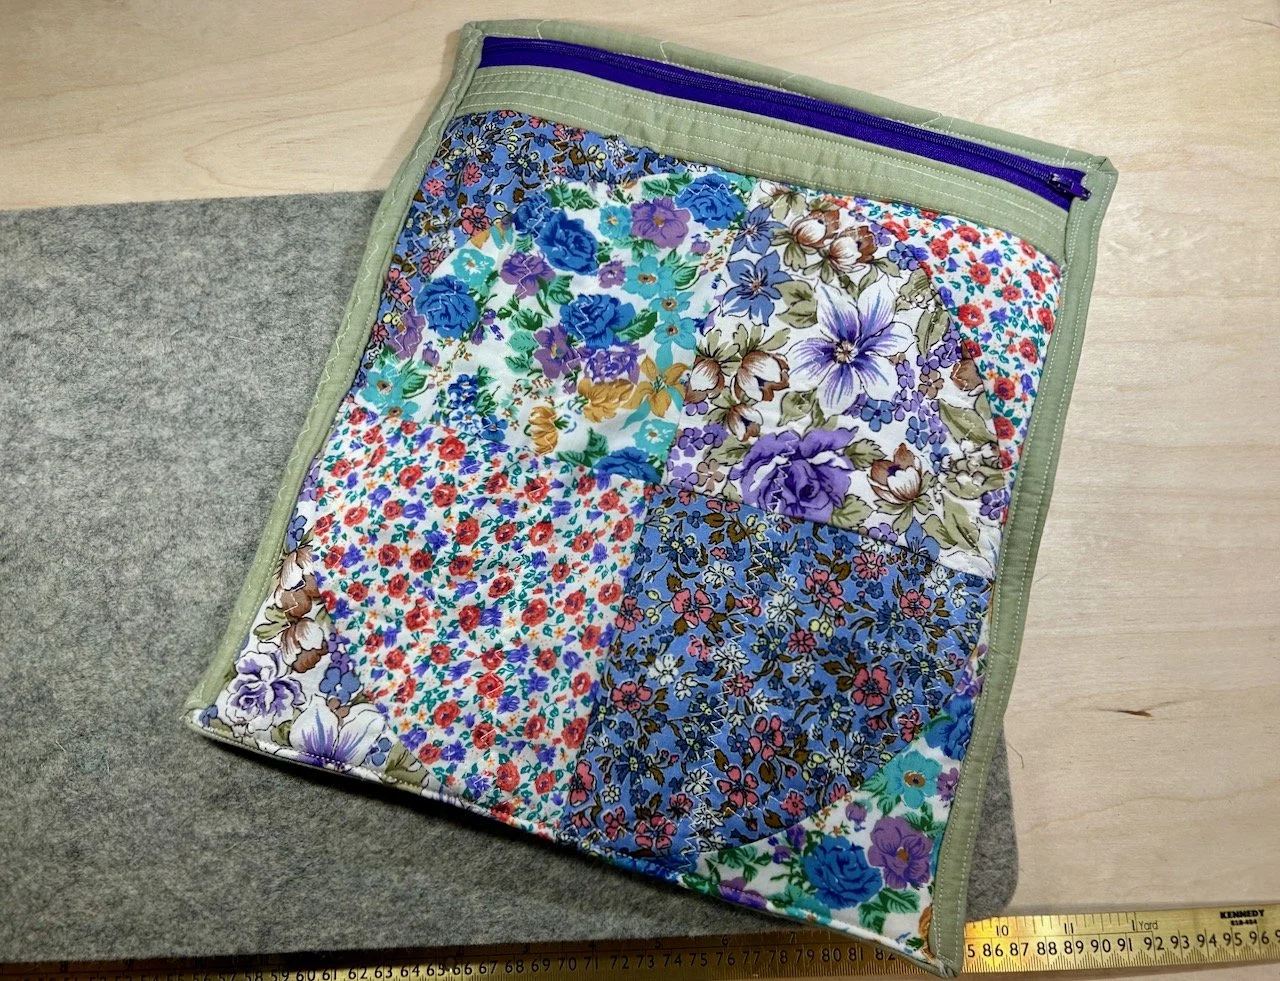
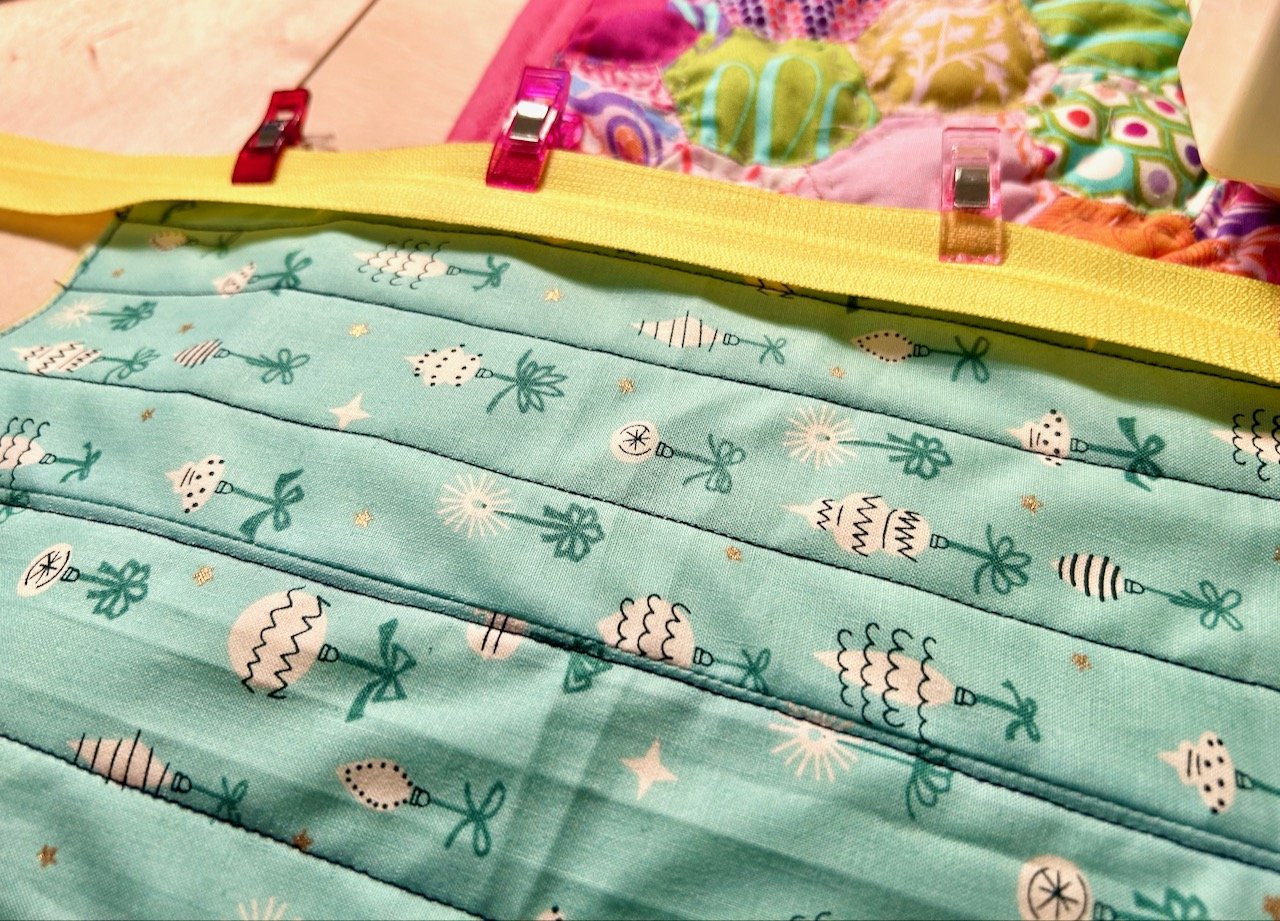
It also uses the same pale green backing material as the quilt, and I’ve frankenbatted some offcuts of wadding to give both the front and the back some extra oomph, even though that’s meant I’ve ended up with some wonky zigzag lines - but I’m ok with that, and will call it character!

The pale green back quilted with offcuts of wadding - hence some of the more wavier lines

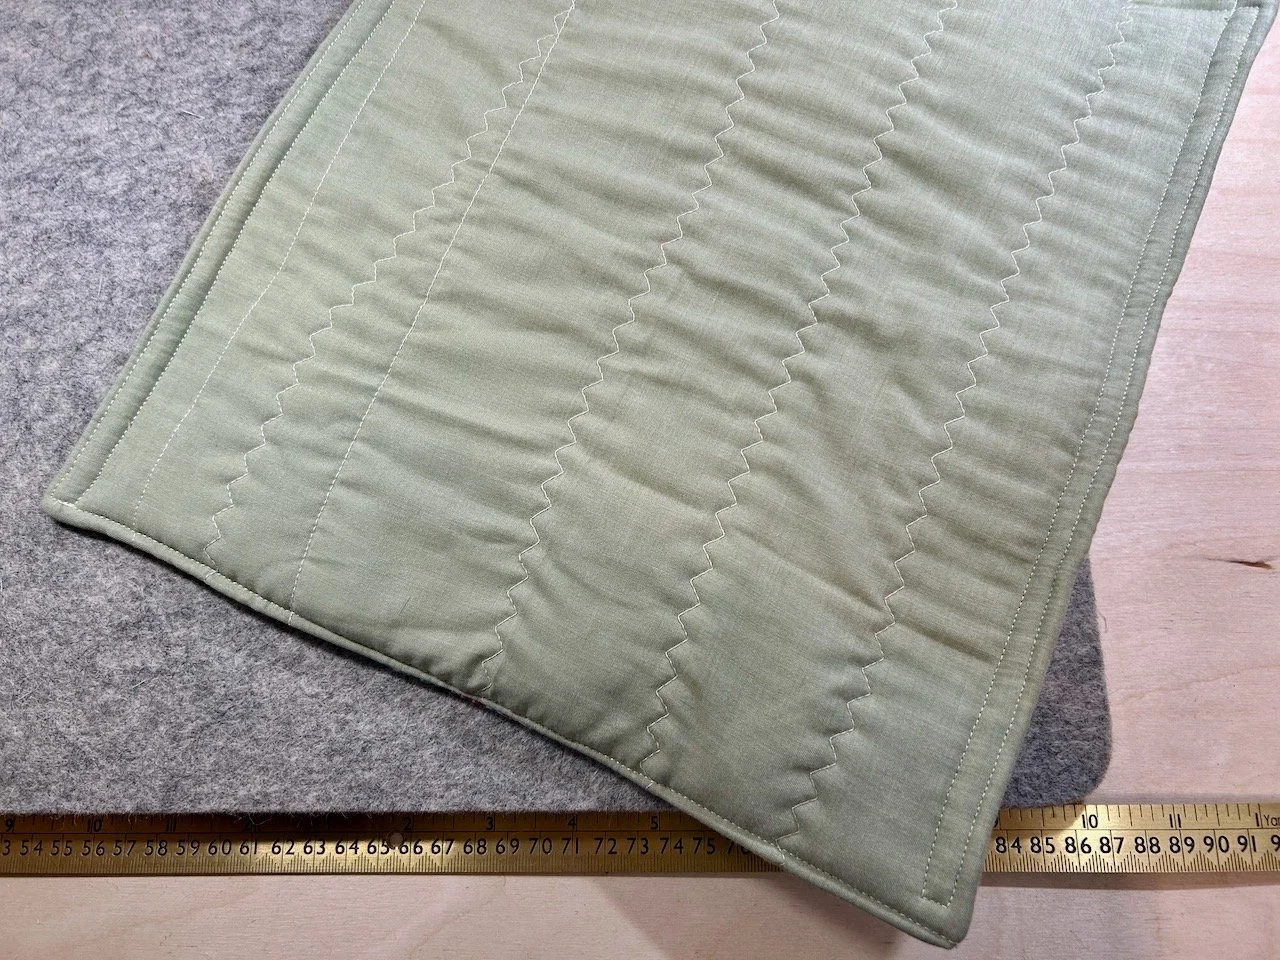
THE ZIGZAG QUILTING FOLLOWS THE SHAPES OF THE OFFCUTS OF WADDING

*Yes, the answer is invariably ‘you need a pouch for that!’ - but unusually in this instance I’m not exactly sure what the question is, though I have plenty of projects which I’m sure will soon make themselves known.

A quick and easy pencil case

One of the things on the long list of stuff for the floral fancy workshop was a pencil and a fabric marking pen. Clearly I had pencils, but the fabric marker was on my shopping list - I decided that I needed a pencil case to put them in, and as I wasn’t sure exactly what the pencil was for I also looked out a rubber and a pencil sharpener (I like to be prepared!).

I do have a pencil case, two in fact, but they have a variety of pens in. And I could have emptied one out, as I did for the Adult Learning courses, but I also realised that once again the answer could quite easily be that I needed a new one to take out with me, rather than the ones I had for storage!

So after a quick internet search I found the free tutorial for an easy pencil case on the Merriment Design blog. Doubly useful as earlier whilst looking for something else I found a square of felt which I could use, and of course my eBay stash of zips was bound to have something I could use.

As it turned out there was a zip that exactly matched the colour of the bright yellow felt square. I also had a piece of material left from the gift tag pouches, which is cute even though it’s a Christmas fabric, technically.

Starting to sew

This pouch is a departure from my more usual pouch style, and has a more traditional pencil case look to it, although the zip is on the front rather than the top. The free tutorial was also easy to follow, and I think in total I made this in well under an hour, which is pretty good.

Adding the zip to the hastily quilted aqua fabric with christmas baubles on

And yes, the yellow isn’t perhaps a natural choice to go alongside this material, but I like it (though as you’ll know I do like bright colours and have always liked yellow!). I’m also a fan of these super long zips, as they make it much easier for a zip novice like me. But using an extra long zip and then cutting it down to size has been a game changer in these pouches - I’m not sure the same approach would work for dressmaking though, but I’m happy to be corrected.

As you can see I did go for the quick and rough and ready approach, and I’m ok with that.

I didn’t press anything as I went, and I used the thread which was already on the machine - but no matter as I still ended up with a fab new pencil case.

And yes, I’m even using a couple of the ‘procrastination pencils’ - the messages on them are great, these two say: ‘you can’t possibly work in an untidy room and ‘you probably need another coffee’ - both of which can be very true!

Sharing the pouch love!

I promised more pouches, and more pouches there will be - though this is just a few of them, there’s plenty more to come. In this post though I’m sharing the pouch love and all of these were gifted to relatives over the last month or so.

Let’s start with the smallest ones

This year we decided that cash would probably be the most welcome present for our nieces and their partners, but I also wanted to do more than pop it into a card. Many years ago I wrapped some cash up with some chocolate, and they were obviously much younger but the cash was discarded in favour of the chocolate (you can tell we’re related!) and so I was keen to avoid that, especially as there’s more of us now which means there’s a lot more wrapping paper to sort through!

Anyway I thought the pouches with the vinyl fronts would work, but smaller. And so I made one half the size of the smallest one I’d previously made - opting for the easy maths every time - but it was a bit too small. So I went midway between the two measurements and ended up with two pouches that size, alongside the smaller one.

I was happy, and so were the recipients though I think they were most happy with the cash inside. My 4 year old great niece was probably ambivalent about receiving the smallest one (even with a £1 coin in) as let’s face it at that age there’s much more interesting things going on.

Repurposing an old shirt

Even MOH didn’t escape, though I took a different approach here as I knew he’d say he didn’t want/need one - but as you know that’s never the right answer to the pouch question. I decided that by using one of his old shirts (which he’d already discarded and I’d claimed as ‘potentially being useful at some point in the future’ I should add) he couldn’t argue that it wasn’t his thing.

I can be canny like that.

He’d said that he tends to keep his coat on while on the train even though it can be too warm as he hasn’t got anywhere to put his phone or wallet… I told you the answer to these types of questions is “you need a pouch for that!”

And so I made him a pouch for that, whether or not he’ll use it is another matter but I know it’s been with him on his recent London trip. So that’s at least part of the battle.

For this one I cut one side of his old Superdry shirts, using the breast patch pocket and the buttoned placket, which I sewed closed before assembling the pouch. I left the pocket functioning as a pocket, thinking that it would add interest and may actually also be useful. Along with the same material for the back, and a toning zip I followed the same process as for the vinyl fronted pouches, now fully confident about the size changes. I’ve worked out the back needs to be about 1.5 inches bigger than the front to allow for it to wrap around to the front.

For this one I used an old denim chambray shirt (also MOH’s) for the lining - again not taking any chances on the material choice, and you never know it may even get used.

A flamboyance of flamingos

That’s actually the proper name for a group of flamingos, isn’t that great? Almost as great as this set of pouches I made for mum who has made, and continues to make, me many pouches which I’ll never complain about. Mum was quite taken with the flamingo pouch in the original stack of pouches, and so I thought with my newfound size knowledge I could go flamingo mad (or plamingo mad as they’re sometimes known in our family).

And so I did.

With four more pouches! Each fits inside the other - and so it was a tropical flamingo pass the parcel for one - what’s not to like?