Vibrant blooms and hot pink swings

* I was invited to the press preview of Gardeners’ World Live and provided with a pair of tickets to visit the show, therefore all my posts will be marked as 'Ad’ though as usual my views and opinions are very much my own.

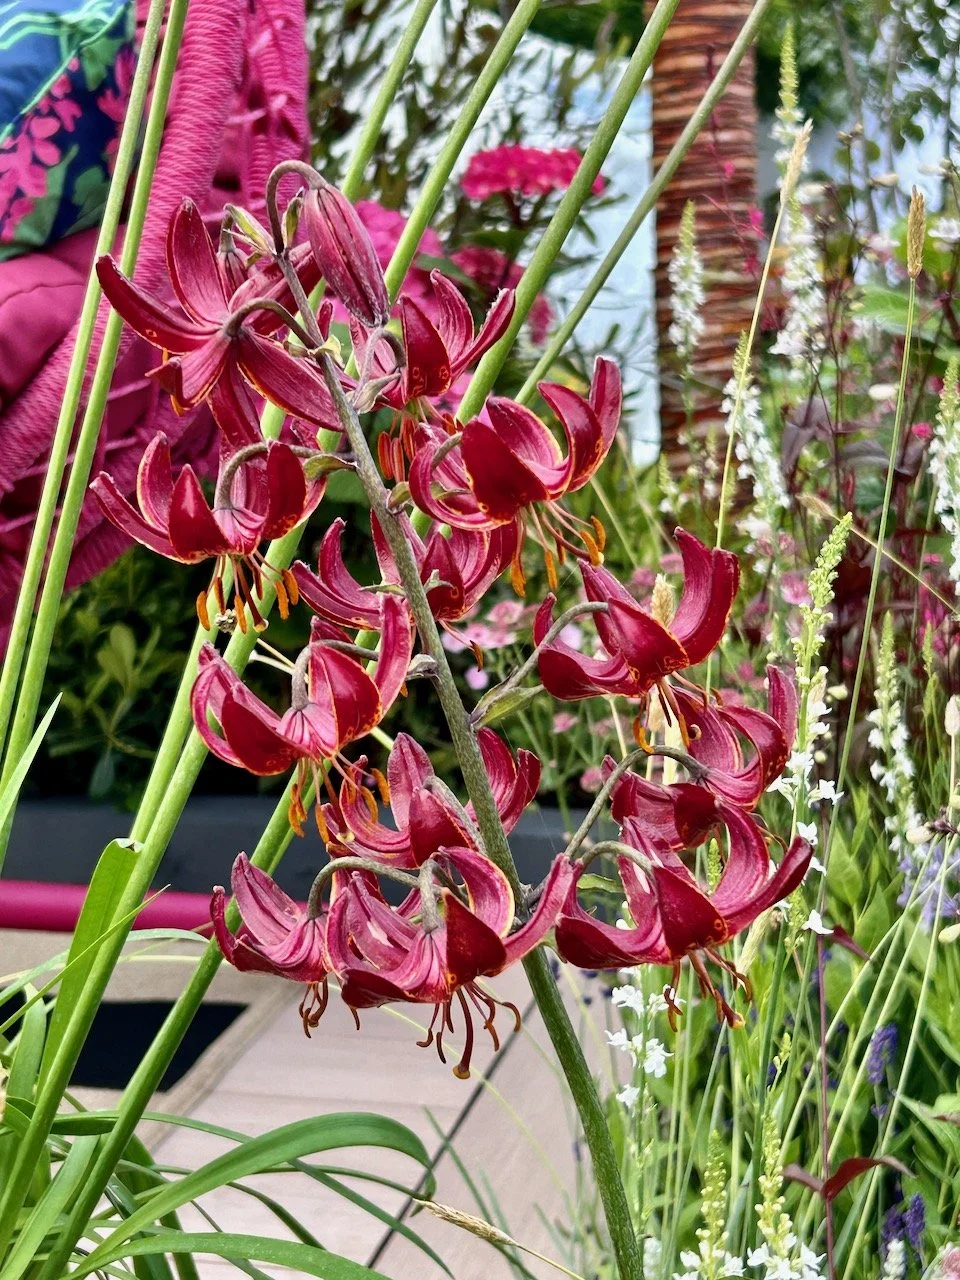
I’m sharing another Beautiful Border which really is beautiful - it’s My Garden Escape which was QVC’s Headline Border and was designed by Kitti Kovacs. The borders at the show were sponsored by My Garden Escape at QVC which is no doubt why this has a larger plot than the other borders I’ve shared so far, but what a space.

Kitti Kovacs designed it as ‘a versatile haven for connection and serenity’ and I know I’d quite happily spend a good hour or two here especially on a beautiful summer’s day, you know the sort that have been so lacking in the greys of February.

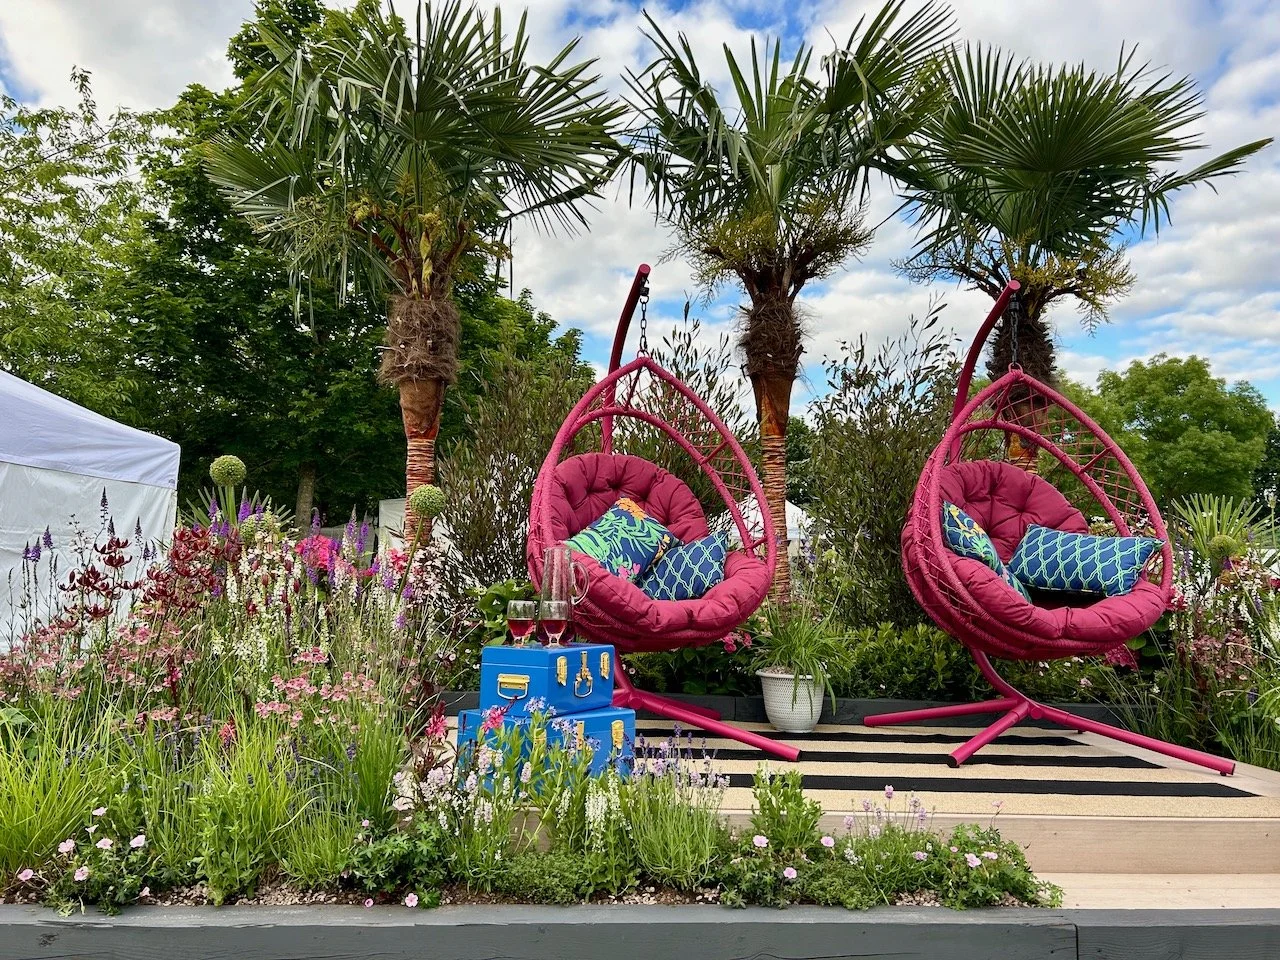
This border aims to provide a space for connections and tranquility - a space for socialising, but also for finding peace. It’s definitely a bit of a haven - though the blue skies and warm weather helped, I’ll admit that!

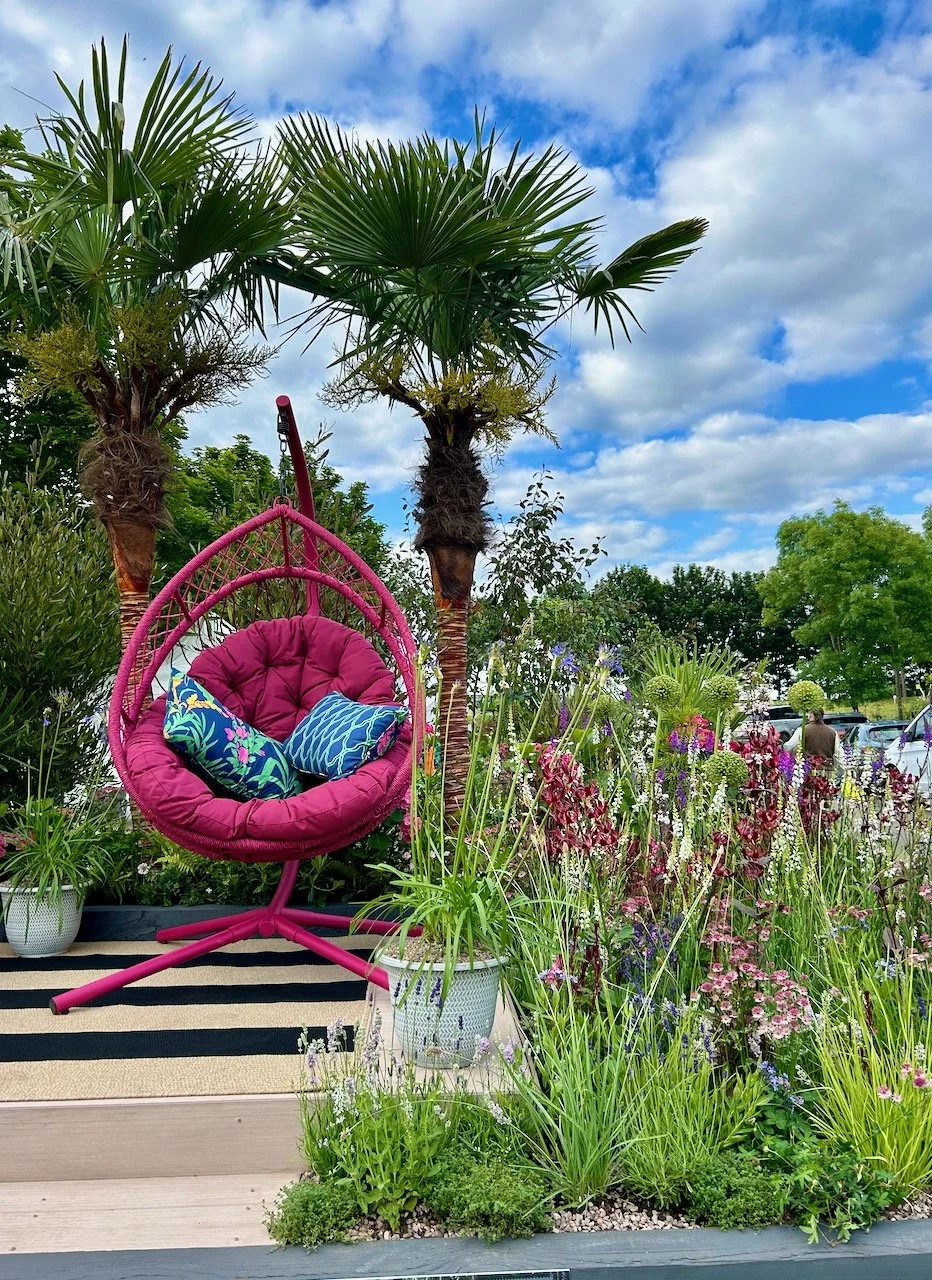
And while the chairs are at the centre of the design, there’s so much more to it than them. The planting surrounds the seating area and the varying levels of height almost makes it feel enclosed and safe. And the plants were also something special - including some favourites of mine, and a new favourite too.

You see it’s so much more than about the chairs when you look, but they definitely catch your attention don’t they? And it really shouldn’t be a surprise that this garden was awarded a Gold, it really was a fantastic space.

* With thanks to Gardeners’ World for inviting me to Gardeners’ World Live, it was just as good as I expected! I’ll be sharing more from my visit to the show - I hope you enjoy it as much as I do.

A quick and easy pencil case

One of the things on the long list of stuff for the floral fancy workshop was a pencil and a fabric marking pen. Clearly I had pencils, but the fabric marker was on my shopping list - I decided that I needed a pencil case to put them in, and as I wasn’t sure exactly what the pencil was for I also looked out a rubber and a pencil sharpener (I like to be prepared!).

I do have a pencil case, two in fact, but they have a variety of pens in. And I could have emptied one out, as I did for the Adult Learning courses, but I also realised that once again the answer could quite easily be that I needed a new one to take out with me, rather than the ones I had for storage!

So after a quick internet search I found the free tutorial for an easy pencil case on the Merriment Design blog. Doubly useful as earlier whilst looking for something else I found a square of felt which I could use, and of course my eBay stash of zips was bound to have something I could use.

As it turned out there was a zip that exactly matched the colour of the bright yellow felt square. I also had a piece of material left from the gift tag pouches, which is cute even though it’s a Christmas fabric, technically.

Starting to sew

This pouch is a departure from my more usual pouch style, and has a more traditional pencil case look to it, although the zip is on the front rather than the top. The free tutorial was also easy to follow, and I think in total I made this in well under an hour, which is pretty good.

Adding the zip to the hastily quilted aqua fabric with christmas baubles on

And yes, the yellow isn’t perhaps a natural choice to go alongside this material, but I like it (though as you’ll know I do like bright colours and have always liked yellow!). I’m also a fan of these super long zips, as they make it much easier for a zip novice like me. But using an extra long zip and then cutting it down to size has been a game changer in these pouches - I’m not sure the same approach would work for dressmaking though, but I’m happy to be corrected.

As you can see I did go for the quick and rough and ready approach, and I’m ok with that.

I didn’t press anything as I went, and I used the thread which was already on the machine - but no matter as I still ended up with a fab new pencil case.

And yes, I’m even using a couple of the ‘procrastination pencils’ - the messages on them are great, these two say: ‘you can’t possibly work in an untidy room and ‘you probably need another coffee’ - both of which can be very true!

Starting my own floral fancy

As I said in my This January post I impulsively booked onto a workshop, and then wondered if I had the enough of the right skills and the right sewing stuff to do the ‘floral fancy’ panel justice (spoiler: I did) The workshop was run by Region 10 of the Quilter’s Guild of the British Isles (QGBI), and was taking place in a village about 15 minutes away from me - even better, I knew where the village was!

I needn’t have worried though as while there was quite a long list of stuff needed - some of which I didn’t have and so Amazon was my friend - I was told not to worry about the long list of stuff, but of course I did. The workshop itself was a fabulously creative, inspiring and friendly day, and I was so glad I went. I couldn’t decide between the two panels offered at the workshop, and opted to buy a kit for the material, so that was one less thing to worry about, though to be fair, I probably I could have sourced that from my craft room relatively easily. In the end there was only a kit left for the floral wreath, so the choice was made for me.

I did laugh though as when my Amazon parcel arrived MOH couldn’t help but wonder how I had a whole room of stuff and how I needed more, but as I said to him it wasn’t the right kind of stuff. Well, mostly anyway.

A stitch and flip background

The morning session consisted of assembling the background of the panel using a stitch and flip method, but before any sewing could be done I needed to cut and layout the background in a radial design, with the darker fabrics in the centre. This challenged me more than it should trying to get the different length fabrics (there’s three different lengths) from the fabric I had. Thankfully there were also some spares so I dipped into those, as I think did everyone else.

Despite trying to keep to the same layout, it seems that as I stitched and flipped at one point I must have flipped, stitched and flipped so one of my rows turned around. Of course I only noticed when I was way past sewing that strip, and so it stays. And to be honest this is the background so it’s not the focal point of my piece. So if anyone asks, you didn’t notice it.

After lunch the real creativity started

Having completed my background piece before lunch I had the whole afternoon for the most interesting part of the workshop, and that was the floral fancy. My floral fancy was the wreath version, though others were also making a vase of tulips (which was also gorgeous).

As we know all good wreaths start with greenery, and so did mine. I had several greens in my kit of material and so chose a selection of those and headed over to the Sizzix machines, which I’d not heard of before. Though I soon realised they were a die cutting machine for fabric, and worked very similar to my paper cutting die machine.

I choose two leaf dies and cut the designs randomly from my selection of greens, working on the theory that leaves aren’t all the same shape or colour, and the contrast of both would enhance my wreath.

And then I arranged them on a pencil circle line I’d drawn on my background, and rearranged, and faffed about with them some more until I was happy. Without my own fabric die cutting machine it was important to me to get all the cutting out done on the day, and that became my mission.

I cut five simple five petalled flowers from the fabrics that most appealed to me, and then realised they’d look better layered with the same shape offset in a complementing/contrasting fabric.

So back to my kit and I finally settled on the combination above - remembering to take a snap so I didn’t forget my choices!

After I’d added the flowers I realised they needed a middle, so I was back cutting various circles I could use from the offcuts, and then working out where they worked best.

It was good, but I thought it needed more flowers - and probably fatter flowers. So back I went to the die cutting machines again, though this time just taking three fabrics with me, reusing the bright pink material of the flower that’s at about 10pm in the photo above and below.

The fatter flowers also needed middles - and all of the middles for these were also cut from offcuts. Needless to say I spent a fair amount of time using those die cutting machines - and got everything I wanted cut out on the day. Though since the workshop I’ve decided I definitely need a Sizzix in my craft room - so I’ve been sussing them out online, and I’m planning to order one from Hobbycraft this week taking advantage of an online offer, and vouchers I seem to have accrued.

Finishing it off

With my design finalised and home safely (phew), this has definitely gone on my craft to do list to get finished. It won’t be a small job though as first I’ll need to dismantle it - I’ve already printed out a picture - and peel the bondaweb backing off each piece before ironing and stitching it into place. And that probably needs to be done in layers so the stitching builds up as you’d expect.

But I can’t wait (sort of). I’m keen to get going, but also keen not to mess it up! Though given that I wasn’t sure if I had the skills to get this far, I’m pretty certain I’ll be fine I just need to get on with it.

It was a great workshop and I left feeling really pleased I’d gone along as well as feeling like I’d really achieved something. It was also a really friendly and welcoming space so that helped too.

I also brought all the offcuts home as my plan is to make this into something bigger - I know running before I can walk again, but I’m aiming high, though I’m not sure just how high yet. I don’t want this panel to be a cushion cover, or a bag and I want it to live outside my craft room, so I’m thinking it would work as the central panel in a quilt for our spare room with more panels that complement it, but aren’t the same - that’s the bit that’s mulling over in my mind, and I think will continue to percolate for a while yet.

And anyway, I’ve plenty of other projects in mind before that - but keep an eye out on the progress I make with this one. This isn’t a project that’s going to sit in the cupboard I’m pretty sure of that.