In my previous post on learning to gelli print I shared how to print using stencils and shapes. Today I’m sharing how to create plaids, which I think is one of my favourite approaches so far. As with gelli plate printing generally, it’s quite random - so if you’re a perfectionist or like things measured exactly this may not be the craft for you. However, if you’re happy to go with the flow and see how things turn out, then I think you’ll love it.
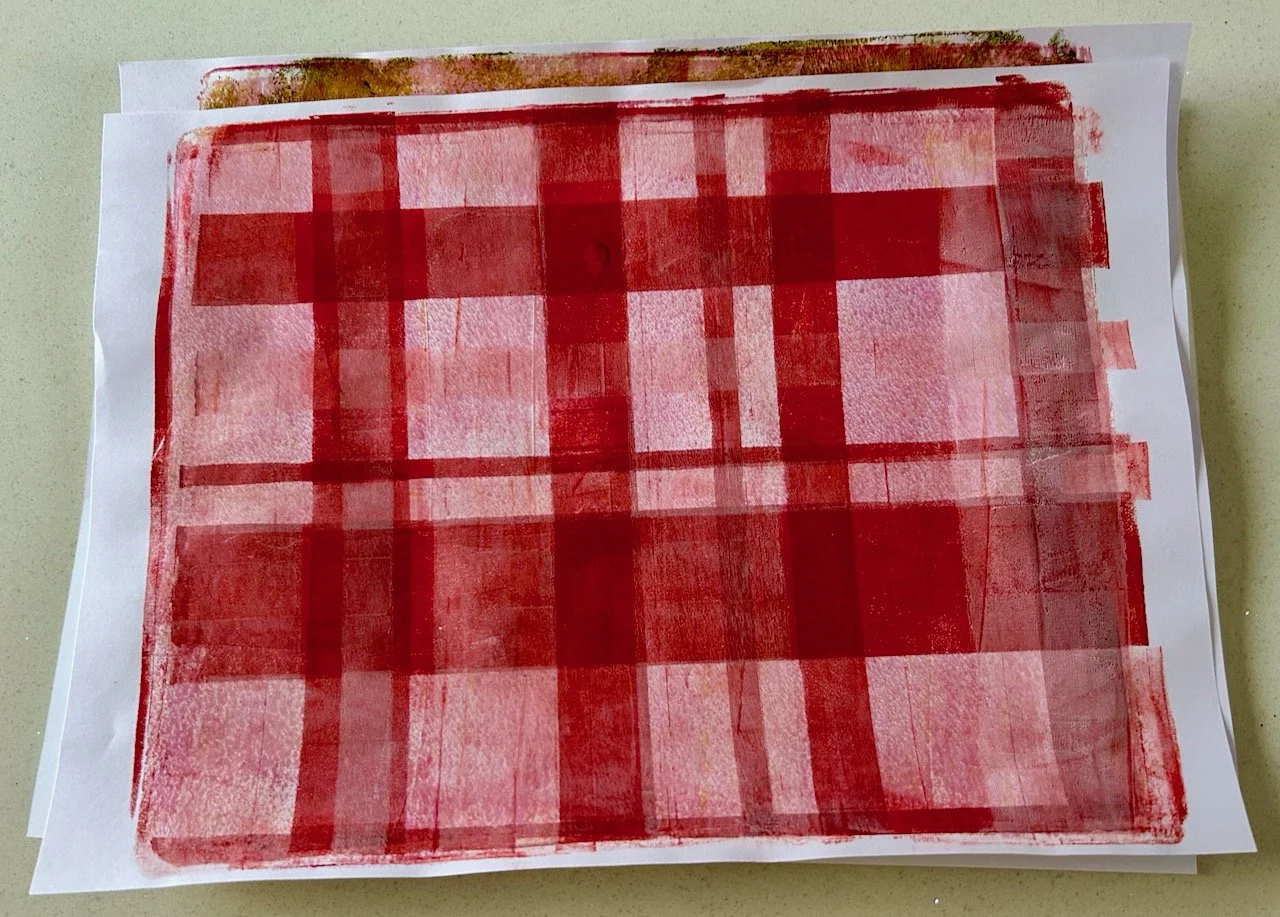
I ended up with three plaid designs from the class which I’m sharing here, but this is something I will try again as it’s great to see how it’s going to turn out.
To create plaids you need more paper
It’s simple really, but you need to cut lengths of paper in the width you want, or varying widths to create your horizontal and vertical stripes. First you work the ‘stripes’ one way, and then the other, laying them on the gelli plate and working quickly as is the gelli printing way, so that your thin layer of paint doesn’t dry on the plate.
The results can be pretty spectacular, and you can reuse the extra strips of paper as many times as you need to to get the design you’re after. And even when that’s done, the strips of paper will be covered in their own unique colours and can be used for example in card making - the possibilities are endless.
Though that’s the danger I’ve found with gelli plate printing - I’m keeping more and more pieces with the view that I could use those ‘one day’ - a bit like you do, or well I do anyway, when cutting out fabric. And how small is too small, well one thing’s for sure and I think they’re probably different sizes for fabric and paper, just don’t get me to commit to what that is for either of them!
Experimenting with colours
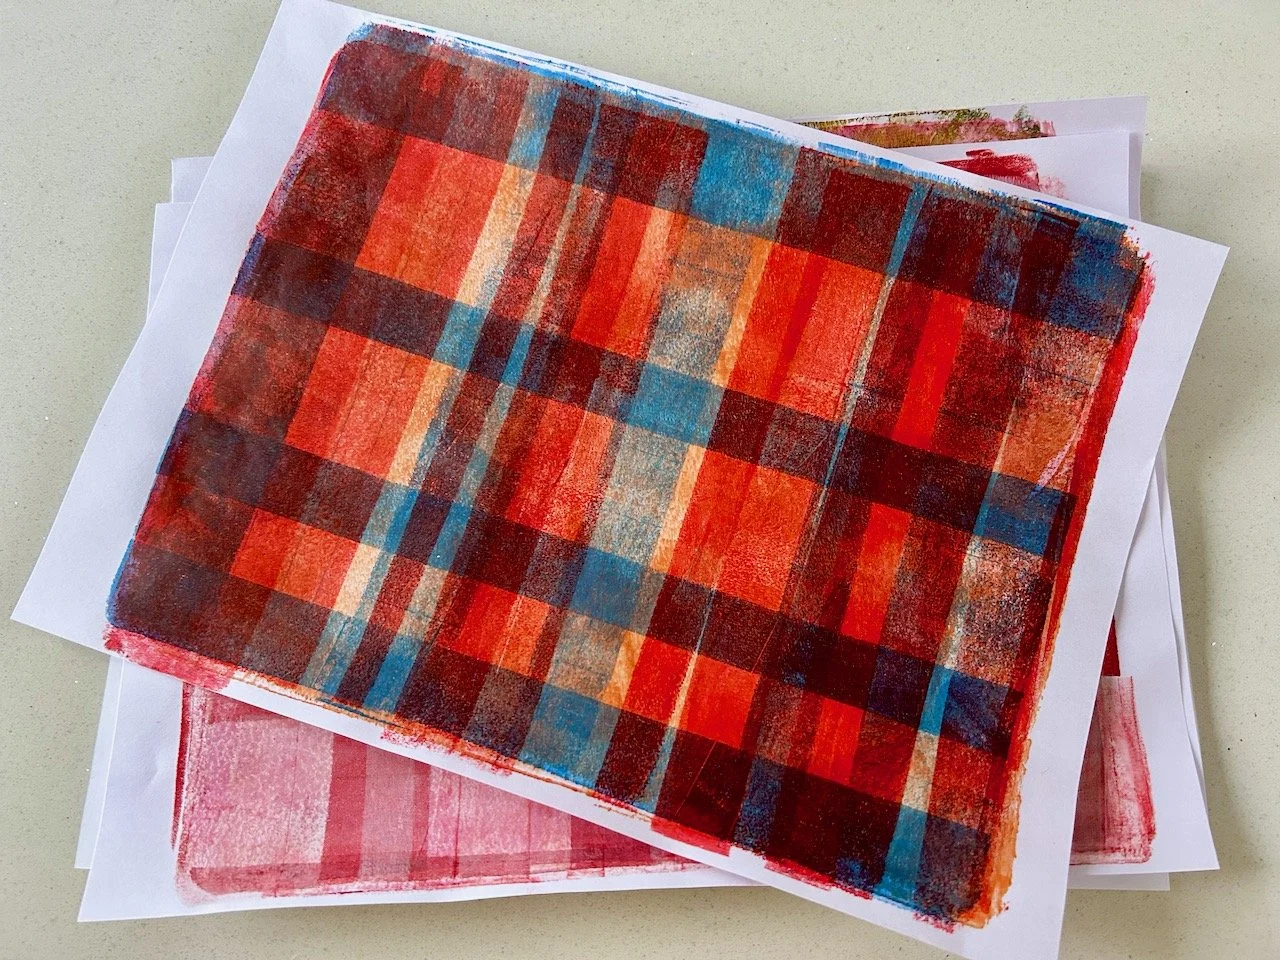
You only have to Google ‘colour wheel’ to discover the theories and relationships between colour, and how you can use primary, secondary and tertiary colours, and I’m not about to explain that here, you’ll be pleased to know. But after trying the complementary colours above, I wanted to try something bolder for my next print - and I think the blue works with the reds and oranges, don’t you?
Using up those misprints
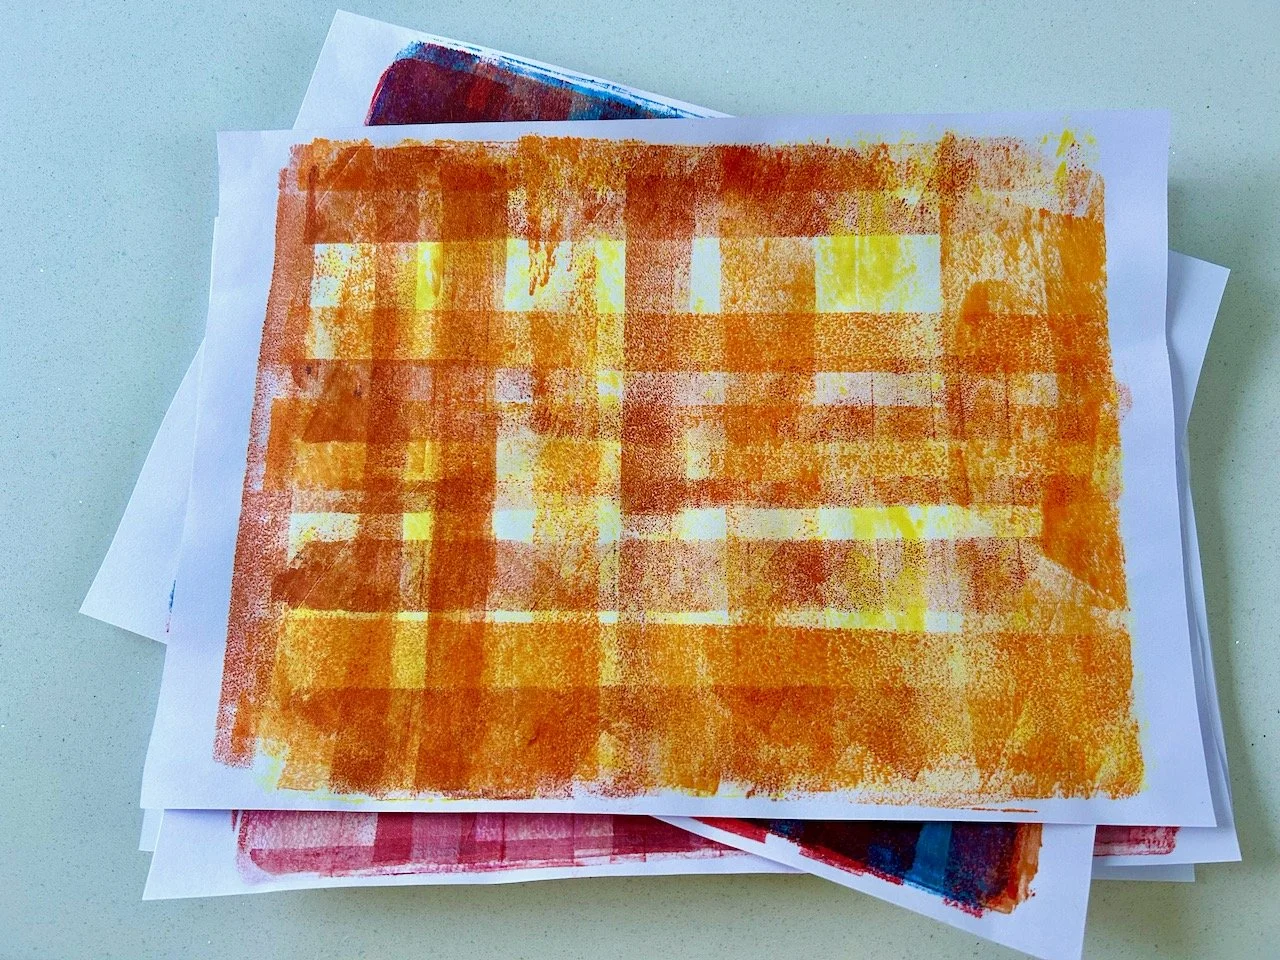
This is a great way to use, or reuse those prints which didn’t quite work the first time as you’re printing over the top adding more paint and therefore more interest as you go.
In the image below my starting point was a very patchy yellow print, but by adding vertical and horizontal stripes in reds and oranges I’ve created a pattern that I really like for it’s ‘distressed’ look, and which I know I’ll find plenty of uses for in my paper crafting days ahead.
Here I’ve only scratched the surface of the many, many combinations and patterns this technique can create - but as a taster I think you can see that it’s one that’s intriguing and has the potential for further exploration when I set up my gelli plate at home.
Yes I succumbed and bought my own gelli plate - it was inevitable really wasn’t it?

