


The Newark Quilt Show takes place each January, and as I’ve said before it’s my local show so it’d be rude not to go! So I knew there would be the opportunity to top up my supplies, but I also knew that at the end of the month I was going along to a new-to-me quilting shop in Worksop, also new-to-me, and I didn’t really want to splurge at either.
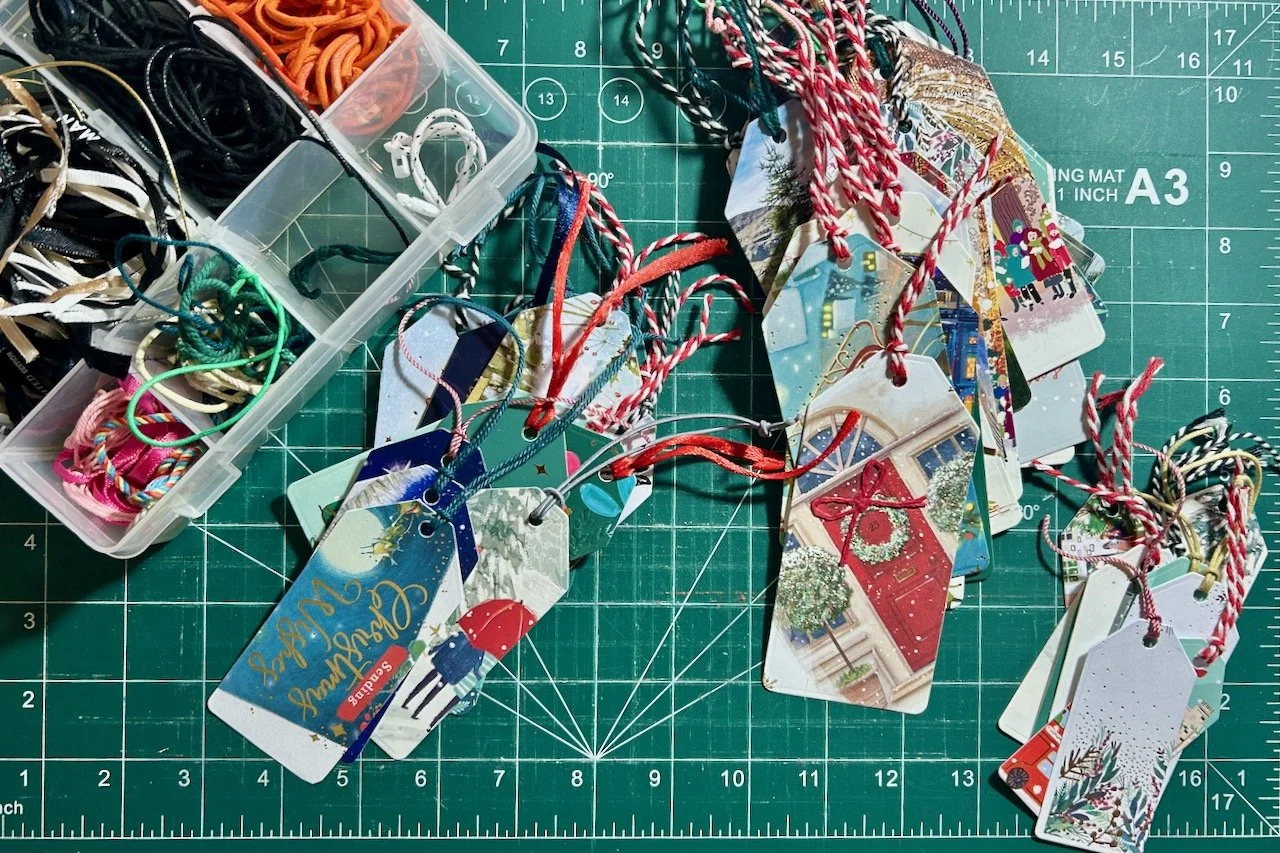
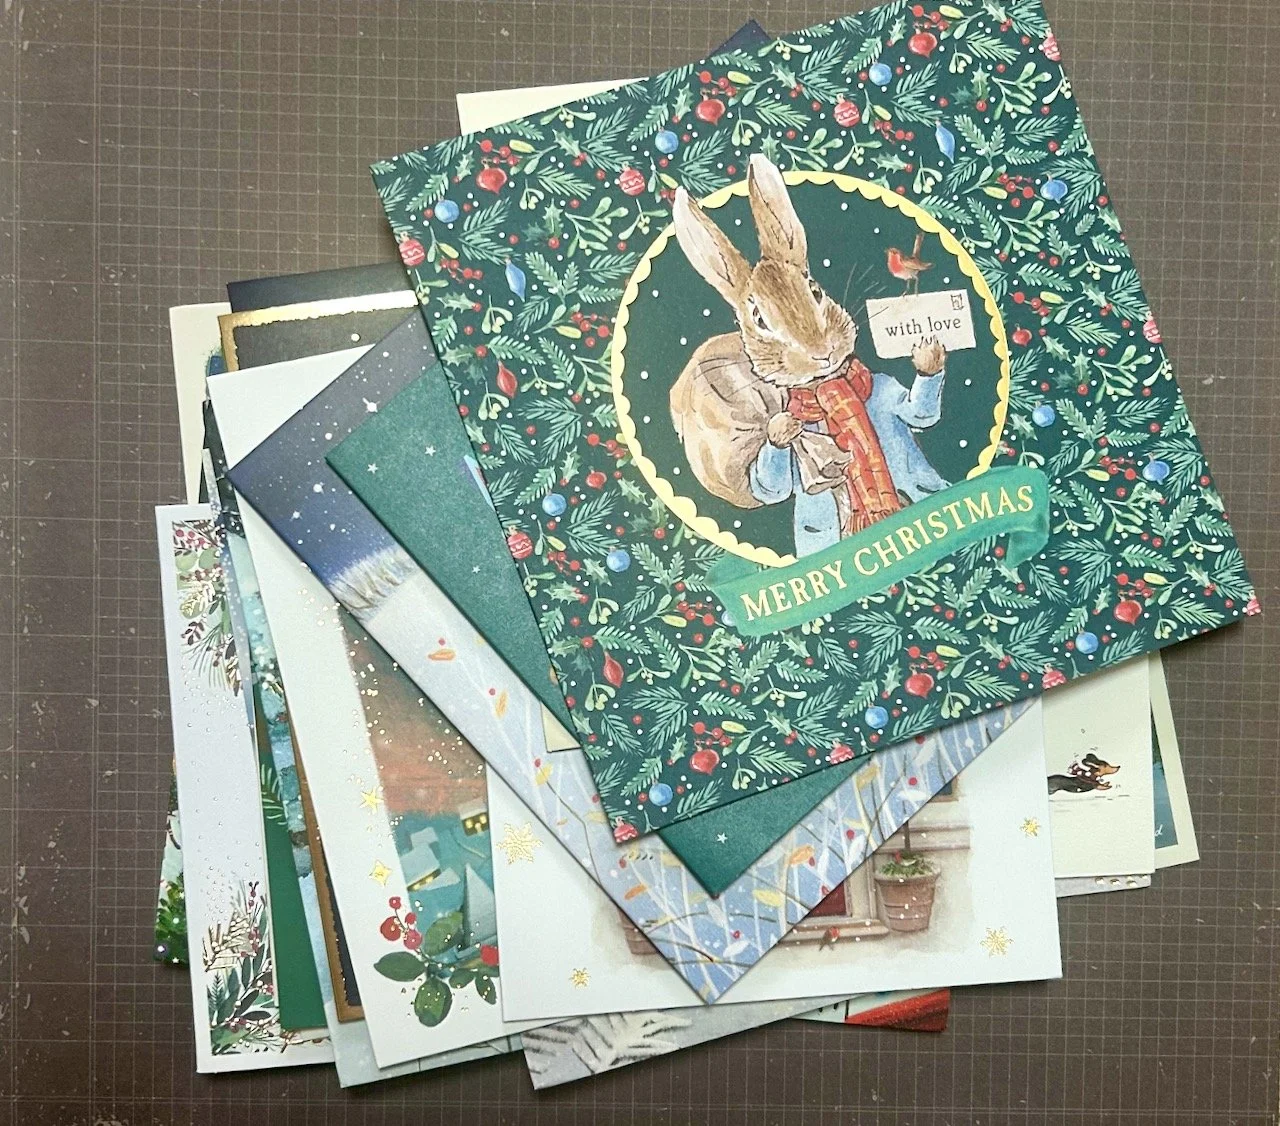
But more of what I picked up in those two outings later, there’s been plenty new to my craft room in the first month of the year including our Christmas cards which I’ve already recycled into gift tags for use much later in the year.
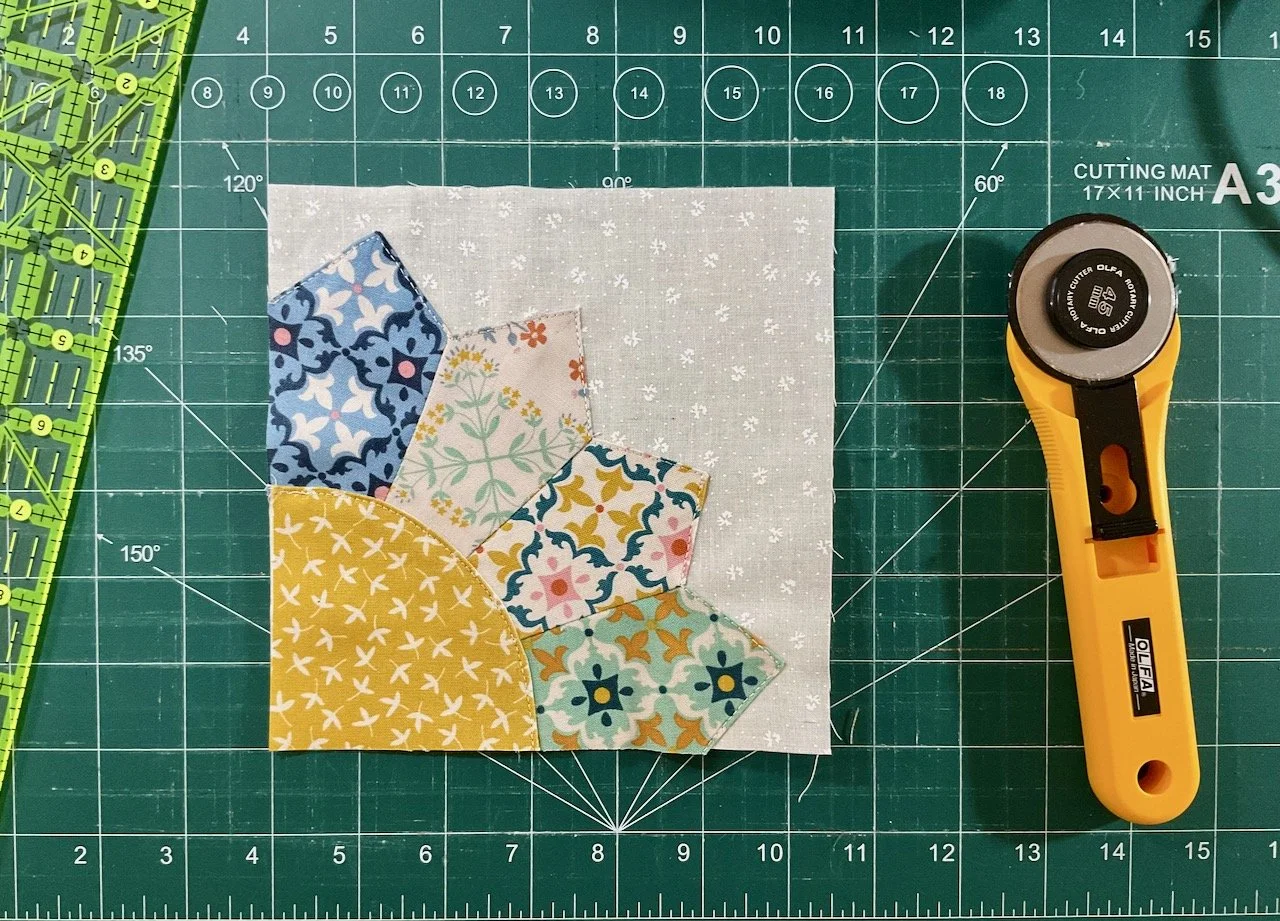
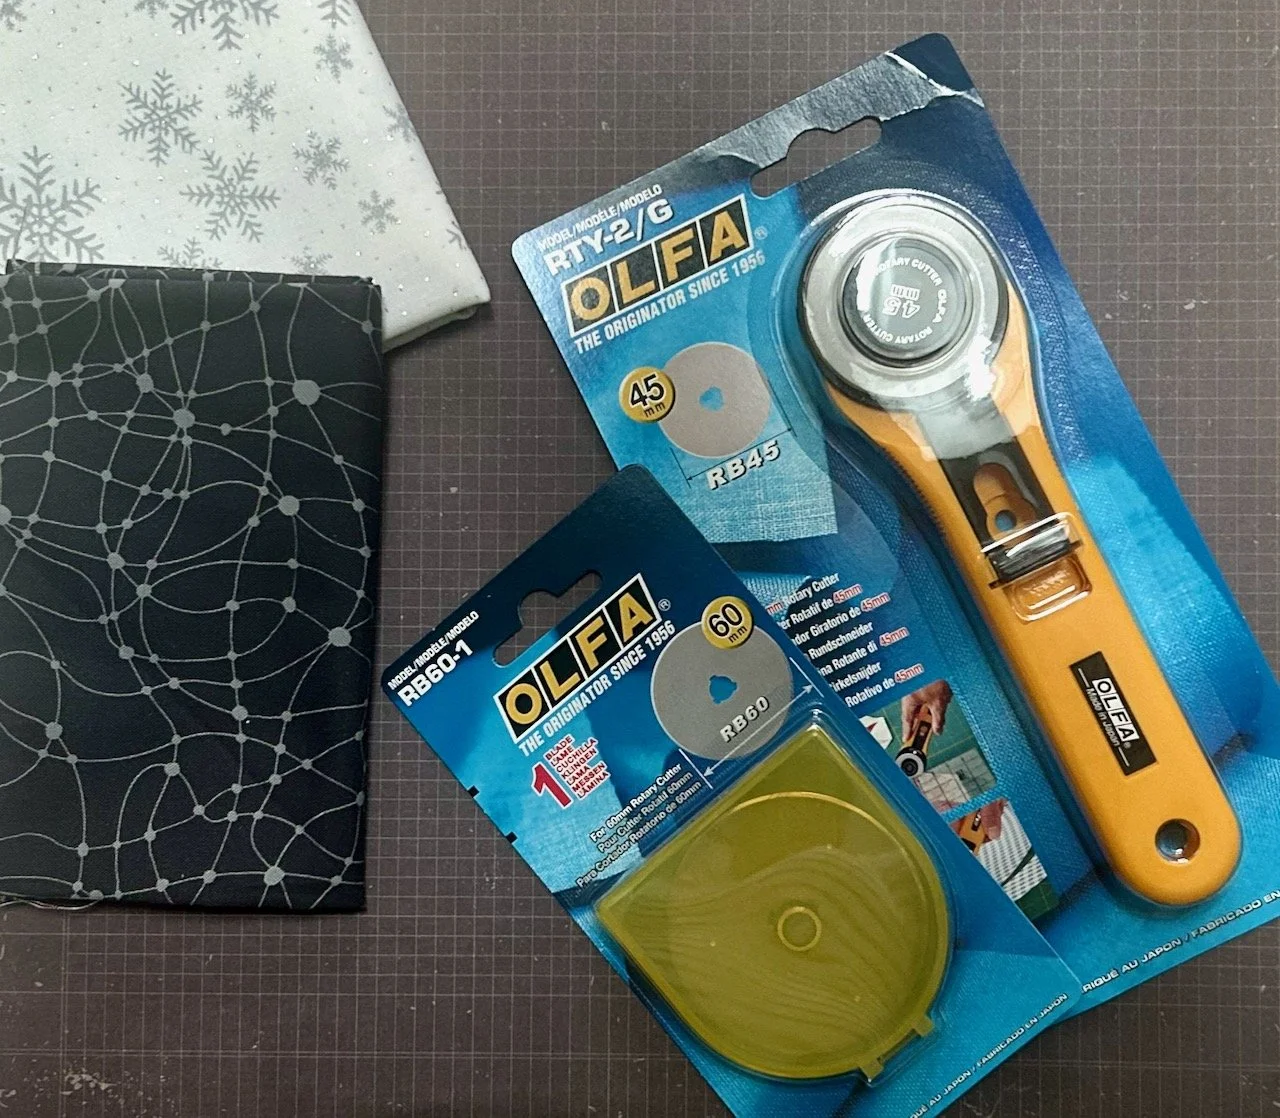
Last month I shared the contents of my quilting advent calendar, one of the items was a replacement blade for a 45mm Olfa rotary cutter. The only thing was I didn’t have that size cutter, but I do now - and while I was at it I bought myself a replacement blade for my larger 60mm cutter, as I don’t think I’ve changed the blade in it ever, oops. While I was looking around the Morris Works site I also snagged a couple of fat quarters in the sale for my growing collection of greys, though the darker one is probably just about on the edge of what I’m after for my long-awaited and unlikely to be finished just yet Floral Fancy project.
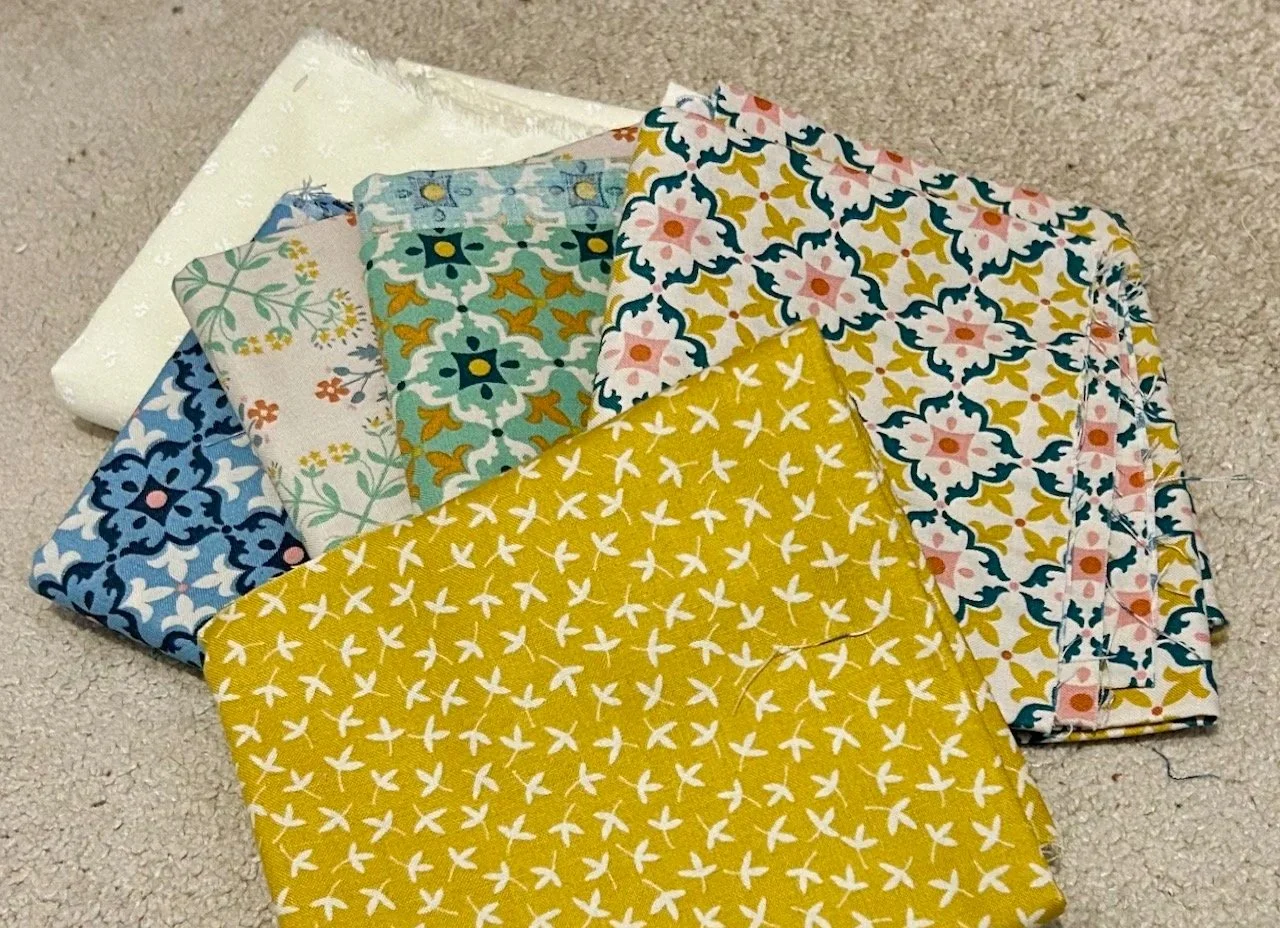
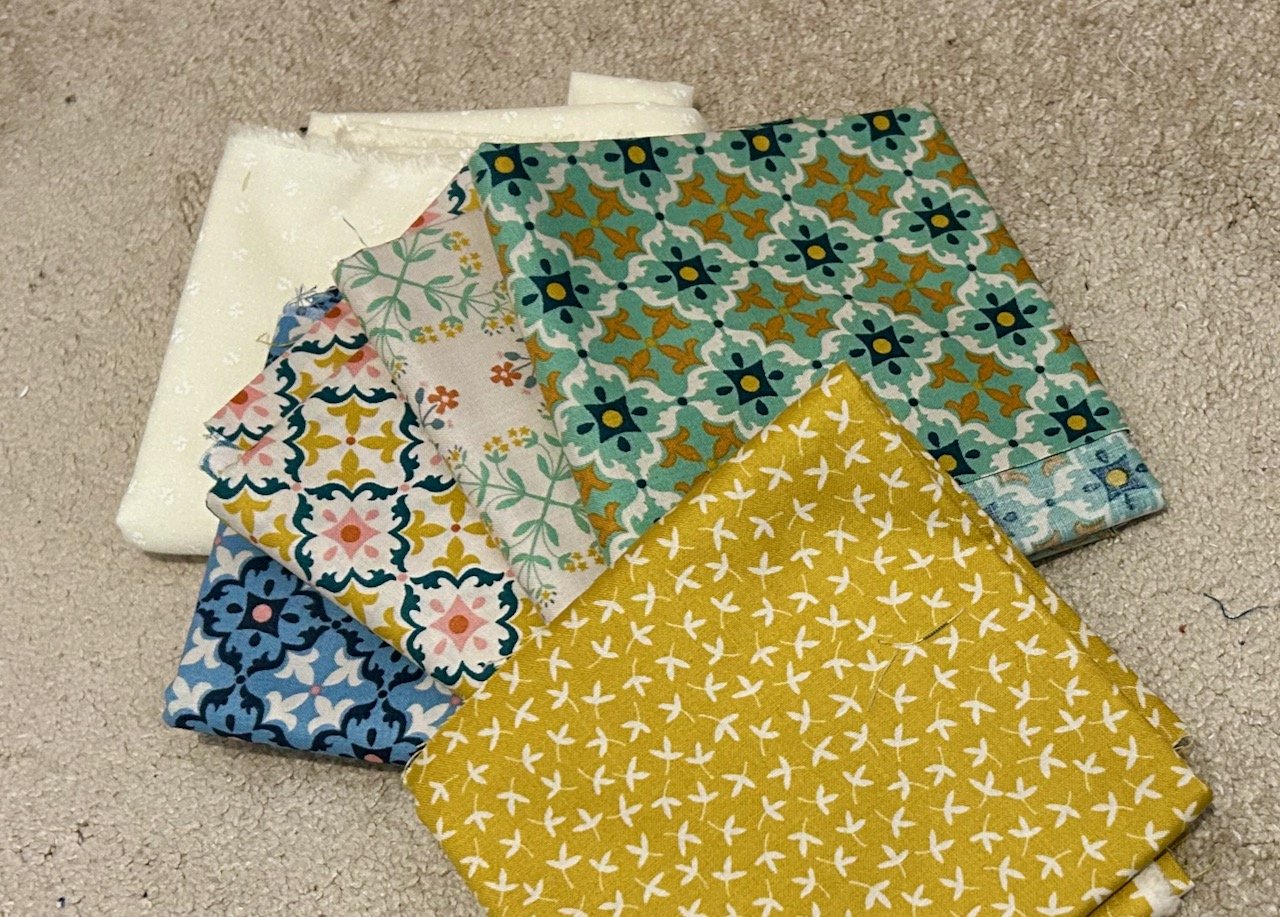
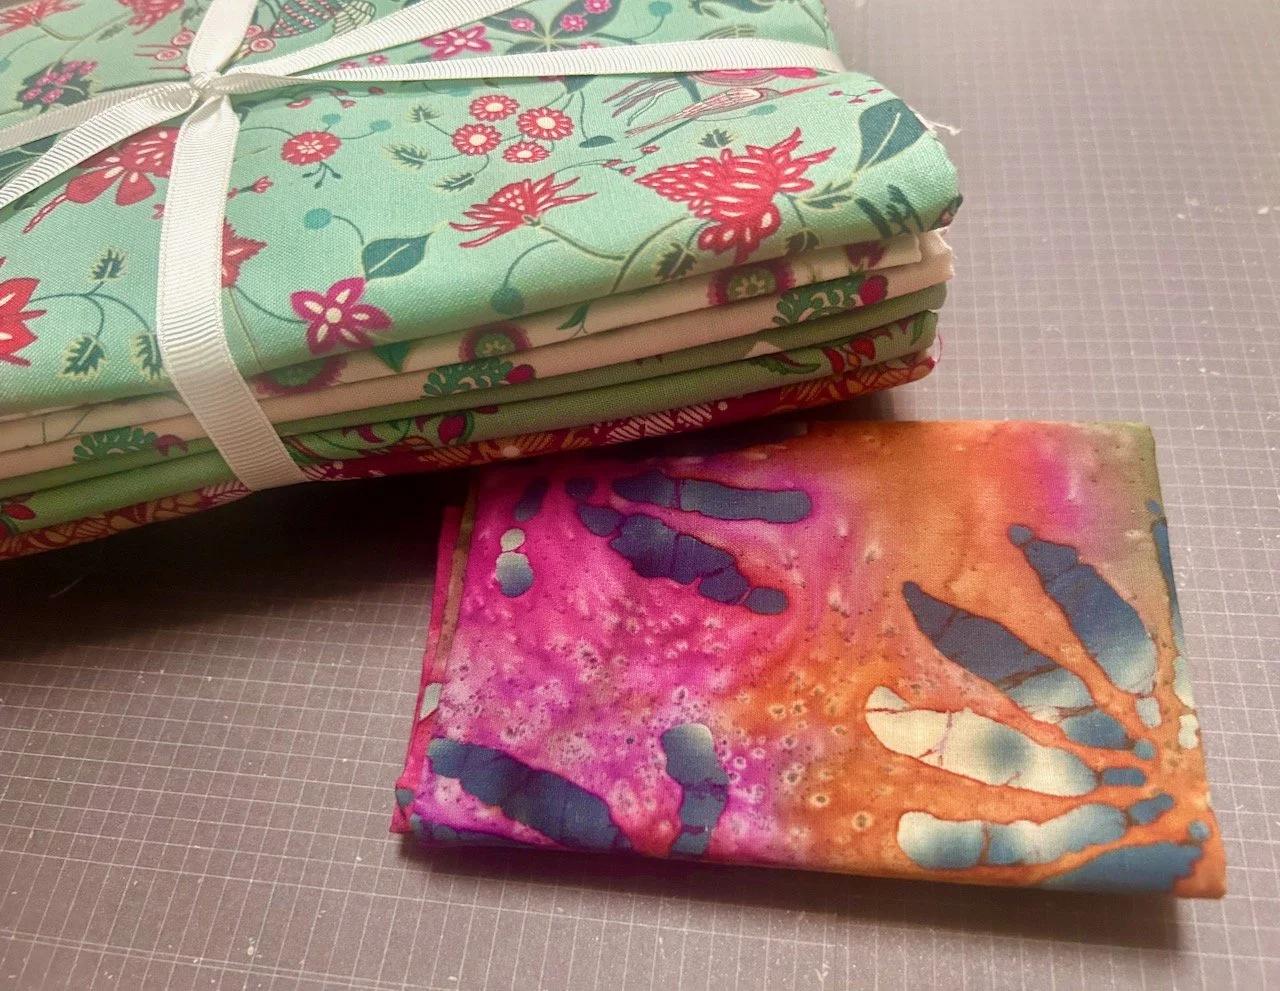
At the Newark Quilt Show I felt almost restrained, I hadn’t taken my own advice and gone with a list of things to look out for and I managed to walk around the show without buying anything, but taking note of things I wanted to look at further. It is a relatively small show, but even so I was impressed with myself - but of course I did leave with a few things including this bundle of five V&A Indian Summer prints, and a pink and orange batik both because I just liked them. I’ve no plan for these yet, but I’m sure something will make itself known.
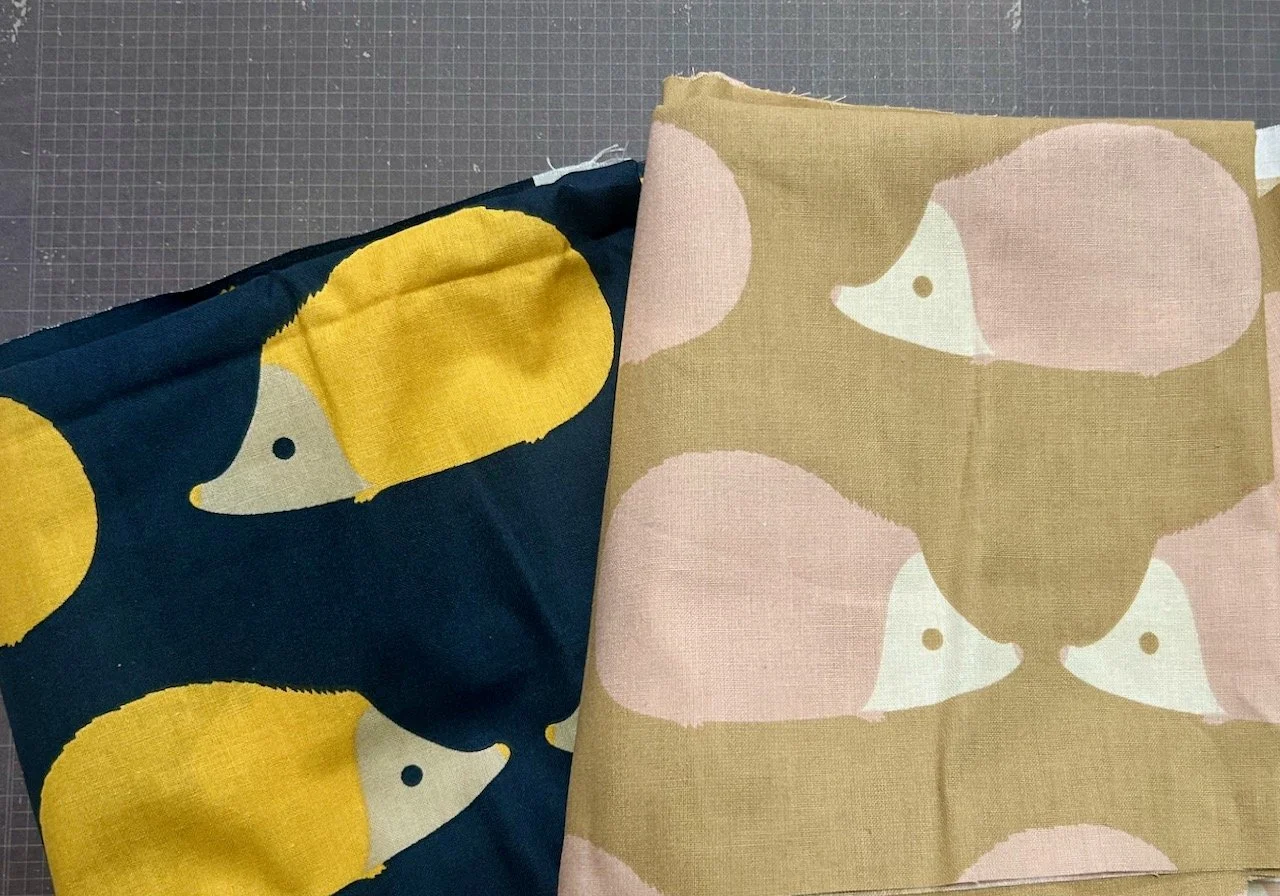
I also picked up several pieces of this hedgehog fabric in two colourways for a fiver - the pieces are fairly large, and I’m hoping that with some creative joining there’ll be enough for the backing for at least two more charity quilts. Cute aren’t they?
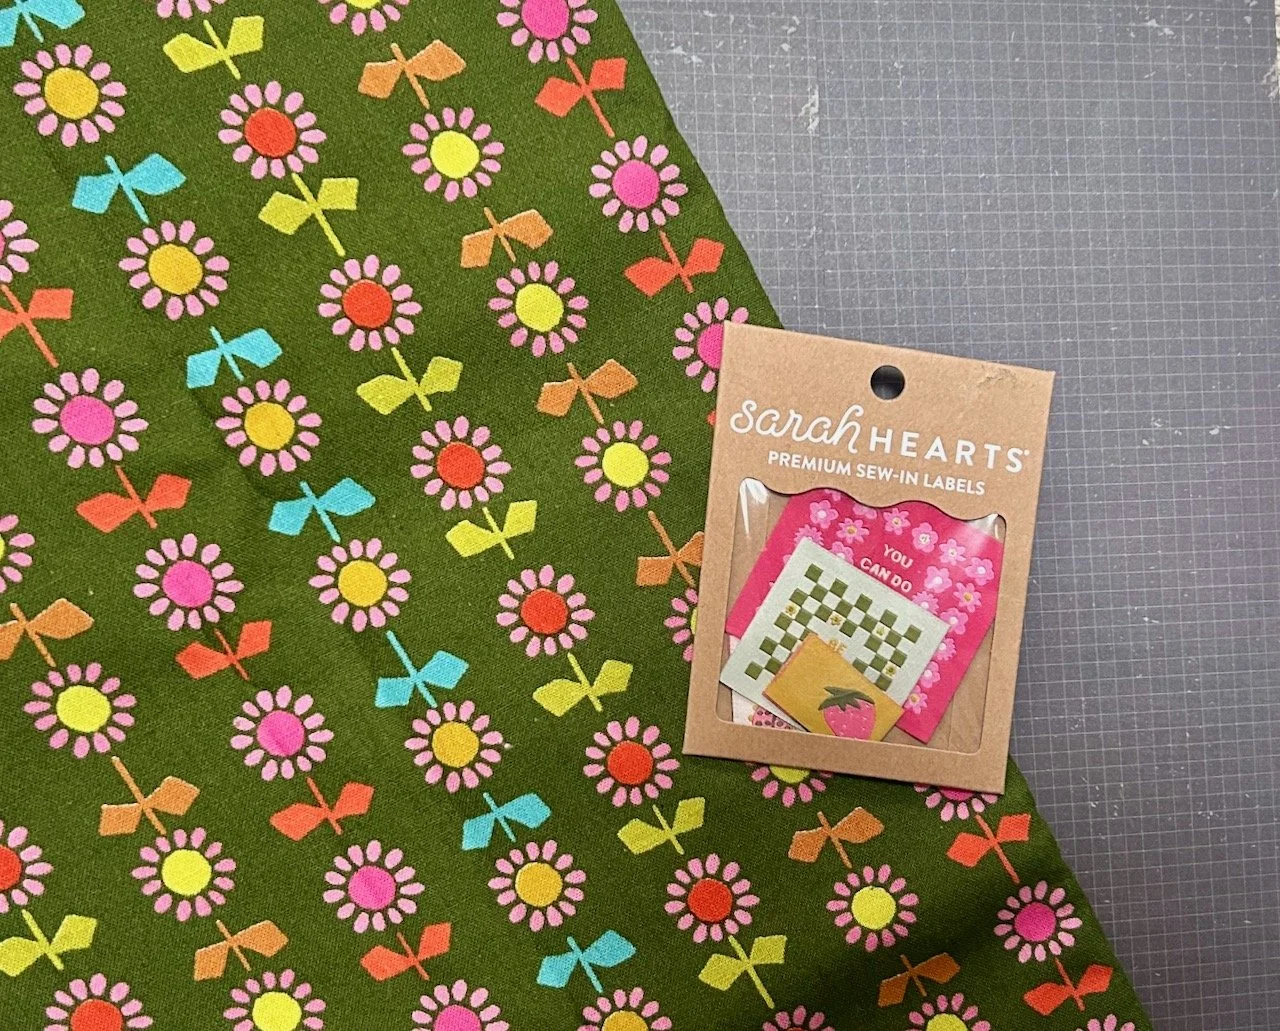
I keep finding myself attracted to Moda fabrics at the moment, and when I saw this Ruby Star Society fabric I knew I’d be taking some home - it’s the Daisy Stripe in the Catnap collection and it just makes me happy. For this one I do have a loose plan, and that’s to make it into the same style dress which I’ve already made, along with some denim - but that’s about as far as my plan has gone so far. And yes, I’ve a growing list of fabric that I want to remake this dress in, so I need to make time to get on with those (all of them!)
The labels were an impulse buy, and potentially a strange one for me as I mostly cut labels out of my clothes - but I’ve been a Sarah Hearts follower for a long time, even regularly changing my wallpapers when she released a new one. I stopped with the June 2020 wallpaper, which remains on my laptop to this day - it was the one I loved the most, and haven’t felt the need to change it yet!
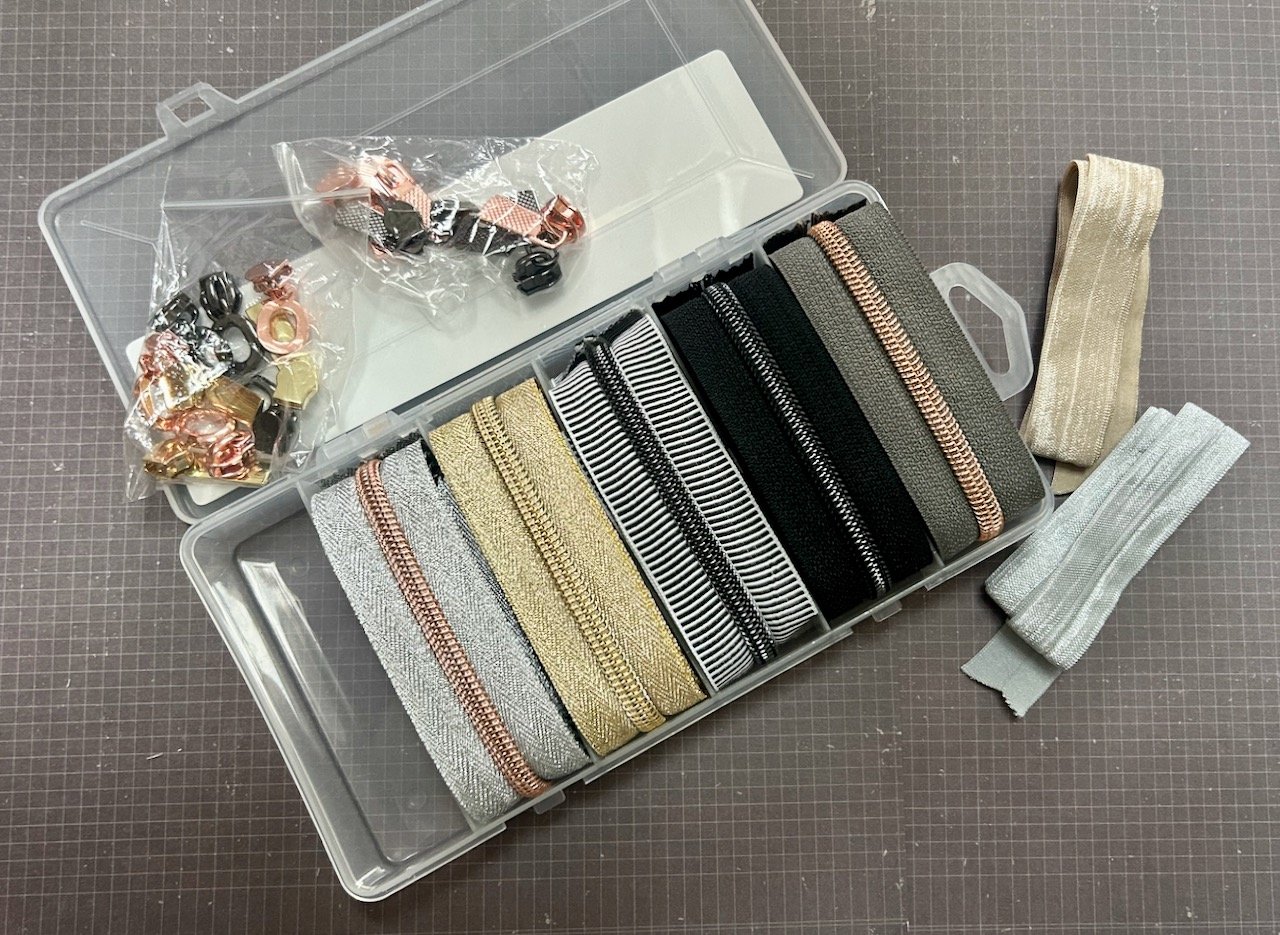
But anyway, back to my purchases. As I’m no longer afraid of or scared by zips, and because some of the new style pouches I want to make have zips galore, and so I thought I’d have some funky zips for those. I opted for this metallic set by Sallie Tomato, and also added a metre of the gold and silver fold over elastic (the bundle on the right) - I’ve no idea what this will be like, or how it’ll work yet but I’m prepared and already have supplies.
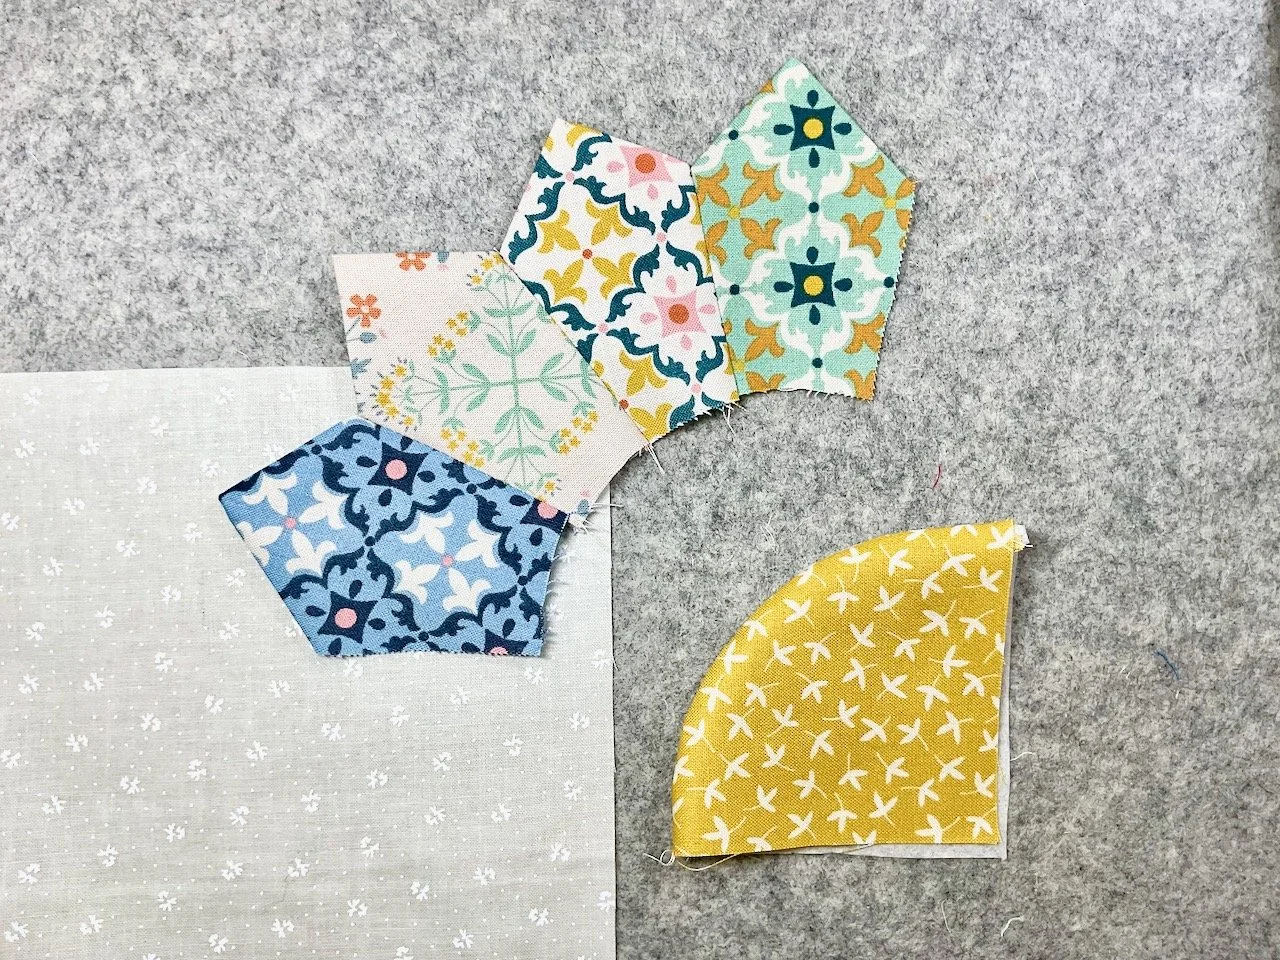
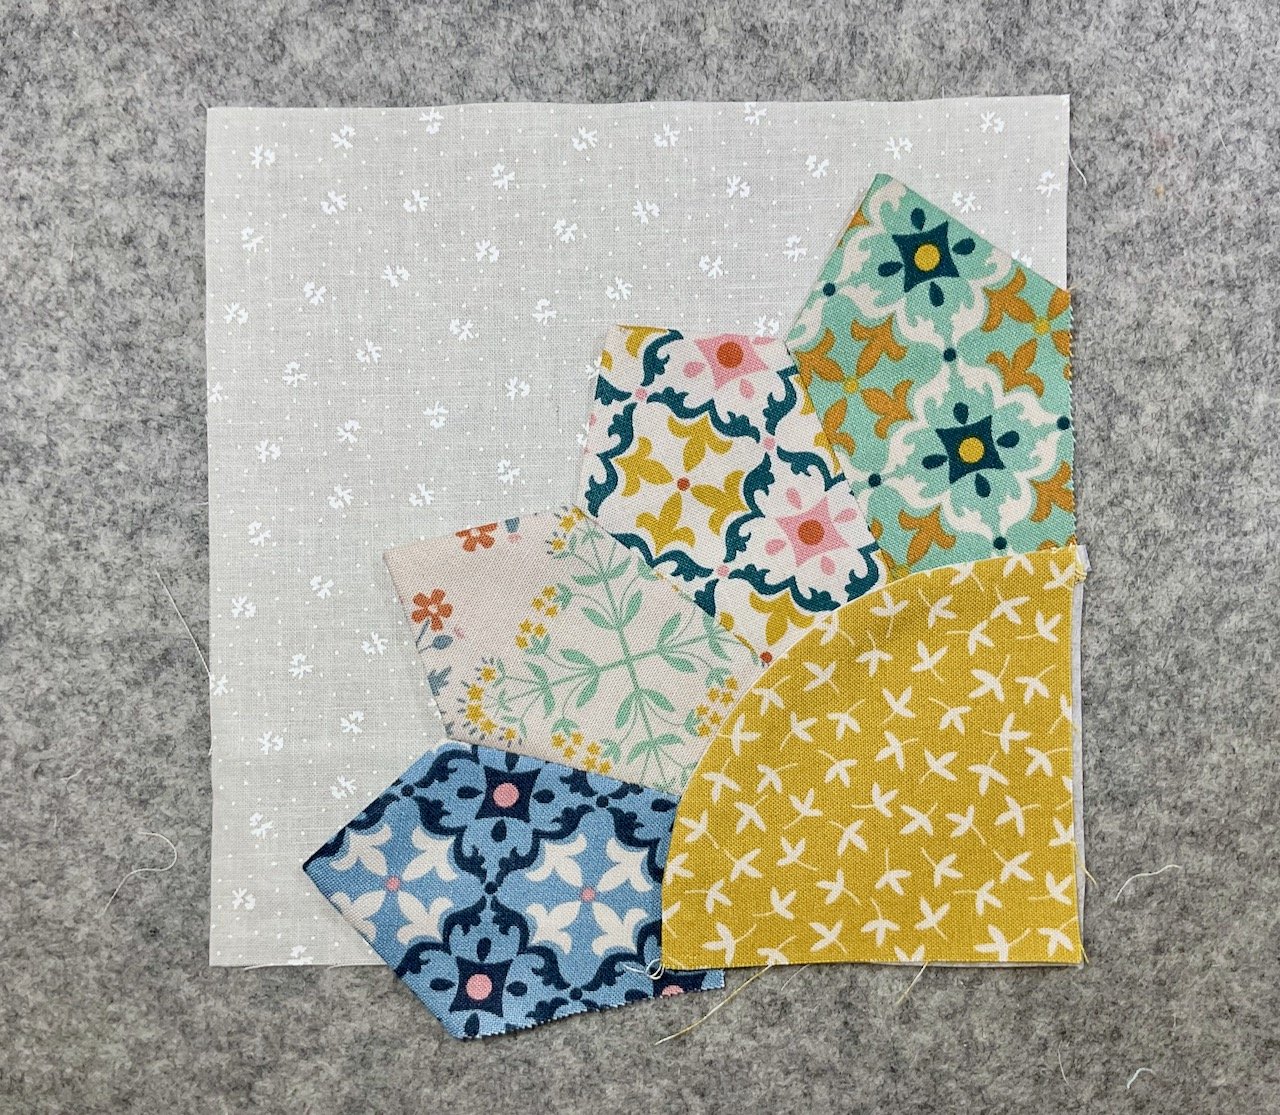
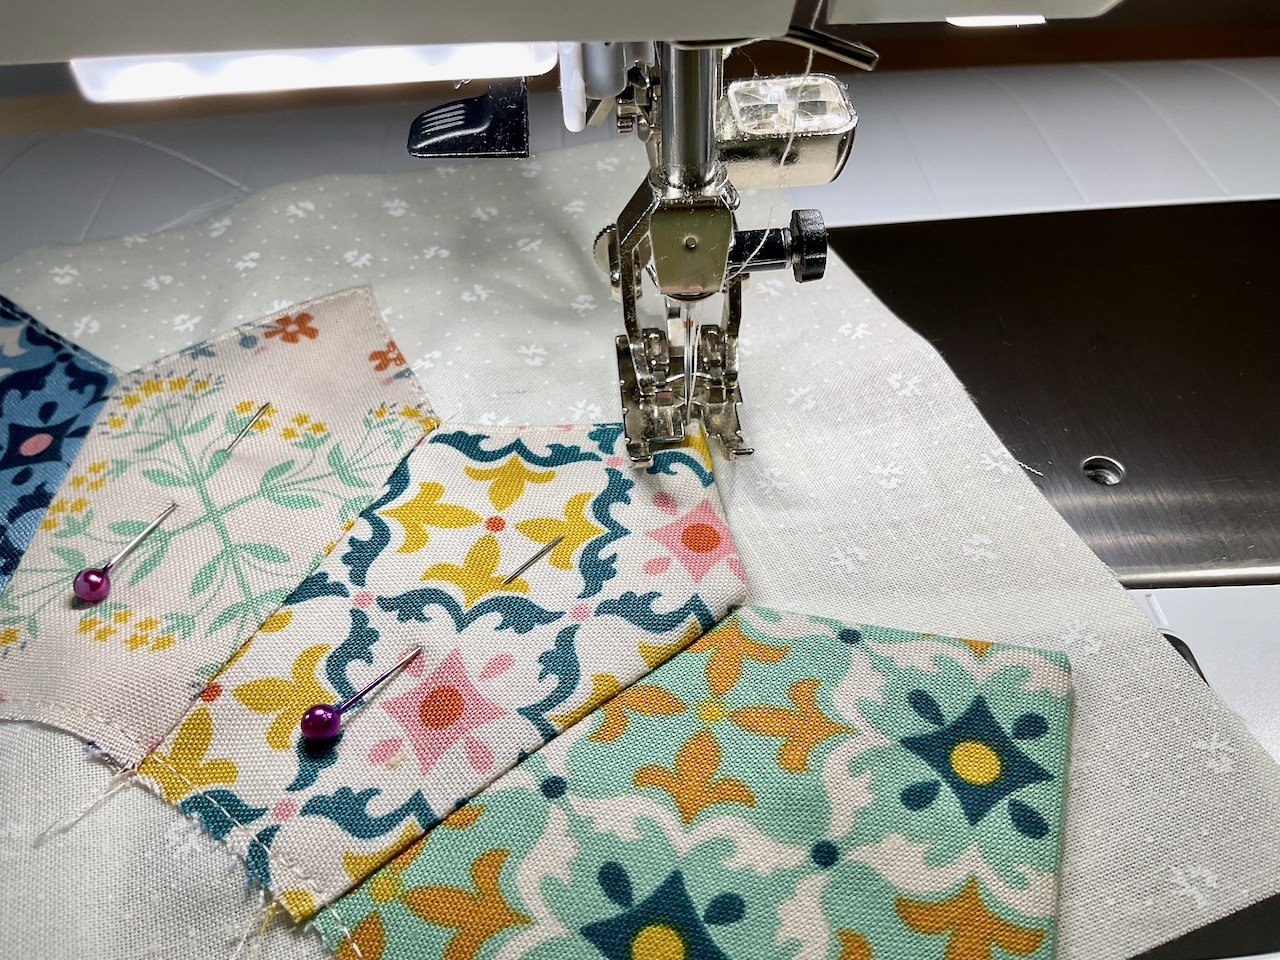
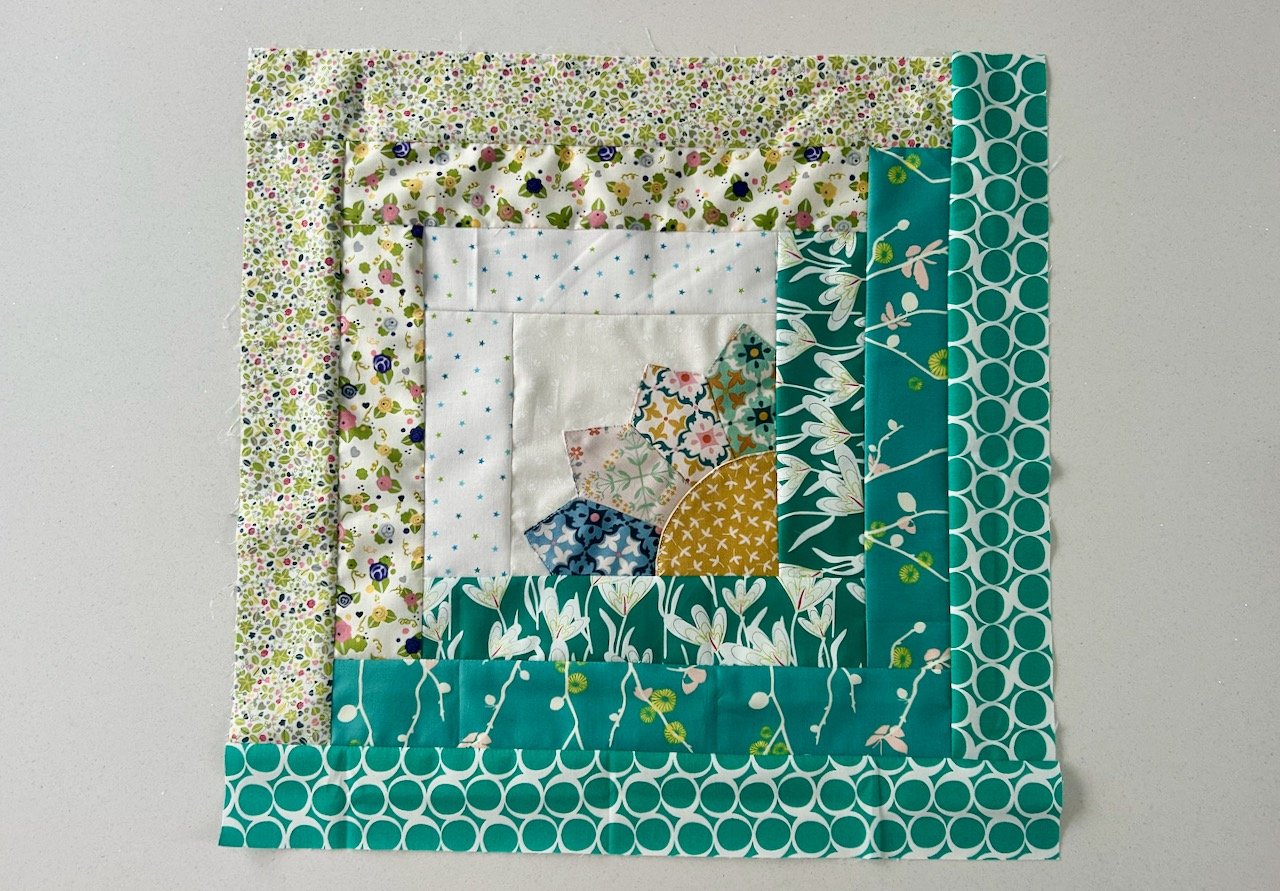
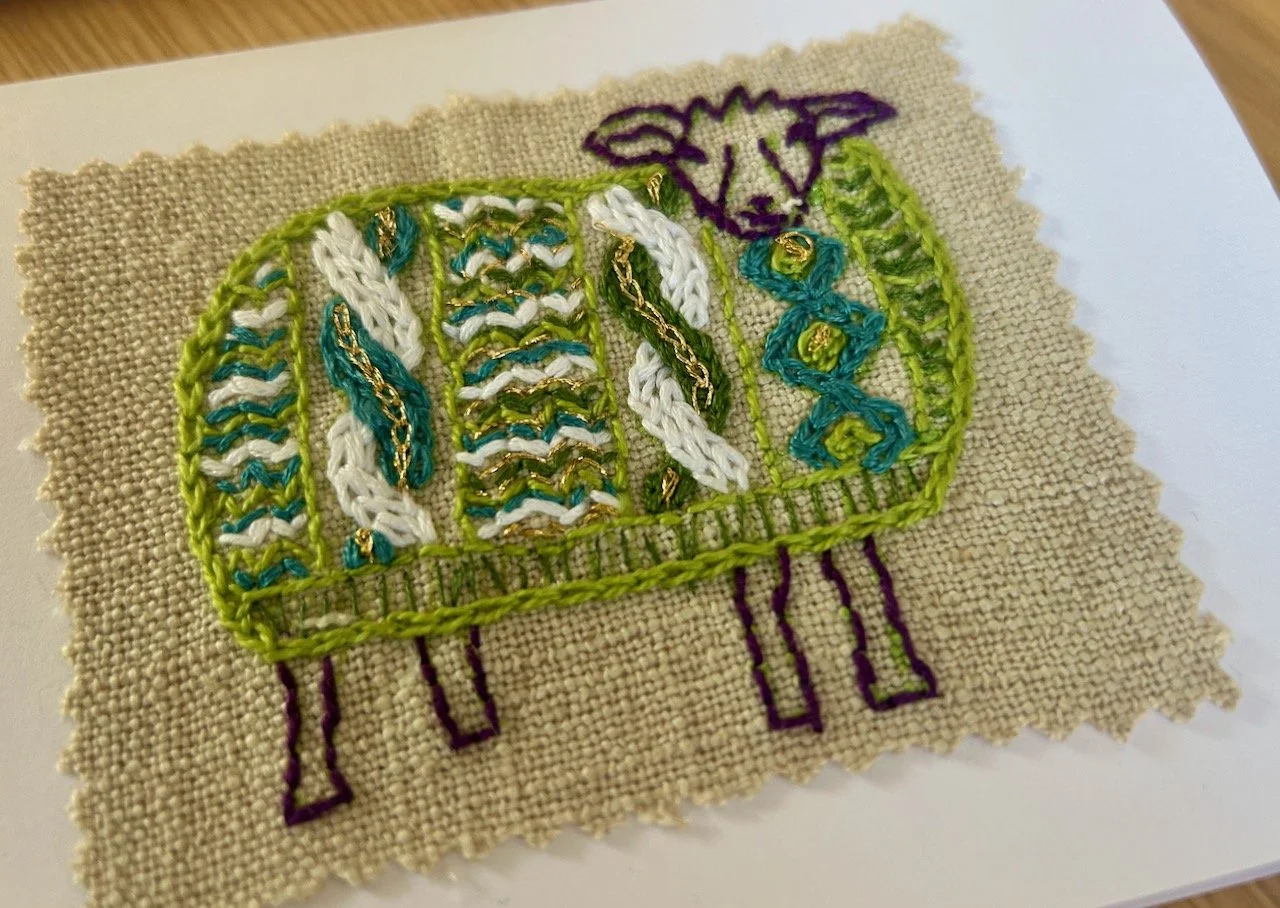
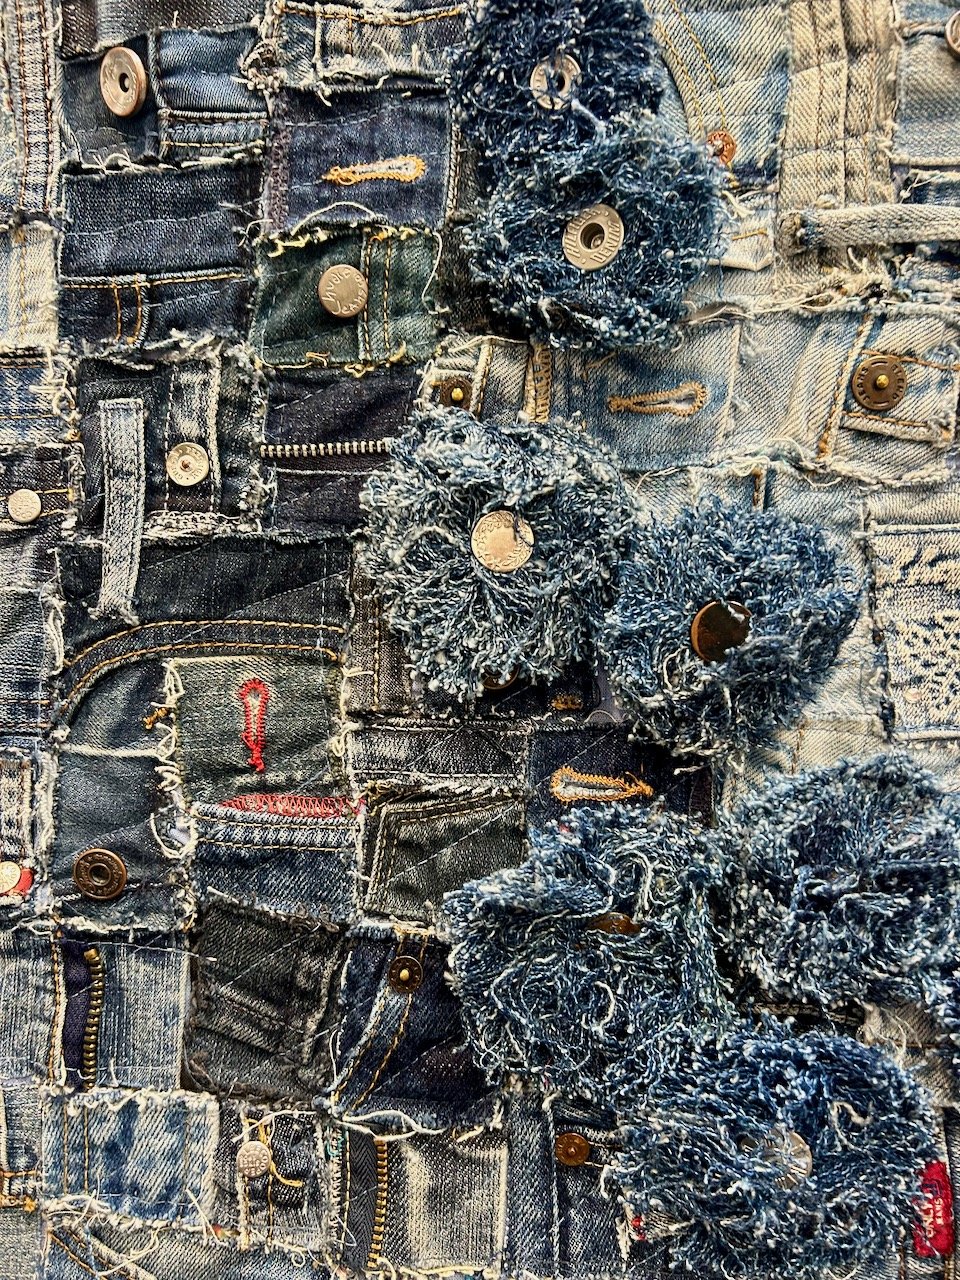
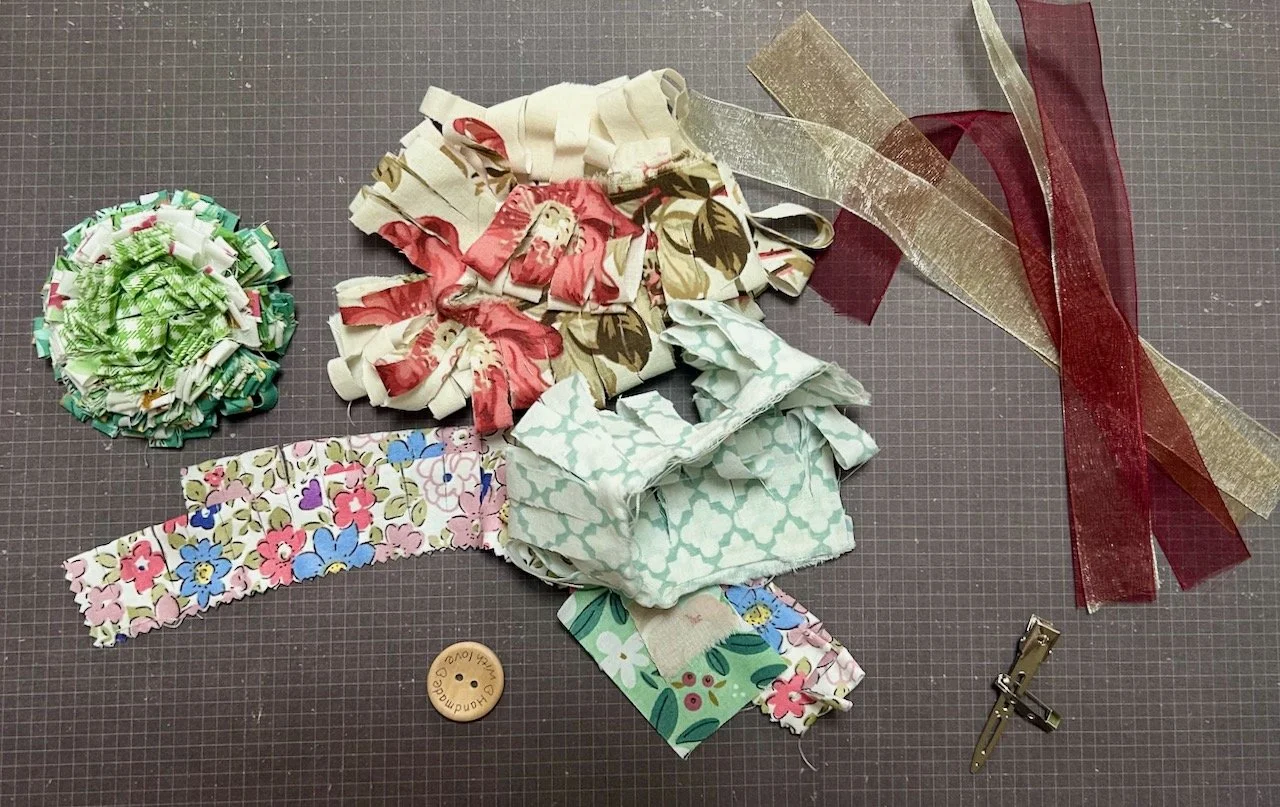
I also signed up for one of the workshops at the show, and these are from the Shabby Chic Rosettes workshop which was led by the tutor from the bag making course I went on last year. I finished the green rosette on the day, and brought the materials for a larger version home with me - look out for a blog post to see how I got on soon.
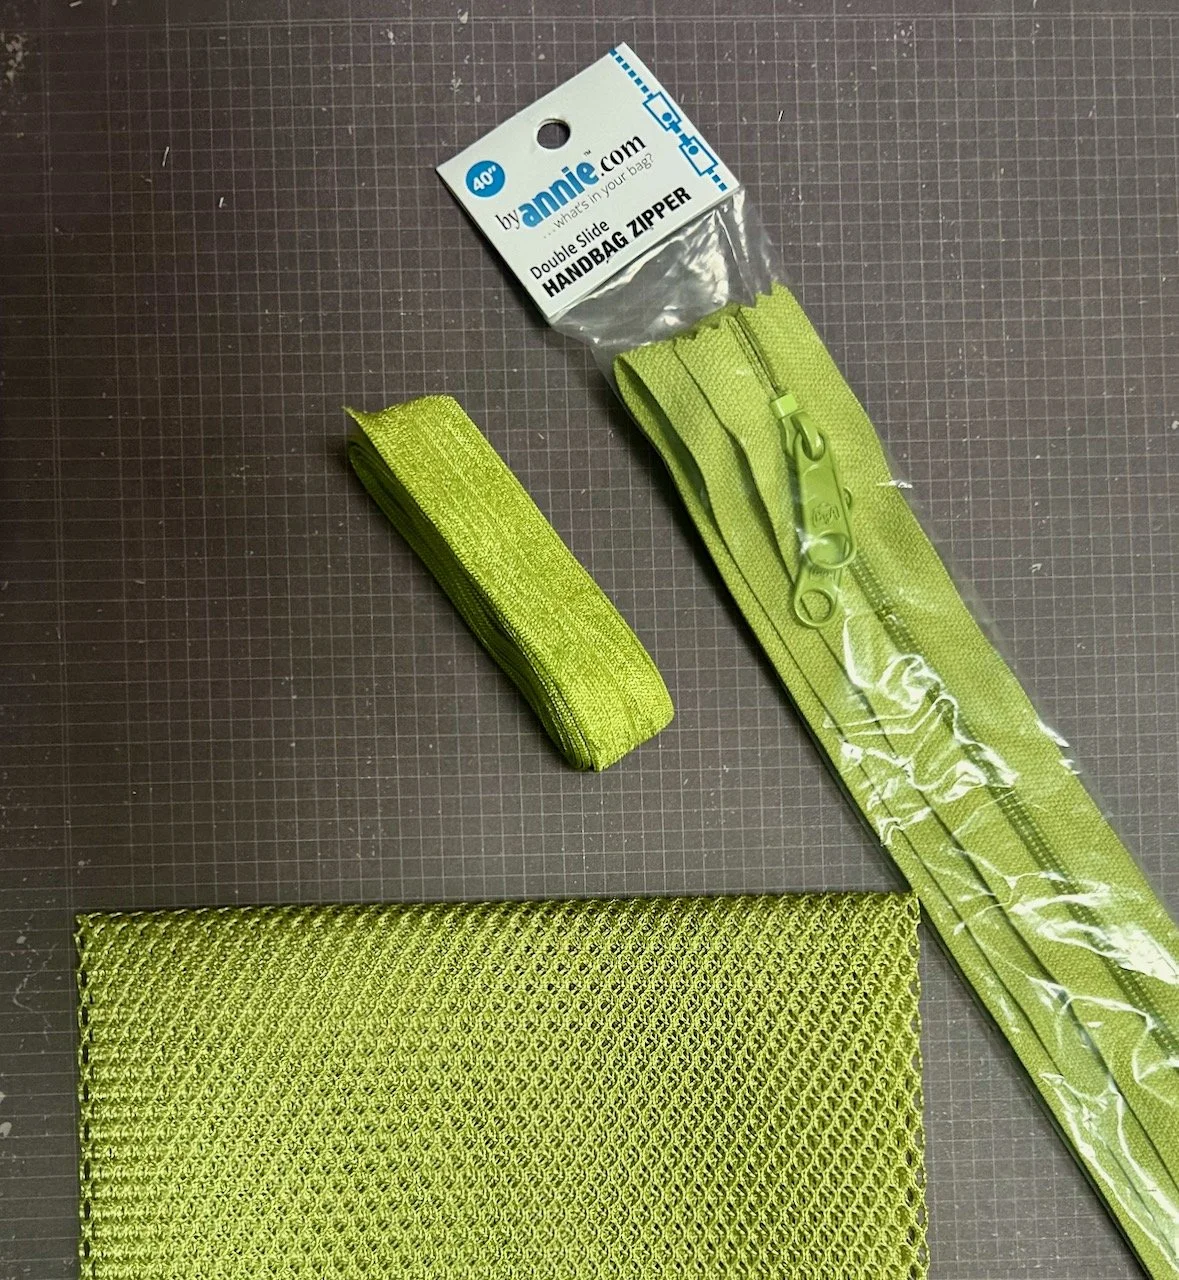
The final things I left the show with were part of my Christmas present from MOH. A couple of the smaller items from the order were still out of stock, and so the supplier brought the items that were in stock to the show and I picked them up from there. There’s two patterns for the new style pouches I want to make, and a selection of accessories for those in apple green, including another funky zipper, some mesh (for pockets) and more of that fold over elastic.
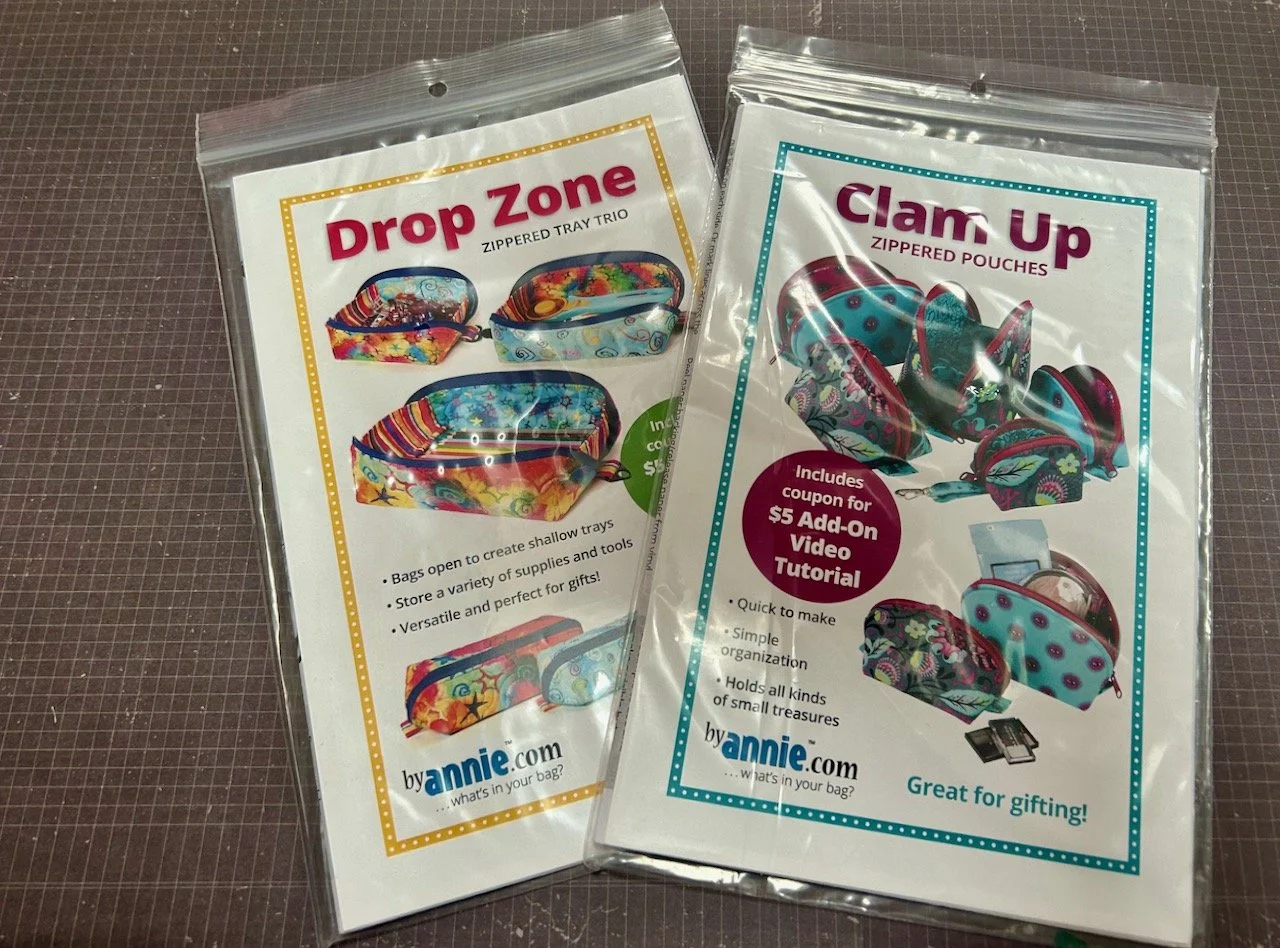
I’m hoping the out of stock items will be back in stock soon, they’re more bag type accessories from a collaboration by Sallie Tomato and Tula Pink. They’re out of stock in the US, so it’s just a case of waiting - but at least I have most of the order, and my present, now.
I’m also finding that material has a way of finding me, case in point this green floral design fabric. I went along to my Saturday morning sewing group, and as we’re moving venues more of the group’s fabric was out to tempt those attending. I don’t normally look, but this almost Sanderson-like fabric caught my eye - and that was fatal.
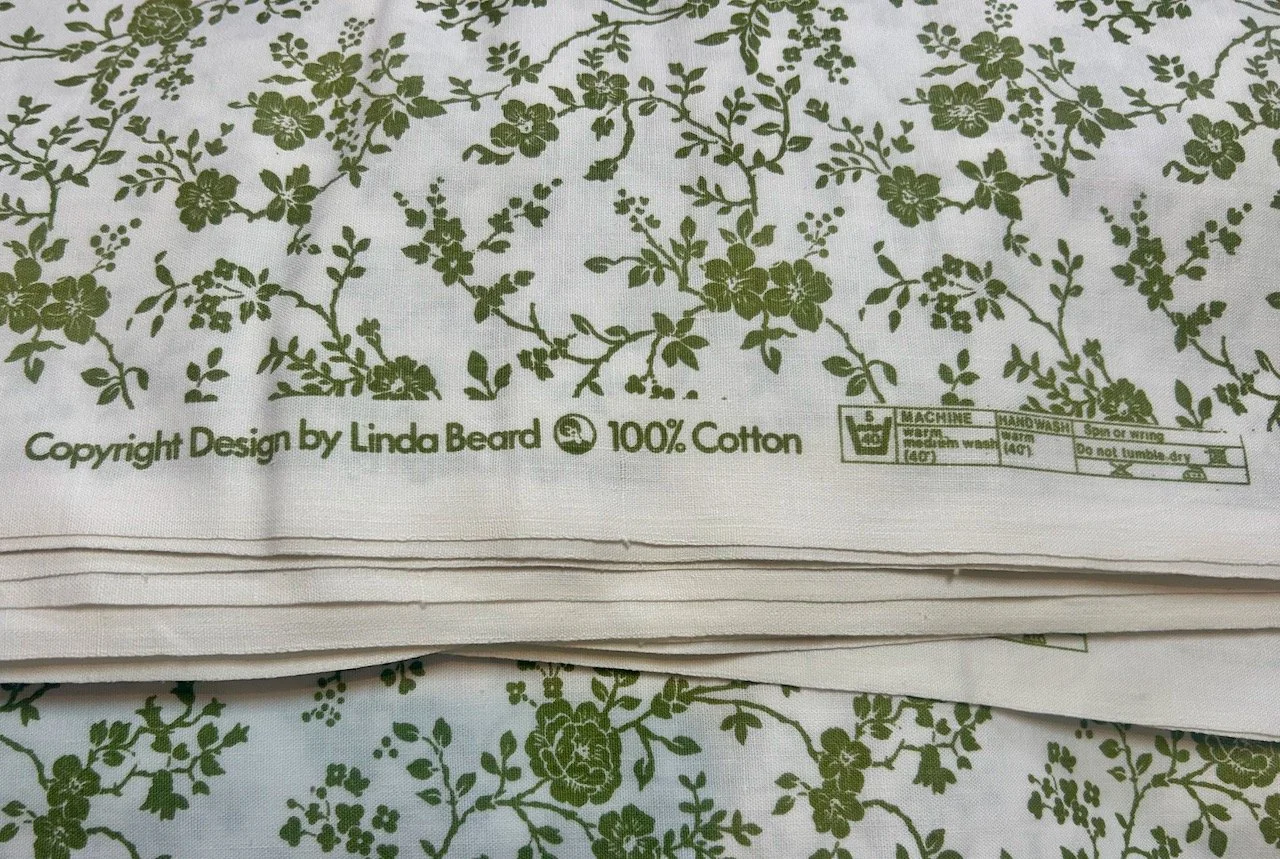
There’s two large-ish pieces, and I now have them both for a donation to the sewing group’s funds. I’m planning to use these on one of the quilts I’m making for myself as backing, I’m not sure which yet - but I have a similar green, and another in pink that I have also earmarked so I’ll need to work out when I’m closer to finishing my Mystery Block of the Month quilt, which works best.
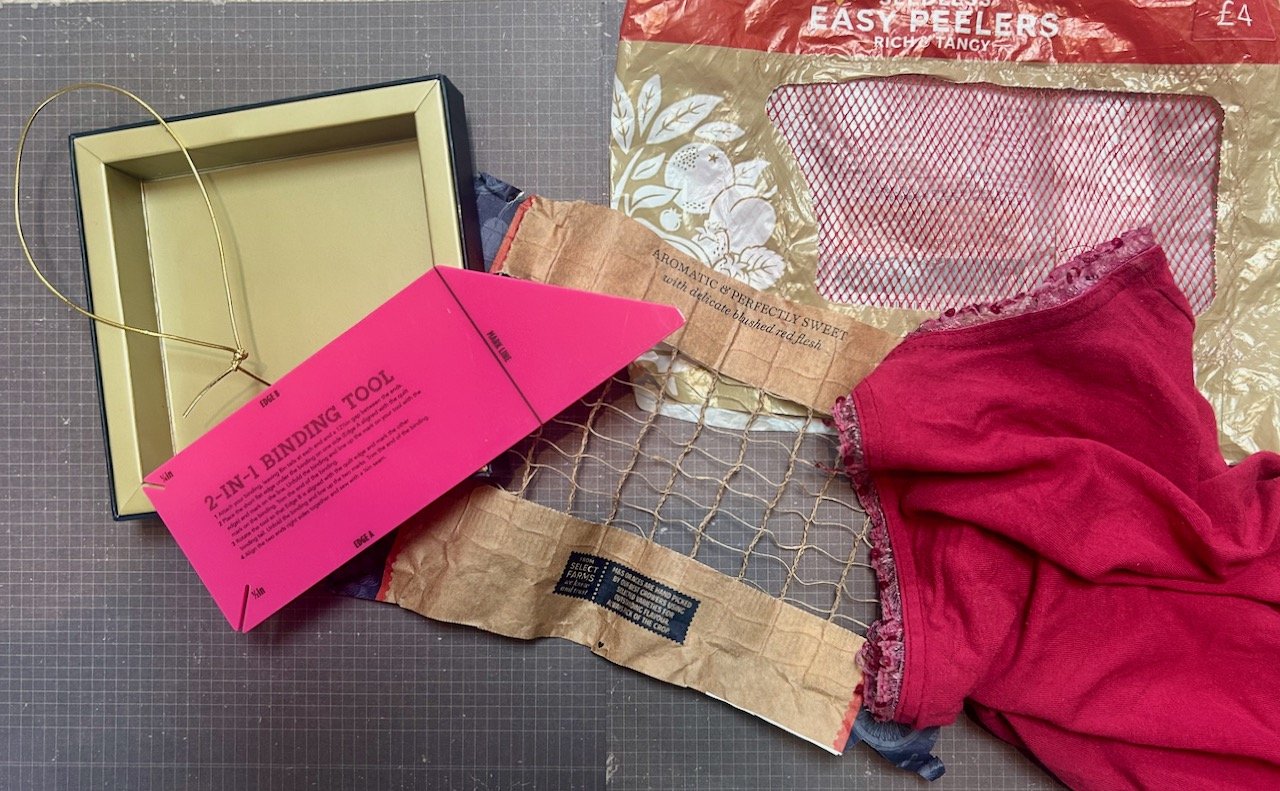
I’ve also been collecting various stuff which I can reuse: a nice box and elastic tie which is bound to come in useful, a binding tool which one of the patchwork group was giving away as she had more than one, some mesh from oranges and easy peelers and a much loved camisole top which needs to be retired. I’ve not tried the binding tool yet, but I expect I’ll give it a go when I finish my next quilt - assuming I remember, if not it’ll be the next one!
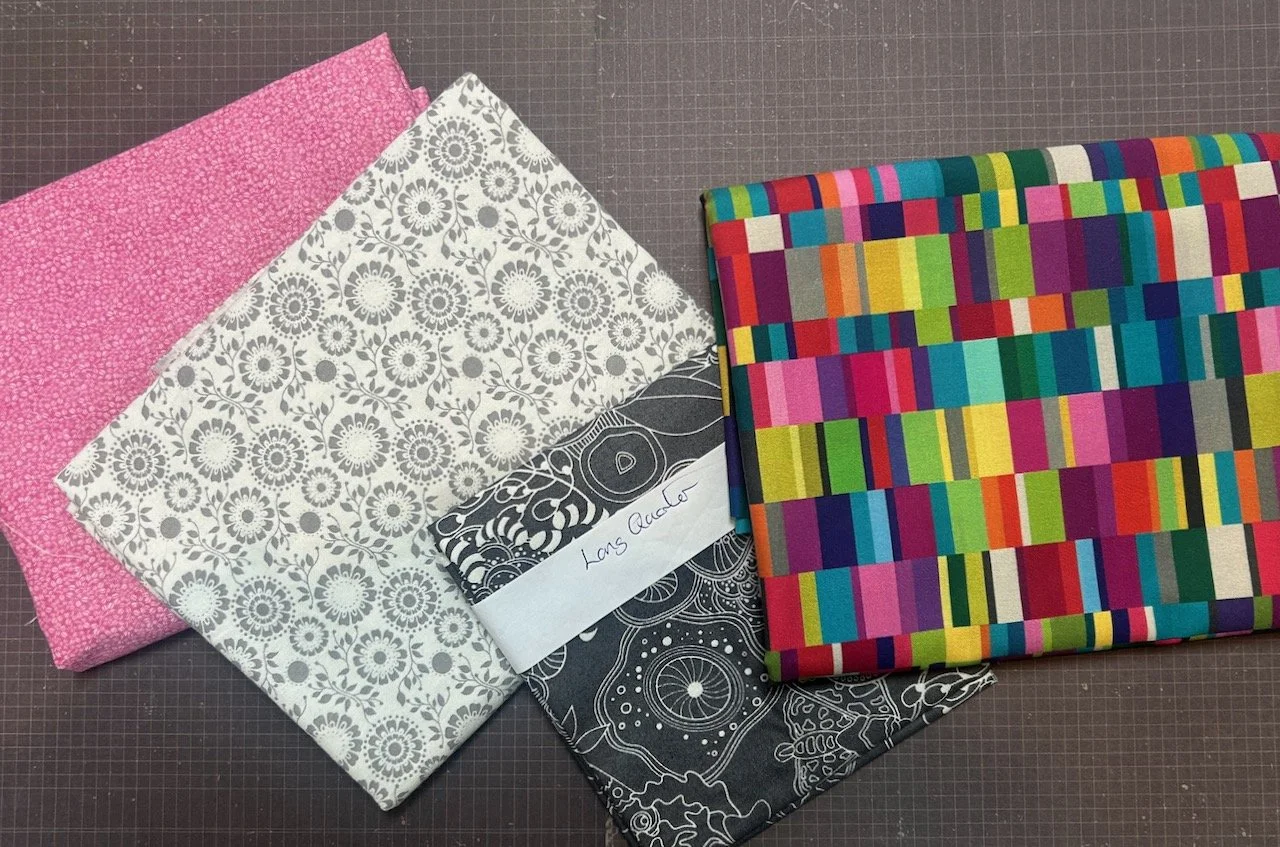
Which brings me to the last fabric shop outing of the month. The Patchwork Garden is based on Worksop railway station and opens on request, and it was stuffed full of the most amazing fabrics. I did well to leave with two more additions to my grey collection, a pink that I hoped would (and does) match the Spread the Word collection which I acquired last October!
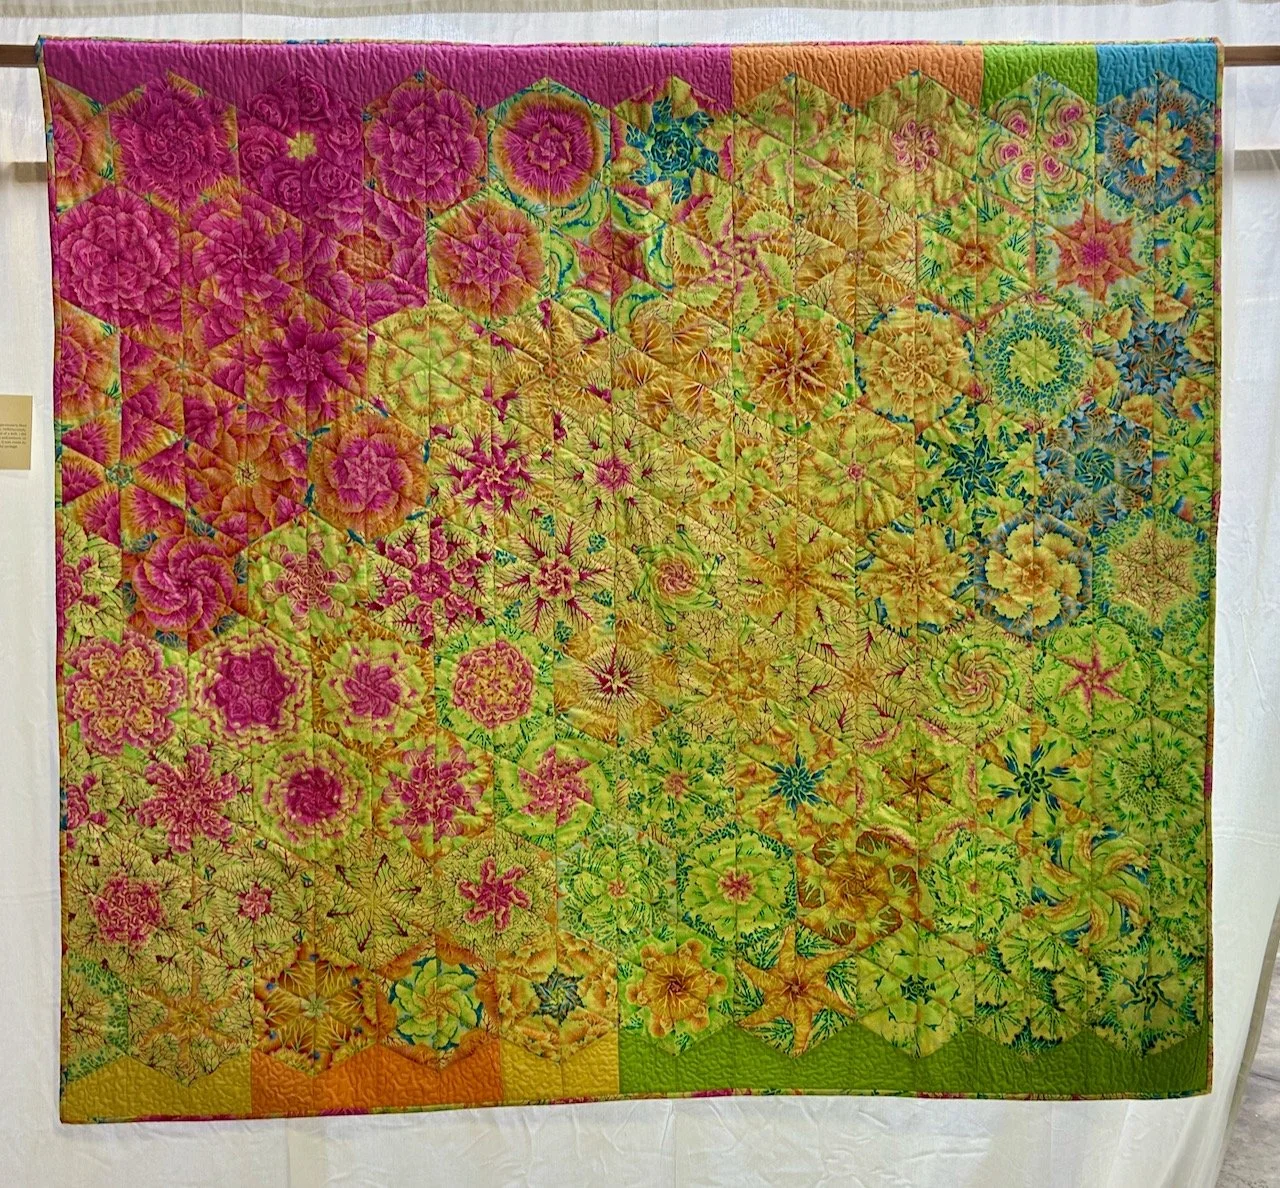
And that ‘testcard’ multi-coloured fabric, well isn’t it great - again, no plans for it yet, but I love it. Until I find the perfect project, that’s the one I’ll be taking out and looking at and admiring for a little while!
I’m expecting February to be a quieter month craft supplies wise as I’m not planning to go to any shows, but who knows - hopefully I’ll find plenty of time to crack on and get sewing as I’ve not spent as much time in my craft room in the early part of the year so far, the days when our heating wasn’t working weren’t the ones to be sewing in there. Instead I dug out an old crochet project that is now almost sewn up and ready for the borders - it was just the thing to have on my knee in those chillier days!
So that’s another month in my craft room, check out my previous updates for earlier additions, and remember to let me know below what you’ve added to your craft supplies this month.