A Problem Shared is a Problem Halved

* I was invited to the press preview of Gardeners’ World Live and provided with a pair of tickets to visit the show, therefore all my posts will be marked as 'Ad’ though as usual my views and opinions are very much my own.

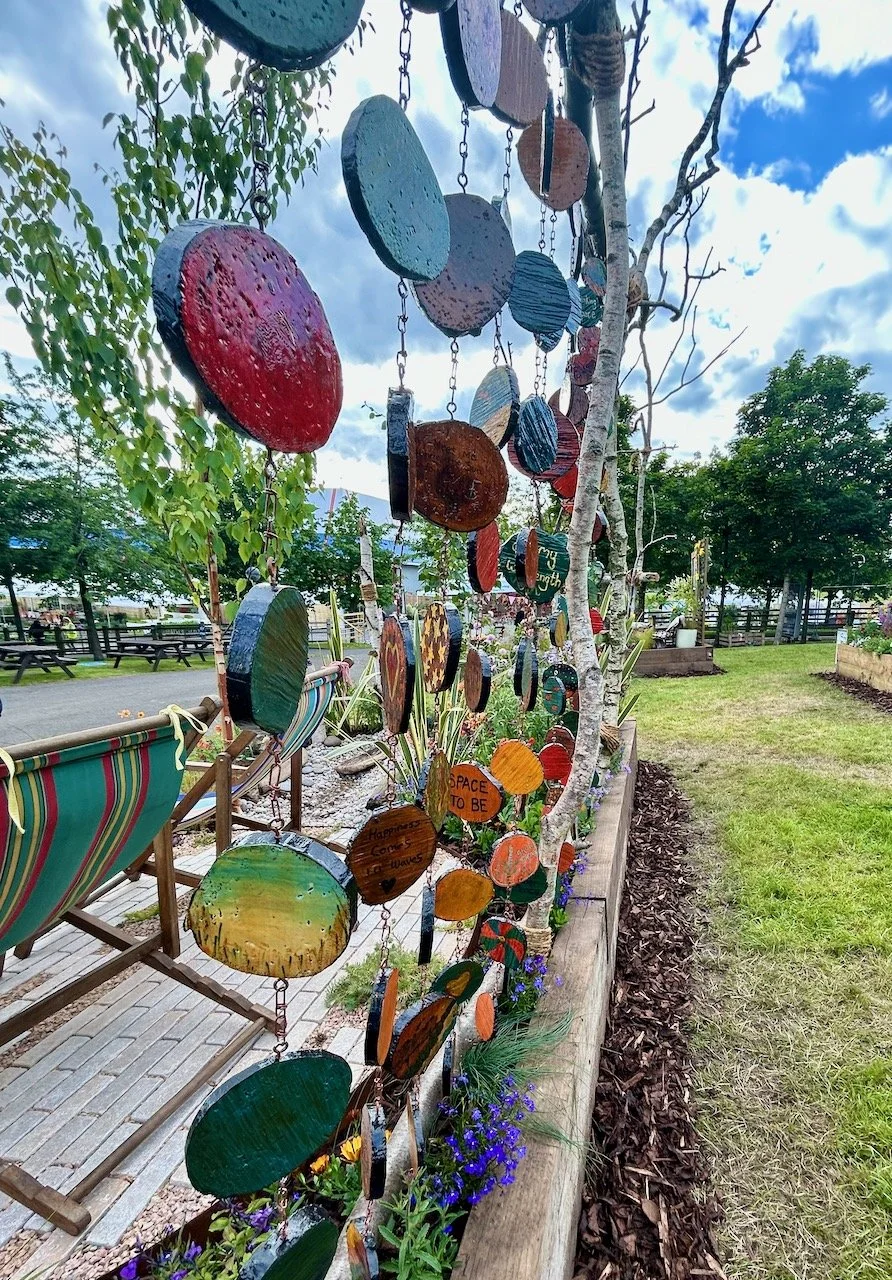
This beautiful border is one that I featured briefly in my highlights post, so it feels right to share more about it in a separate post - though I’m not sure that any beautiful border really fits into the problem category!

And it doesn’t, it’s designed as a space for sharing problems and thoughts while surrounded by nature. The Yin/Yang paving reflects opposing forces and these colours are fed through into the planting in a way that makes this a very special place indeed.

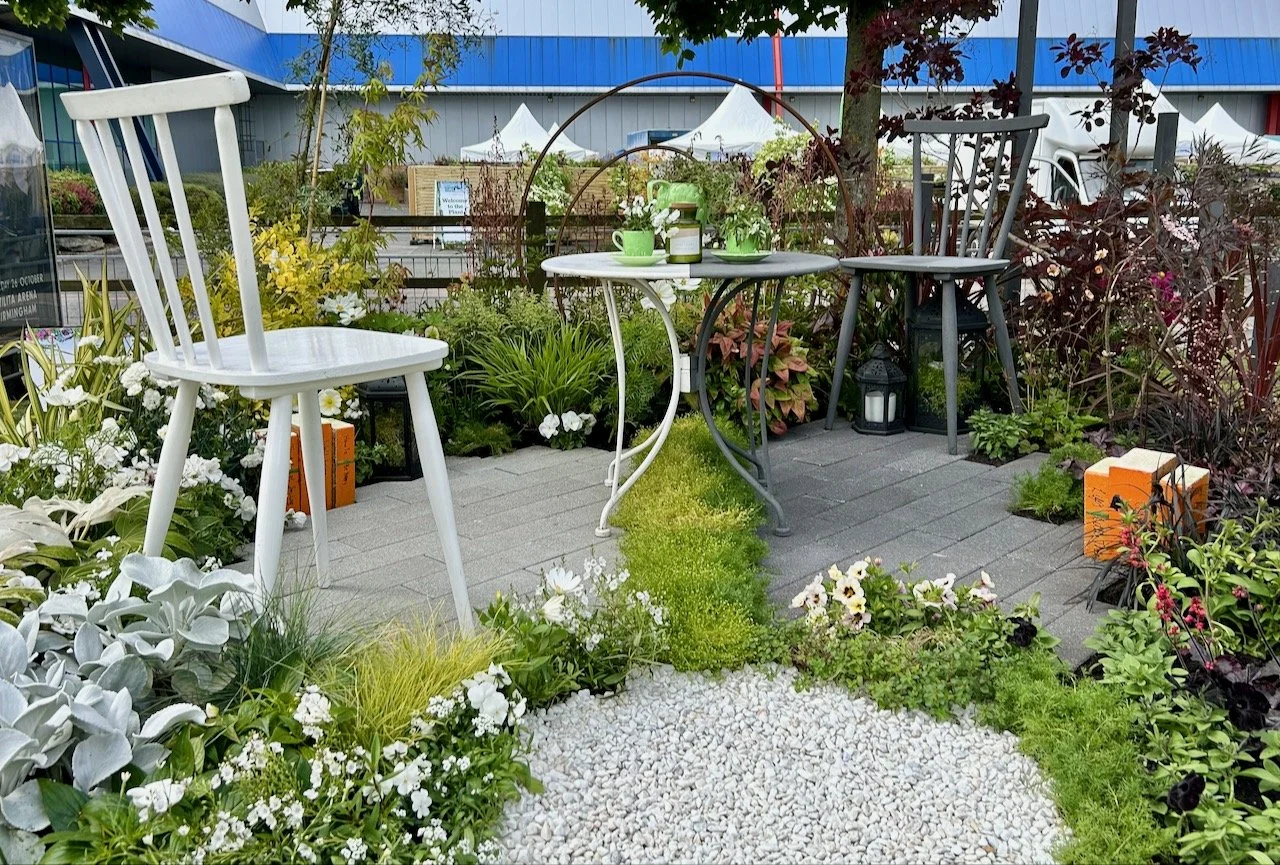
The deeper tones change to lighter colours signifying how our moods can lift, and together it's such a calming, welcoming space - that, as I said earlier in the post it’s hard to imagine a better place for taking a raincheck on our wellbeing and being at peace within its space.

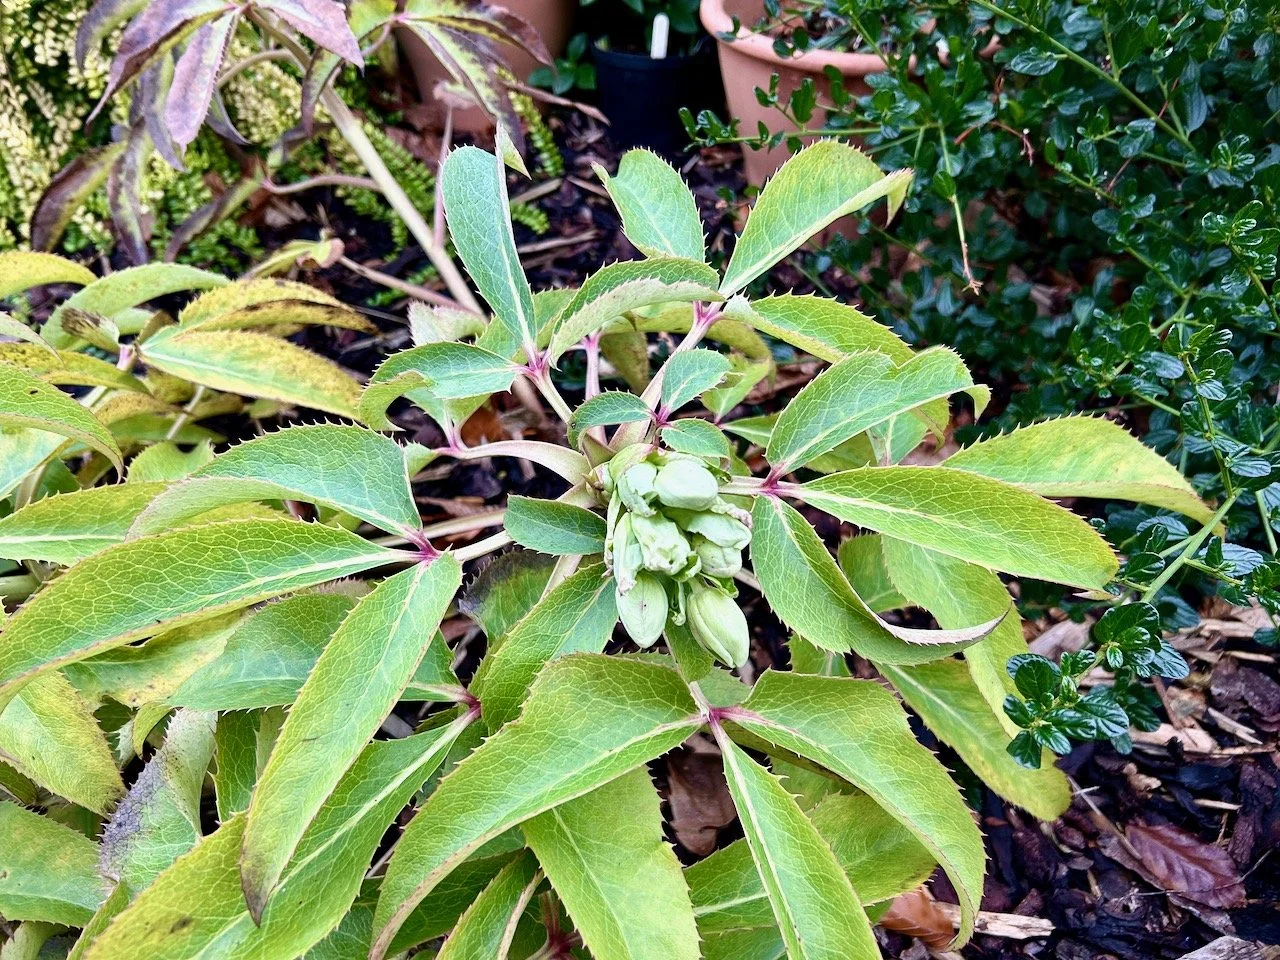
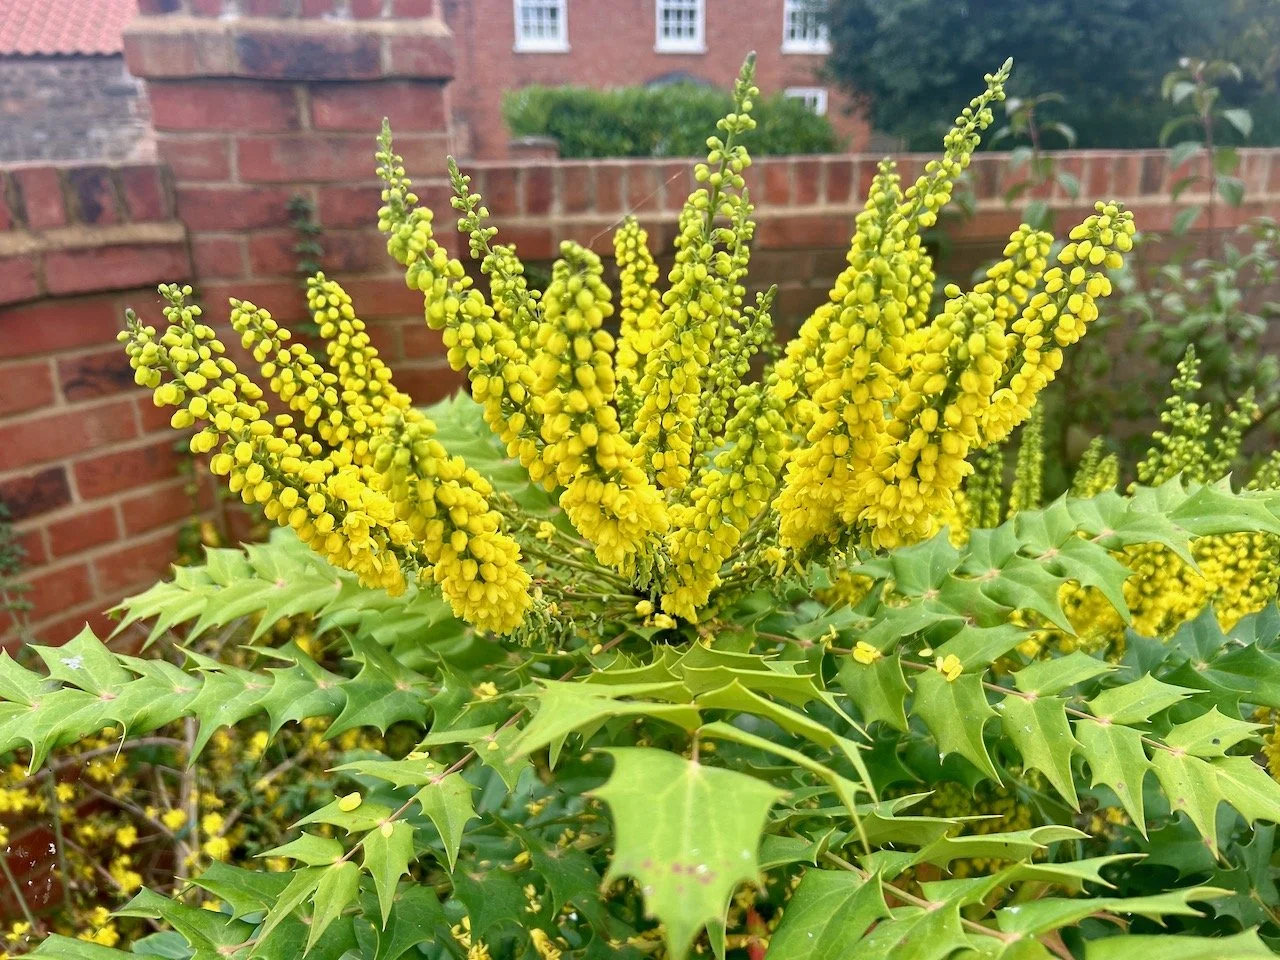
I loved how the planting was so distinct, and while white plants are much more easy to find and use in our gardens, there were some surprises there too - just look at the pale, almost white fatsia by the chair leg. I’m a fan of the fatsia’s more usual green cousin, but this one was just beautiful - and it’s one I’m seriously thinking about for our garden, or at least working out how I can fit one in, if it’s something that will suit the space we have. I’ve too often in the past gone for plants that might just work, but they haven’t really been happy, so I’m not sure it’s really worth it - however beautiful they are!

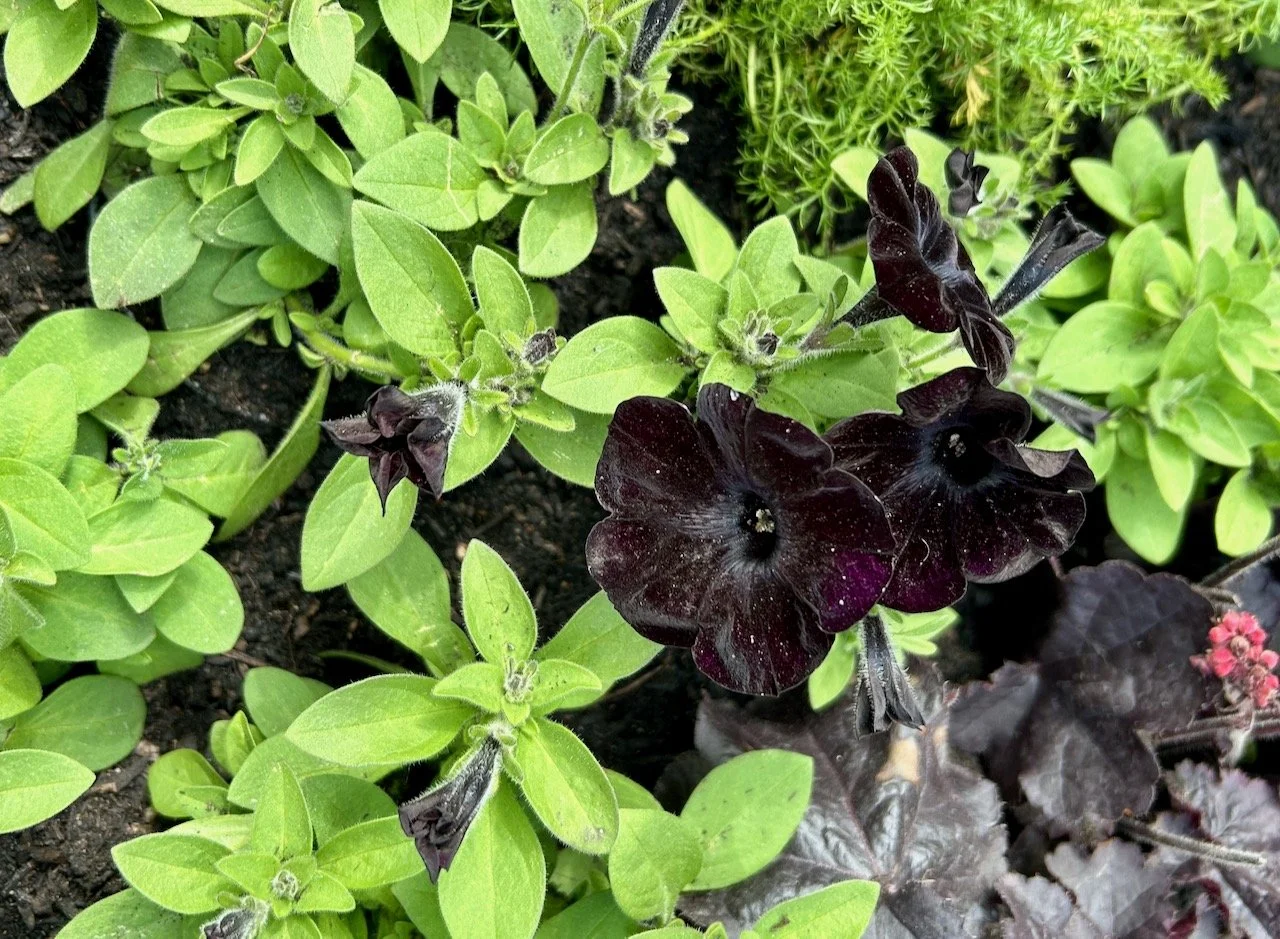
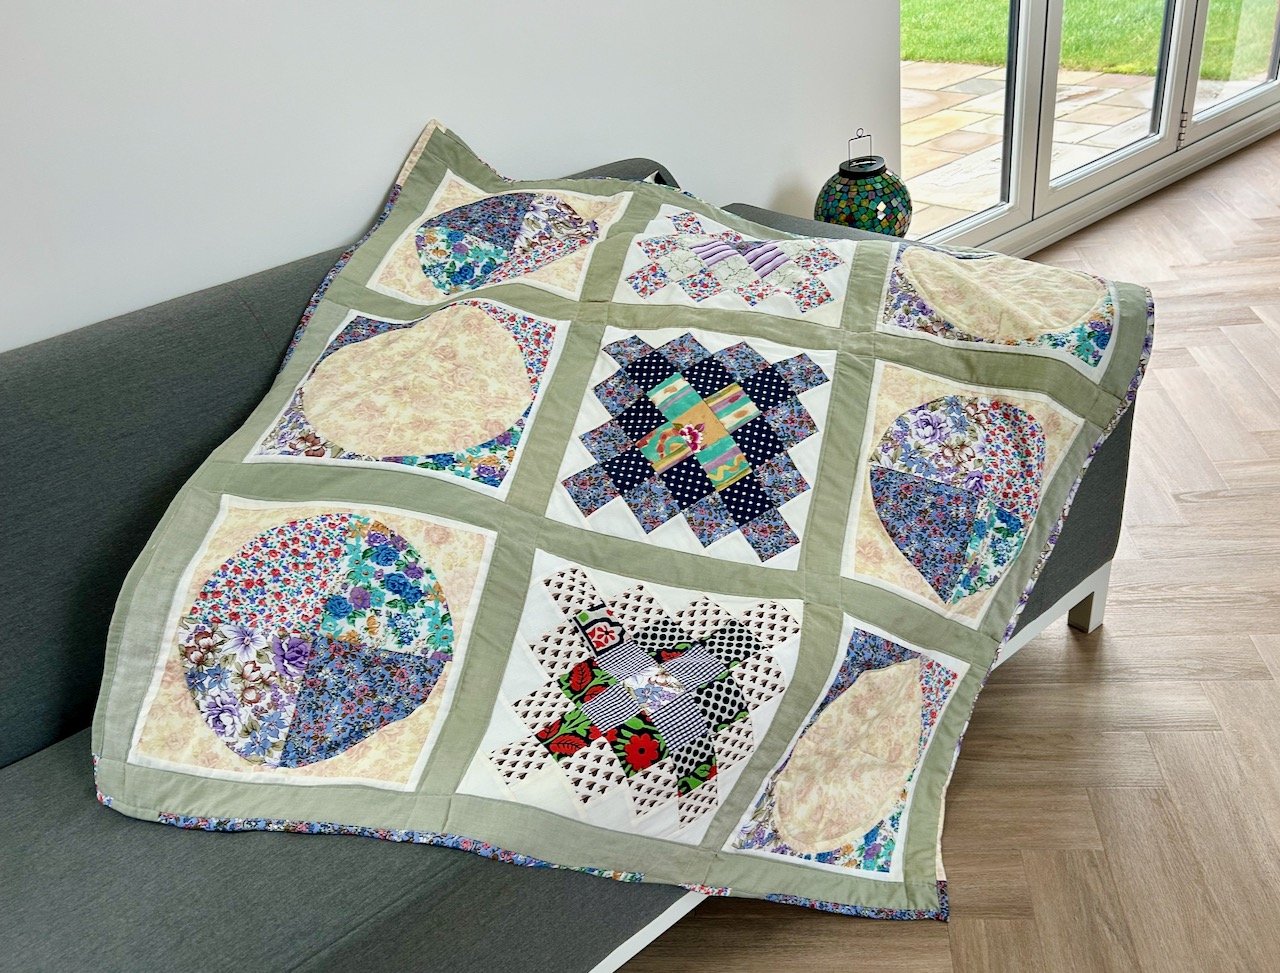
And don’t you just want to reach out and touch the velvety dark petunias? They look great alongside the dark leaved heucheras (bottom right of the picture - just), which I already have a pot of. Petunias are one of those bedding plants that seem to have fallen out of fashion, but this dark version could just change that I think.

* With thanks to Gardeners’ World for inviting me to Gardeners’ World Live, it was just as good as I expected! I’ll be sharing more from my visit to the show - I hope you enjoy it as much as I do.

Trying out some patchwork Flying Geese

Back in January at the Newark Quilt Show I bought a kit to make a quilt, and it’s been on my ‘to make’ list ever since. Shortly after the show I remembered that the kit was for a lap size quilt, which to be honest I don’t have much use for, and so my plan was to ‘collect’ other materials to extend this kit into a quilt that we could use on at least a double bed, and so I’ve been picking up fabrics as I see them, here and there as you do.

I realised though that I probably had enough to be going on with and that it’d probably be a good idea to see what I’d actually got. And so I pulled them all out, and realised that while they ‘went’ with the fabrics in the kit, I actually liked the fabrics I’d collected a lot more than those in the kit.

Oops.

I mean there’s nothing wrong with the fabric that came in the kit, it’s just that (as you’d expect) the ones I’d chosen for myself were much more me, my style and my colours and when they were next to those from the kit they popped, and the ones from the kit felt almost two dimensional.

Clearly another plan was needed. And it was quite an obvious one too - I’d make the kit as it was designed, and use that as a practice for making the Flying Geese blocks which I’d not attempted before. It’d also be a good test to see if I liked this pattern, and could be bothered to do enough of the Flying Geese blocks for a larger quilt.

And this week I got started on those geese.

a flock of flying geese sewn using the chain method part-way through construction in front  of my sewing machine

I added the lilac and cream material from my stash, while the mottled blue fabric was part of the kit. I’m not sure its intended purpose was for the geese, but well, it is now. Over a couple of afternoons I made enough of the flying geese blocks to follow the quilt kit instructions - amazingly I made just the right number without too much effort, and without counting too hard. Phew.

The first set I made I whizzed through and was perhaps a bit more cavalier than perhaps quilters are by nature. I didn’t iron my seams, or trim my blocks as I was keen to see how they worked out, and where my ‘points’ were. They worked out just fine, though I can see the advantage of taking it a bit slower, and so for the second larger batch of blocks that’s exactly what I did. The end result is pretty much the same though, but I think assembling the second batch with the other squares will probably be easier, and so it’s probably worth the extra time.

I used the ‘no waste’ method of creating the blocks and was pleased with how that went - it’s much less confusing in practice than the written instructions led me to believe - and I lost none of my points in any of the blocks, so that’s something.

I was surprised at how quickly they came together, and after just three (part) afternoons I was able to start playing about with the layout - this is just one of the iterations.

It’s not too bad is it, so that’s my challenge for the next few weeks - to complete this smaller size quilt top, and to dig out some suitable material for the backing. In my head, I’m remembering an old grey duvet cover which will work just fine. I just need to remember where I put it!

And then to reevaluate if more flying geese are on my horizon, or not.

A stack of vinyl pouches

You’ll know that I did a bag making course earlier in the year, and I even completed the pouch that I hadn’t quite finished before our holiday. I wanted to get more confident with zips, and since then have gone a bit zip crazy, what with those garden cushions I’ve shared recently, and now this stack of little pouches.

It started with a kit I picked up a while back after seeing them online and deciding I couldn’t live without them. Before the bag making course I sat down to tackle it but got stuck at the first tip, which was to put the interfacing on the whole fat quarter before cutting out - but there was more fat quarter than I needed for the little pouch, and much more than the amount of interfacing included. The other tips for sewing the vinyl put me off too - it recommended using tissue paper, which makes a lot of sense - and a zipper foot. Neither of which I used making these - so the course has been a success as it’s given me the knowledge and confidence to follow what I’ve learnt in practice.

But anyway, they are rather cute - I made the small and mini versions from some of the materials provided in the pack, which are probably ones I wouldn’t have chosen myself, but I like nonetheless.

Following the instructions, and using the materials provided in the kit I ended up with a small vinyl pouch which I’m very pleased with - and definitely benefited from having the experience of a tutor-led session previously, even though it wasn’t for this exact item as there was lots that could be applied to this pouch.

I realised after I’d finished that while I’d used the fleece lining on the pocket’s lining (the insect fabric) I hadn’t used the thinner interfacing anywhere, and it probably would have benefited from it, at least on the strip below the zip.

I decided to have another go and make a mini version - that one didn’t go quite so well, but it does have the interfacing below the zip. I added some ribbon embellishments to the sides as afterwards I worked out that I’d attached the backing piece the wrong way round - doh! I was pleased to find the zigzag strip in my stash as it covers a stitching mishap - but you wouldn’t have known that if I hadn’t told you.

Even at this stage I could see how useful they would be, both for crafts and elsewhere. But I didn’t want to leave it there on my ‘embellished’ version, as I was sure I could master this little pouch, and I’d also been saving some red-checked vinyl which had (strangely) come as packing, all scrunched up between bottles, and I was keen to see if that would work.

Turns out it did, and I’ve now made ten of these pouches, learning and adapting as I’ve gone along - and I’ve got a stack of pretty pouches too!

PostCommentLove