Celebrating Valentines with the Sweet Hamper Company

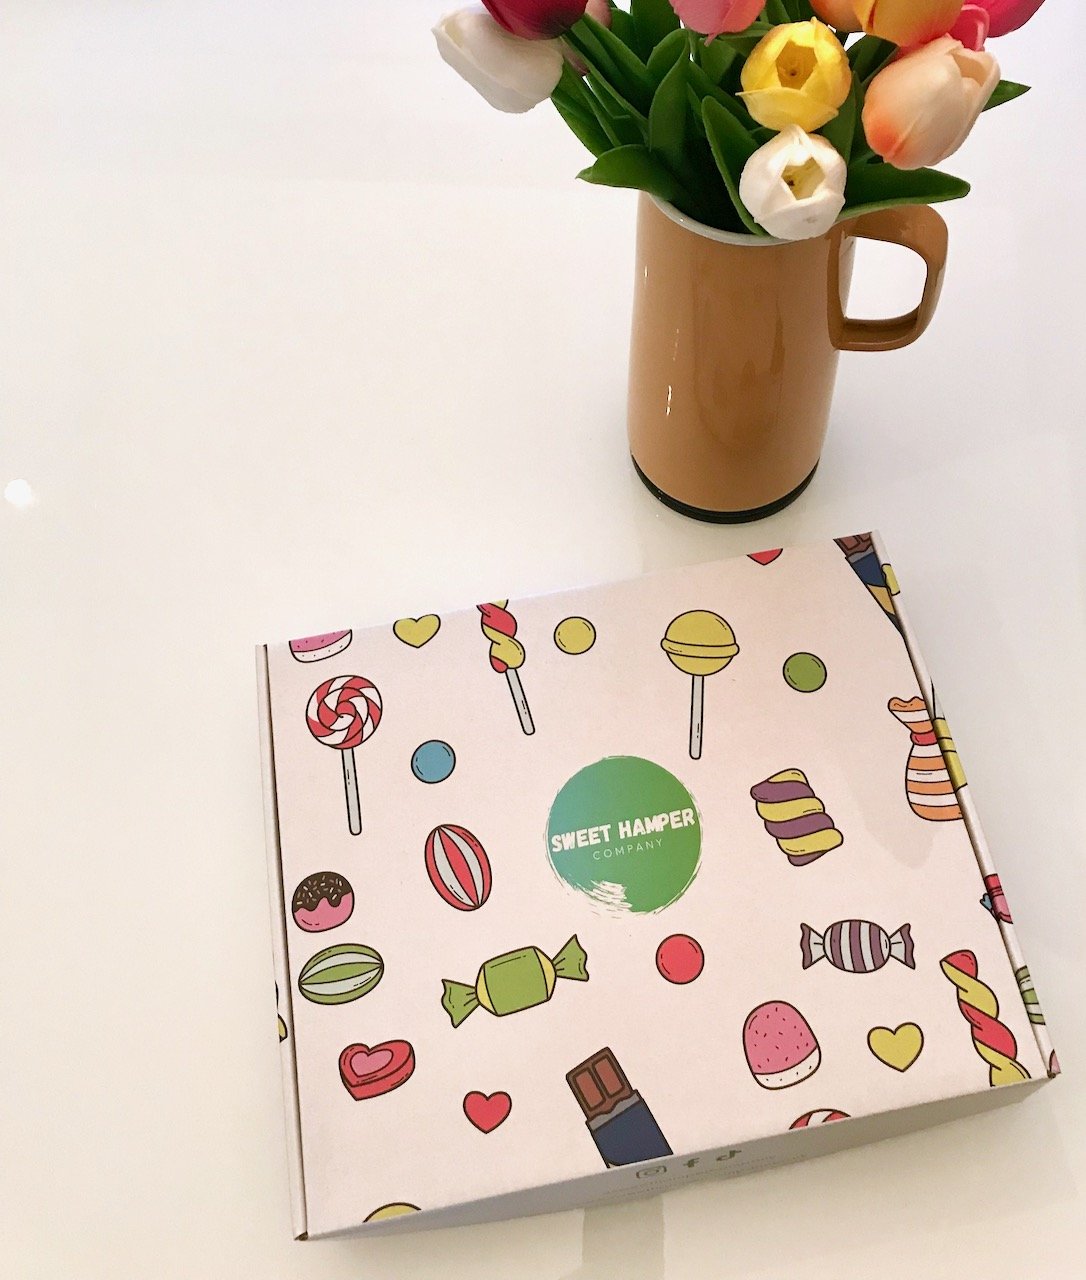
This 'Huge Valentines Sweet & Chocolate Box' was provided by the Sweet Hamper Company.

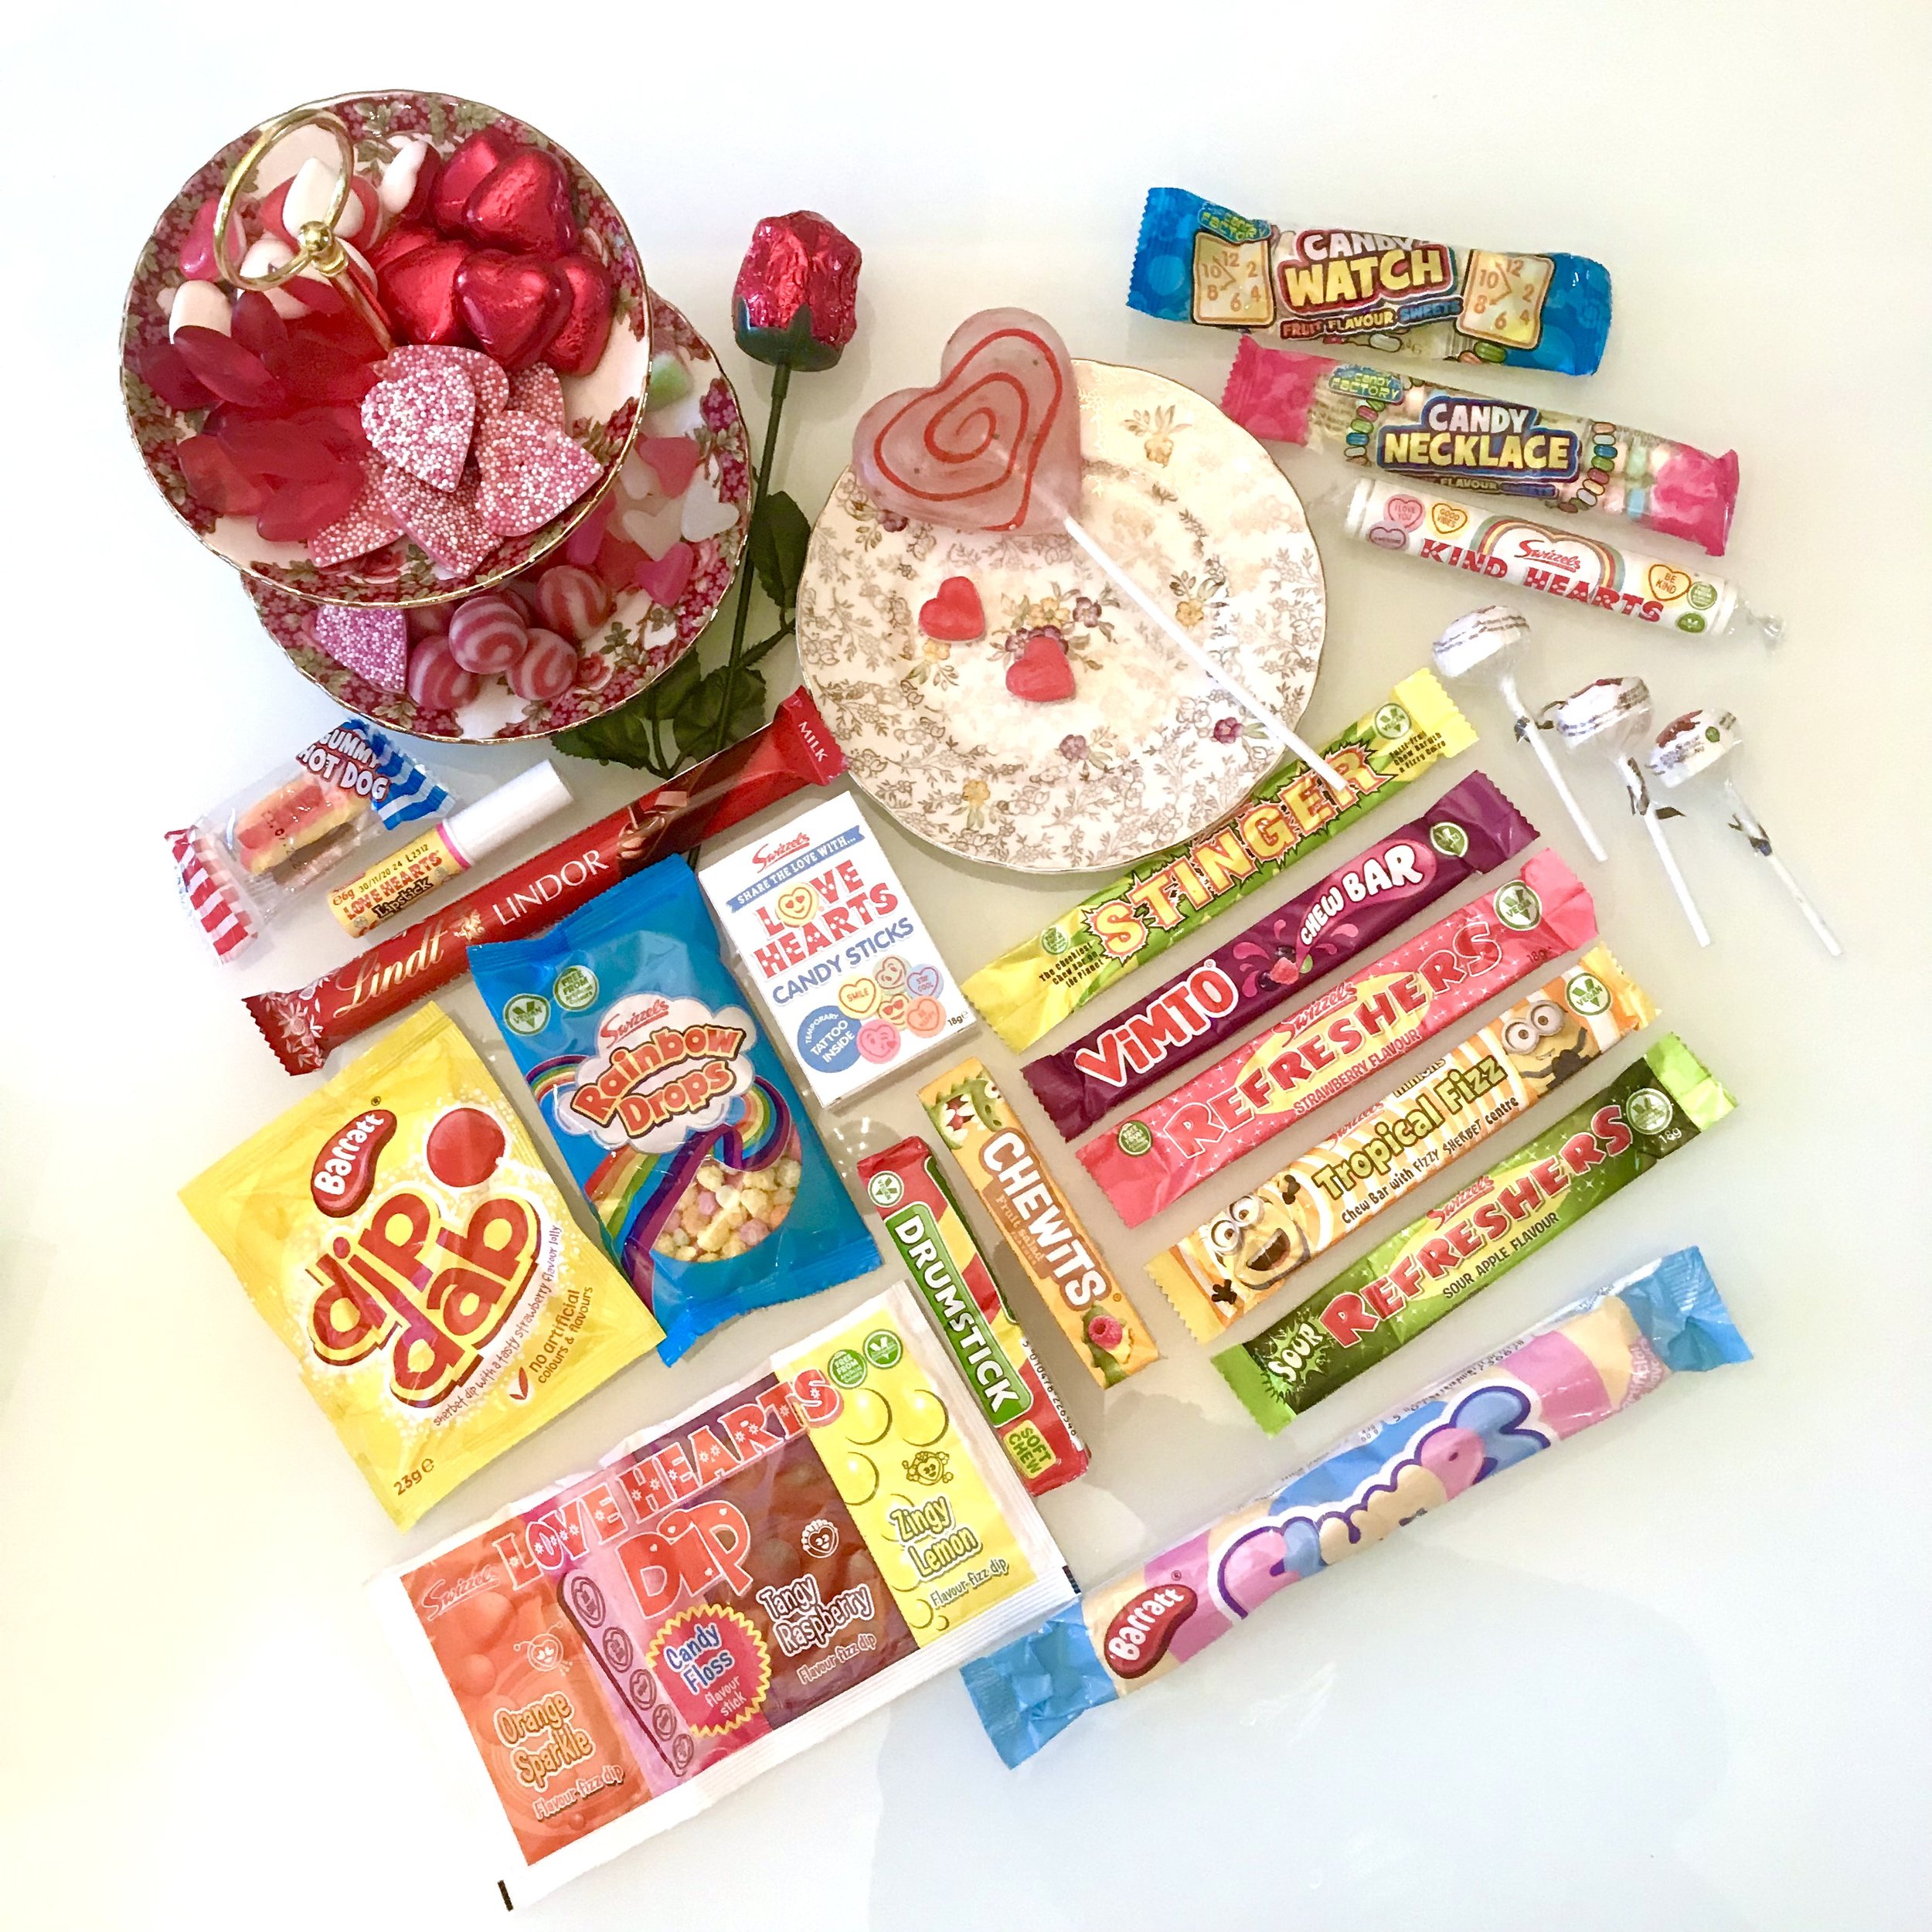
Over the weekend this hamper filled with sweets and chocolates arrived, and I was surprised to find out just how many sweets could fit into a box which is similar in size to a realm of paper. Spoiler - it’s a lot!

A jug of tulips and the 'huge sweet hamper' on my dining table
Inside the box is a card reading 'Huge Valentines sweet & chocolate box.  Enjoy your sweet treats :)' on top of red tissue paper containing the packages of sweets

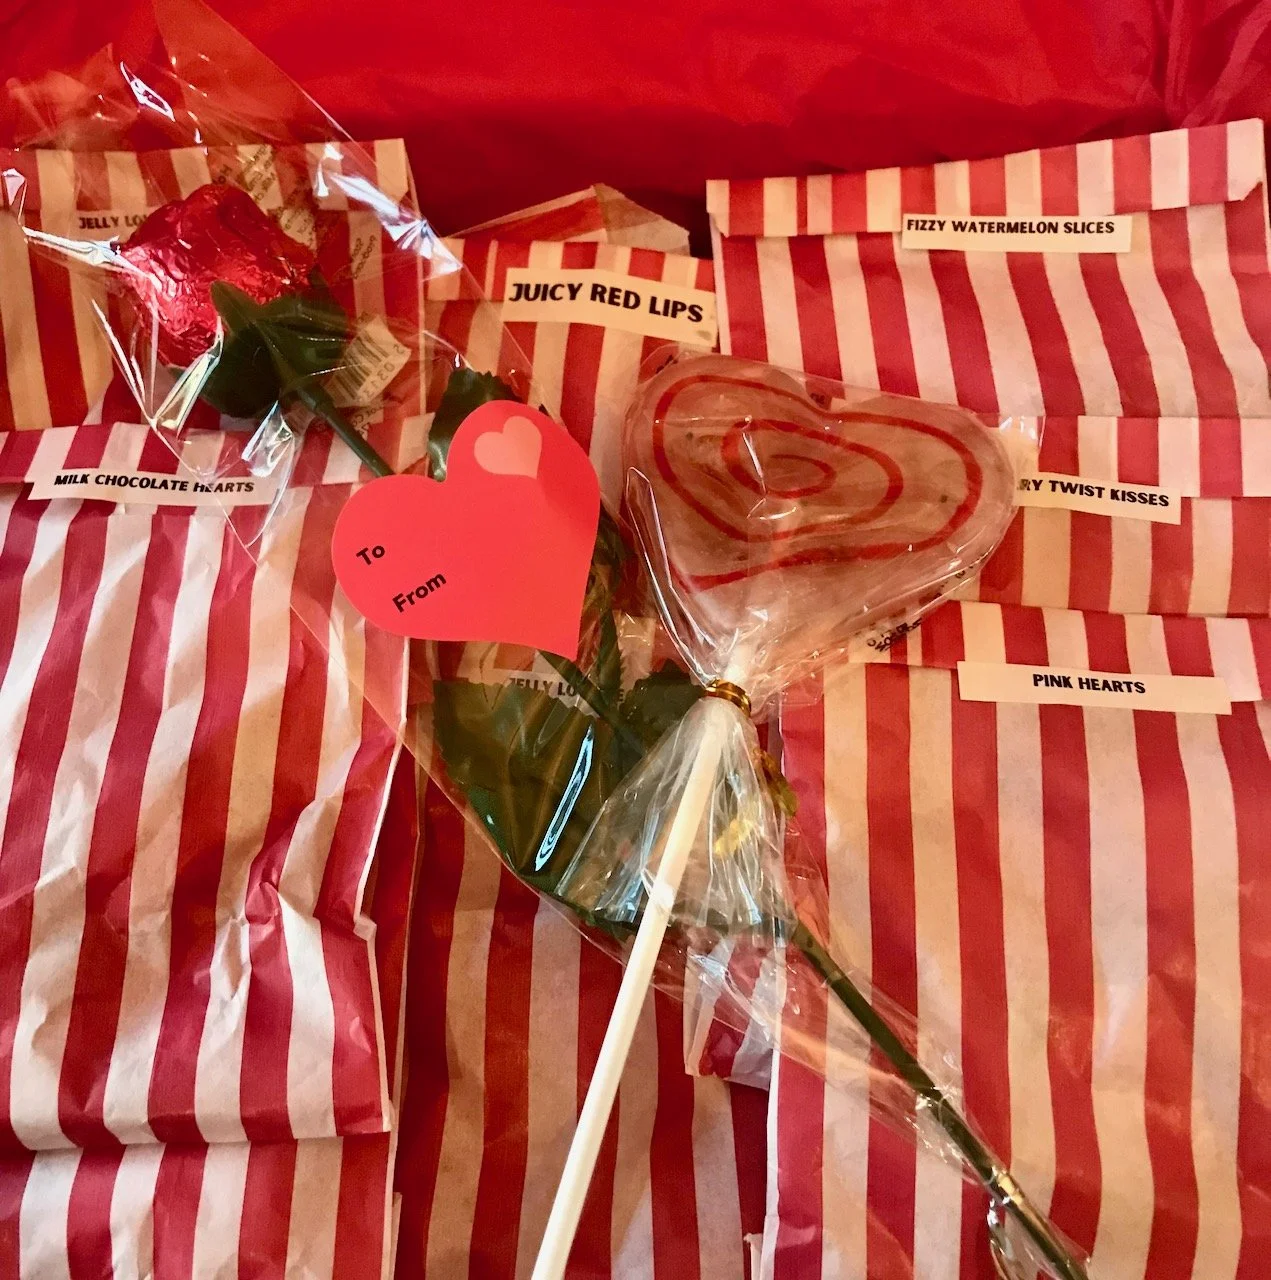
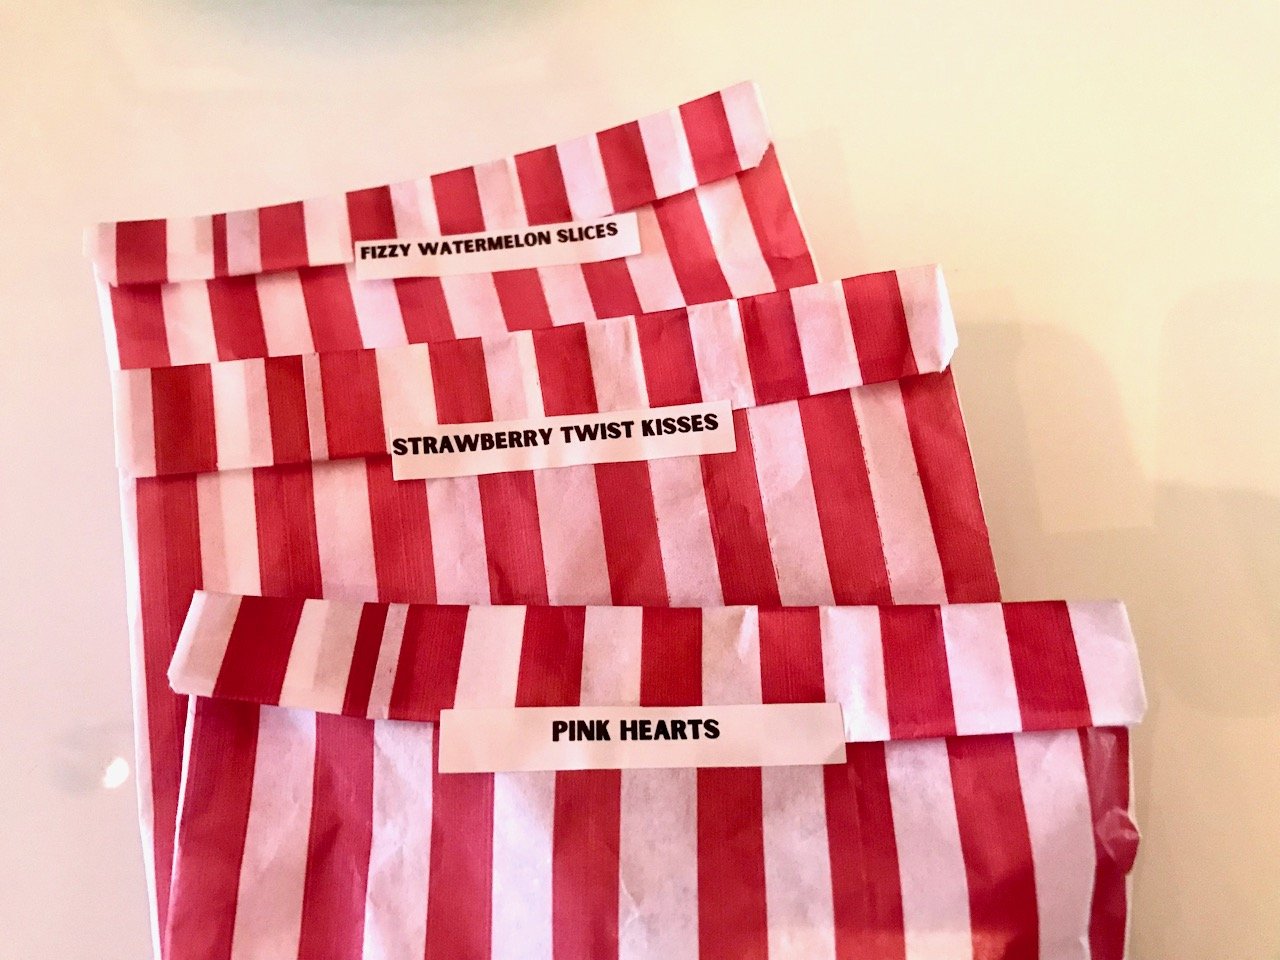
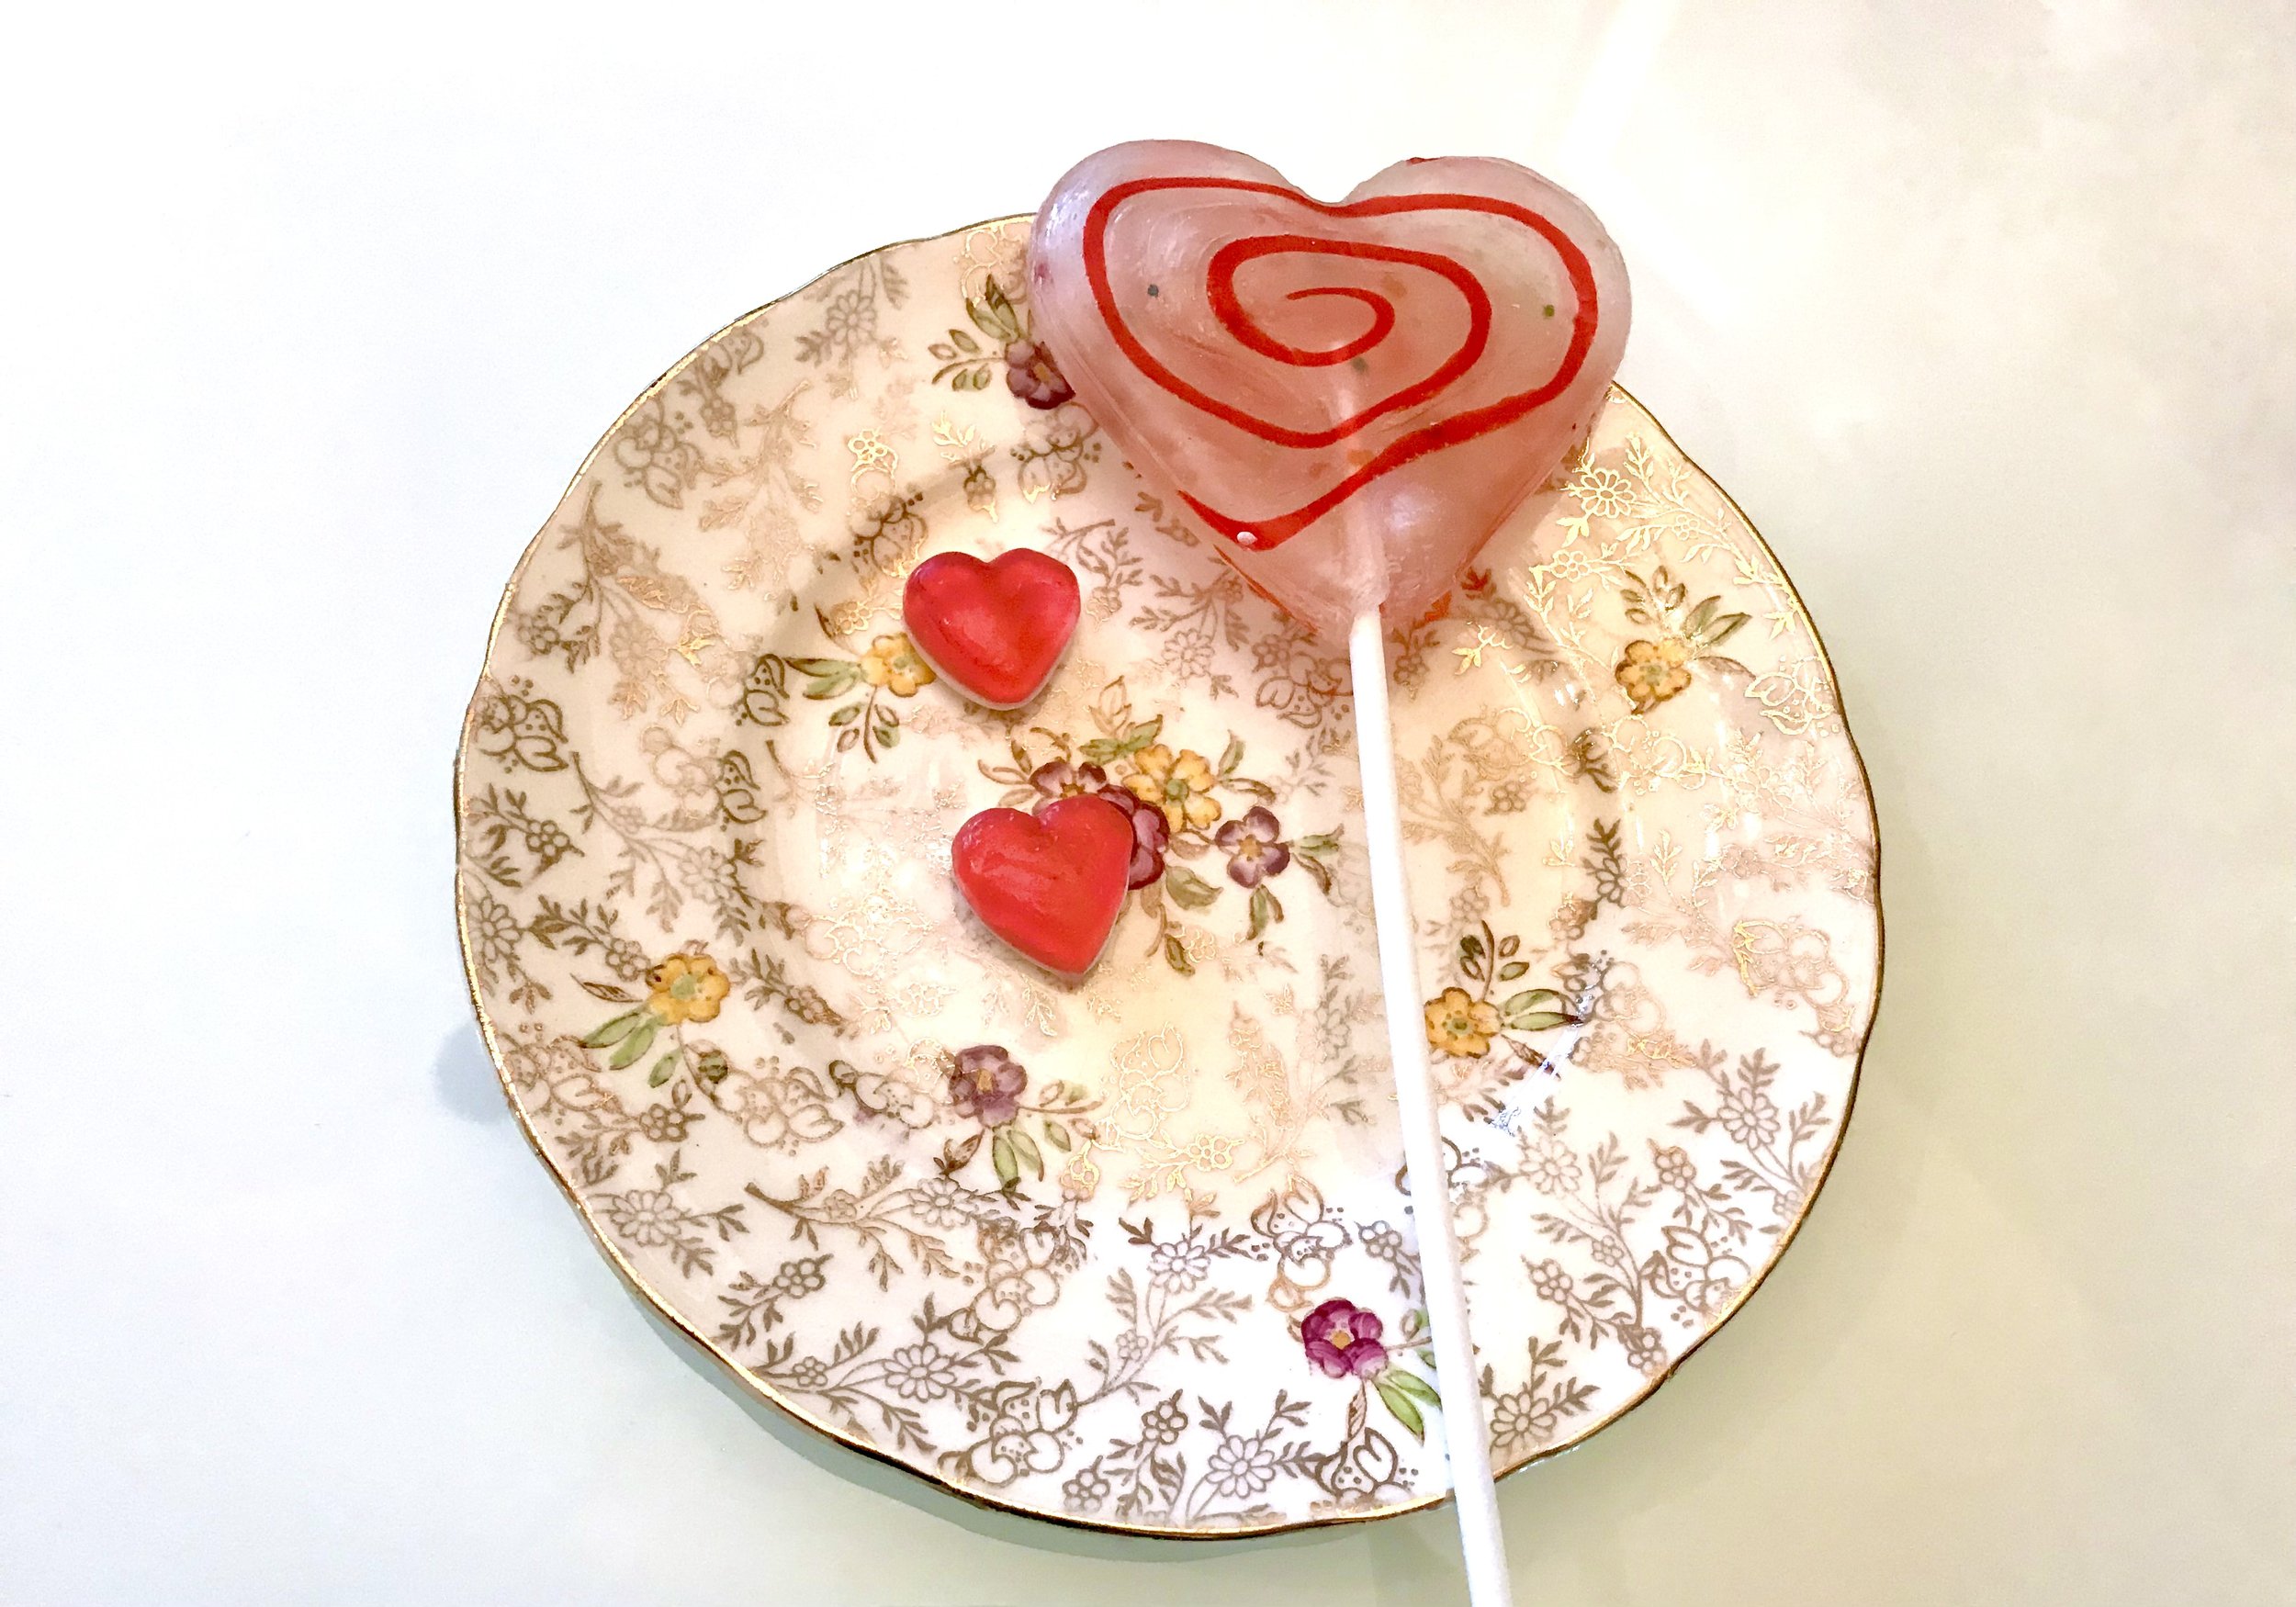
As I undid the layers, I was struck by the level of detail and it was a real treat to discover what was inside. The red and white striped paper bags added an element of retro sweet shops, as well as tying into the Valentines theme well. The additions of a red foil covered chocolate rose and a large heart shaped lolly were clear Valentines additions.

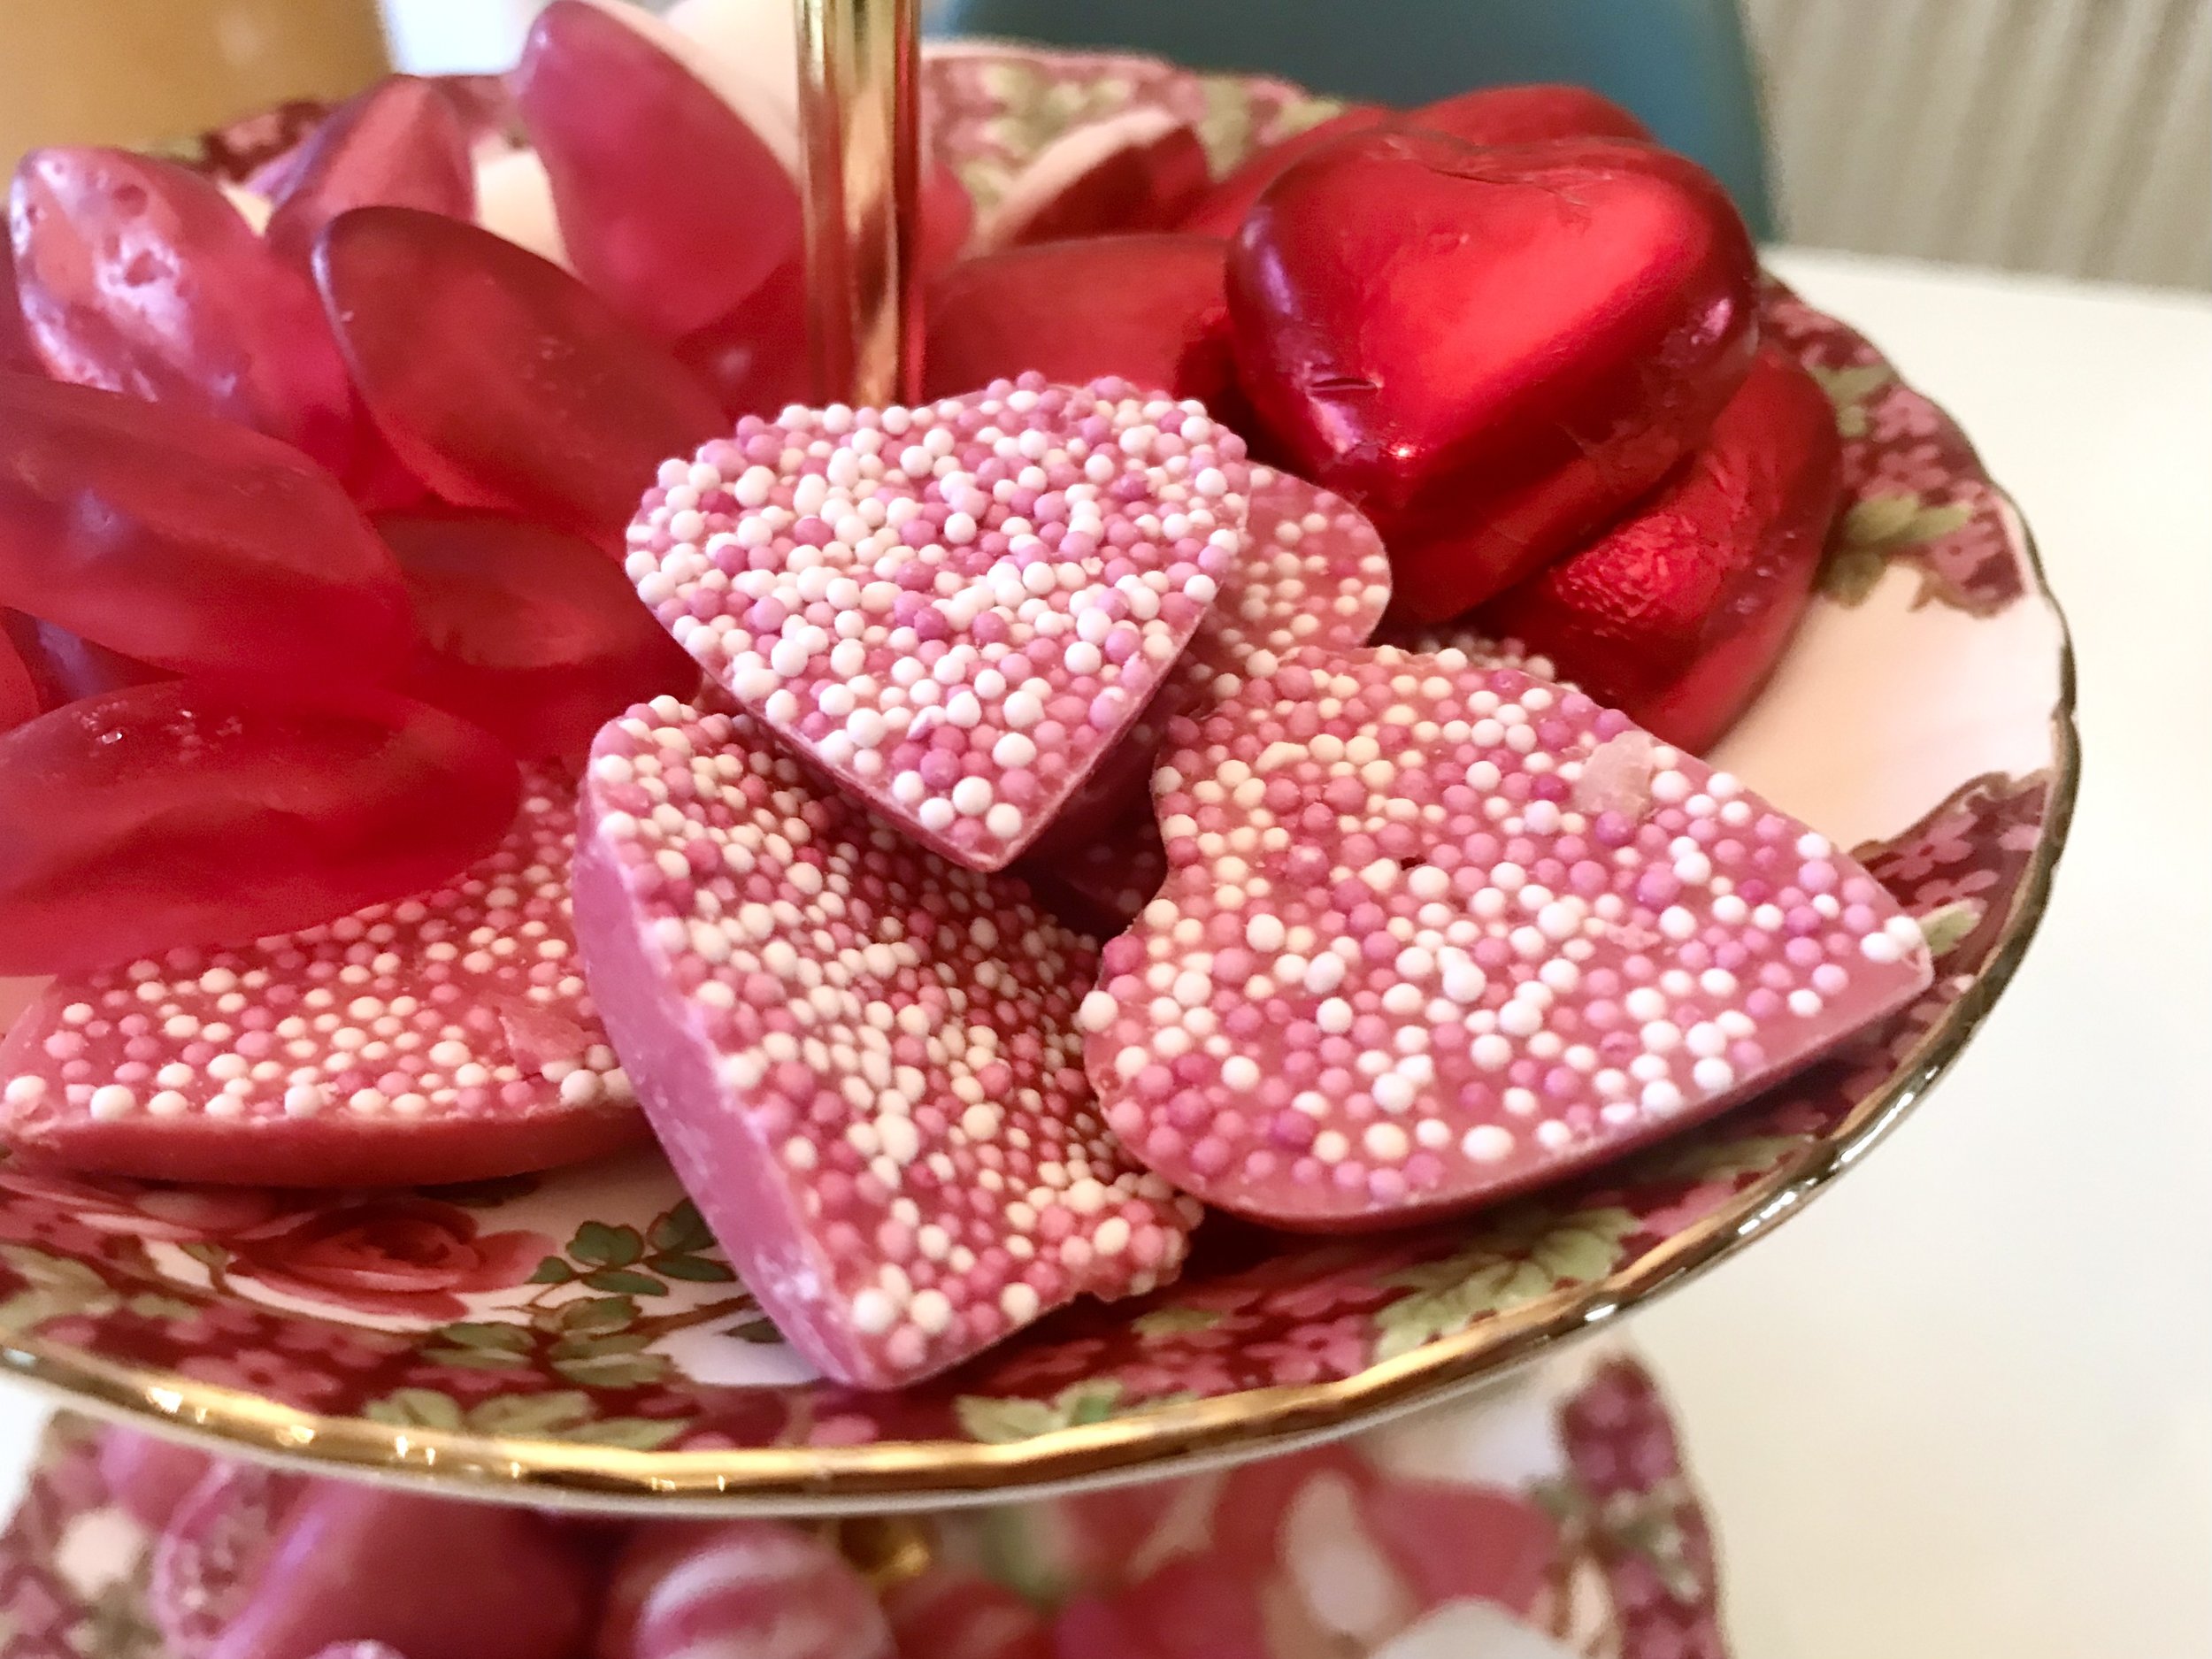
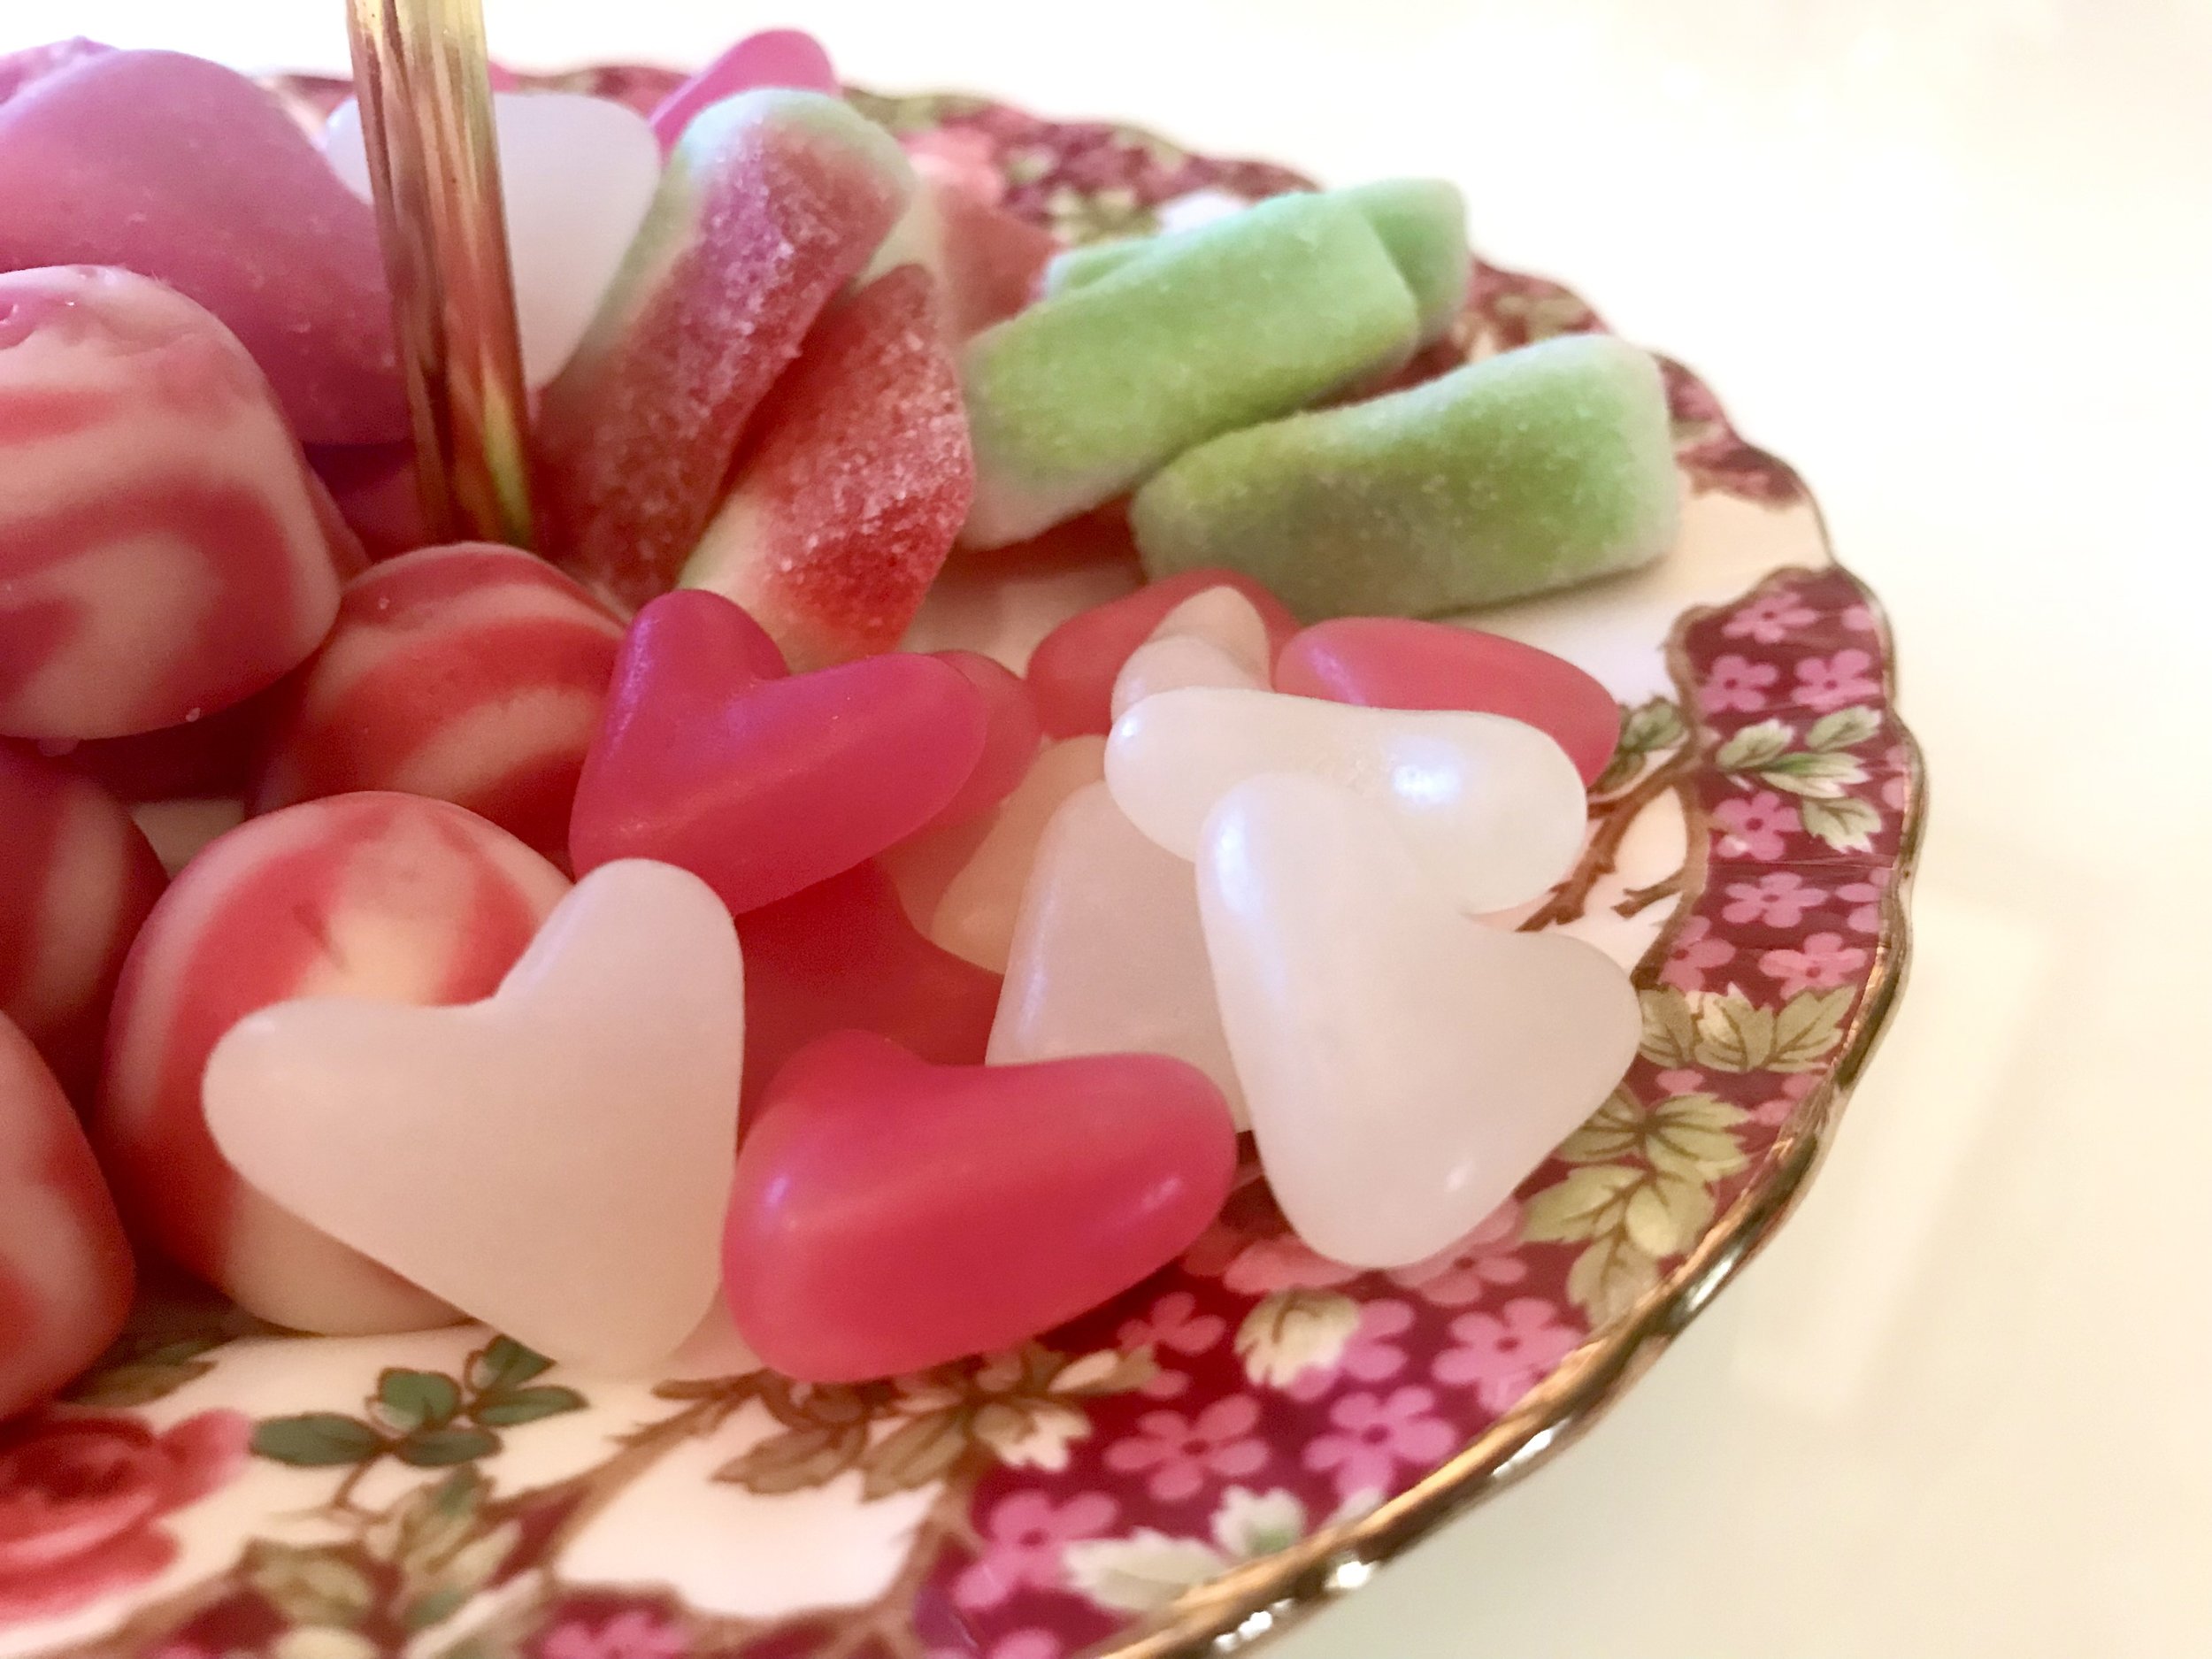
It’s been a long while though since I’ve had many of these sweets, and there were some that were new to me too. But juicy red lips, the pink hearts and jelly love hearts (think jelly beans) remained favourites.

Small red and white striped bags form the next layer - all labelled with their contents such as juicy red lips, pink heats and milk chocolate hearts.  On top is a chocolate rose, the rose is covered in red foil and a heart shaped lolly.
Three of the red and white striped bags containing Fizzy watermelon slices, strawberry twist kisses and pink hearts

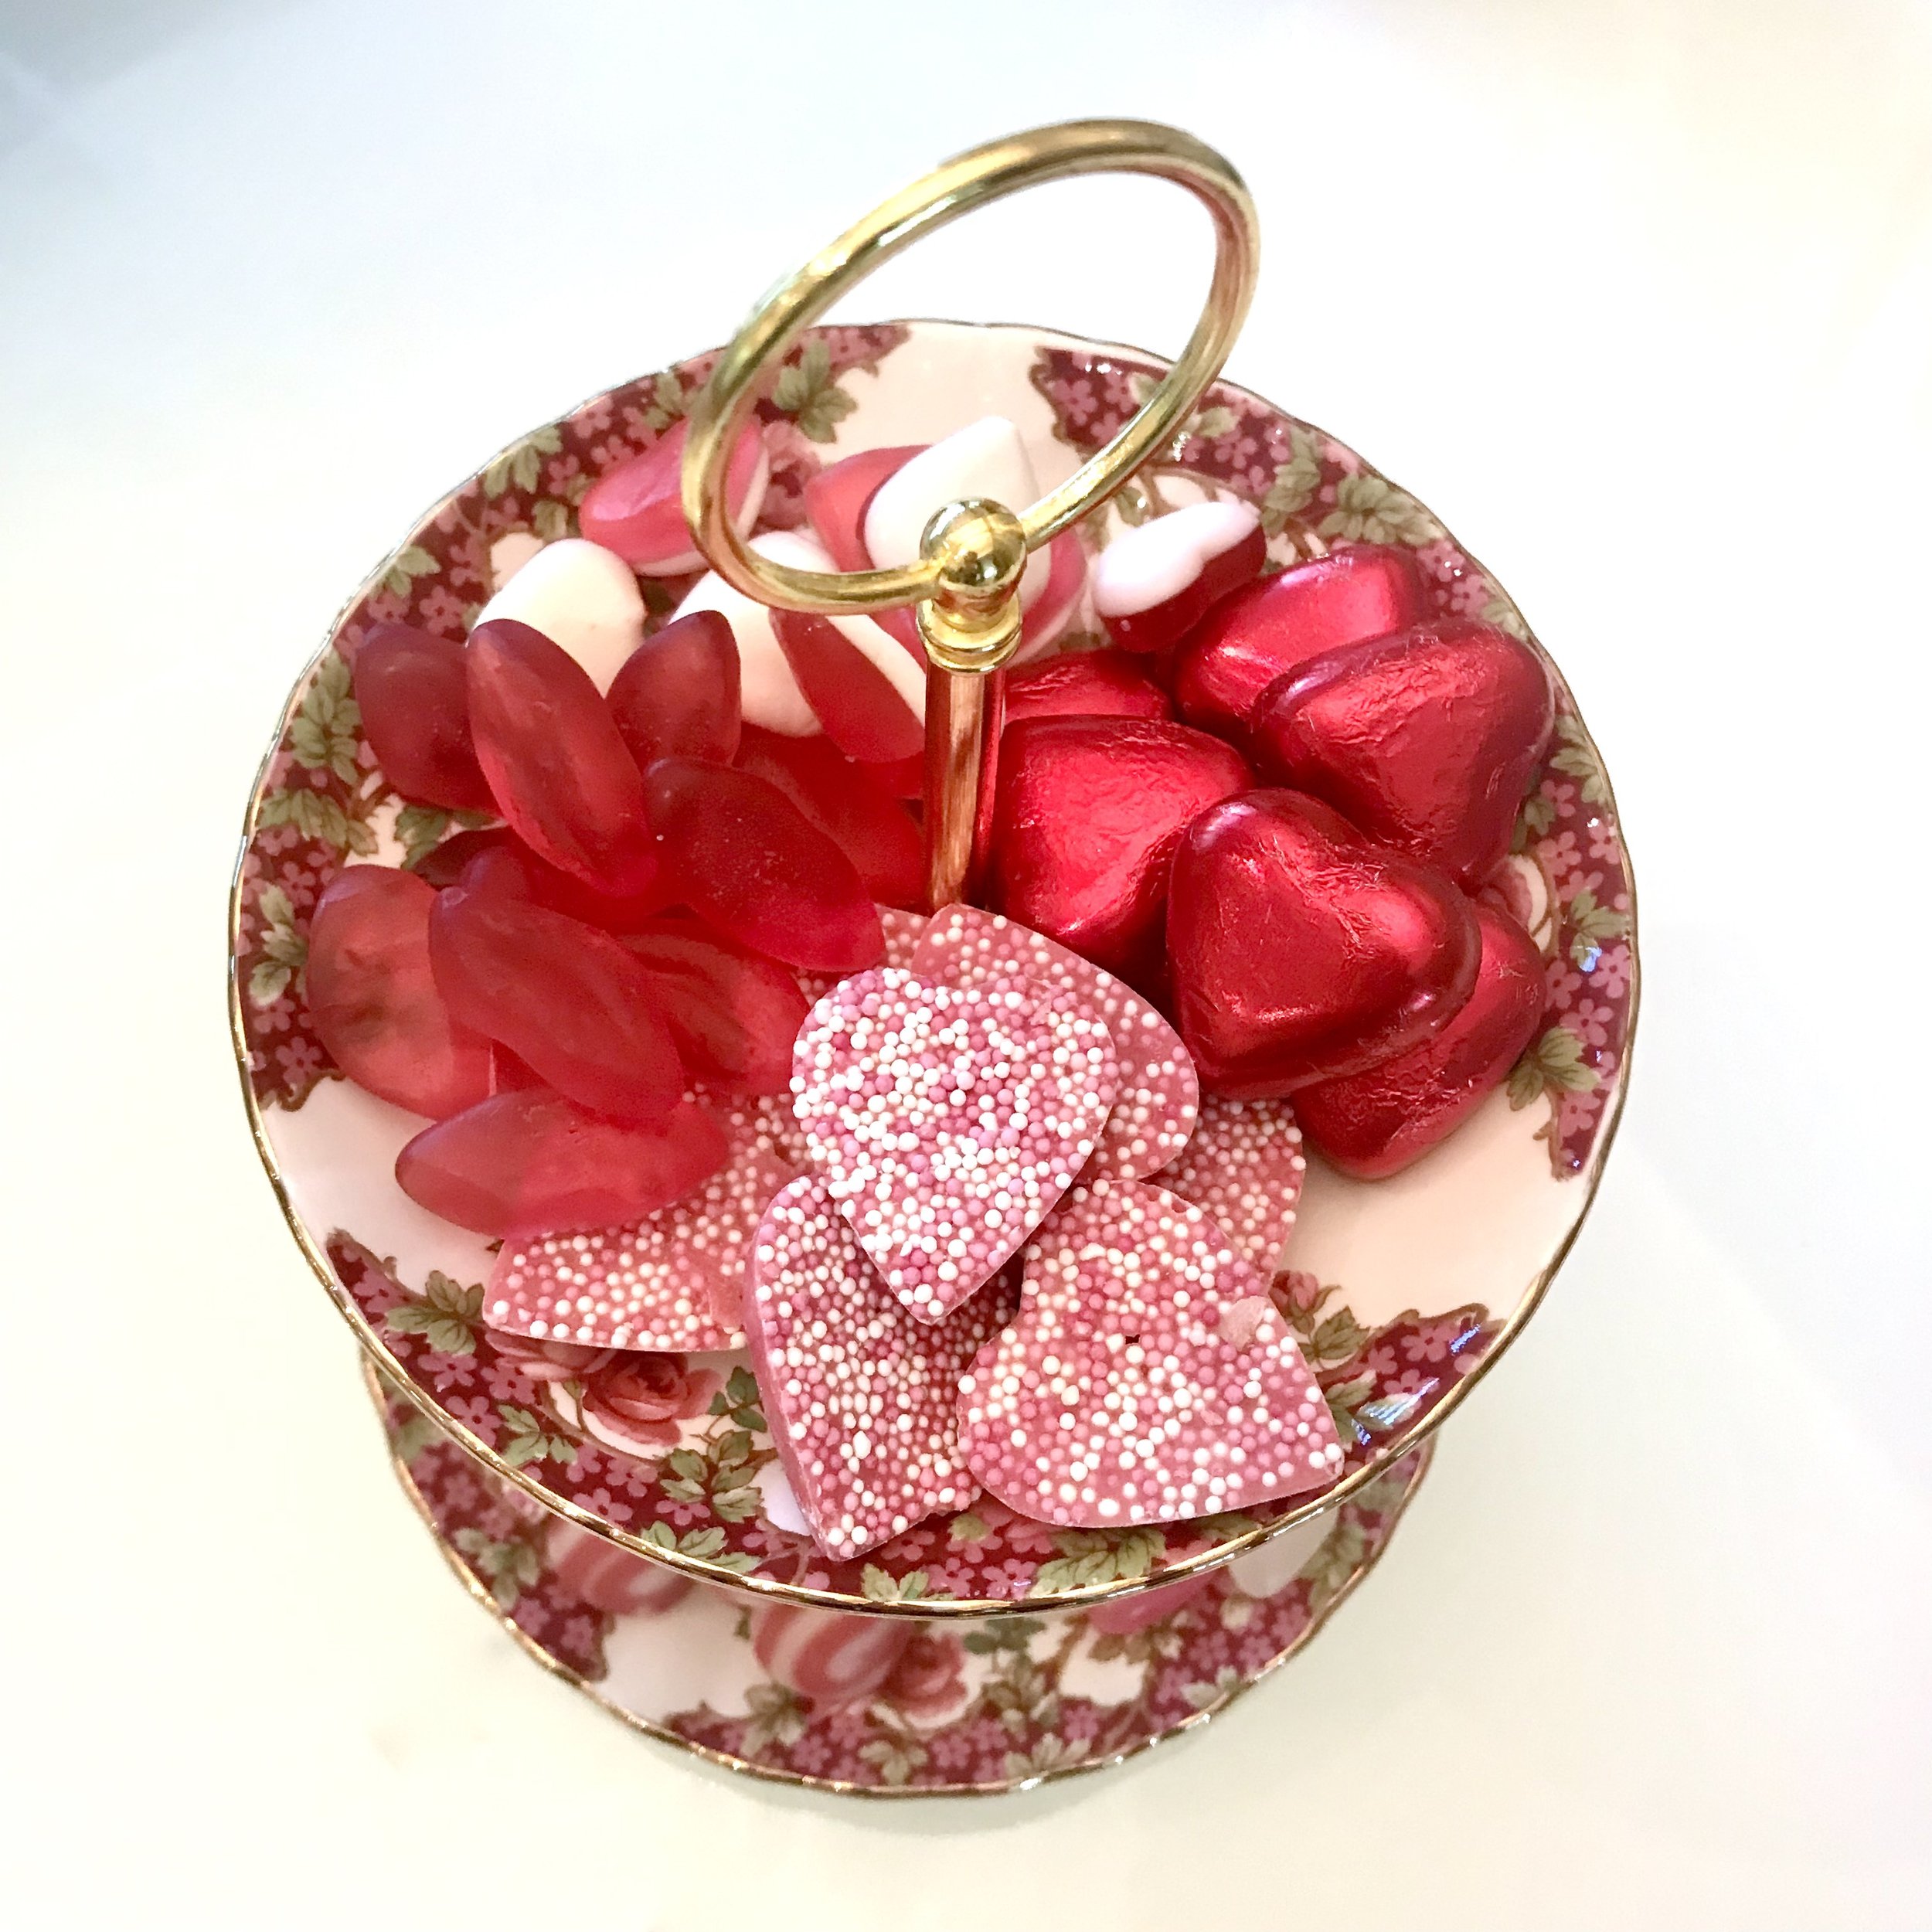
As the theme for this hamper is Valentines I thought I’d enter the spirit and share some Valentine inspired photos, along with a vintage cake stand and side plate. Now wouldn’t it be a real treat to have something like this as part of a Valentines spread?

A cake stand full of the valentine themed sweets and a side plate with heart shaped sweets, a pastry fork, a lindor bar and the chocolate rose
Looking down onto the cake stand with pink hearts, juicy red lips, milk chocolate hearts and more
A closer look at the sweets on the top tier of the cake stand
A closer look at the sweets on the lower tier including jelly bean hearts and fizzy watermelon slices

There was more than the Valentines themed treats, in fact so much more in the hamper which costs £36.50. In total there’s 38 sweets and chocolates included in the hamper. It’s been a while since I’ve seen a candy necklace I can tell you! But there are more favourites such as the Refreshers and the Curly Wurly. I might have already mentioned that those might not be for sharing.

Alongside the sweets already mentioned are other sweets from the box including a candy necklace, kind hearts, refresher chews, chewits drumstick, dib dab, rainbow drops and love hearts dip
The sweet hamper also includes chocolate - galaxy bars, dairy milk, poppers and my long time favourite a curly wurly

This is clearly a lot of sugar, and it’s meant as a treat rather than an everyday purchase. It’s good to treat ourselves now and again, and this hamper will keep us stocked for a fair while yet. I’m sure we’ll enjoy trying those that are new to us, and reminiscing over those we know already.

* With thanks to the Sweet Hamper Company for sending me this sweet hamper, as usual all views and opinions are my own. You can find out more about this hamper on their website.

I was featured on Blogger Showcase

Starting to make up my Vintage Sweethearts blanket

This project has been on the go for a few years, no surprises there then! It was released in sections in Crochet Now, I think back in 2017, and then later in full to purchase on Cherry Heart’s blog. When I first saw the Vintage Sweethearts blanket I knew it would be one I’d be making. As everything I decided to put my own spin on it by choosing my own colours - so my vintage colour way is quite a bit brighter than either of the kits offered at the time it was a crochet along or CAL, and I’m not sorry about that.

In lockdown I picked it up again and made some real progress. As I wasn’t doing this as a CAL I decided to make all of the squares of one design up at once, carefully storing those for the appropriate sections together so that I could follow the making up instructions. And that worked well, with small sandwich bags marked for each section and squares added as they were completed.

During lockdown I remember running out of yellow and lilac and deliberating if I should send for some more wool, but thinking it would surely only be a small amount, or to substitute with wool I already had. I decided to substitute, I’m sure the reasoning was that it was already colourful and adding a small amount of additional colours could only enhance the look.

While clearing through things in our spare bedroom recently I rediscovered the sections still in the sandwich bags, and so I got them out and worked out how much there was left to do. It turned out not much at all, six of the very small squares - and I finished the last of these on Christmas Eve.

Making it up in 2023

So my next job was to start sewing it together. For some reason, it’s not my favourite part of projects and I know that without some accountability it could fester in a cupboard for a while - and it’s way too pretty for that!

Actually the fact that it’s broken down into sections helps, I’m about to start sewing together section five (of eleven) so progress is happening…

9 brightly coloured crocheted granny squares on a wooden floor

SECTION ONE - TICK

The sections aren’t necessarily how you’d expect to make up a blanket - section one (above) has eight granny squares in a cross formation, which allows the non-square section two (below) to slot into the L at the top right of the cross. Section two starts to make use of quarter and third size granny squares, which look good but mean more seams, and more ends to sew in.

SECTION TWO - TICK

Section three takes a different approach, with the first of the larger squares in use. It’s different two as there’s two parts, and each slots into a separate side of the blanket. And the blanket is growing quite quickly, but in a peculiar and non-uniform shape.

PART OF SECTION 3 LAID OUT AND ALONGSIDE SECTION 2

SECTION 3A - LAID OUT

SECTION 3B - LAID OUT

Section four has six smaller squares and four of the standard size. This section took a while to complete - so many ends! And yes, I know there’s a school of thought to sew them in as you go, but I’m always so keen to get on with actually crocheting the next bit, even though it leaves a mammoth task at the end.

SECTION FOUR WITH 4 GRANNIES AND SIX SMALLER GRANNIES

SECTION 4 - TICK

It’s also clear that I’ll soon run out of floor to lay the whole blanket out, but I’ll tackle that when I come to it - which could be soon!

SECTION 4 ATTACHED TO THE BLANKET

SECTION 4 - ATTACHED

I’ve made it through four complete sections, with the fifth laid out ready to sew. A busy few days has kept me away from this, but I’m hoping to get back to it soon - this doesn’t even sound like me talking! Clearly batching the sections has worked break this into a smaller task, and may even help me get over my dislike of making things up, who knows?

SECTION 5 - THE NEXT EIGHT SQUARES TO BE SEWN TOGETHER

SECTION FIVE - READY TO GO

I’m amazed though at how many ends these four sections have generated.

I’ve split them into longer and shorter piles - the shorter ones will be no use for anything so they’ll go in the bin, but the longer ones I plan to attach them to create a multi-coloured random coloured ball of scrappy wool for more squares and another project, which combines granny squares and some sewing, if it all works out. Watch this space, but don’t hold your breath!

I was featured on Blogger Showcase

A mindful afternoon twiddling

I’ve recently spent an afternoon doing as what only be described as ‘twiddling paper’ and once again I’ve been inspired by many fantastic paper craft and quilling artists over on Instagram. What they can do with twirls of paper is just amazing, and clearly they’re far from my beginner level.

However, as I’m firmly of the belief that everyone has to start at the beginning, and that starting is better than not I decided to get some pre-cut strips of paper and some basic tools, and try it out for myself.

Now this is clearly where this post strays into ‘all the gear, no idea’ territory but with an online tutorial or two under my belt I was ready to get started.

Rainbow tonal packs of strips of coloured paper pre-cut for quilling

How pretty do all the tonal strips of paper look?

Tweezers, quilling tools and a cork backed guide

This flower template also came with the kit, but was quickly put aside for a more ‘advanced’ day.

Laminated paper with various flower designs for quilling

So how did I get on? Well, I had some success - though not much - and it was a great way to spend an afternoon. I think it’s something I’ll try again and aim to develop further so that I can incorporate the shapes into card making, but in reality I’m a long way off some of the wonderful creations I’ve seen. Thankfully I’m also a realist and realise Rome wasn’t built in a day.

mid and light mauve quilled 'swirls' in a tray with partitions (mostly empty!)

For now though my quilling adventures have been cut short as a plaster on your index finger doesn’t provide the dexterity needed for such detailed craft. I’ll return to this again, soon hopefully. And my finger? Well it’s the most mundane of injuries - a simple, but dramatic, cut through picking up the food processor vegetable slicer the wrong way, ouch. Those blades are sharp, way sharper than I expected!

I was featured on Blogger Showcase