My garden in January

It’s been interesting to see what’s happened in our new garden this past month, as I said in December’s update I have more pictures than perhaps I’d normally have at this time of year. That’s because I’m keen to learn, record and share what the garden has in store for us. Though, it’s still January and it’s been pretty chilly, and wet and I only managed to get out into the gardening once, and that was on the penultimate day of the month!

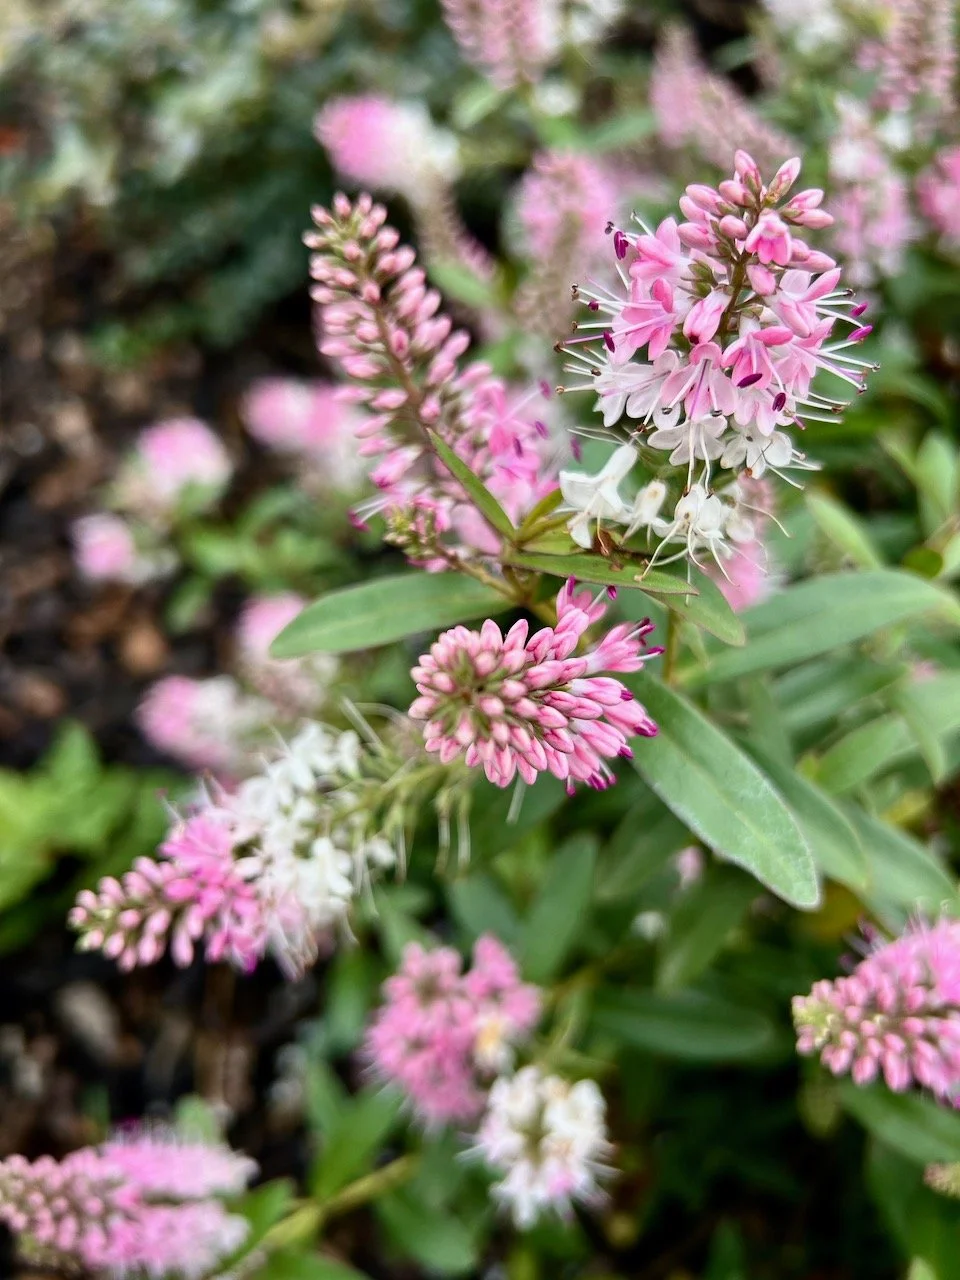
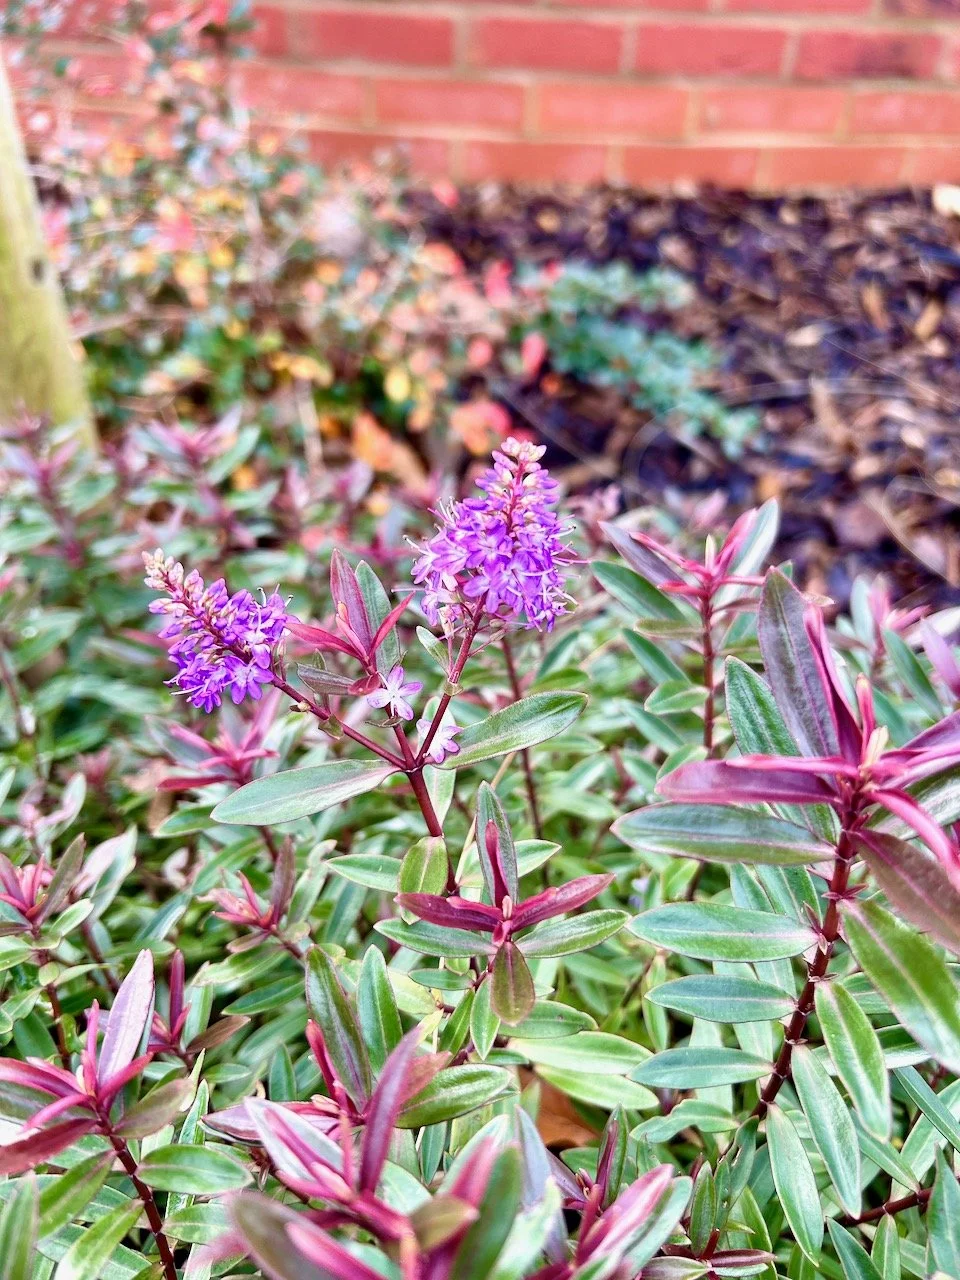
But early in the month it was good to spot this colour from the hebe, the purple leaves as well as the vivid purple flowers - what a treat in what can be a pretty dreary month, and a month that’s not my favourite.

purple hebe flowers appearing in January

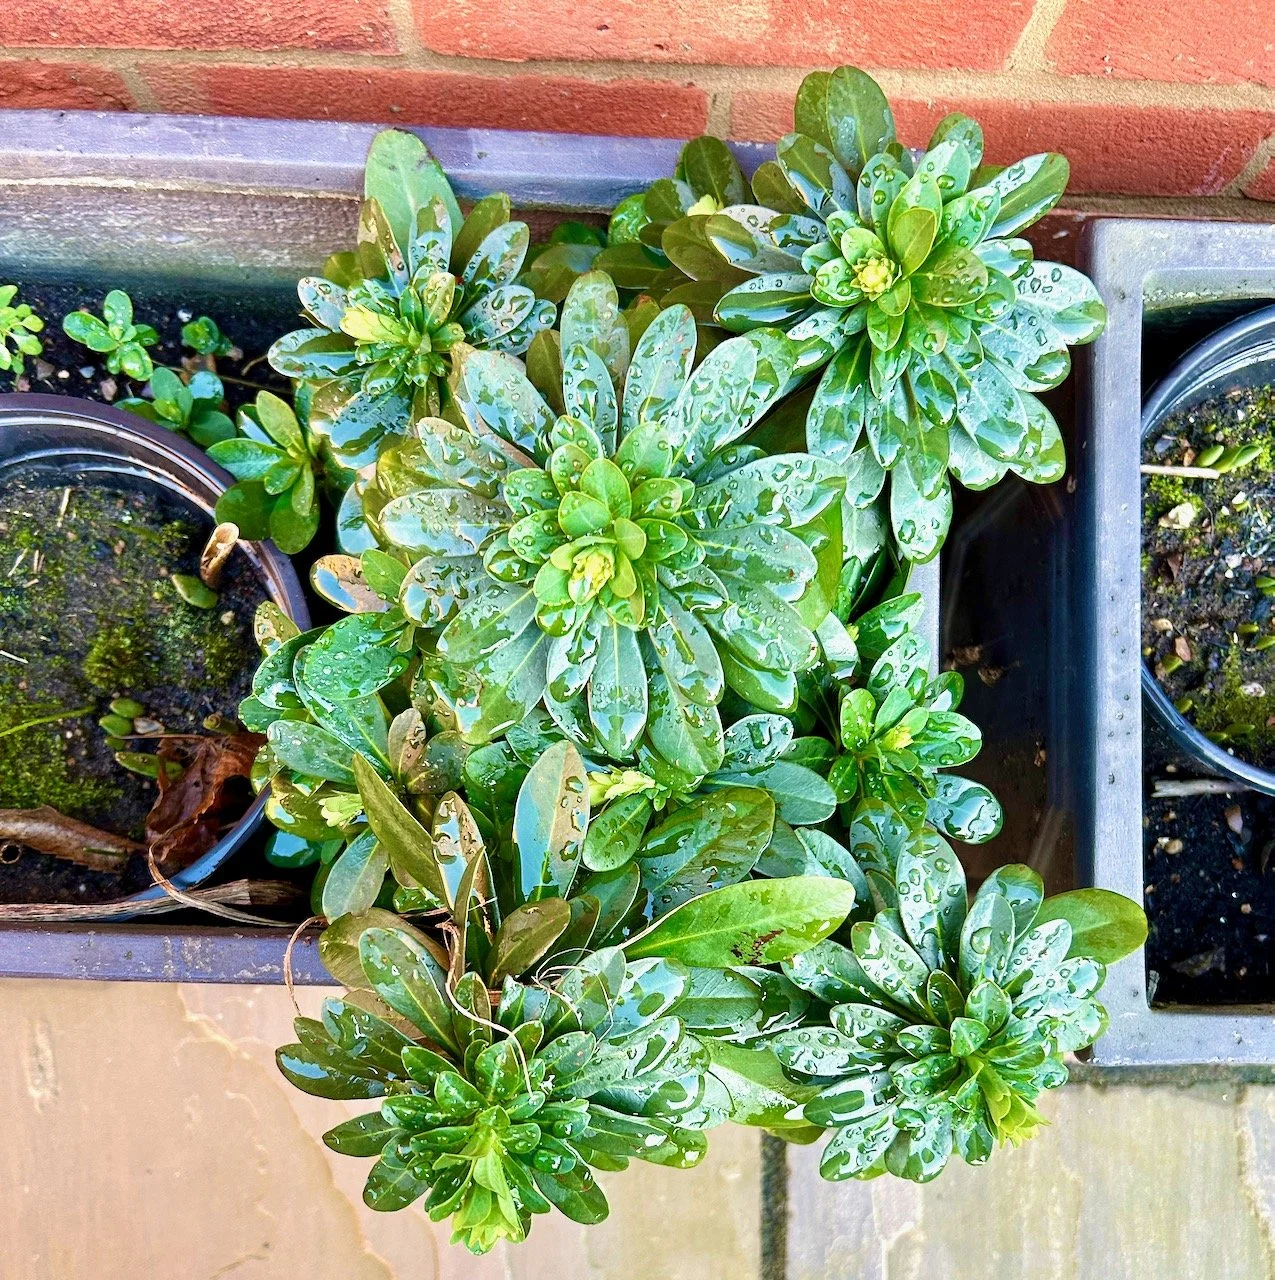
That said, the euphorbias we brought with us from our London garden seem happy enough. They are still contained in the pot they moved in, and I’m not sure yet where - or when - I’ll unleash them. They multiply a lot, and are already spreading in the pot, so I’ll need to remember that.

Looking down on the euphorbias in the rain

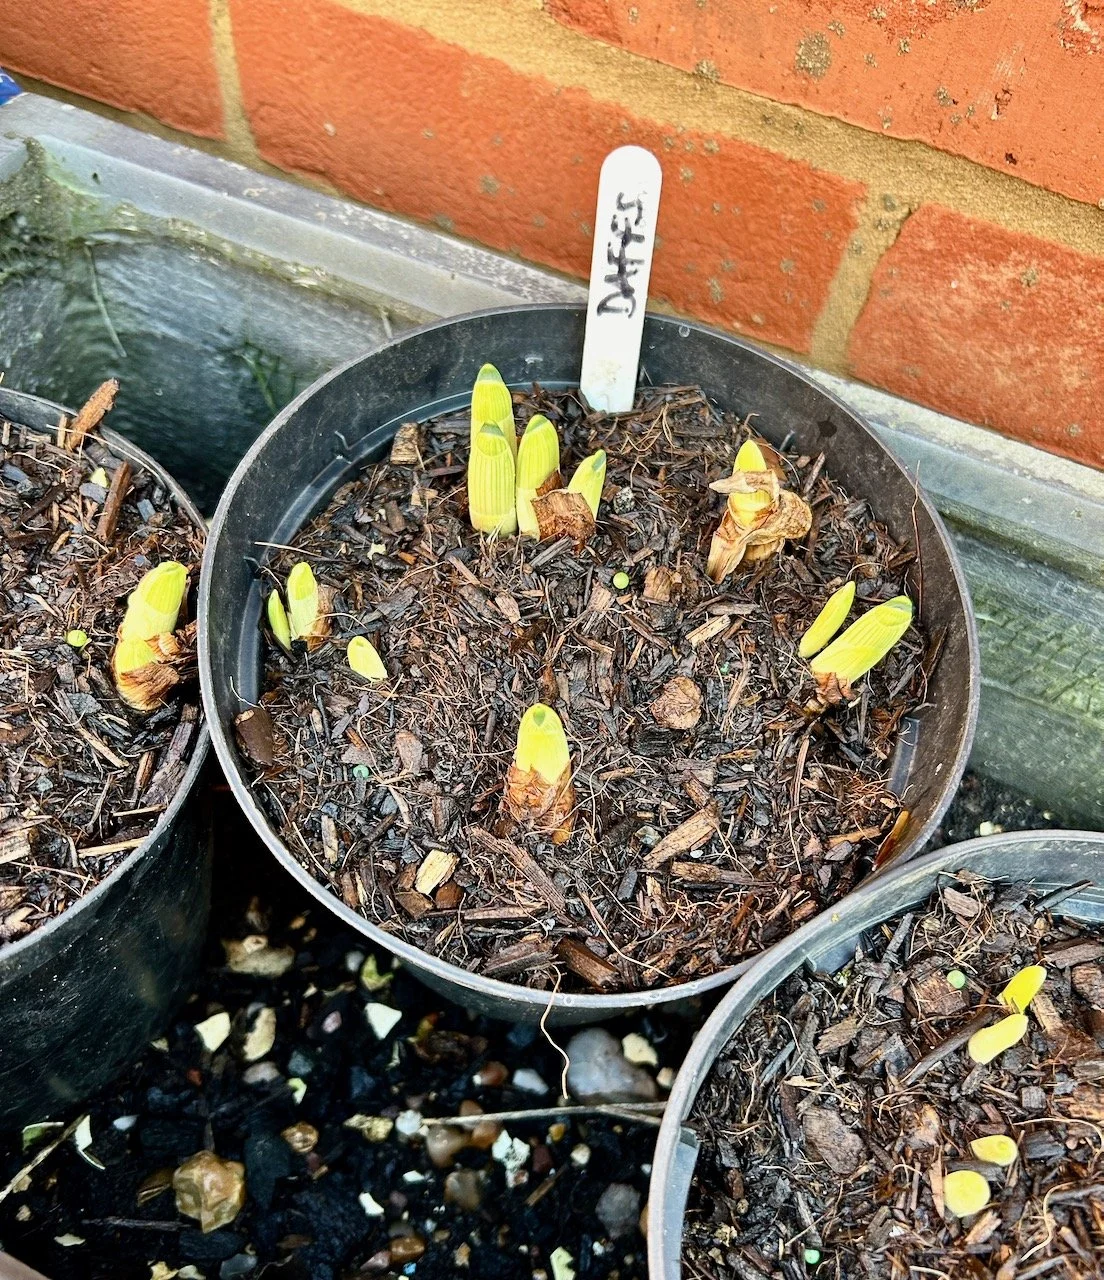
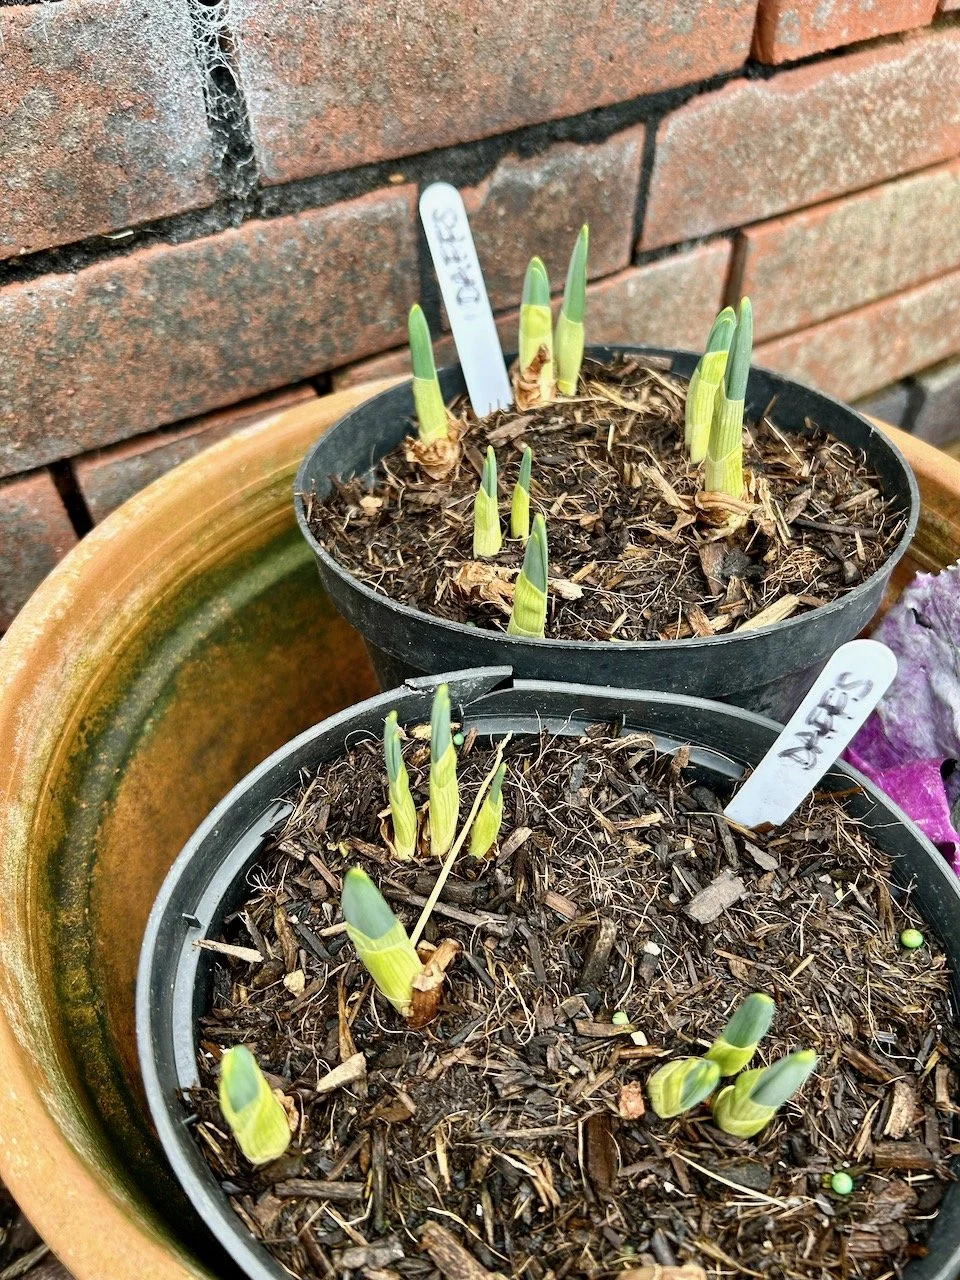
In December I finally got around to potting up some daffodils, and so it’s great to see them pushing their way through the soil. The ones I didn’t get around to planting also sprouted and have gone a little bit awry without the soil. They too have now been potted up, though I’ve needed to be gentle so they don’t break - I’m hopeful they will continue to grow, as they’ve been pretty resilient so far.

Daffodil shoots poking through the soil in pots
Looking down on the compact setting of elephant ears

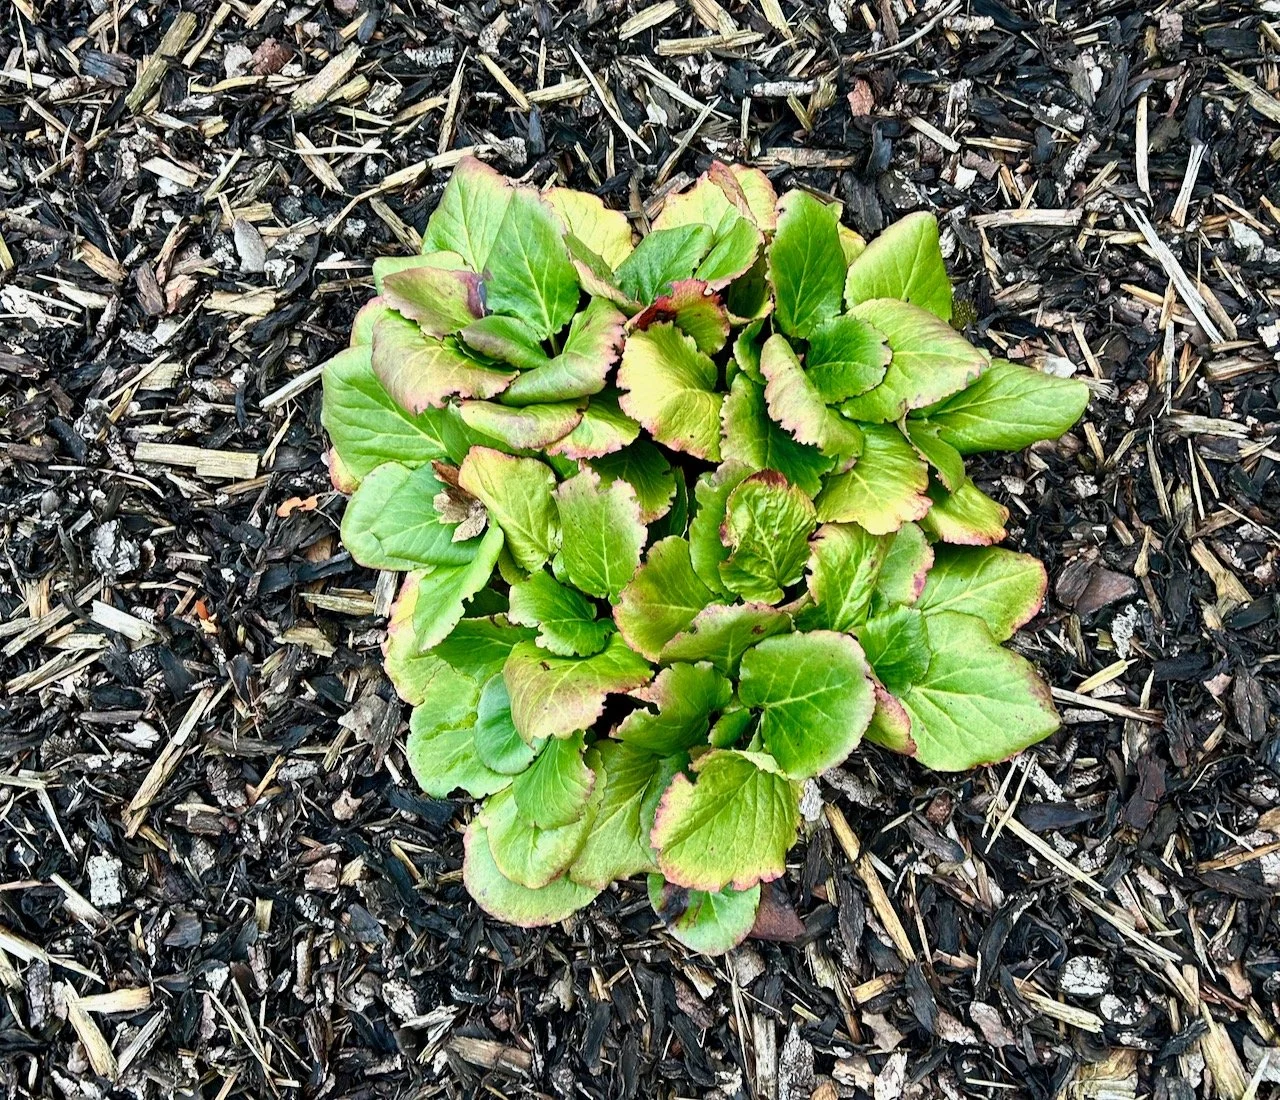
There’s plenty of plants in the border near the garage, and the elephant ears above are doing really well. When the weather, and ground, is a bit warmer I need to plant the elephant ears we brought with us alongside one of them which is doing less well.

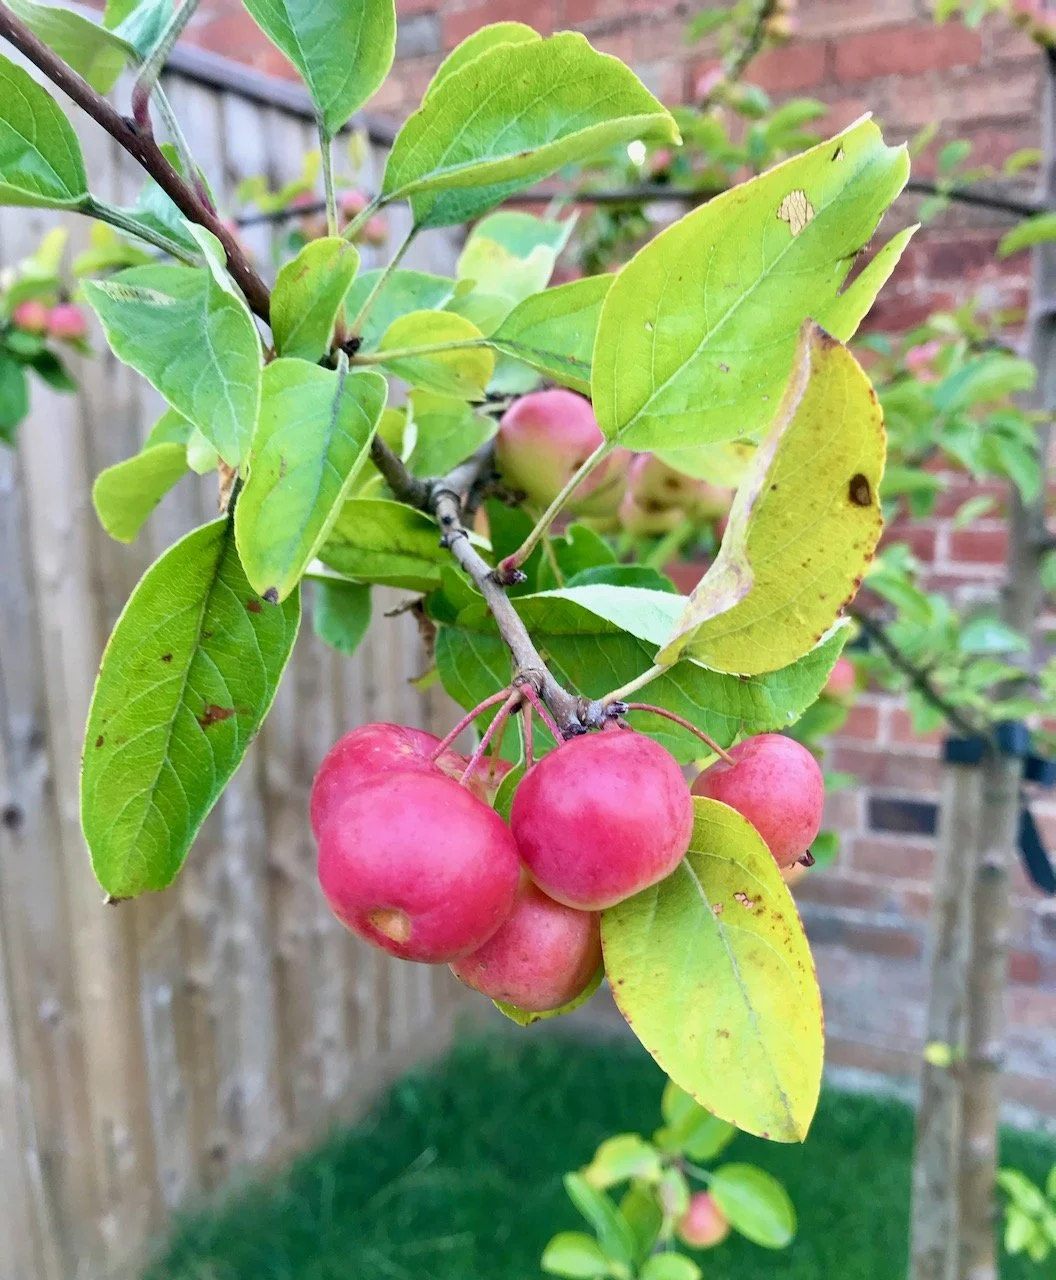
One thing that’s quite different from our previous garden is the amount of bird visitors, we have far fewer here. In London we had robins, blue tits, great tits and plenty of pigeons, as well as a blackbird or two. Here, when we first moved in there were a couple of wagtails, and we’ve seen a robin occasionally. We’ve also seen a blackbird a couple of times, hanging around the crab apple tree no doubt looking for food.

The two days after the RSPB Big Garden Birdwatch we had a crow visit around the same time of day, but nothing any more regular. In an attempt to look attractive to smaller birds, and encourage that robin we’ve bought a hanging bird feeder and filled that with fat balls. We need to get something that the blackbird will appreciate more though, and work out what that is, where to put it and how to make sure it’s only attractive to the intended species.

A sustainable bird feeder filled with fatballs hanging on the bare branches of the crab apple tree

But we’ll work that out, though grateful for any advice you have.

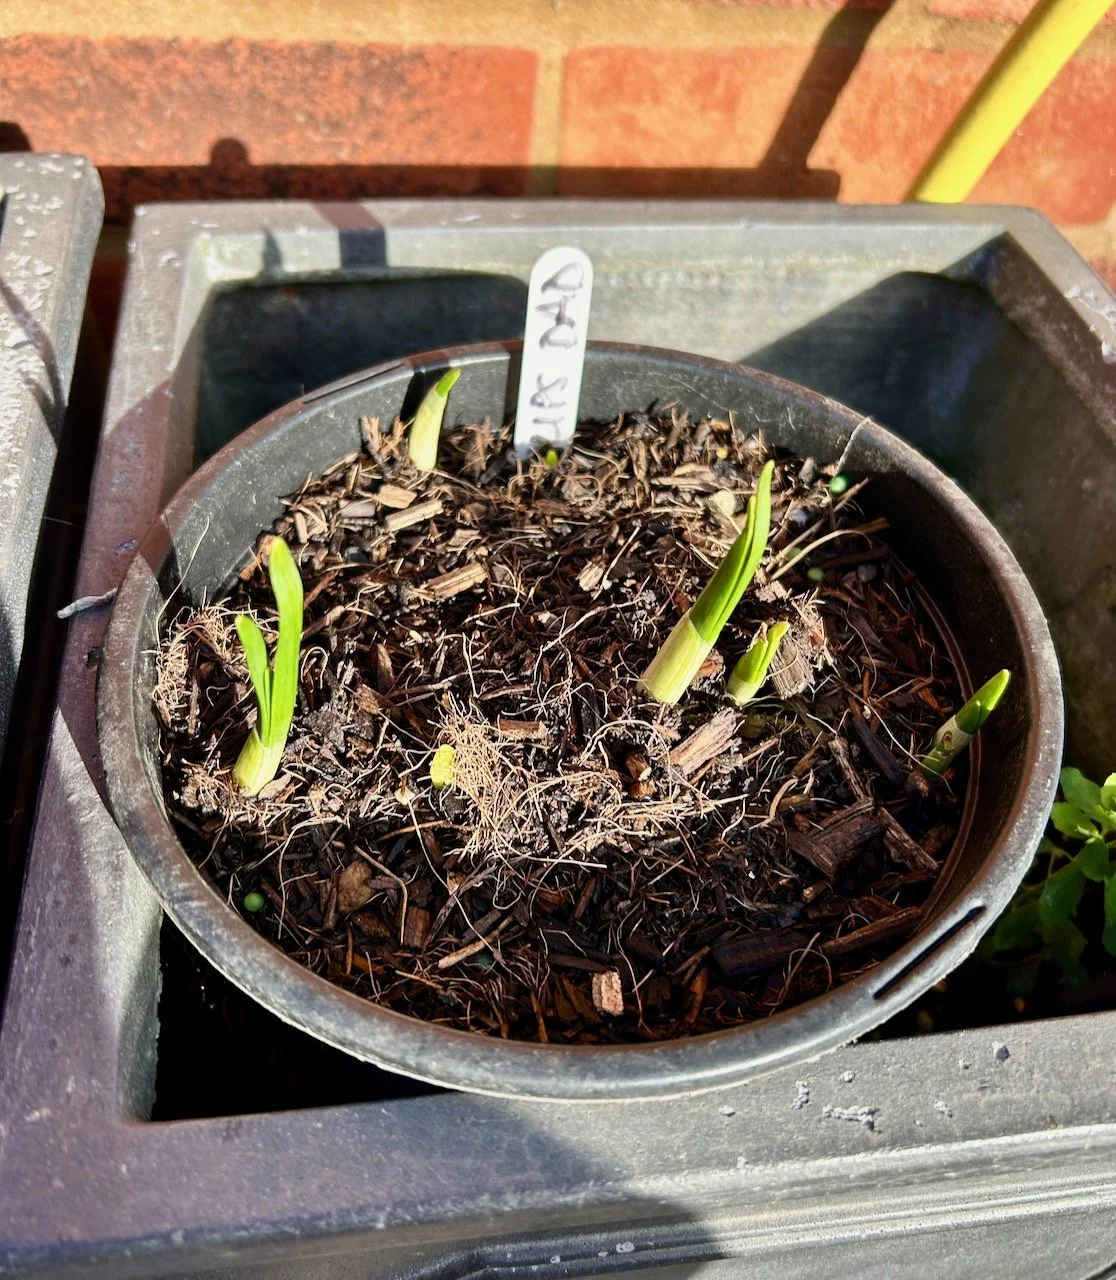
The tulips from dad are also poking through the soil, and they’re also in pots so that I can move them into view from the house when they’re flowering. The ones we brought with us are also coming up and it’ll be great to see them again.

Tulips potted up in December already pushing up through the soil in the pot

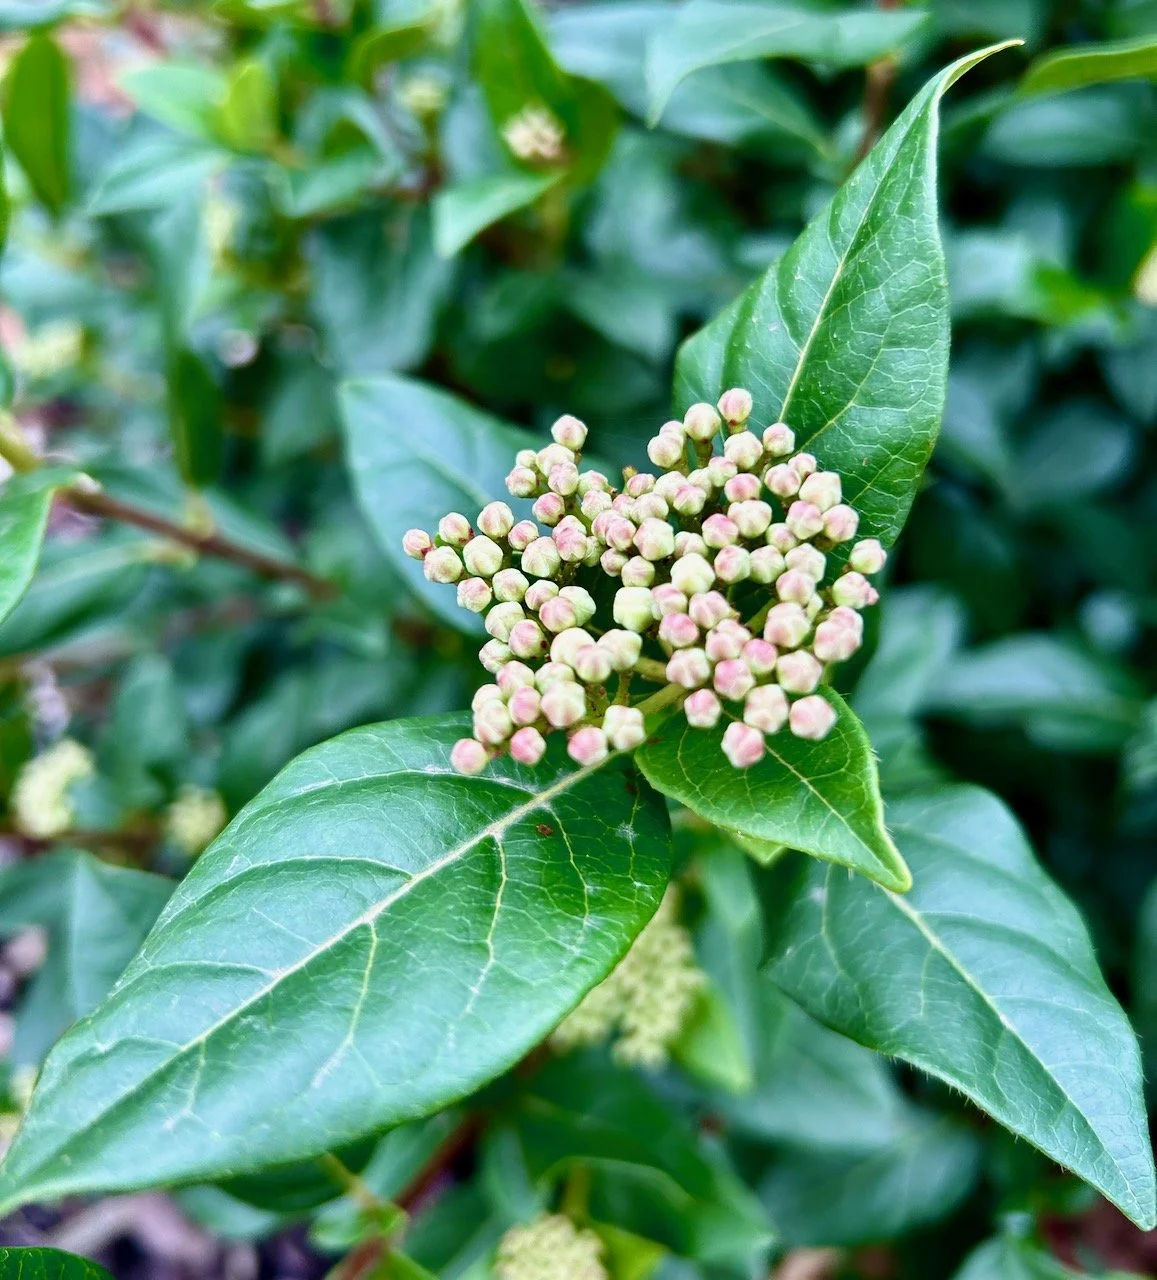
It’s good to see how the plants are growing, and I love the pale greeny pink dots that promise flowers to come.

small pale pink & green dot like buds appearing on one of the bushes (not sure what it is yet)

And look how much those daffodils have grown in a month…

The daffodil shoots are almost two inches by the end of the month

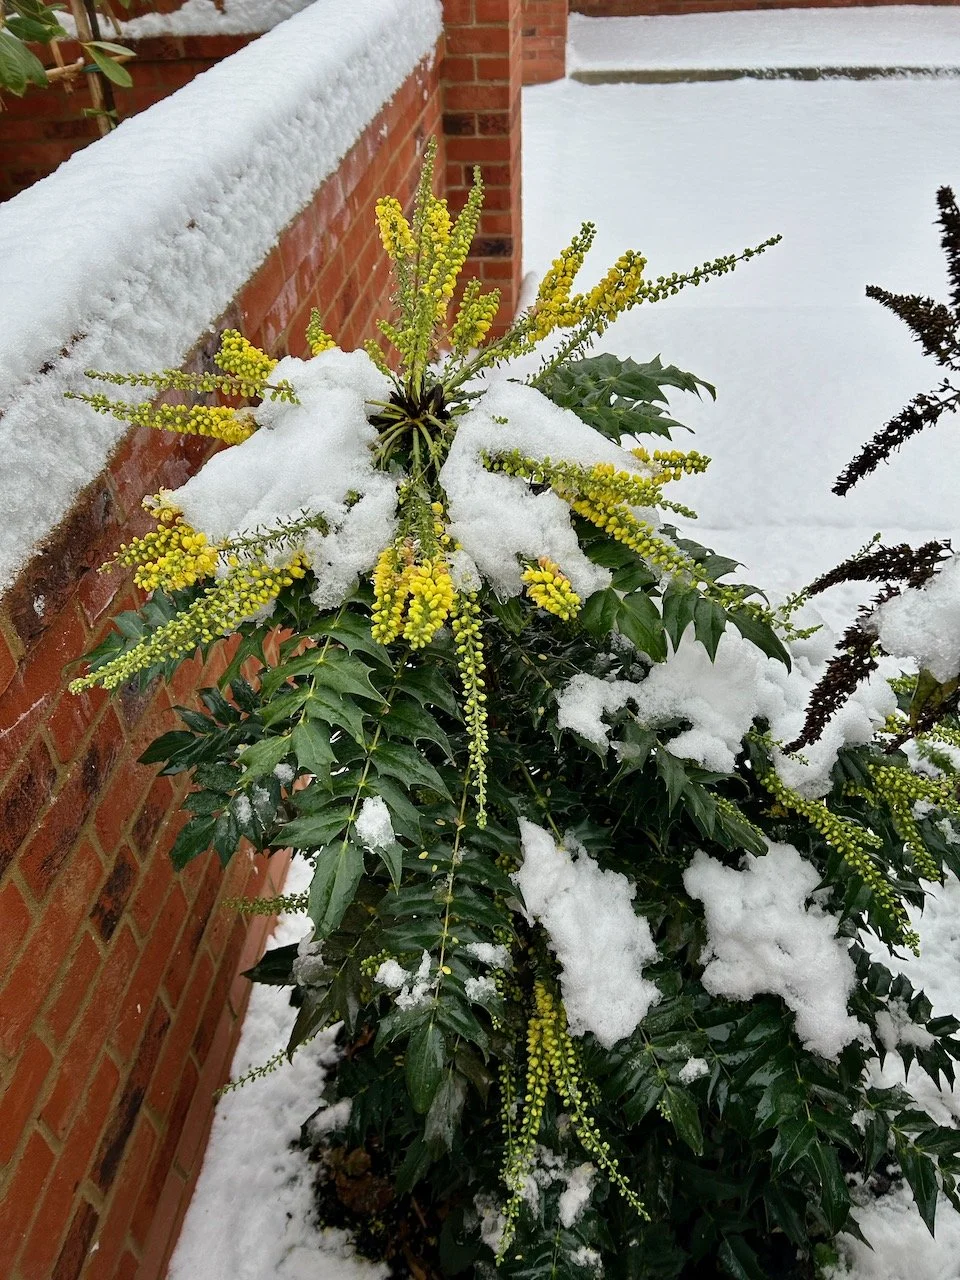
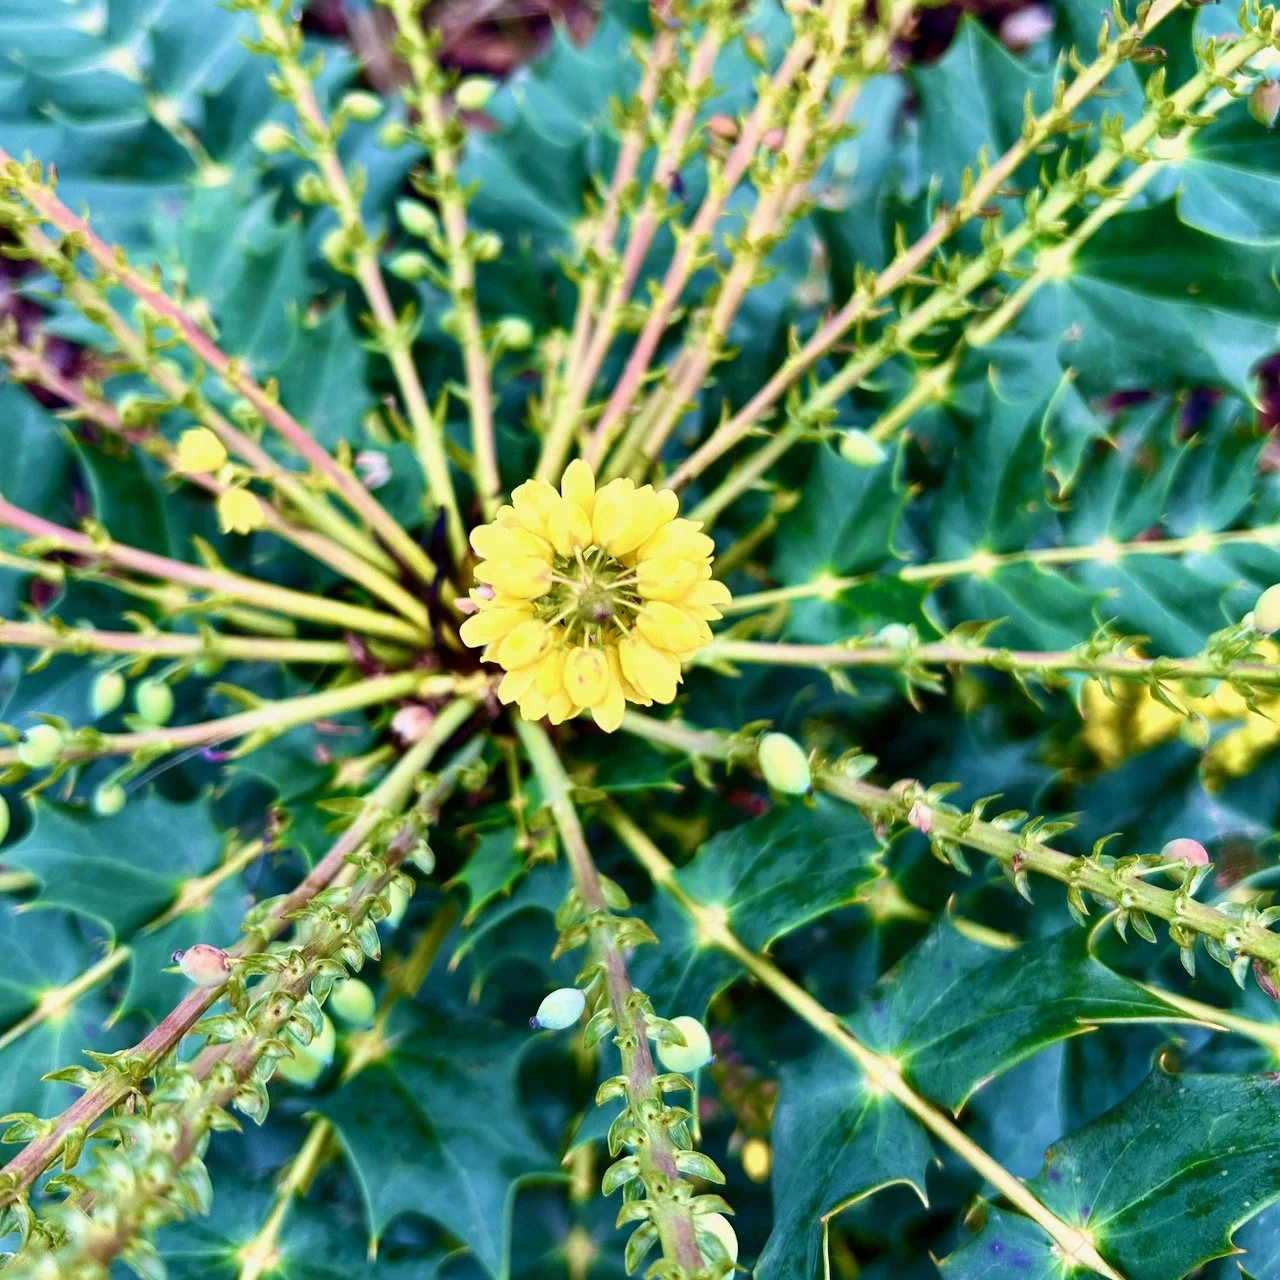
The mahonia has changed too, the bright yellow flowers are less prominent but in their place berries with a blueish tinge are starting to form, so it continues to be a plant to watch.

Looking down on the crown of the mahonia, with flowers in the centre and berries forming on the outer stems
The red tips of new growth on the red robin bush

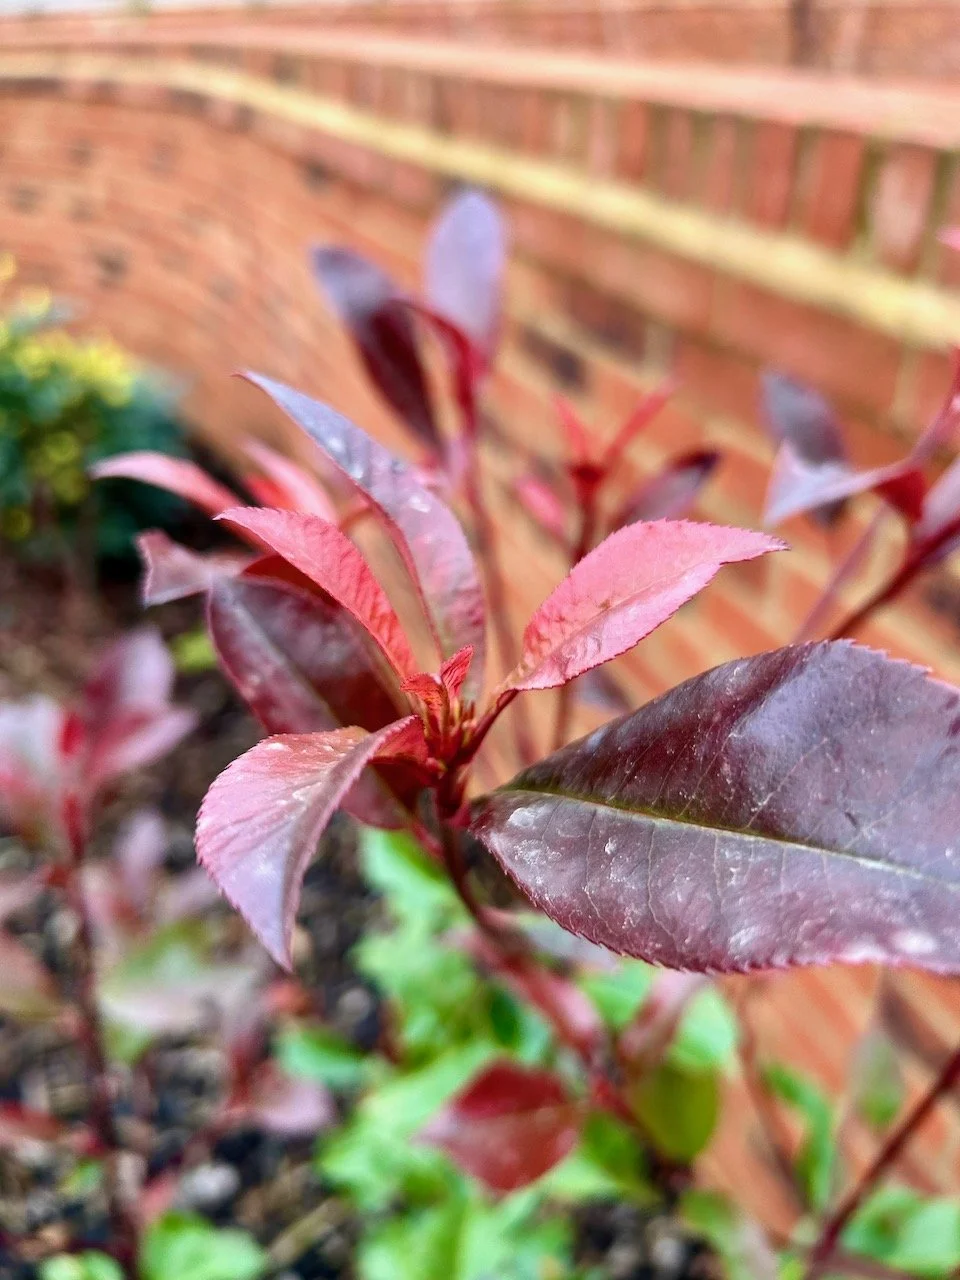
The fresh growth on the red robin tops are living up to their name, and look great as we look out the window. These were a plant on my wish list, so I’m really pleased it’s here already.

Flowers starting to form on the hellebore, even though the leaves appear to be blackening

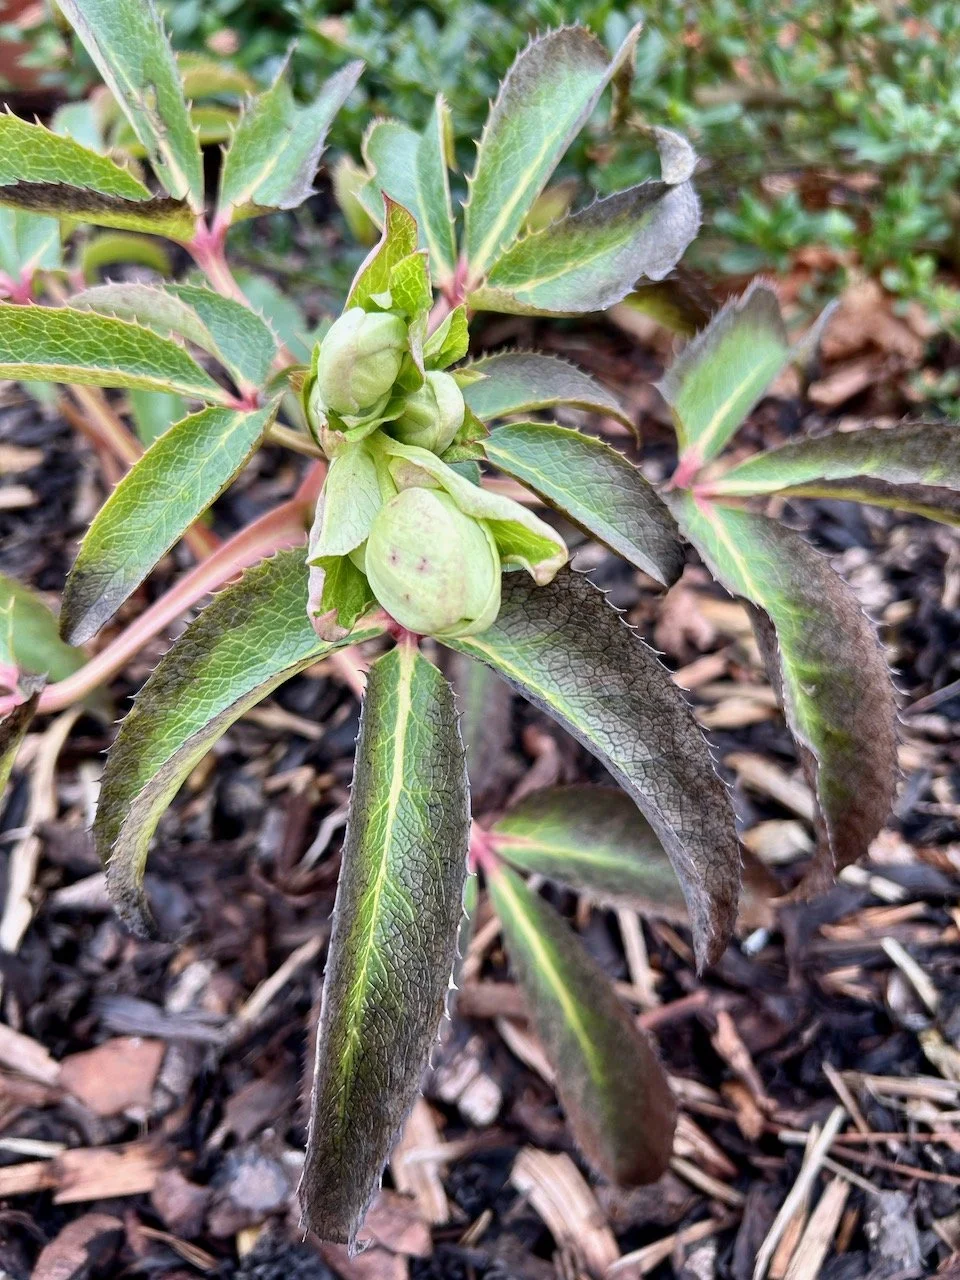
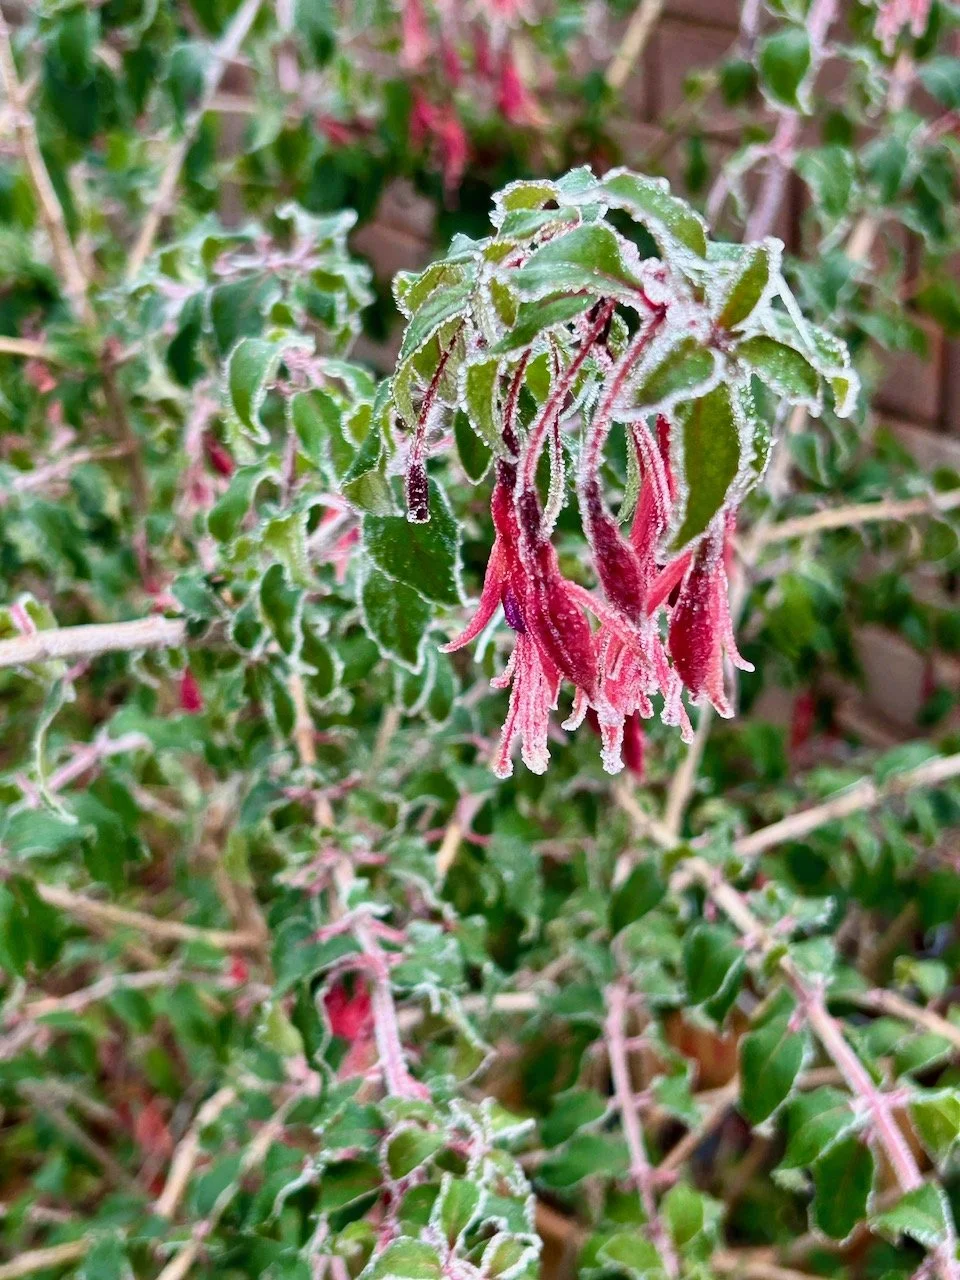
January is also the time of year when hellebores start to make their presence known - the one we brought with us, a deep, deep red which came from my FIL’s garden is showing signs of new growth which is a relief as it had looked pretty unwell beforehand. I also spotted that we have one planted, though I’m not sure why the leaves are tinged with grey/black, possibly its been affected by frost, I’m not sure. I don’t know what colour this one will be, but my guess is a greeny cream, though I could be completely wrong - I’ll let you know.

Our silver birch 'whip' planted up in a pot against the black trellis

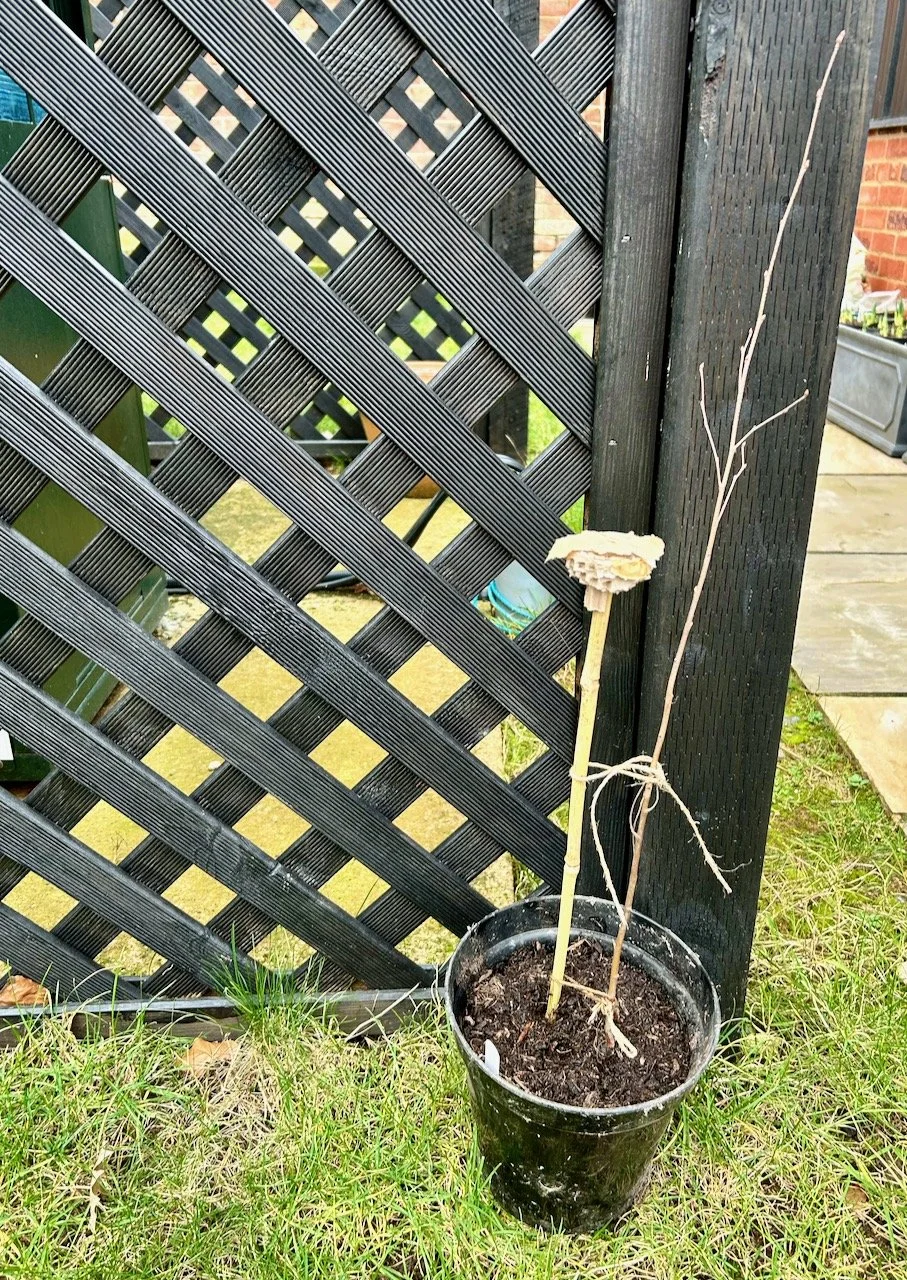
And finally, we have a new tree. It’s small, and has plenty of growing to do. Our council here offer up to two free ‘whips’ for residents, and while we already have five young trees in our new garden we took advantage of this offer with a single silver birch. I’ve put this into a pot to give it the best chance, as where I want to plant this needs a bit of prep work which we haven’t been able to do just yet, but soon hopefully.

PostCommentLove

Getting started with Gelli Plate printing

If like me you’d not heard of this before, it’s a fun way of printing using a brayer roller and a flexible (gelli) plate to create prints with layers of colour and texture. You can buy gelli plates online, and while they’re not cheap (an A4 size plate is currently about £30) it should last many years. And if you’re wondering why gelli, then it refers to the gelatine used to create the printing plates.

I’ve only recently discovered this fun craft after being intrigued by a local Adult Learning class, which I’ve since signed up for. My course has four two hour sessions and cost me £18 - I wasn’t sure what to expect, but reasoned that I had nothing to lose. Attending one two hour session for that price is good value, four sessions is exceptional. As it turned out, it’s good fun and I’m definitely heading back next week to find out - and create - more.

It’s been a while since I’ve taken a ‘printing’ workshop and this one looks to have more immediate results than lino printing, which I’ve tried before and have done a couple of times since learning.

Equipment for Gelli Printing

Apart from the gelli plate and brayer - I don’t have my own yet, and these are provided in the class I’m taking - the other things you’ll need to get started are paper (and lots of it), acrylic paints and some wet wipes. You might also want to wear an apron as removing acrylic paints from clothes can be tricky, not something I’ve tried yet, and hopefully I won’t need to either!

I had five basic colours - white, black, yellow, pink and blue - and this was enough to get started, though after a few prints I knew that I was keen to add more variety to my paint range. After the class I stopped off at The Works and picked up a set of 20 colourful paints to add to my newly growing paint stash. I’ll be looking out for the perfect tin to store them in soon too no doubt! I also picked up another pad of paper - the £2 bumper pad for kids’ drawing sort, as I think that will also be handy.

My first print

Like everyone else in the class I was keen to get on and do some printing. The advice was to start with our lightest colour, so for me that was yellow as white paint on white paper was unlikely to be that exciting! I wish I’d got a picture of the gelli plate, but it is weird - quite tactile, definitely flexible and well, squidgy in a solid sort of way.

After dabbing on a couple of pea sized blobs of paint it was time to use the brayer (or roller) to spread this across the surface. Here a light touch is everything, and you have to work quickly - especially in a warm room. Then your paper goes on top of the paint, and using your hands you smooth the paper over the gelli plate. This transfers the paint to the paper, and voila once the paper is lifted you have your print.

This is mine:

A yellow oblong of colour gelli printed on a white paper

After an hour or so of chat, this was quite exciting - though I take your point, that it’s not really that exciting. But the point of this was to practice how much paint to use, and for that it was effective as my next print was barely there yellow, which I quickly printed over with pink.

Pink acrylic paint over barely there yellow gelli prints

As you can see there’s some texture and some missing parts, but that’s ok and is part of the beauty of this kind of printing. It isn’t perfect, and you’re never really sure how it’ll turn out. If that’s an issue for you, then gelli plate printing might not be for you!

Using two colours

This is where I felt restricted by my paint colours, and why I added to my repertoire so quickly. There’s many combinations you can do with the basic colours, but with more colours the combinations is almost endless, though the challenge will be to work out the balance on what looks good, and what’s too much, and to avoid over rolling and ending up with ‘sludge’ no matter what colours you start with.

The gelli plate is still the same size, so with two (or more) colours you need to reduce the size of the paint blobs you add to the plate so it’s not awash with paint. I tried with yellow and pink, then some blue and finally some black - with mixed results.

Pink and yellow patterned gelli print
Pink and black paint gelli printed onto a yellow background
Blue and yellow - with some mixed green - gelli printing on a plain white background

Because of how the gelli printing works you don’t need to clean your gelli plate in between prints, but it’s definitely worthwhile rollering off the excess paints in between applications. That’s not onerous at all as you can use a single sheet of paper for that, and it can result in some textured and very usable prints too.

The results of rollering off excess pink and yellow paint from the brayer

Cleaning up afterwards

No special equipment is needed for this either - soap and water to wash the brayer roller, and we used a wet wipe to remove any paint residue that remained on the gelli plate. That’s my sort of cleaning up!

Using my gelli print artwork

Clearly these gelli prints aren’t masterpieces! But even these will have plenty of uses for my other crafts, the obvious ones are card making and collaging. I can see that once I’ve learnt more about adding texture these will be even more useful, and it’s likely that a single gelli printing session will generate prints for a good while, as well as providing the opportunity for a mindful afternoon.

I’m interested to learn more about this craft, and how texture can be added with items such as bubble wrap, packing tape (I have a fair bit of that leftover from our house move!) and especially leaves and more, I’m sure I’ll have one or two items in my craft room to try out too. I’ve another three weeks remaining in the class, so I’ll share more as I learn new skills.

But it’s definitely a promising start introducing me to a brand new craft, and I can’t wait to see where this takes me.

My garden in December

With a new garden it’s interesting to see what it brings each month, and this month I have more pictures than perhaps I would usually take in a normal December. Though building on last month’s update, they’re mostly of frosty leaves, frosty spider webs and the snow which arrived one Saturday night cloaking the garden in a white blanket.

The frosty cobwebs aren’t without charm though…

Frosty cob webs on our parasol base on the patio
Frosted cobwebs around one of our external lights

But if only they’d have been a month or two earlier I could have legitimately claimed them as Halloween decorations!

The inside corner of the black painted trellis is adorned with frosty spider webs

And yes, MOH was wrong when he suggested there’d be less spiders here than in our London home - luckily that wasn’t what sold me on the move!

The lone leaves on the acer were clinging on, and doing so in spectacular form.

The lone leaves on the acer turned into frosty lone leaves during the month

They weren’t the only ones looking slightly frozen, and while the acer leaves are spectacular for their colour, I think the iced fuchsia flowers just take the iced plant prize for me.

Though somehow the mahonia still managed to look quite majestic with snow trying its best to dull its crown.

The ironwork on our brick pillar also with it's snow adornment

But despite the snow I did get some bulbs potted up (later than I’d like and I’ve still some more to do), hang my Christmas/Winter wreath and repurpose my autumn wreath - I’m grateful for being able to take advantage of the days with the better weather, and in daylight too, it makes such a difference.